


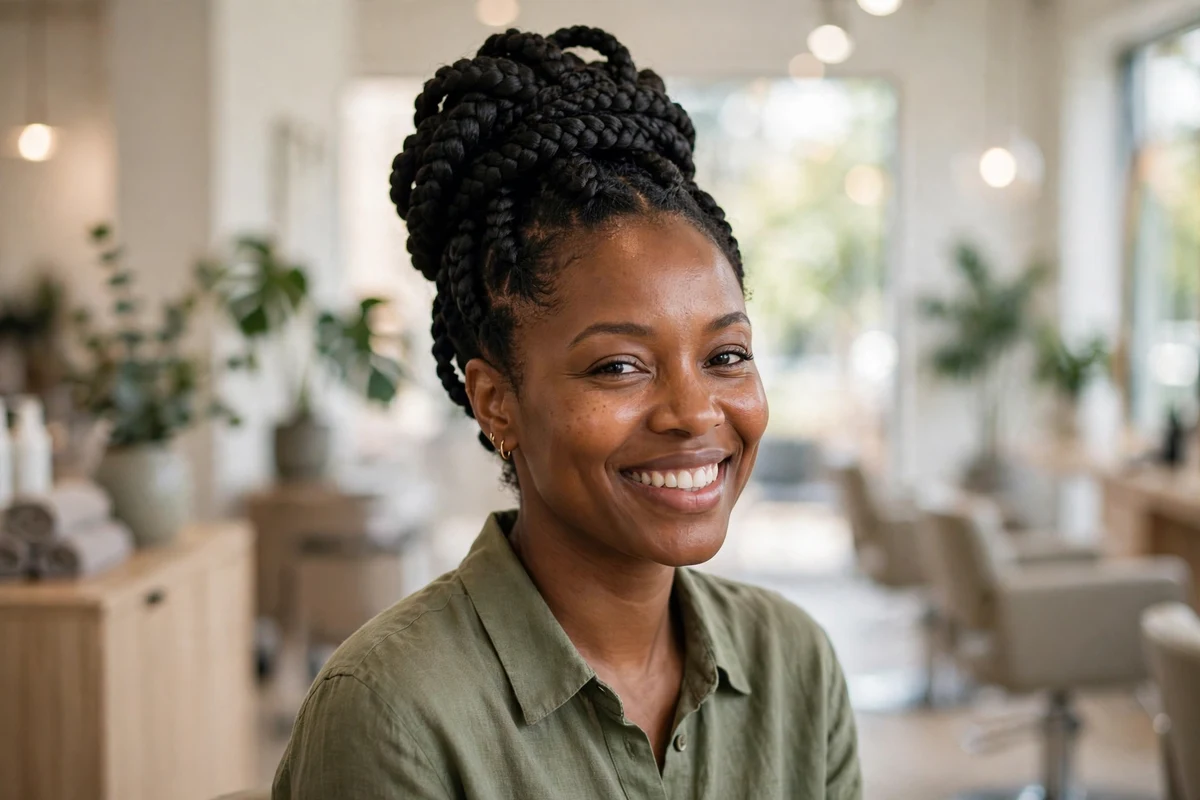
Black hair holds updos better than almost any other texture, and the options go far beyond a plain bun. These updo hairstyles for Black women cover natural, braided, twisted, and relaxed hair, with styles that last from a busy workday to a wedding dance floor.
Every style on this list keeps your hair up and off your shoulders. Many are protective, which means less manipulation and fewer broken ends over time.
Quick Takeaways
- Start with stretched or blown-out hair for the smoothest buns and chignons.
- Keep tension comfortable around the hairline. Pain means the style is too tight.
- Bobby pins crossed in an X hold textured hair far better than parallel pins.
- Moisturize your hair and scalp before any updo that lasts more than a day.
- Silk or satin scarves at night keep any updo looking fresh for a second day.
1. Sleek High Bun
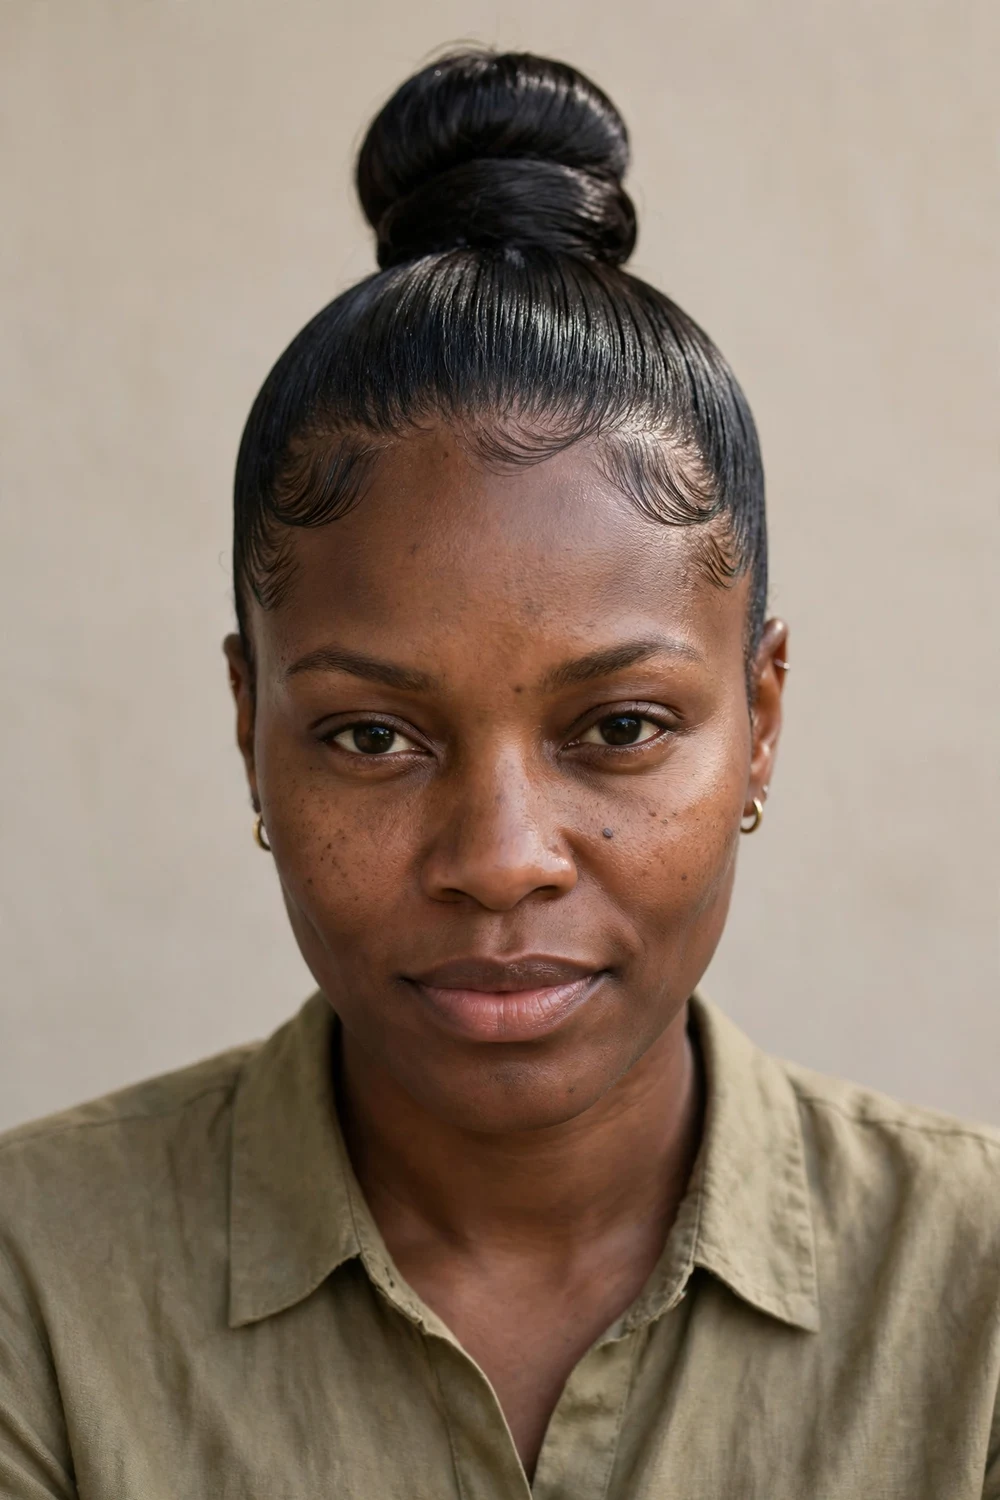
Brush your hair up into a high ponytail, smoothing it back with a bristle brush and a light gel. Twist the ponytail around its base into a bun and pin it firmly. Finish by laying your edges with a small brush and edge control. The result is clean and sharp, good for office days and evenings out.
Don’t skip the moisture step. Apply a leave-in to your hair before brushing it up, since pulling dry hair tight can snap fragile strands.
Try this: wrap a thin section of the ponytail around the bun’s base before pinning. It hides the elastic and looks much neater.
Difficulty: Easy · Cost: $0–$8 (gel, edge control)
2. Braided Crown Halo
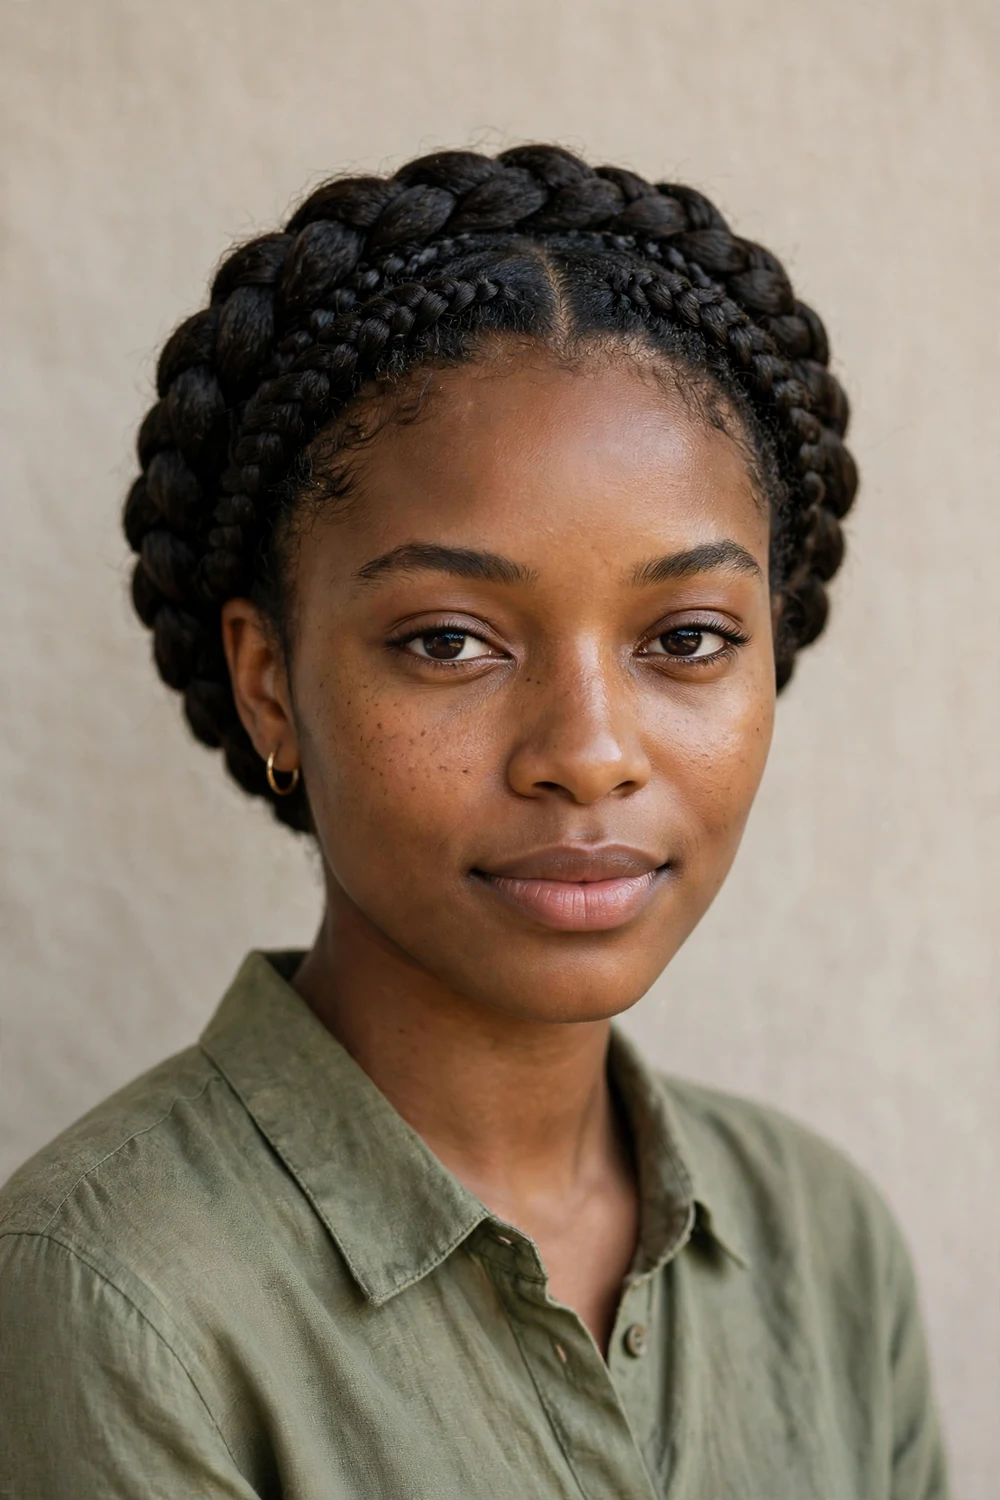
Part your hair down the middle and make two Dutch braids, one on each side, starting at the front hairline. Bring both braids up and around the crown of your head, pinning them together at the back to form a halo. Tuck the ends under and secure with pins. Budget 20 to 30 minutes if you are new to Dutch braiding.
Braid on hair with some grip. Freshly washed hair is too slippery, so style on day-old hair or add a little styling cream first.
Try this: pancake each braid slightly after pinning by tugging the loops wider. It makes the crown look fuller without adding hair.
Difficulty: Medium · Cost: $0–$5 (pins, elastics)
3. Flat-Twist Updo
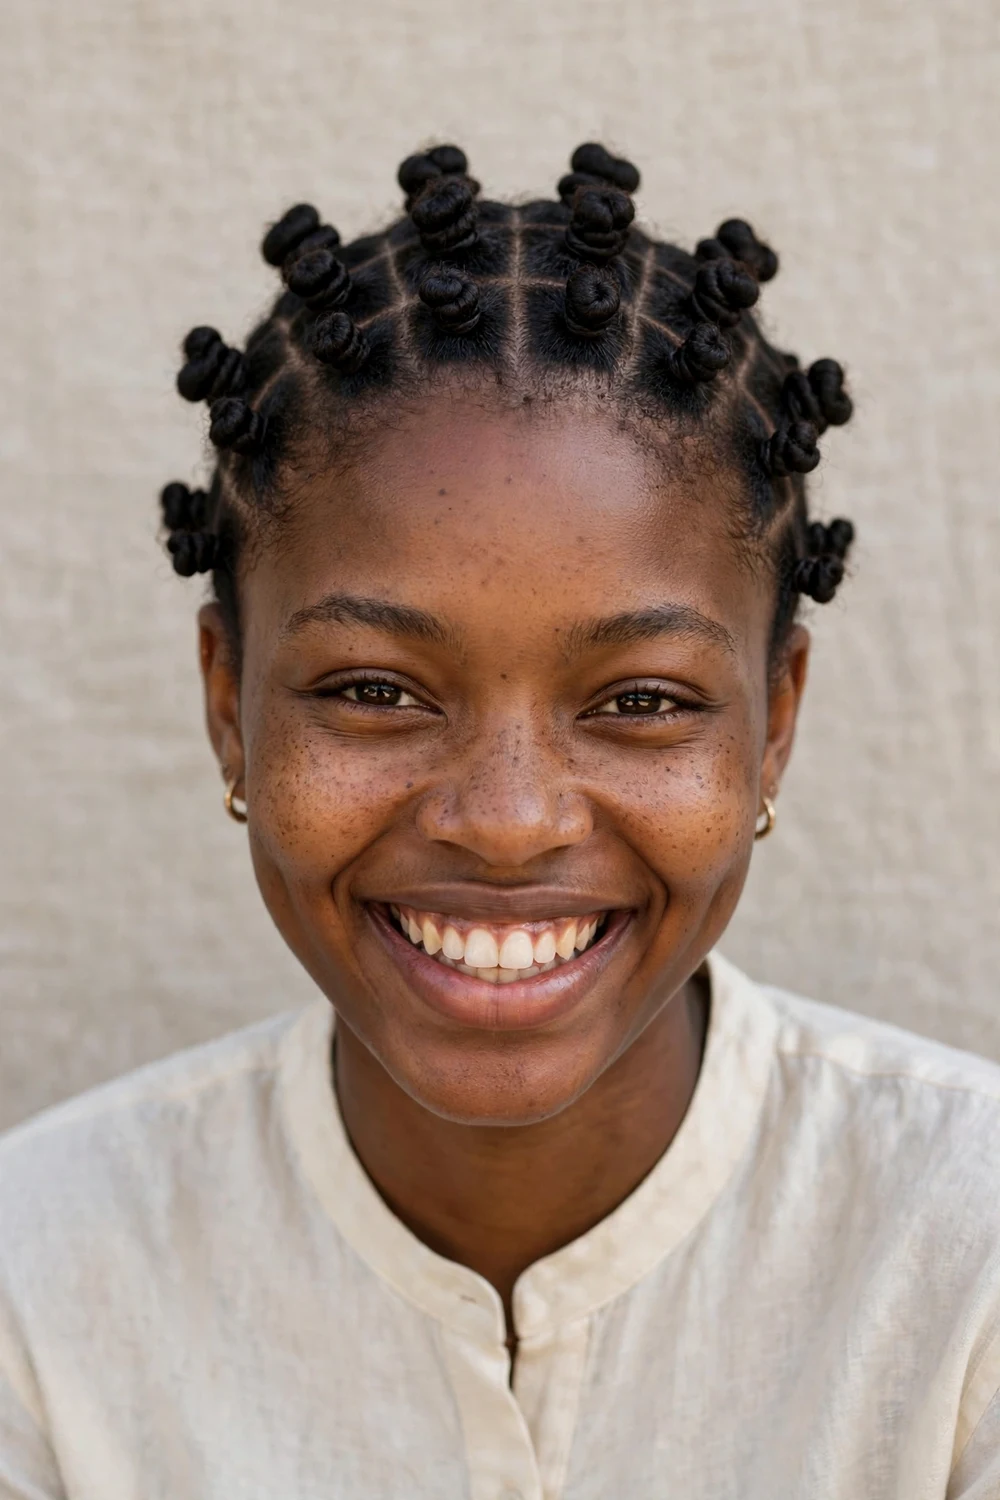
Make cornrow-style flat twists across the front of your head, working from the hairline toward the crown. Gather the remaining hair at the back and pin it into a low rolled bun. The flat twists add pattern and structure that a plain bun can’t match, and the style lasts two to three days.
Keep the flat twists even in size. Uneven twists make the whole updo look lopsided, so take your time with the partings.
Try this: apply a light oil to your fingertips as you twist. It keeps the twists smooth and adds shine without buildup.
Difficulty: Medium · Cost: $0–$8 (styling cream, pins)
4. Bantu-Knot Updo
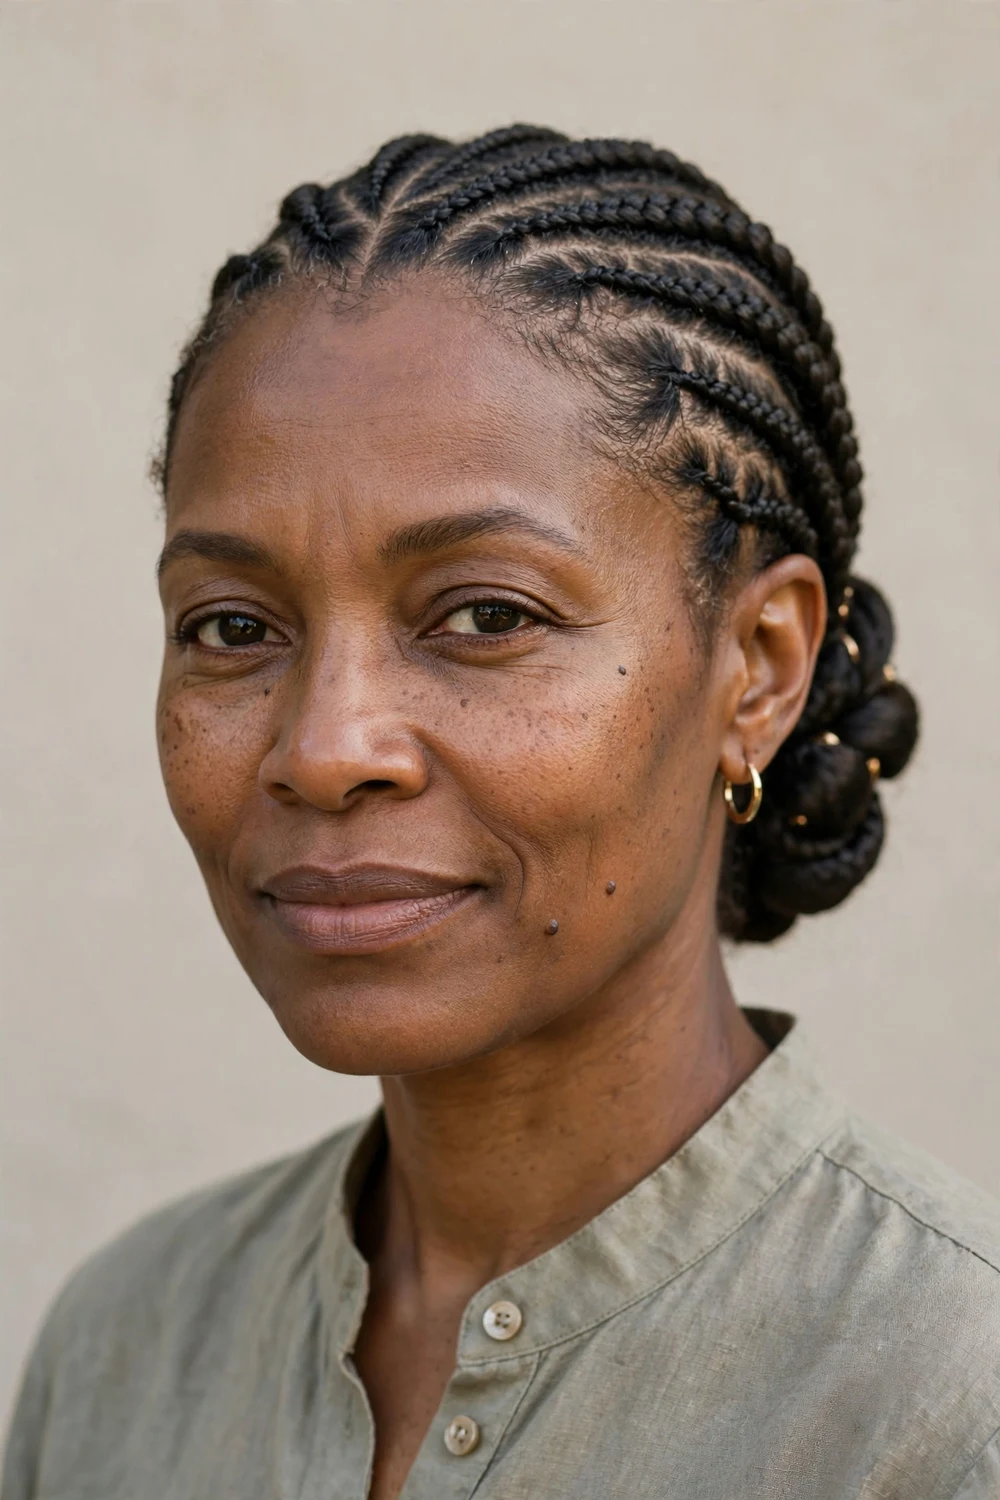
Section your hair into eight to twelve parts. Twist each section from root to tip, then coil it into a small knot against your scalp and secure it with a pin or by tucking the end. Arrange the knots in neat rows for a sculptural look. This is a true protective style that needs no heat and no added hair.
Moisturize each section before twisting. Dry hair wrapped into knots can break when you take them down.
Try this: when you undo the knots after a few days, you get defined bantu-knot-out curls. Two styles from one session.
Difficulty: Easy · Cost: $0–$6 (leave-in, pins)
5. Twist-Out Pineapple Updo
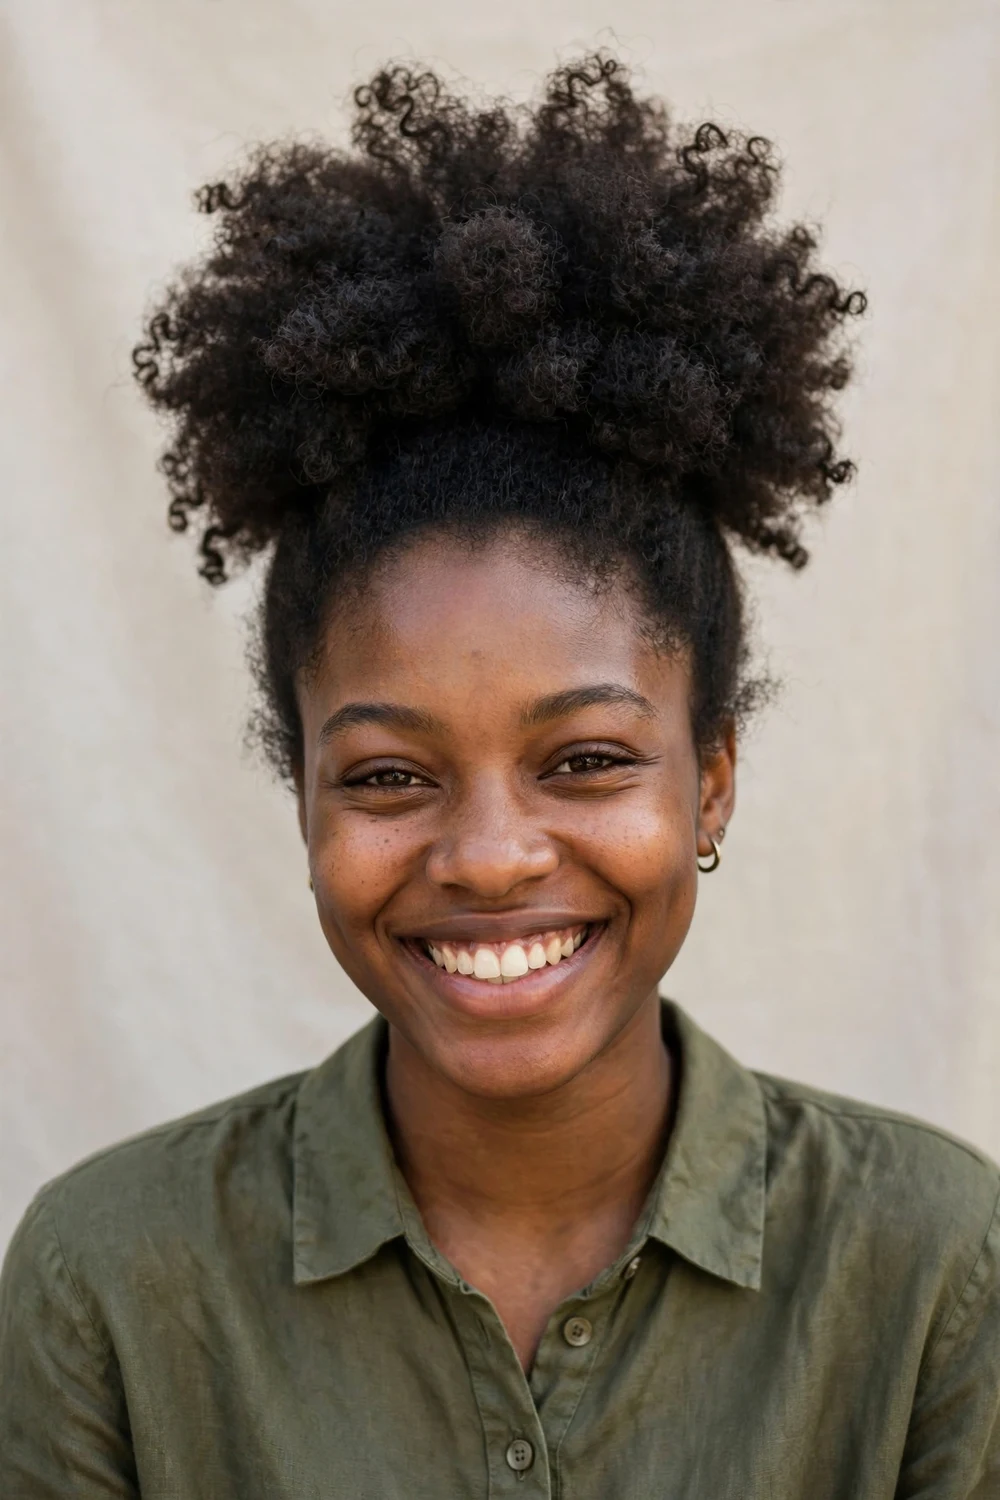
Do a twist-out the night before, then gather all your curls into a high loose ponytail at the crown, letting the curls fall forward and out like a pineapple. Secure with a satin scrunchie, not a tight elastic. The curls fan out into a full, joyful shape that shows off your natural texture.
Don’t pull the ponytail too tight. A loose gather keeps the curls defined instead of stretched flat.
Try this: fluff the curls with an afro pick after gathering. A minute of picking doubles the volume.
Difficulty: Easy · Cost: $0–$5 (scrunchie, styling cream)
If you are still learning your curl pattern, our natural hairstyles for Black women guide walks through twist-outs and wash-and-gos step by step.
6. Low Chignon with Side Part
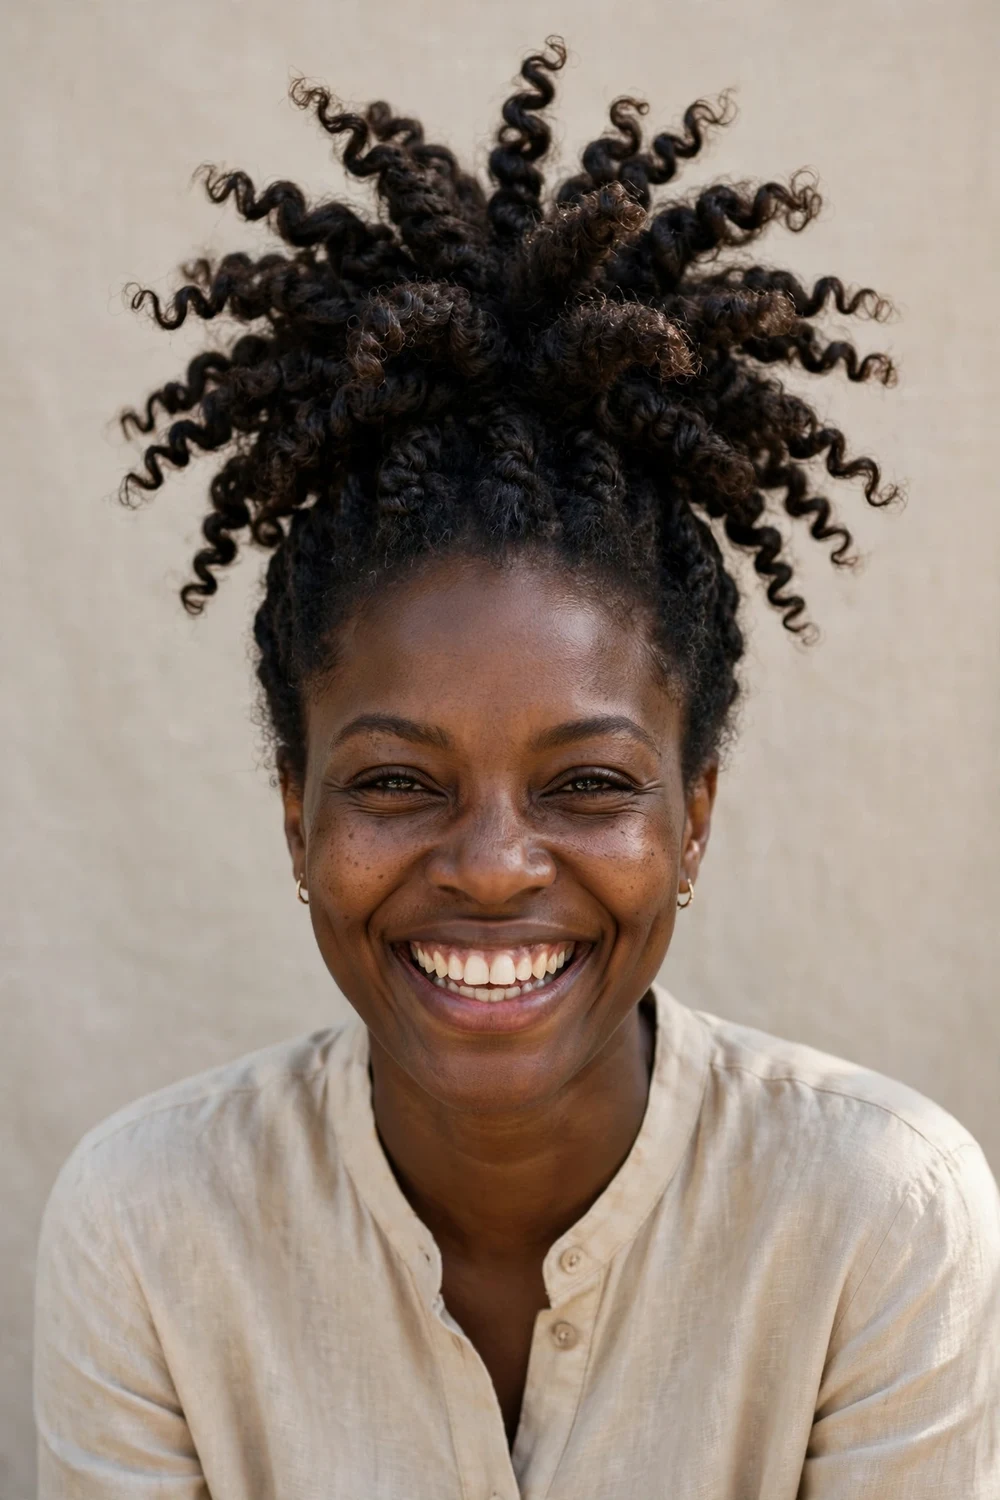
Make a deep side part and brush your hair smooth toward the nape. Roll the hair into a low chignon, tucking the ends under, and secure it with four to six bobby pins crossed in X shapes. This is the most polished option on the list, suited to weddings, interviews, and formal dinners.
Stretched hair makes this much easier. Blow-dry on low heat or band your hair overnight before styling.
Try this: press a light-hold hairspray onto a soft brush and run it over the surface. It tames flyaways without a hard shell.
Difficulty: Easy · Cost: $0–$8 (pins, gel, hairspray)
7. Faux Hawk Updo
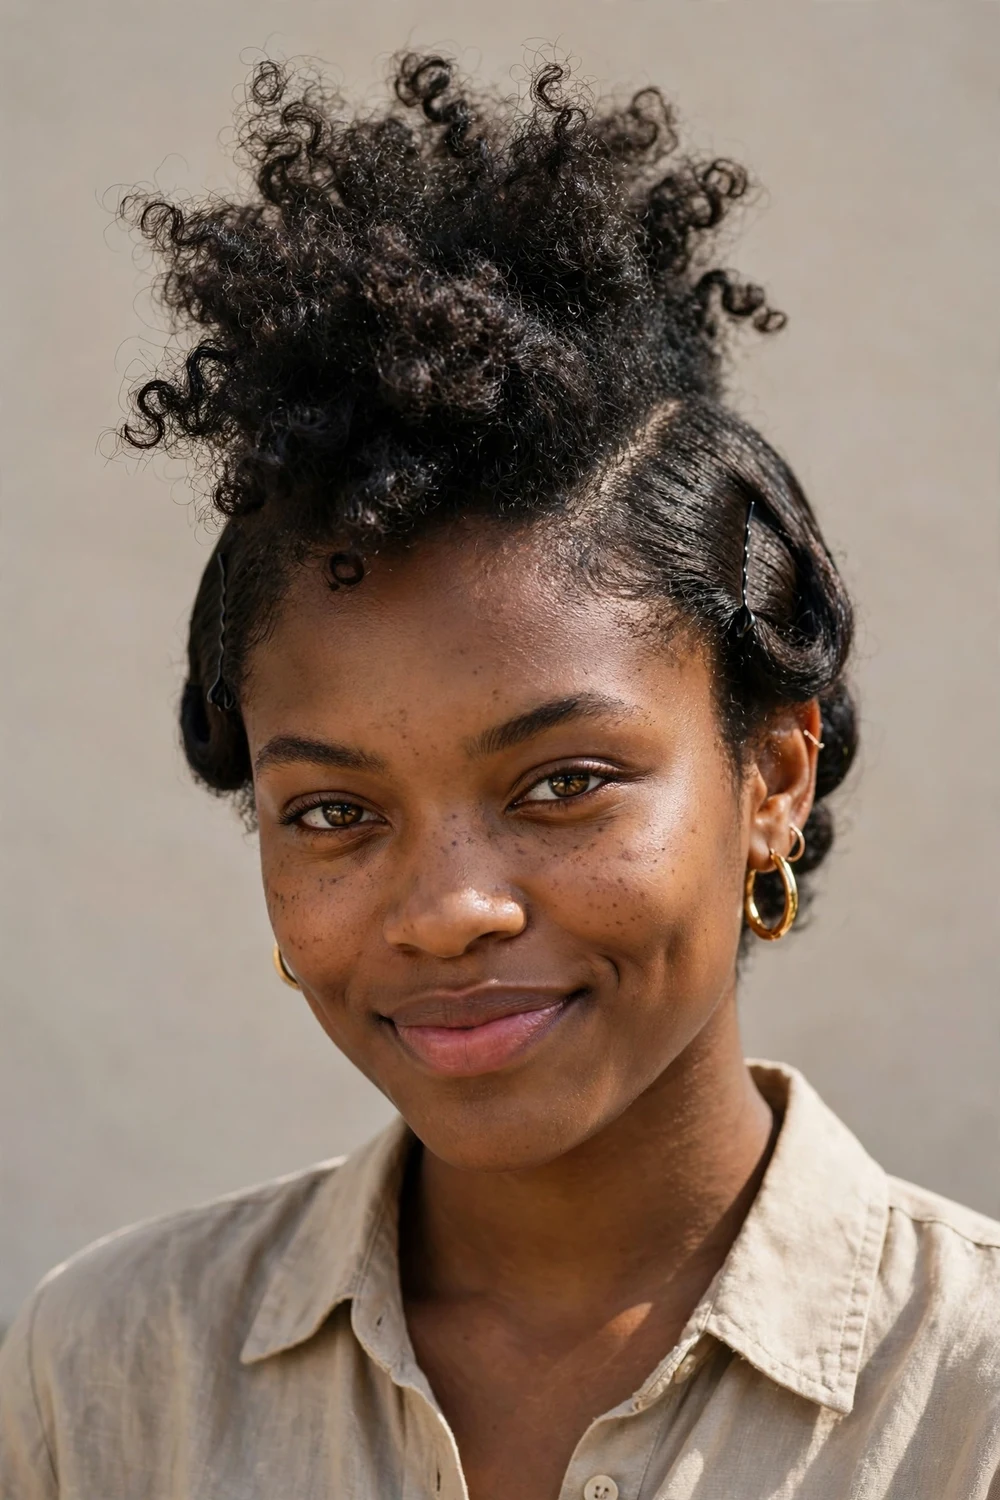
Smooth the sides of your hair flat and pin small sections toward the center, working from front to back. Leave the middle strip of curls free and fluff them upward for height. The pinned sides create the mohawk shape without any cutting or shaving. Bold, fun, and done in about 15 minutes.
Pin the sides first, then shape the center last. Trying to do both at once usually ends in a lopsided strip.
Try this: tease the center strip lightly at the roots before fluffing. The extra lift lasts all evening.
Difficulty: Medium · Cost: $0–$5 (pins, gel)
8. High Puff Updo
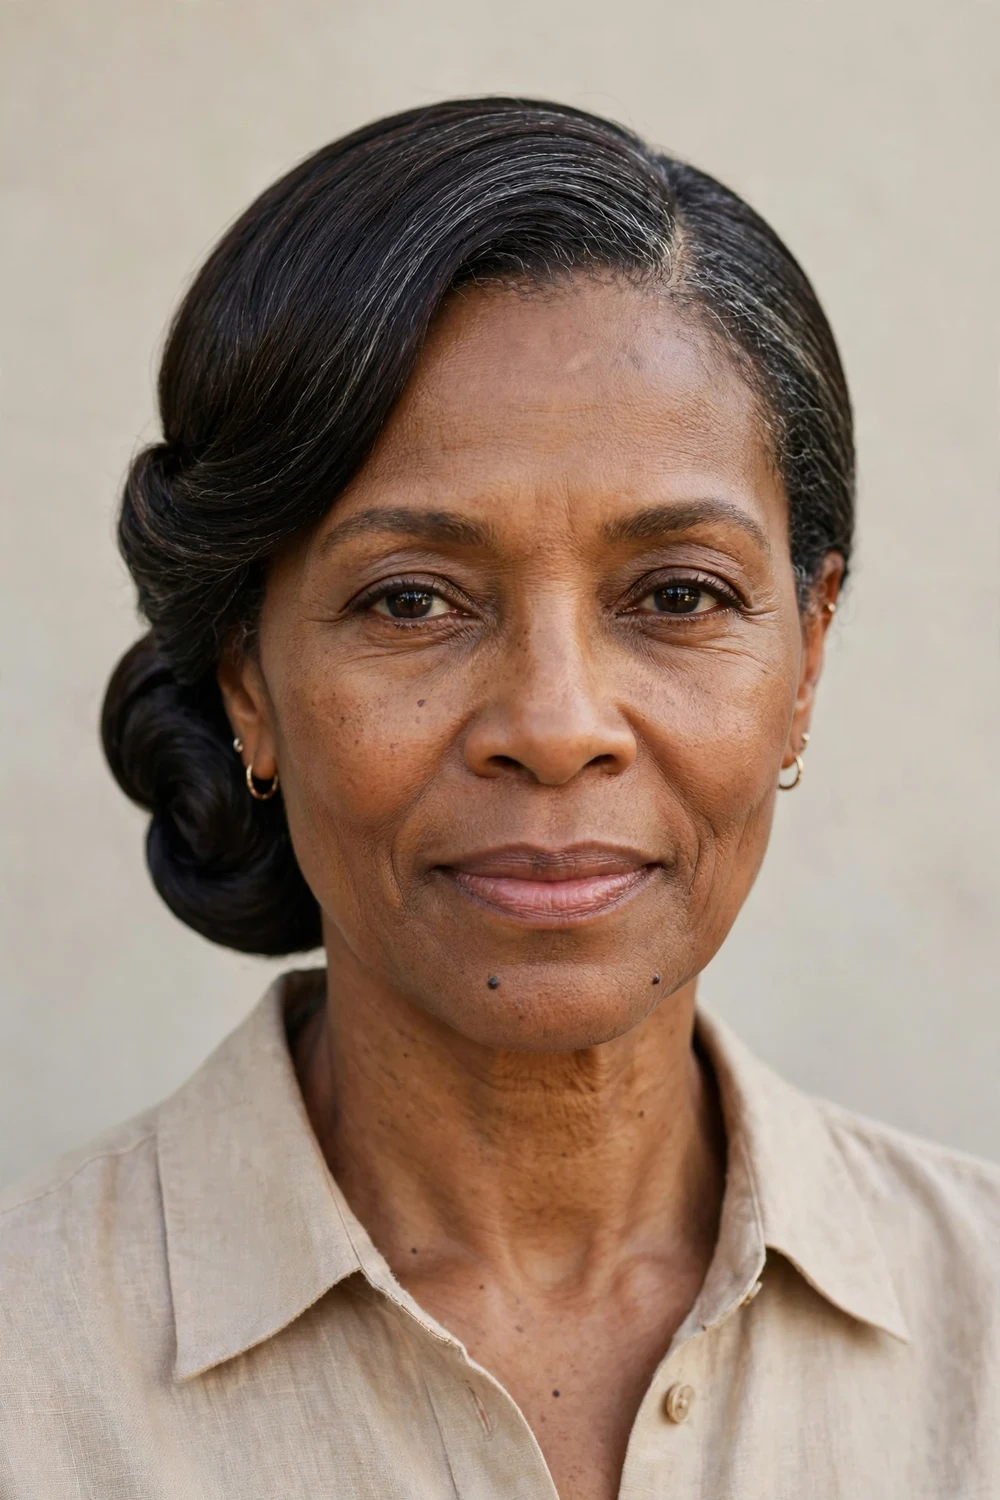
Gather your hair at the crown with a large elastic headband or two stacked scrunchies, then fluff the curls out into a full round puff. Push the band back a little to shape the puff forward. This is the fastest updo on the list at under five minutes, and it works on short to medium natural hair.
Use a wide band, not a thin elastic. Thin bands cut into the puff and create a dent that takes days to recover from.
Try this: mist the puff lightly with water and shake it before shaping. Damp curls clump better and the puff looks fuller.
Difficulty: Very easy · Cost: $0–$4 (headband or scrunchies)
9. Cornrow Topknot
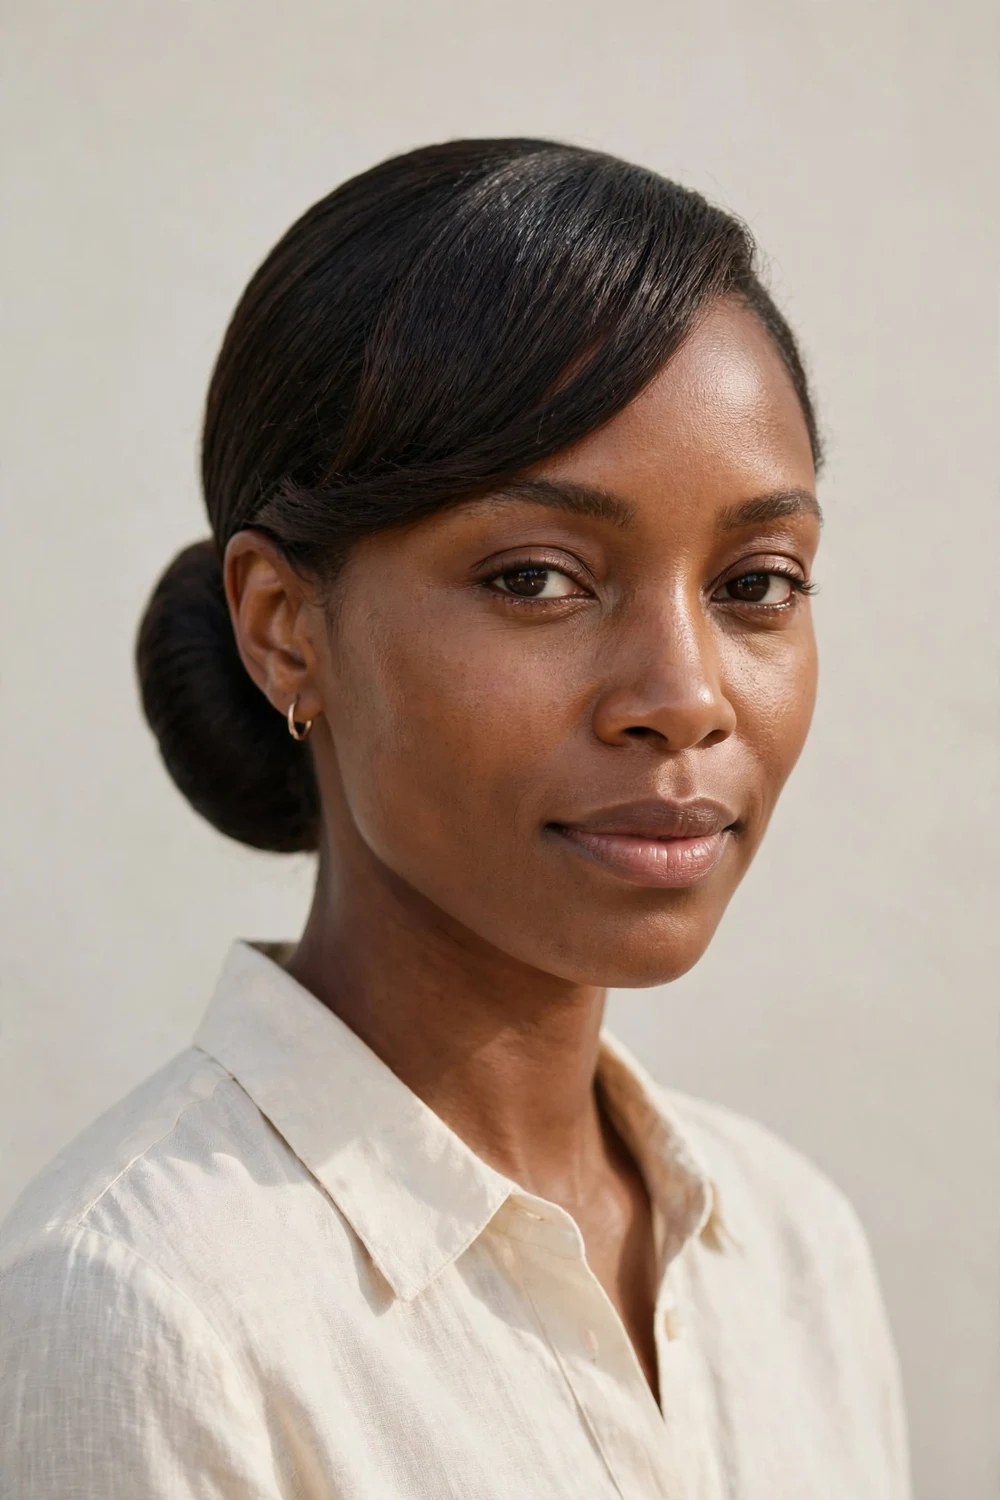
Braid cornrows from the hairline straight back toward the crown, feeding in the rest of your hair as you go. When you reach the crown, gather everything into a high knot and wrap the ends around the base. The cornrows keep the front neat for days while the knot adds height. Great for the gym and busy weeks.
Keep the cornrows smooth at the start. Bumpy beginnings show no matter how neat the knot is.
Try this: tie a satin scarf around the cornrowed front at night. It keeps the braids crisp and the edges laid for a week or more.
Difficulty: Medium · Cost: $0–$6 (gel, pins)
Cornrow-based styles need solid braiding basics. Our short braided hairstyles for Black women article covers cornrow patterns that scale up to longer updos like this one.
10. Goddess Braids Updo
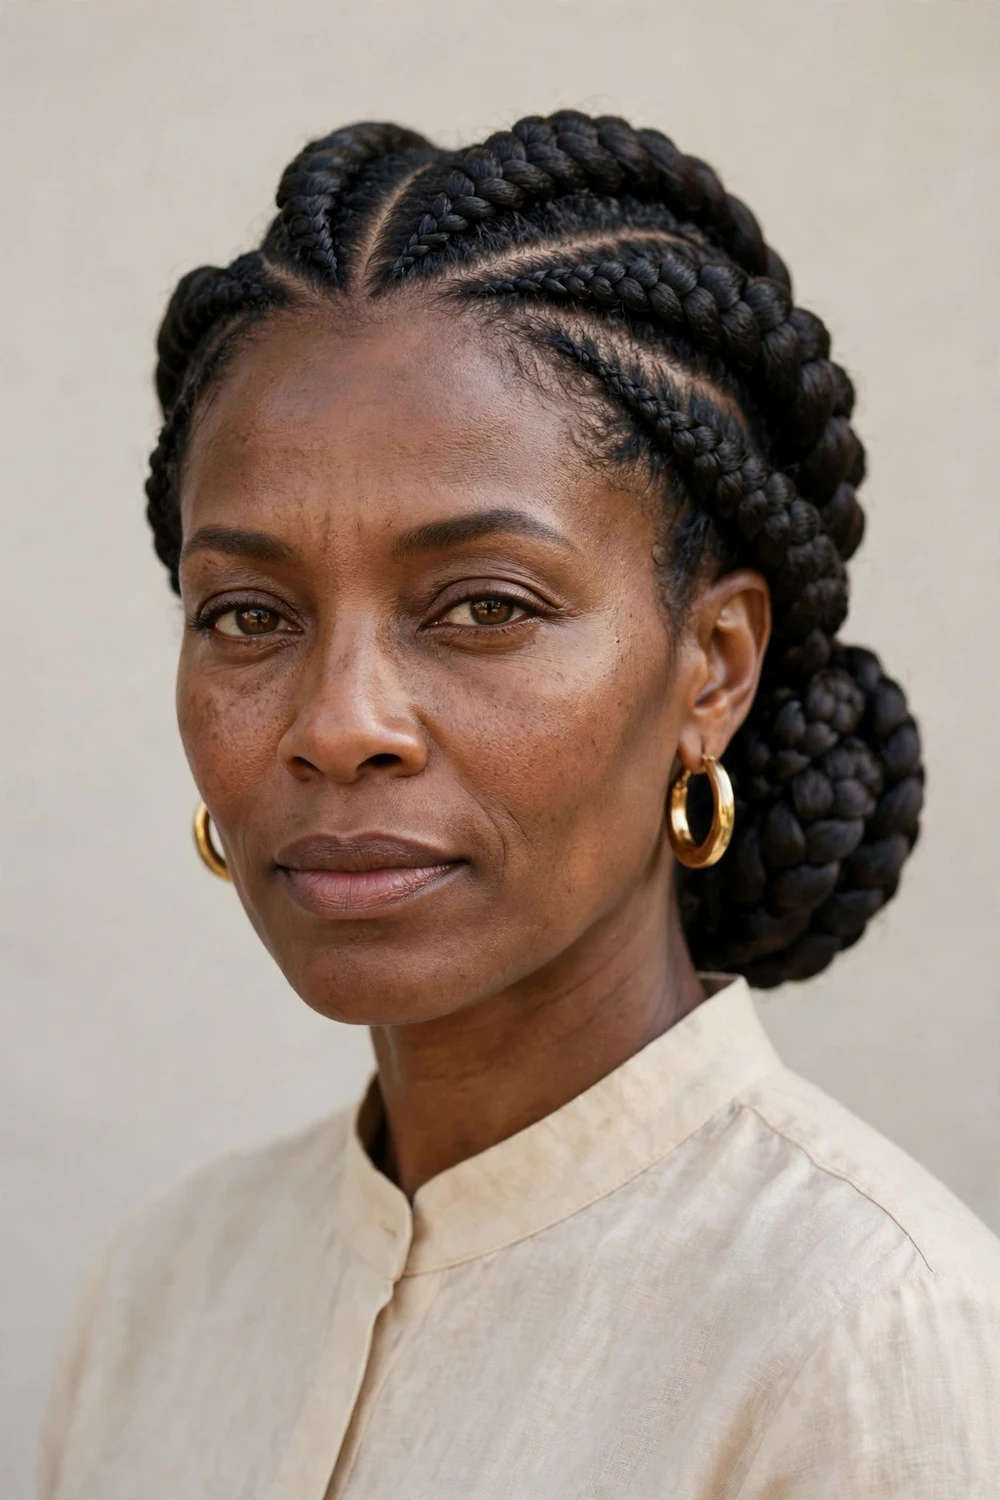
Create four to six thick goddess braids (large cornrows) across your head, directing them all toward the back crown. Coil the braid ends together into a low wrapped bun and pin it. The thick braids give a regal, sculptural look that photographs well at events. Plan for 45 minutes to an hour.
Don’t make the braids too thick if your hair is fine. Oversized braids on fine hair pull at the roots and cause breakage.
Try this: add gold braid cuffs to two of the braids before coiling. The metal accents catch the light and read formal instantly.
Difficulty: Hard · Cost: $0–$10 (braid cuffs, gel, pins)
11. French Roll
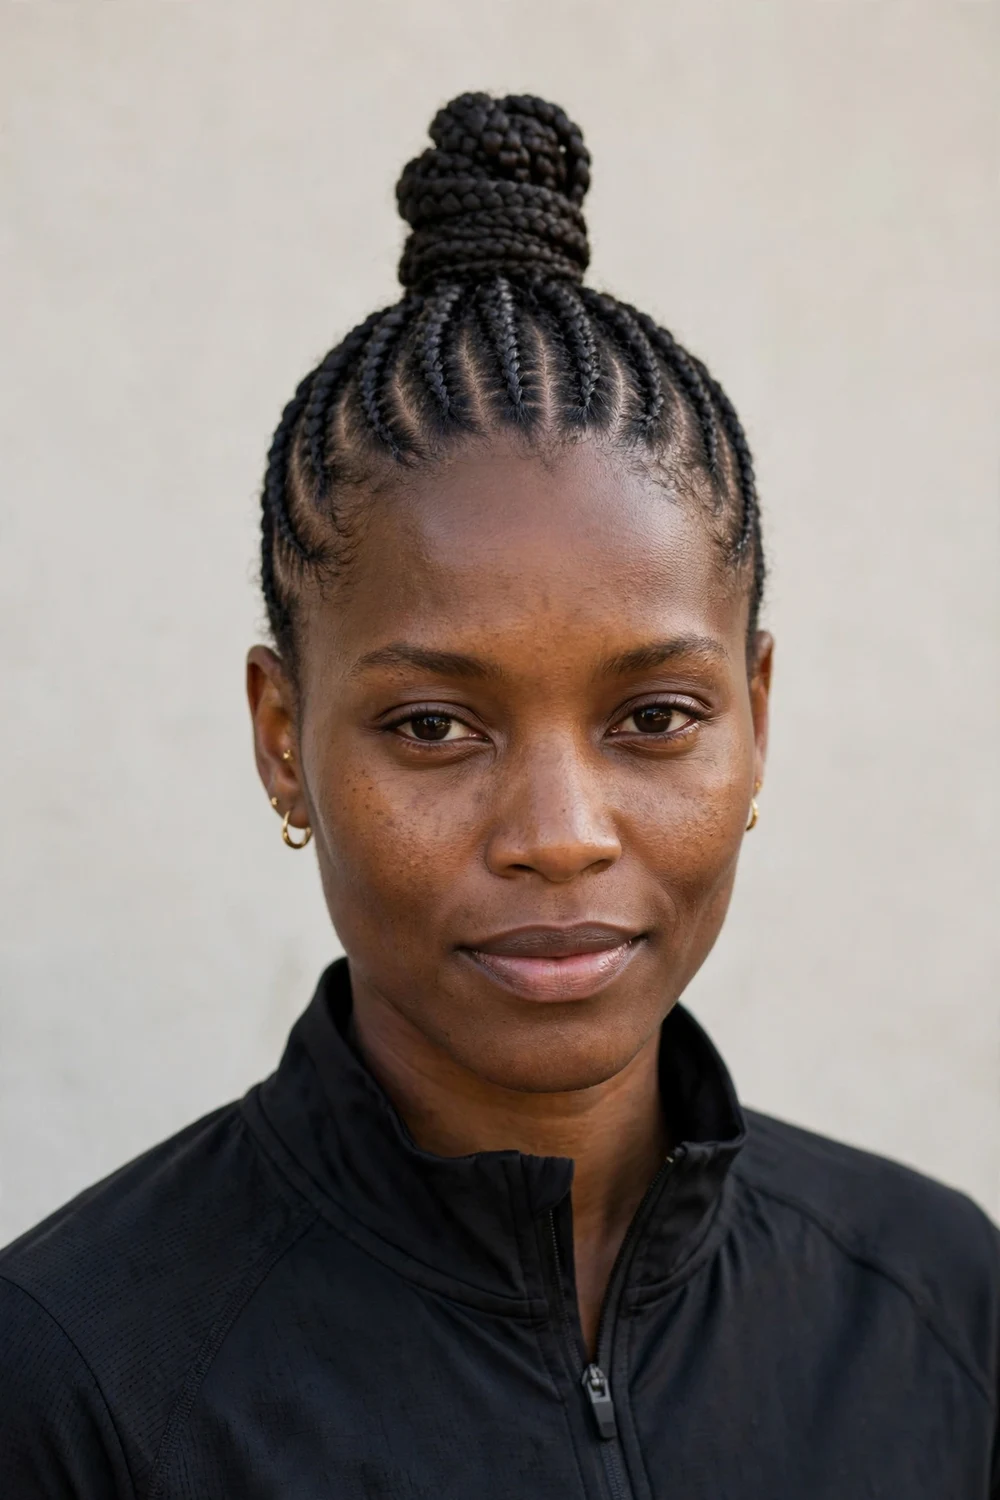
Sweep all your hair to one side and pin a vertical line of bobby pins up the back to anchor it. Roll the hair inward over the pin line from bottom to top, tucking the ends inside, and secure the roll with more pins. The French roll is a timeless formal updo that works on relaxed and stretched natural hair alike.
The anchor pins do the real work. If the roll sags, you need more pins in the anchor line, not more in the roll itself.
Try this: add a decorative comb along the roll’s edge. One accessory turns this from office to evening.
Difficulty: Medium · Cost: $0–$8 (pins, decorative comb)
12. Low Bun with Swoop Bang
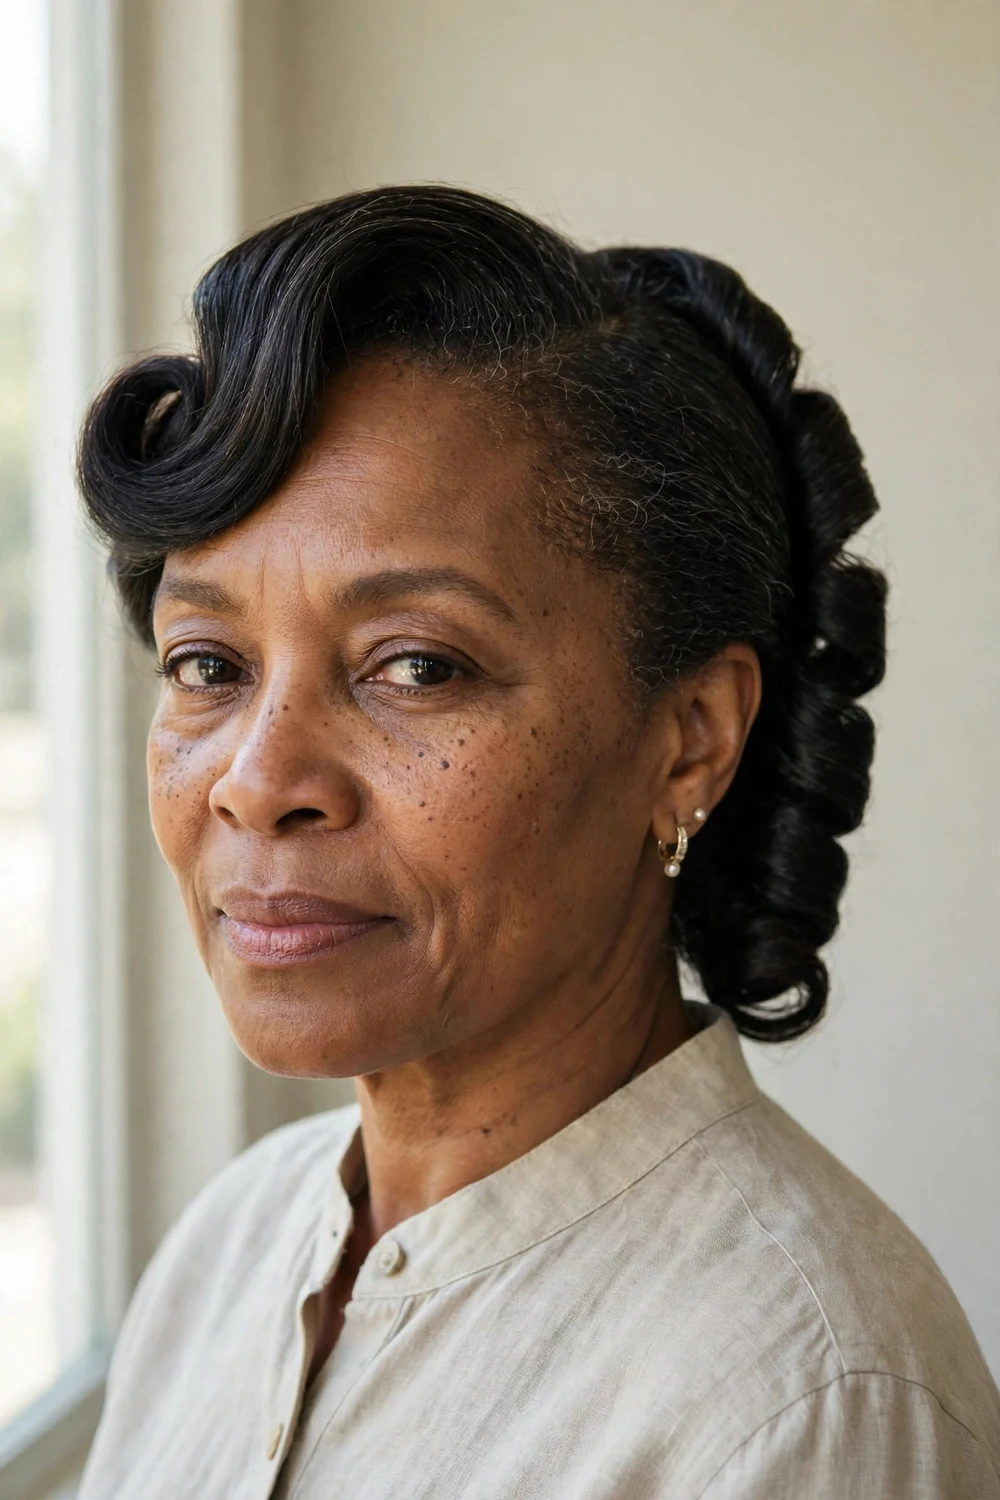
Leave out a front section for the bang, then brush the rest of your hair into a low smooth bun at the nape. Sweep the front section across your forehead in a soft swoop and pin it behind your ear. The swoop softens the face and adds movement to an otherwise simple bun. Works best on relaxed or silk-pressed hair.
Use heat protectant before smoothing the bang with a flat iron. One pass at medium heat is enough; repeated passes cause heat damage over time.
Try this: pin the swoop with the pin pointing upward into the hair. It stays hidden and holds longer than a downward pin.
Difficulty: Easy · Cost: $0–$8 (pins, heat protectant)
13. Beaded Braided Mohawk
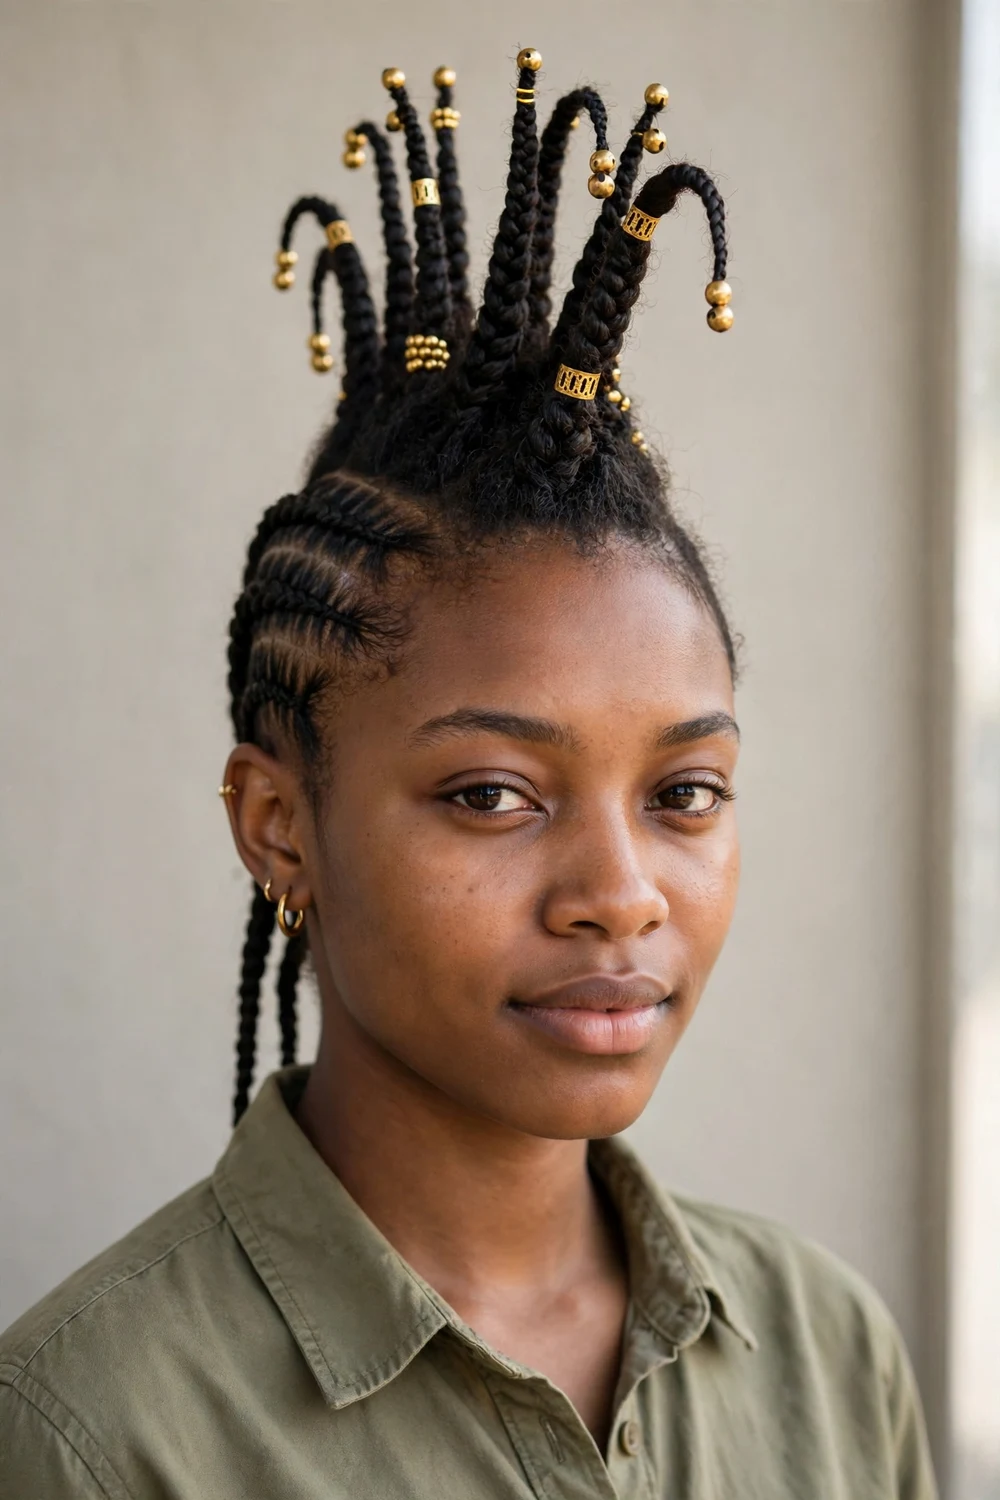
Braid two cornrows flat along each side of your head, leaving a wide center strip free. Braid the center strip into three to four individual braids, adding beads to the ends before securing them. Pin the center braids upward so they stand in a mohawk shape. The beads add color and culture to a statement style.
Thread the beads before you finish each braid, not after. Adding them at the end means unbraiding and redoing the tips.
Try this: mix bead colors in one palette, like golds and ambers, instead of rainbow mixes. It looks deliberate rather than random.
Difficulty: Medium · Cost: $3–$10 (beads, pins)
14. Two-Strand Twist Top Knot
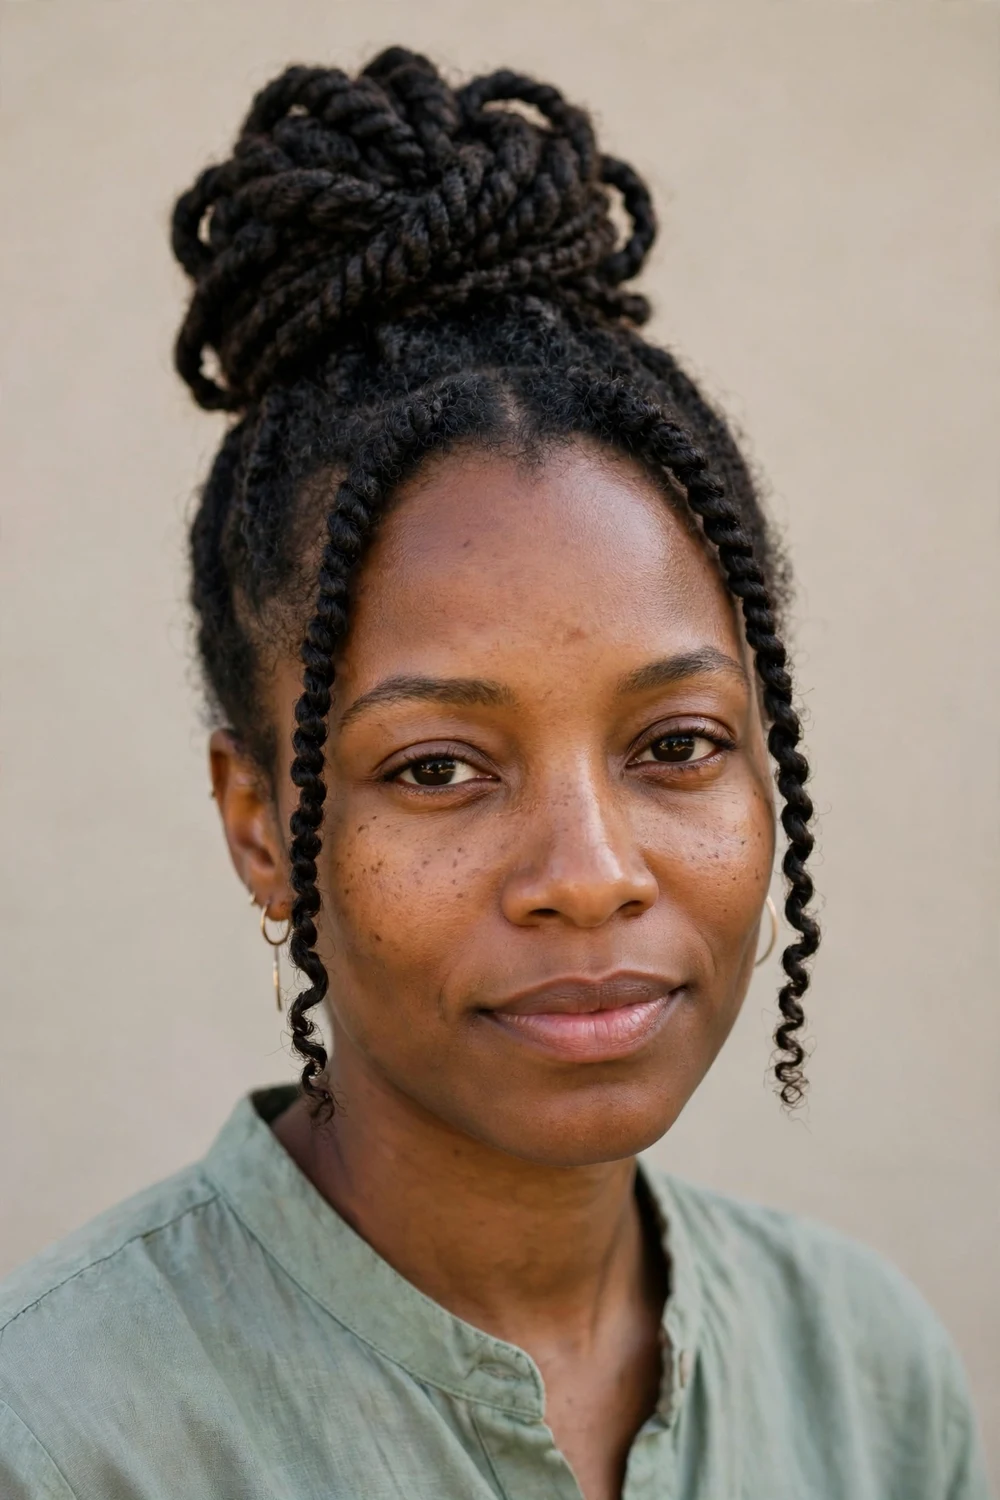
Make two-strand twists all over your head, then gather them high at the crown and coil them into a large top knot, pinning as you go. The twisted texture gives the knot far more interest than smooth hair, and the style is fully protective. It lasts a week with a satin scarf at night.
Twist on damp, moisturized hair. Twists made on dry hair unravel faster and look frizzy by day two.
Try this: leave two thin twists out at the front and let them frame your face. It softens the high knot.
Difficulty: Easy · Cost: $0–$6 (styling cream, pins)
15. Scarf-Wrapped Updo
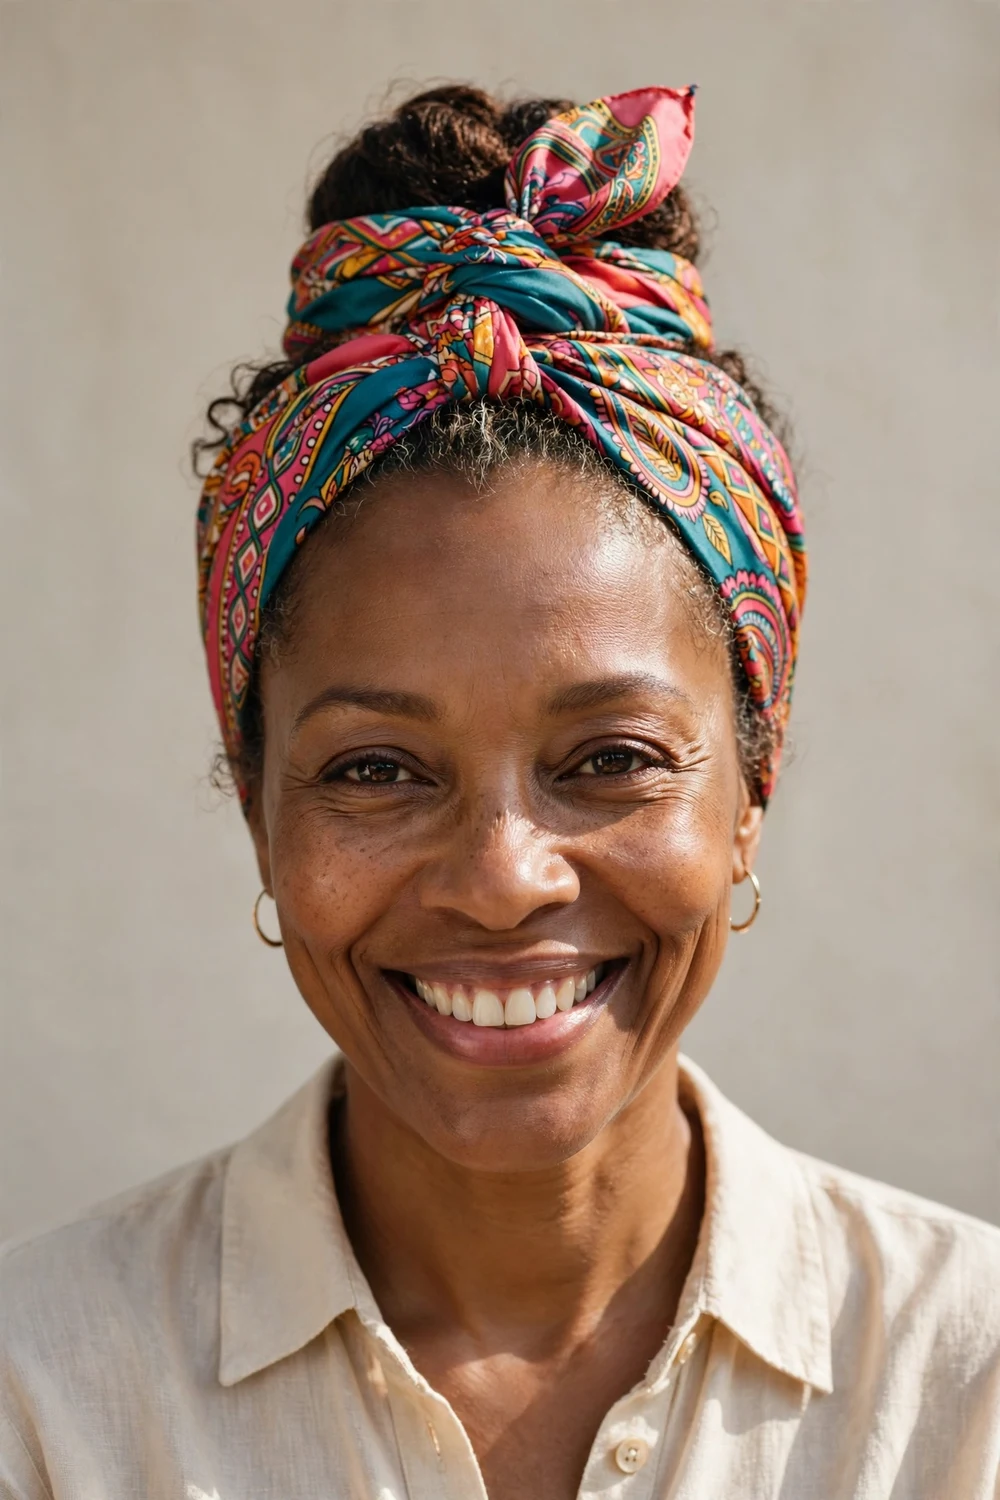
Gather your hair into a low or mid bun, then wrap a long silk scarf around the bun’s base, crossing it in front and tying it at the top or side. The scarf covers the bun completely and adds color and pattern. Ten minutes, and it rescues a second-day style that has lost its shape.
Use silk or satin, not cotton. Cotton scarves absorb moisture from your hair and leave it dry and frizzy.
Try this: match the scarf to one color in your outfit. The coordination makes the whole look seem planned.
Difficulty: Very easy · Cost: $6–$12 (silk scarf)
16. Wedding Low Twisted Chignon
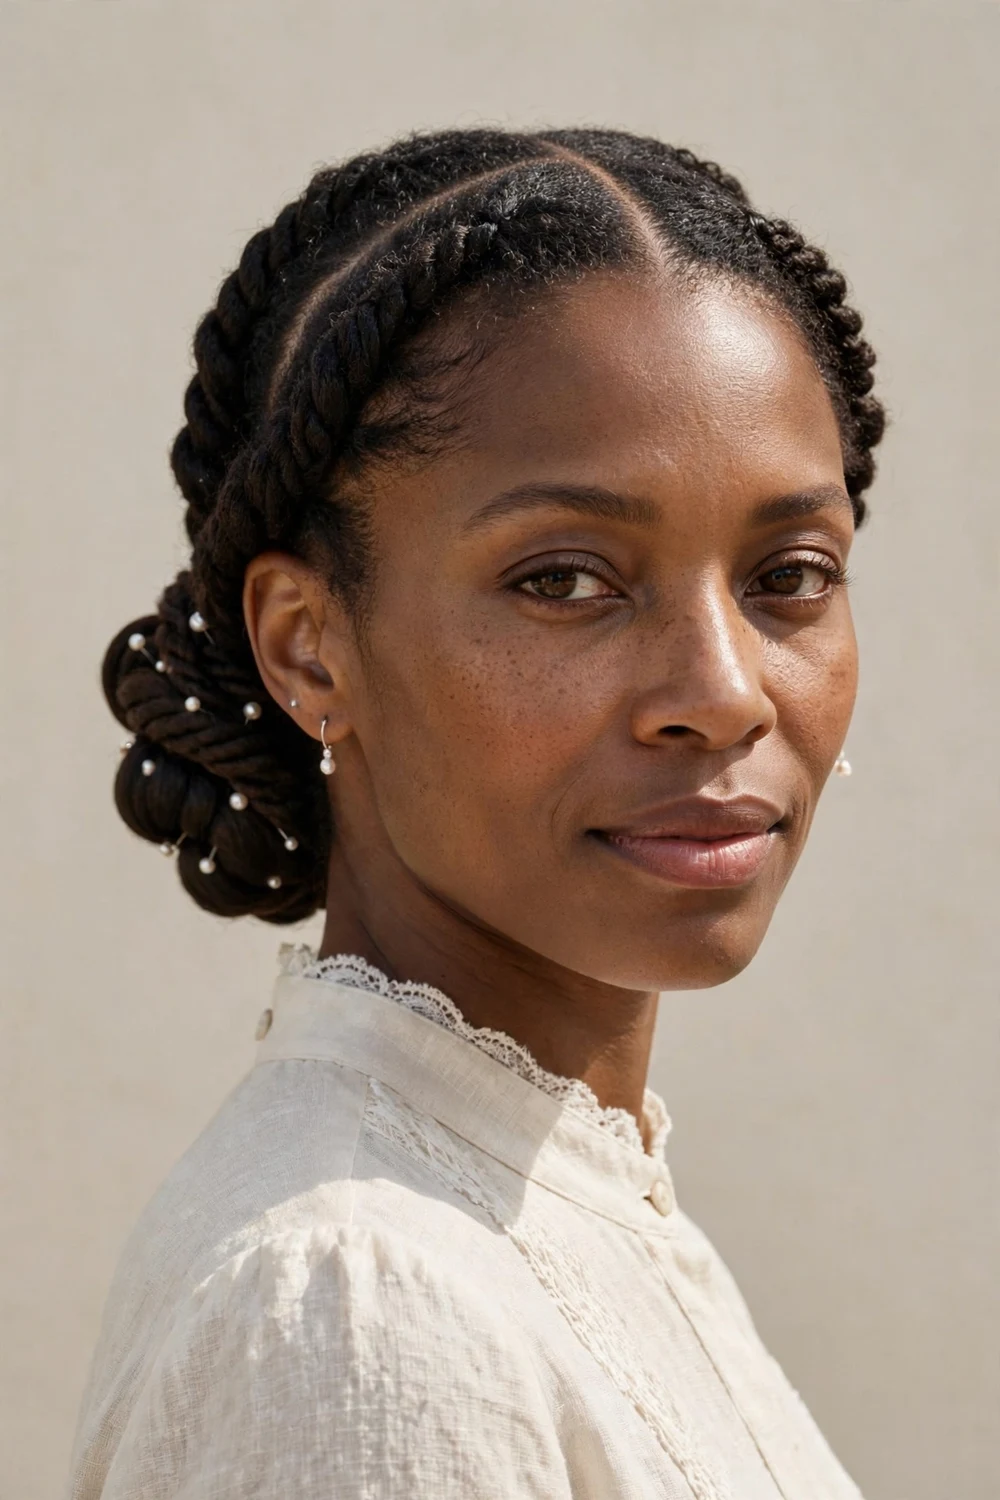
Part your hair in the middle and make two rope twists, one on each side, from the front to the back. Cross them at the nape and coil them into a low chignon, pinning generously. Add small pearl pins or fresh flowers around the coil. This is a bridal-worthy updo that holds through a full ceremony.
Do a trial run a week before the event. Rope twists behave differently on every texture, and you want no surprises on the day.
Try this: mist the finished chignon with strong-hold hairspray from 10 inches away. Close-up spraying leaves white residue.
Difficulty: Medium · Cost: $5–$15 (pearl pins or flowers, hairspray)
For ceremony-specific versions of this style, our bridal hairstyles for short hair guide covers shorter-length options that pair with the same accessories.
17. Side-Swept Braided Updo
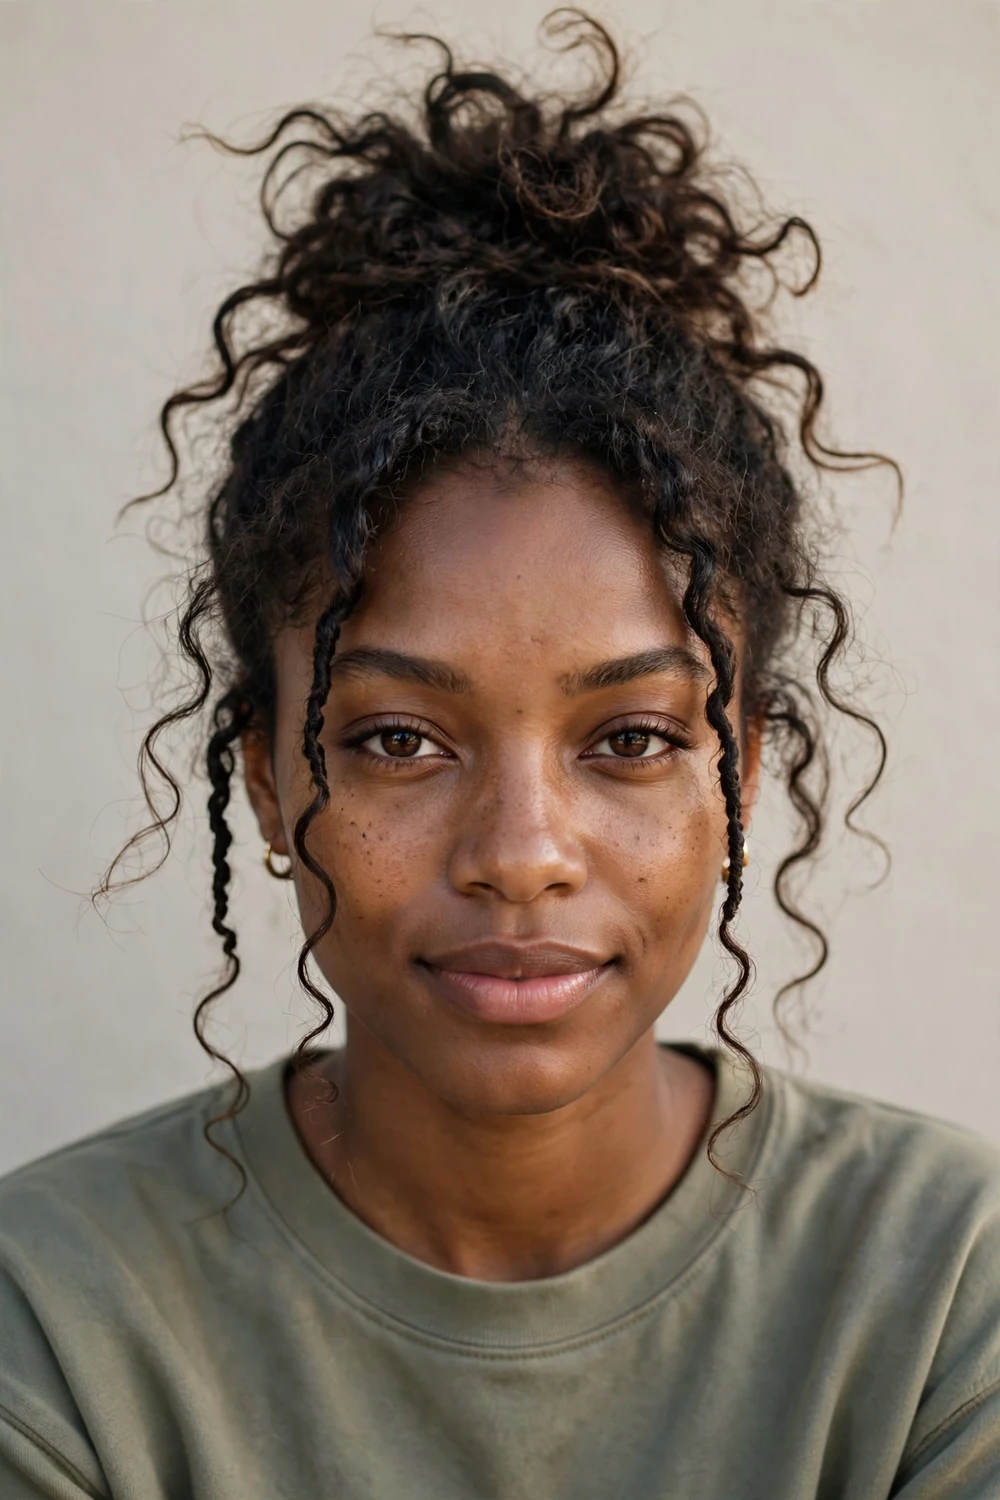
Braid your hair into medium individual braids or twists, then sweep all of them to one side and pin them into a low side bun or coiled shape. The asymmetry is flattering and modern, and it keeps heavy braids off your neck in warm weather. Works with box braids, twists, or locs.
Distribute the pins evenly around the coil. All the weight on one side pulls the style loose within hours if it is under-pinned.
Try this: add a statement earring on the bare side. The empty side is the perfect frame for jewelry.
Difficulty: Easy · Cost: $0–$5 (pins)
18. Bubble Braid Updo
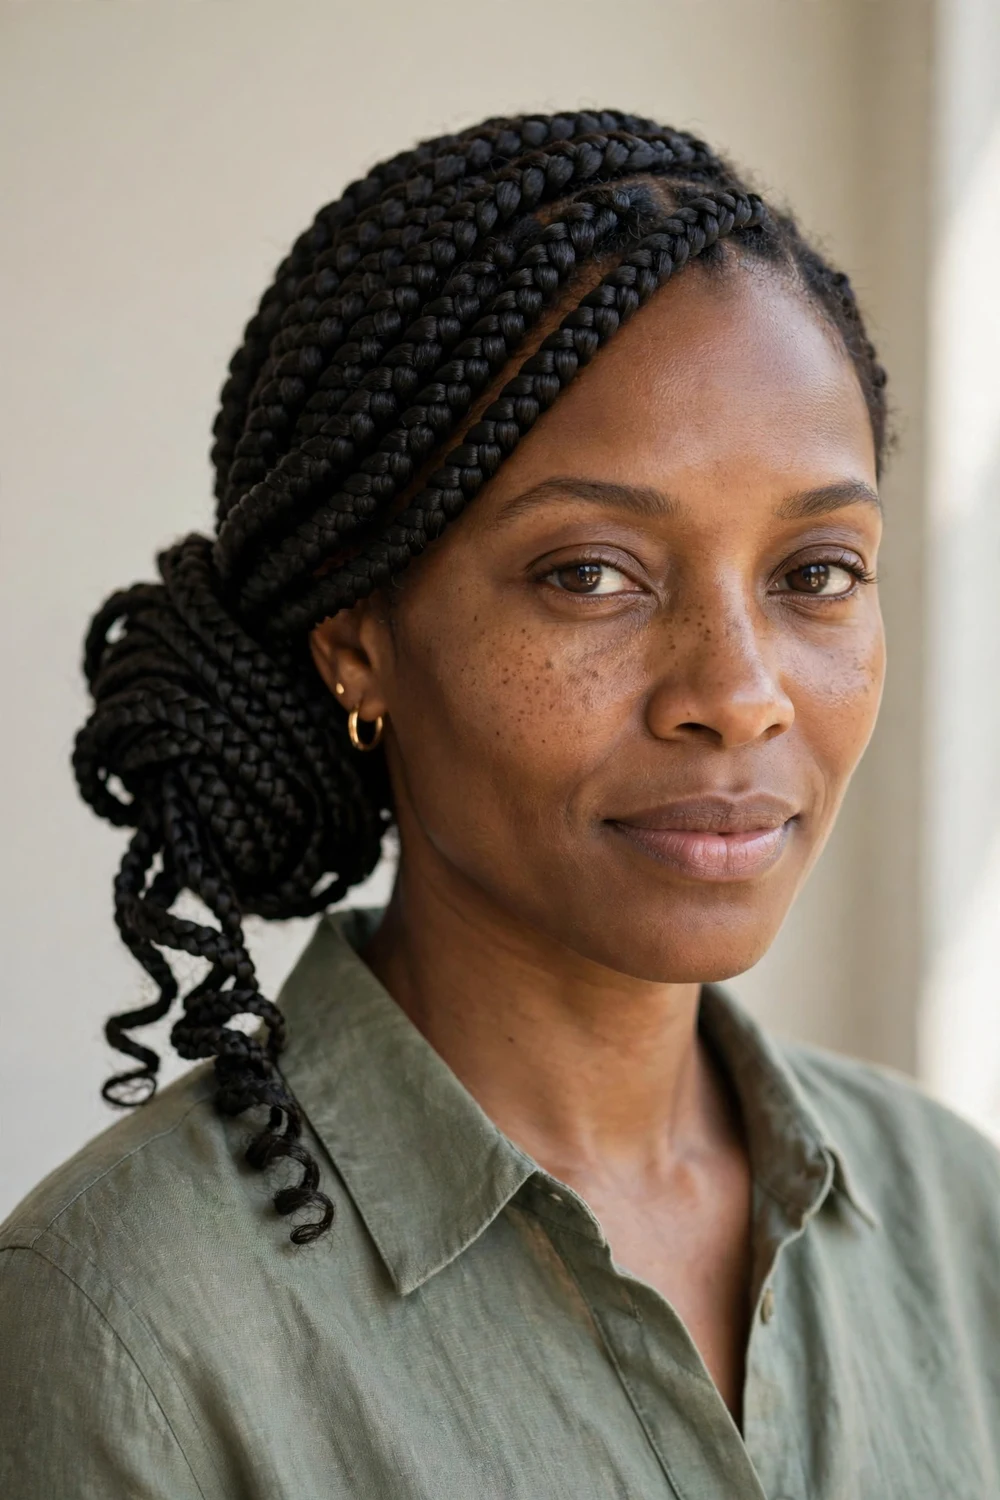
Pull your hair into a high ponytail and add small elastics every two inches down its length. Gently tug each section wider to form bubbles, then coil the bubbled ponytail into a bun and pin it. The bubble texture makes the bun look much bigger than it is, which is great for fine hair.
Use clear or hair-colored elastics. Dark bands show through against the bubbles and break the smooth look.
Try this: pancake the bubbles more at the top of the bun than the bottom. The graduated fullness looks more natural.
Difficulty: Easy · Cost: $0–$4 (small elastics, pins)
19. Messy Curly Bun with Face-Framing Twists
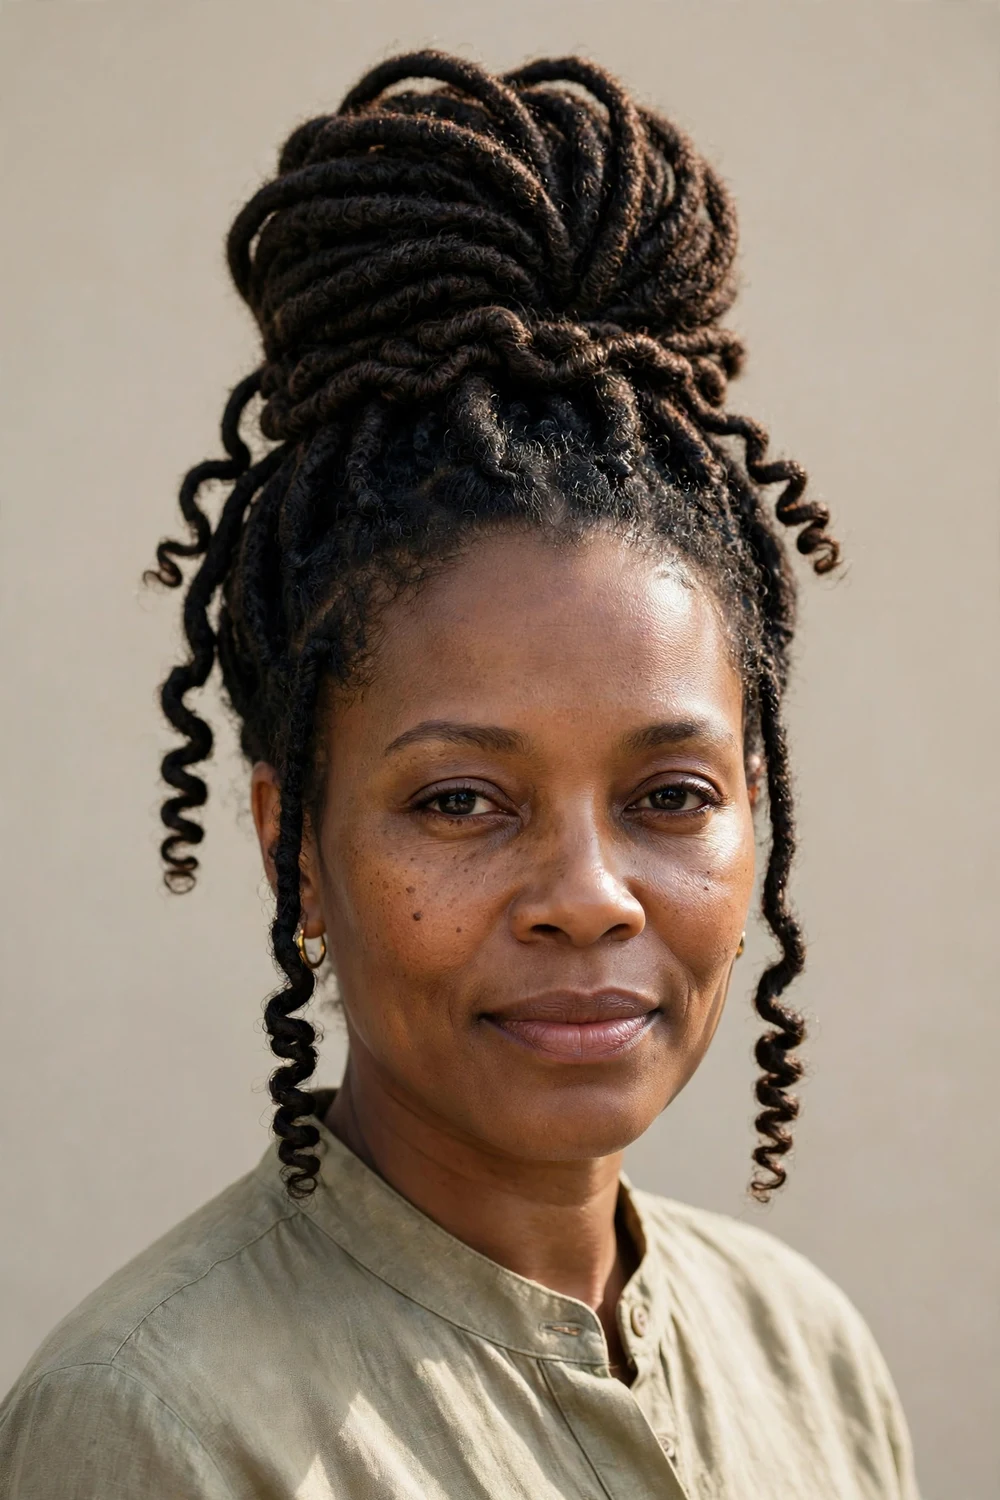
Leave out two thin front sections, then gather your curls into a loose high bun, letting it stay messy and textured. Twist the two front sections and pin them back loosely so they frame your face. This is the relaxed weekend version of the sleek bun, done in under ten minutes.
Don’t over-smooth the bun. The charm of this style is its undone texture, so leave the curls alone once they are up.
Try this: pull out a few curls at the nape for softness. A completely tucked nape looks too severe for this style.
Difficulty: Very easy · Cost: $0–$4 (pins, scrunchie)
20. Faux Locs Updo
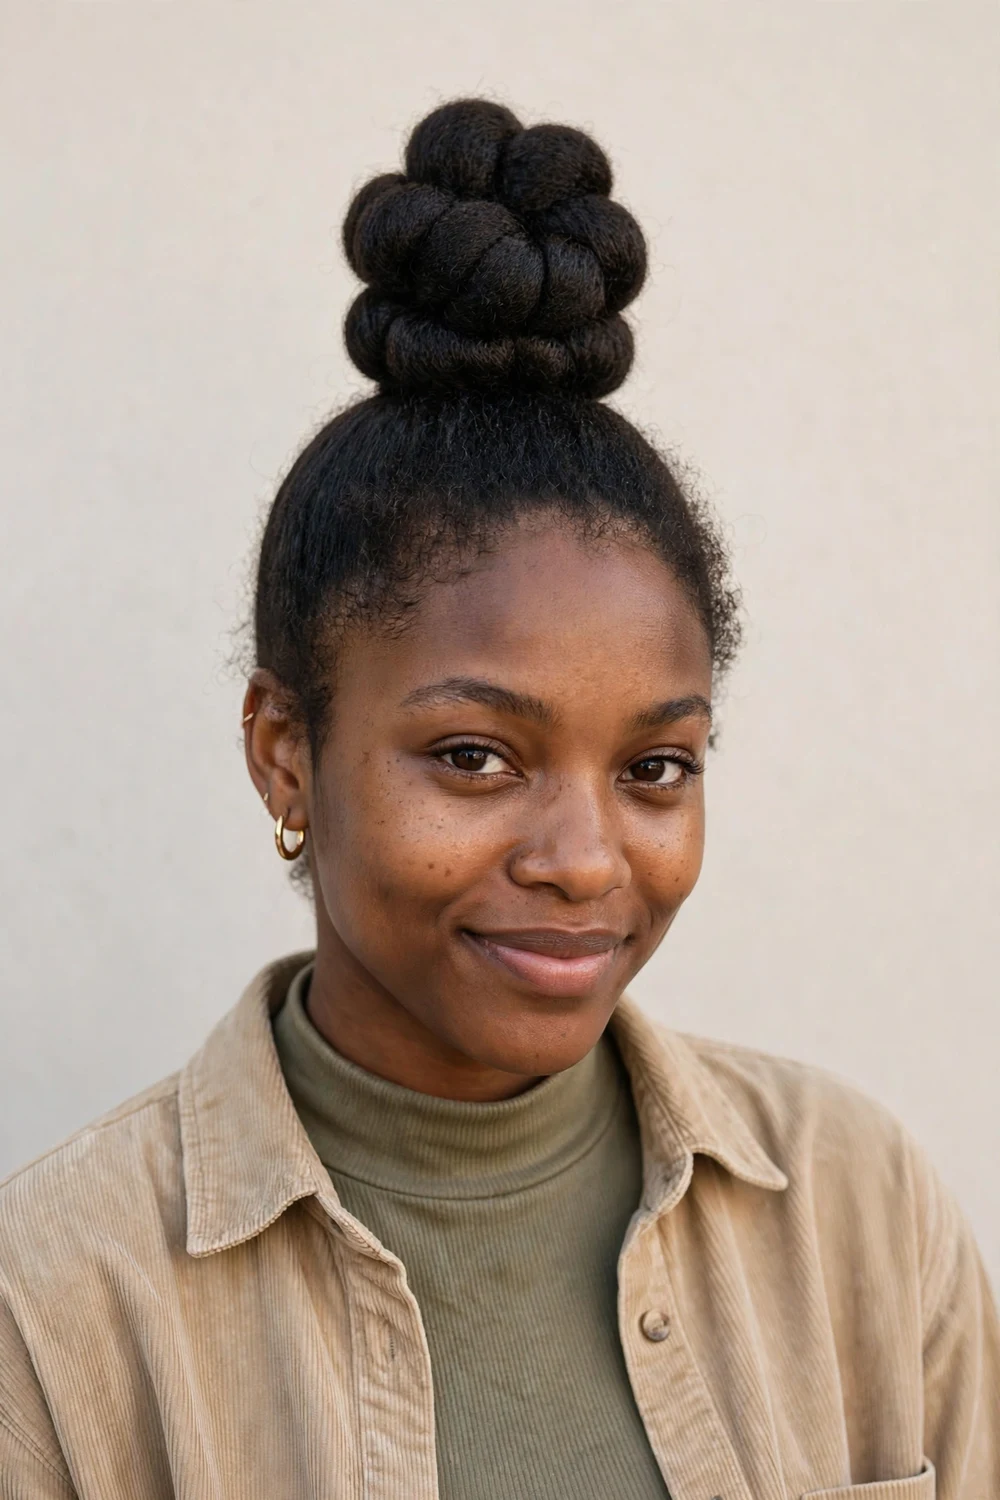
Gather your faux locs into a high ponytail, then wrap the locs around the ponytail base to form a large wrapped bun. Tuck the ends under and secure with large pins or a loc cuff. The wrapped locs create a substantial, regal bun with zero heat and full protection for your natural hair underneath.
Keep the locs moisturized underneath with a light oil. Installed styles can dry out your real hair if you ignore it for weeks.
Try this: wrap one gold cord around the bun for contrast. One accent reads intentional; five reads busy.
Difficulty: Easy · Cost: $0–$10 (loc cuffs or gold cord)
Quick Comparison
| Style | Works best on | Time needed | What you need |
|---|---|---|---|
| High Puff Updo | Short to medium natural hair | 5 minutes | Headband or scrunchies |
| Sleek High Bun | Stretched or relaxed hair | 15 minutes | Gel, edge control, pins |
| Bantu-Knot Updo | All natural textures | 20 minutes | Leave-in, pins |
| Flat-Twist Updo | Medium to long natural hair | 25 minutes | Styling cream, pins |
| Braided Crown Halo | Medium to long hair | 25 minutes | Elastics, pins |
| Low Chignon | Stretched or relaxed hair | 15 minutes | Pins, gel, hairspray |
| Goddess Braids Updo | Medium to long hair | 45 to 60 minutes | Braid cuffs, gel, pins |
| Faux Locs Updo | Installed faux locs | 10 minutes | Large pins or loc cuff |
How to Choose the Right Updo
Start with your hair’s current state. Natural and unstretched hair suits puffs, bantu knots, twist updos, and faux hawks, because these styles work with texture instead of fighting it. Stretched, blown-out, or relaxed hair suits sleek buns, chignons, and French rolls, which need smoothness to look right.
Then match the style to the occasion and the time you have. Five-minute mornings call for the high puff, the messy curly bun, or the scarf-wrapped updo. Evenings and events are worth the braided crown, the goddess braids, or the wedding chignon. A style that takes longer than your morning allows will just frustrate you.
A few things to avoid: tight styles that pull at your edges every day, since constant tension causes traction alopecia over time. Skipping moisture before multi-day protective styles, since dry hair breaks when you take the style down. And sleeping on an updo without a satin scarf, since cotton pillowcases create frizz overnight.
Frequently Asked Questions
What is the easiest updo for Black women with natural hair?
The high puff updo. It takes under five minutes, needs only a headband or scrunchies, and works on short to medium natural hair. The messy curly bun is the next easiest at under ten minutes.
How do I make my updo last all day?
Style on hair with some grip rather than freshly washed hair, cross bobby pins in X shapes instead of placing them parallel, and finish with a light mist of hairspray. For multi-day styles, tie a satin scarf around your hairline at night.
Are updos protective for Black hair?
Many are. Bantu knots, flat-twist updos, braided crowns, and faux locs updos keep your ends tucked and reduce daily manipulation, which helps hair retain length. Moisturize before installing and don’t keep any style in longer than its safe window.
Can I do an updo on short natural hair?
Yes. The high puff, bantu-knot updo, faux hawk, and flat-twist updo all work on short hair. For styles that need more length, like the braided crown, you can add braiding hair for fullness.
How do I lay my edges without damage?
Use a small amount of edge control on damp edges, smooth with a soft brush, and tie a satin scarf over them for ten minutes to set. Avoid reapplying heavy gel daily, since buildup and constant brushing can thin the hairline.
Final Thoughts
Updos are where Black hair truly shines. The texture that frustrates you in other styles becomes the structure that holds these up. Pick three styles that fit your current length and texture, practice each once, and you will have an updo for every kind of day.
For everyday texture care between updo days, our PrimeHairPicks homepage is the starting point for every hair guide on the site.
Need warm-weather options? These summer hairstyles for black women keep you cool and protected all season.

