


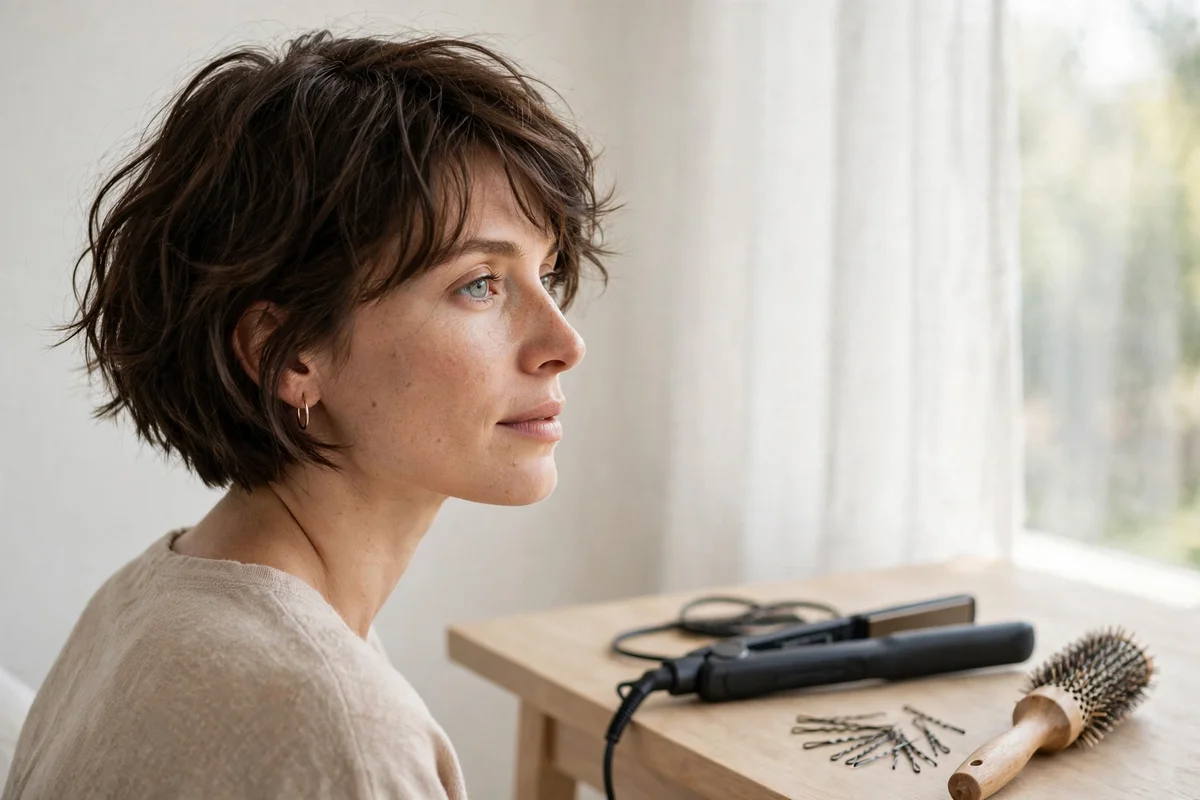
Styling short hair is faster than most people expect once you know the right method for your cut. This guide covers 20 concrete ways to style short hair, from five-minute pixie texture to polished updos, each with the exact steps, tools, and time it takes.
Most methods below take 5 to 20 minutes. Start with your hair’s natural texture, pick the finish you want, and follow the steps in order. A heat protectant goes on before any hot tool, every time.
Quick Takeaways
- Most short-hair styles take 5 to 20 minutes; textured pixie styling is fastest at under 5.
- Apply heat protectant before every hot tool. Keep flat irons near 350°F for fine hair and up to 410°F for thick hair.
- Second-day hair holds updos, braids, and twists better than freshly washed hair.
- A 1-inch curling wand and a flat iron handle most of the heat methods below.
- Trims every 4 to 6 weeks keep short styles easy to shape at home.
20 Ways to Style Short Hair
1. Sleek Straight Blowout

Work a dime-sized amount of smoothing serum through towel-dried hair. Blow-dry with a paddle brush, pulling each section taut and aiming the nozzle downward to seal the cuticle. Mist heat protectant over everything once fully dry.
Glide a flat iron through 1-inch sections in slow single passes, tucking ends under for a rounded bob or keeping them pin-straight for edge. Smooth one drop of shine serum over the surface to calm flyaways.
Try this: aim the dryer nozzle straight down the hair shaft, not across it, to get twice the smoothness with half the iron passes.
Difficulty: Easy · Time: 15 minutes
2. Textured Beachy Waves

On dry hair, spray heat protectant from mid-lengths to ends. Clamp a flat iron near the root of a 1-inch section, twist it a half turn away from your face, and glide down, leaving the last inch uncurled for a bend instead of a ringlet. Alternate the twist direction per section.
Shake the roots with your fingertips to break the bends apart. Mist sea salt spray lightly over everything and scrunch once. Skip the brush entirely; separation is the whole point.
Try this: leave the very ends straight; curled-under ends read polished, straight ends read lived-in.
Difficulty: Easy · Time: 10 minutes
Layered cuts take to this method especially well. If your cut has lots of movement built in, browse our short layered haircuts for shapes that style themselves.
3. Defined Curls

Brush dry hair smooth and apply heat protectant. Clip the top half up and work the bottom layer first, wrapping 1-inch sections around a 1-inch wand held vertically. Wrap away from the face, hold 8 seconds, and release each curl into your palm to cool.
Let curls cool a full minute before touching them; this sets the shape for the day. Loosen everything with a wide-tooth comb, never a brush, then lock it with a light mist of flexible-hold hairspray from 10 inches away.
Try this: curl the front sections away from the face on both sides for a balanced frame that photographs well.
Difficulty: Medium · Time: 20 minutes
4. Messy Textured Pixie

Rub a pea-sized amount of matte wax between your palms until nearly invisible. Starting at the crown, push sections upward and forward with your fingertips, twisting small pieces to create separation. Work back to front so the front pieces stay cleanest.
Pinch the tips of a few standout pieces for definition, then ruffle the cut once more with flat hands. No comb, no dryer, no heat. If the top falls flat by afternoon, revive it with a 10-second re-scrunch.
Try this: apply wax to completely dry hair only; damp hair dilutes the hold and the texture collapses.
Difficulty: Easy · Time: 5 minutes
5. Slicked-Back Polish

On damp hair, rake a quarter-sized amount of medium-hold gel from hairline to nape. Follow with a fine-tooth comb, pulling everything straight back in clean rows. Tuck the sides neatly behind the ears.
Blow-dry on low heat while holding the shape with the comb, directing air backward. Smooth a single drop of serum over the surface for shine. This holds through wind and long days, and softens gracefully as the gel wears off.
Try this: for a softer version, slick back only the top and let the sides stay loose around the ears.
Difficulty: Easy · Time: 8 minutes
6. Deep Side Part Reset

Flip your part to the opposite side, drawing the line with a tail comb from the hairline back two inches. Roots on the heavy side lift on their own because they are trained the other way. Mist roots with water if they resist.
Blow-dry the heavy side forward and over while lifting at the root with your fingers, then sweep it into place. Tuck the lighter side behind the ear and pin if needed. A deep part adds instant asymmetry to even a basic bob.
Try this: change your part right after washing; damp roots retrain in one session while dry roots fight you.
Difficulty: Easy · Time: 5 minutes
7. Center Part Refresh

Place the tail comb at the middle of your forehead and draw straight back to the crown. Comb each side down flat, checking that both sides fall evenly. Spray roots lightly with water and re-comb any section that springs out of line.
Smooth a little cream over the top layer to keep the part crisp, then style the lengths as you like: straight, waved, or tucked. A clean center part suits bobs best and gives symmetrical framing with no further effort.
Try this: use the bridge of your nose as the guide; most faces part cleanest directly above it.
Difficulty: Easy · Time: 5 minutes
8. Round-Brush Volume Blow-Dry

Apply a golf-ball amount of volumizing mousse to damp roots. Divide hair into four sections and work with a medium round brush, wrapping each section and pulling upward as you dry. Keep the dryer nozzle pointed at the brush, following it down.
Over-direct each section, pulling it opposite to where it will fall, for maximum lift. Roll the brush at the ends for a soft bend under. Hit each section with the cool shot for 5 seconds before releasing so the volume locks in.
Try this: dry the crown sections first while they are wettest; roots set their lift in the first minute of drying.
Difficulty: Medium · Time: 15 minutes
If your hair refuses to hold lift, the cut itself may be the issue. These short hairstyles for thin hair are shaped to keep volume where you put it.
9. Heatless Overnight Waves

Before bed, mist damp hair lightly until barely moist and divide into 4 to 6 sections. Braid each section loosely and secure ends with small elastics. Sleep on it; the braids do all the work.
In the morning, undo each braid and shake the roots gently. Run a pea-sized amount of styling cream through the ends to smooth frizz, then leave the wave pattern alone. Looser overnight braids give softer morning waves.
Try this: twist sections instead of braiding for a looser, more relaxed wave with less crimp.
Difficulty: Easy · Time: 5 minutes active, overnight set
10. Second-Day Revival

Spray dry shampoo onto the roots in 1-inch sections, holding the can 8 inches away. Wait 60 seconds so the powder absorbs oil, then massage in with fingertips and brush through. This alone fixes most second-day flatness.
Mist mid-lengths lightly with water and re-smooth only the sections that bent overnight. Finish with texturizing spray at the crown for grip. The refresh takes less time than a full wash and looks nearly identical.
Try this: apply dry shampoo before bed; it absorbs oil overnight and you wake up with the work already done.
Difficulty: Easy · Time: 7 minutes
11. Hairline Braid Accent

Take a 1-inch section at one temple and divide into three strands. Braid tightly along the hairline toward the back of the ear, picking up small pieces as you go. Keep tension firm so short layers don’t slip out.
Secure the end behind the ear with two crossed bobby pins, hiding them under the top layer. Mist with light hairspray. One accent keeps hair off the face without committing the whole head.
Try this: braid on second-day hair; the extra grip keeps short layers locked in far better than freshly washed hair.
Difficulty: Medium · Time: 10 minutes
12. Twisted Headband Effect

Part hair down the middle. Take a 2-inch section at the left temple, twist it tightly away from the face, and pin it at the back of the head. Repeat on the right, crossing the second twist just under the first, and pin both.
Pull the twists slightly apart to widen them into a visible band. Leave the back and ends loose and tousled. This headband made of your own hair survives wind better than a real one on short cuts.
Try this: use pins that match your hair color and slide them in against the twist direction so they grip instead of sliding out.
Difficulty: Easy · Time: 8 minutes
13. Half-Up Mini Knot

Gather the top section from temple to temple as if making a half ponytail. Twist once and loop it into a small knot at the crown, securing with a mini elastic and one bobby pin pushed up through the base.
Leave the bottom half loose. Tug the knot gently on both sides to widen it so it reads deliberate, not stubby. Works on bobs and longer pixies and keeps front pieces out of your eyes.
Try this: backcomb the top section lightly before knotting; the extra texture gives the elastic something to hold.
Difficulty: Easy · Time: 5 minutes
14. Pinned Faux Chignon

Divide the back into 2-inch horizontal sections, starting at the nape. Roll each section upward toward the head and pin it flat with two crossed bobby pins, working row by row. Tuck every end under as you go.
Smooth the top layer over the pinned base and pin the sides back neatly. Mist generously with firm-hold hairspray. From the front it reads as a polished chignon; only you know it is short hair underneath.
Try this: insert each pin with the wavy side down against the scalp; the ridges grip far better that way.
Difficulty: Medium · Time: 15 minutes
15. Mini French Twist

Gather all hair at the nape as if making a low ponytail, but don’t secure it. Twist the handful upward against the head in one smooth roll, pressing flat as you climb toward the crown.
Pin along both sides of the roll, pushing pins up into the twist from below. Tuck loose ends into the top of the roll and pin down. Smooth the front with a little pomade. The classic formal updo, scaled for bob length.
Try this: tease the crown lightly before twisting; the padding fills out the roll so it doesn’t look thin.
Difficulty: Medium · Time: 12 minutes
16. Decorative Bobby-Pin Detail

Style the hair simply first; smooth, waved, or air-dried all work. Place 3 to 5 bobby pins in a deliberate pattern on one side: parallel lines, a triangle, or a criss-cross stack above the ear. Use gold, tortoiseshell, or pearl finishes so they read as jewelry.
Press each pin flat and slide a second pin across it in an X for hold. The pins look intentional and keep that side controlled. Swap the pattern weekly and the same base style feels new.
Try this: place pins on the side opposite your part for the most visible, balanced effect.
Difficulty: Easy · Time: 5 minutes
17. Silk Scarf Headband

Fold a square silk scarf into a 2-inch-wide band. Place the center at the nape, bring both ends up over the ears, and tie a knot at the top of the head or just off-center. Tuck loose ends under the band at the back.
Pull a few face-framing pieces loose in front for softness. The scarf covers the crown completely, making this the fastest fix for unwashed roots. Silk won’t crease hair the way cotton bands do.
Try this: tie the knot to one side instead of center; the asymmetry looks more styled and less sporty.
Difficulty: Easy · Time: 5 minutes
18. Vintage Pin-Curl Waves

On damp hair, take 1-inch sections and roll each flat against the head in the same clockwise direction, pinning each coil with two bobby pins. Keep every roll the same size; uniformity creates the vintage wave pattern. Let the set dry fully, about an hour, or speed it with a diffuser.
Remove all pins and brush through with a soft bristle brush until the coils merge into smooth S-waves. Set with light hairspray. The polished retro wave holds for hours on short lengths.
Try this: roll the front sections away from the face so the finished wave sweeps back instead of falling forward.
Difficulty: Hard · Time: 25 minutes plus setting
19. Diffused Natural Curls

On soaking-wet hair, rake curl cream through in sections, then scrunch each section upward to encourage the curl pattern. Attach a diffuser and set it to low heat, low speed; high settings blast curls into frizz.
Cup sections in the diffuser bowl, press up toward the scalp, and hold 30 seconds per section without moving. Don’t touch curls until the head is fully dry. Flip upside down once at the end and shake gently at the roots for volume.
Try this: stop diffusing at 90 percent dry and let the rest air-dry; the last bit of air-drying keeps curls soft instead of crunchy.
Difficulty: Easy · Time: 15 minutes
Curly cuts need trims shaped for the pattern to behave. If your curls fight every method here, these short hairstyles for thick hair are cut to work with density instead of against it.
20. Glossy Wet-Look Finish

Start with damp, not dripping, hair. Mix a dime of strong-hold gel with two drops of shine oil in your palms and rake evenly from roots to ends. Comb into place with a wide-tooth comb: back, to the side, or with a sharp part.
Let it air-dry without touching it; handling breaks the glossy shell as it forms. Once dry, don’t brush. If any section dries matte, smooth a tiny extra drop of oil over just that spot.
Try this: this finish photographs extremely well, so save it for evenings and events rather than daily wear.
Difficulty: Easy · Time: 10 minutes plus drying
Quick Comparison Table
| Method | Time | Key Tools | Best For |
|---|---|---|---|
| Sleek Straight Blowout | 15 min | Flat iron, heat protectant | Polished everyday look |
| Textured Beachy Waves | 10 min | Flat iron, sea salt spray | Relaxed, lived-in texture |
| Defined Curls | 20 min | 1-inch wand, clips | Events, bouncy shape |
| Messy Textured Pixie | 5 min | Matte wax | Fastest daily style |
| Slicked-Back Polish | 8 min | Gel, fine-tooth comb | Wind-proof sleekness |
| Deep Side Part Reset | 5 min | Tail comb | Instant restyle, no tools |
| Center Part Refresh | 5 min | Tail comb, smoothing cream | Symmetrical framing |
| Round-Brush Volume Blow-Dry | 15 min | Round brush, mousse | Flat roots, fine hair |
| Heatless Overnight Waves | 5 min active | Small elastics | No-heat mornings |
| Second-Day Revival | 7 min | Dry shampoo | Skipping wash day |
| Hairline Braid Accent | 10 min | Bobby pins | Keeping hair off face |
| Twisted Headband Effect | 8 min | Bobby pins | Sporty to casual days |
| Half-Up Mini Knot | 5 min | Mini elastic, one pin | Bob and long pixie |
| Pinned Faux Chignon | 15 min | Bobby pins, hairspray | Formal faux updo |
| Mini French Twist | 12 min | Bobby pins, pomade | Classic formal style |
| Decorative Bobby-Pin Detail | 5 min | Decorative pins | Simple base, dressed up |
| Silk Scarf Headband | 5 min | Silk scarf | Bad hair days |
| Vintage Pin-Curl Waves | 25 min + set | Bobby pins, brush | Retro occasions |
| Diffused Natural Curls | 15 min | Diffuser, curl cream | Natural curl pattern |
| Glossy Wet-Look Finish | 10 min + dry | Gel, shine oil | Evening drama |
Frequently Asked Questions
What tools do I need to style short hair?
The core kit is small: a paddle brush, a tail comb, a blow dryer, a flat iron, a 1-inch curling wand, bobby pins, small elastics, heat protectant, and two or three styling products (a mousse or wax, a texturizing spray, and a light hairspray). A round brush and a diffuser are worth adding if you want volume or wear your natural curls. Most beginners can cover nearly every method in this guide with the core kit alone.
How long does it take to style short hair every day?
Between 5 and 20 minutes depending on the method. Finger-styled texture, part changes, and accessory styles take about 5 minutes. Blowouts, curling, and pinned updos take 12 to 20 minutes. Heatless overnight methods need only 5 active minutes in the morning because the setting happens while you sleep.
How can I add volume to short hair?
Lift the roots while they are damp: apply volumizing mousse at the roots, then blow-dry with a round brush pulling sections upward, or flip your part to the opposite side. Dry shampoo at the crown adds grip and lift on second-day hair. If volume still falls flat, ask your stylist for shorter crown layers, since the cut itself does half the work.
Can I style short hair without heat?
Yes. Loose overnight braids or twists create soft waves by morning, bobby-pin patterns and scarf headbands style dry hair in minutes, and wet-look gel finishes need no hot tools at all. Air-drying with a little styling cream scrunched in also works well for wavy and curly textures.
How do I refresh second-day short hair?
Spray dry shampoo on the roots, wait a full minute, massage it in, and brush through. Mist the mid-lengths lightly with water and re-smooth only the bent sections with your fingers or one quick pass of a flat iron. Finish with texturizing spray at the crown. The refresh takes about 7 minutes and looks close to a fresh style.
Final Thoughts
Pick three methods from this guide that fit your cut and your mornings, and practice them for a week. Most people find one fast daily method, one polished method, and one no-heat backup covers everything.
Once the techniques feel easy, the fun part is the cut itself. For fresh shapes to practice on, browse our cute hairstyles for short hair and pick your next salon target.

