

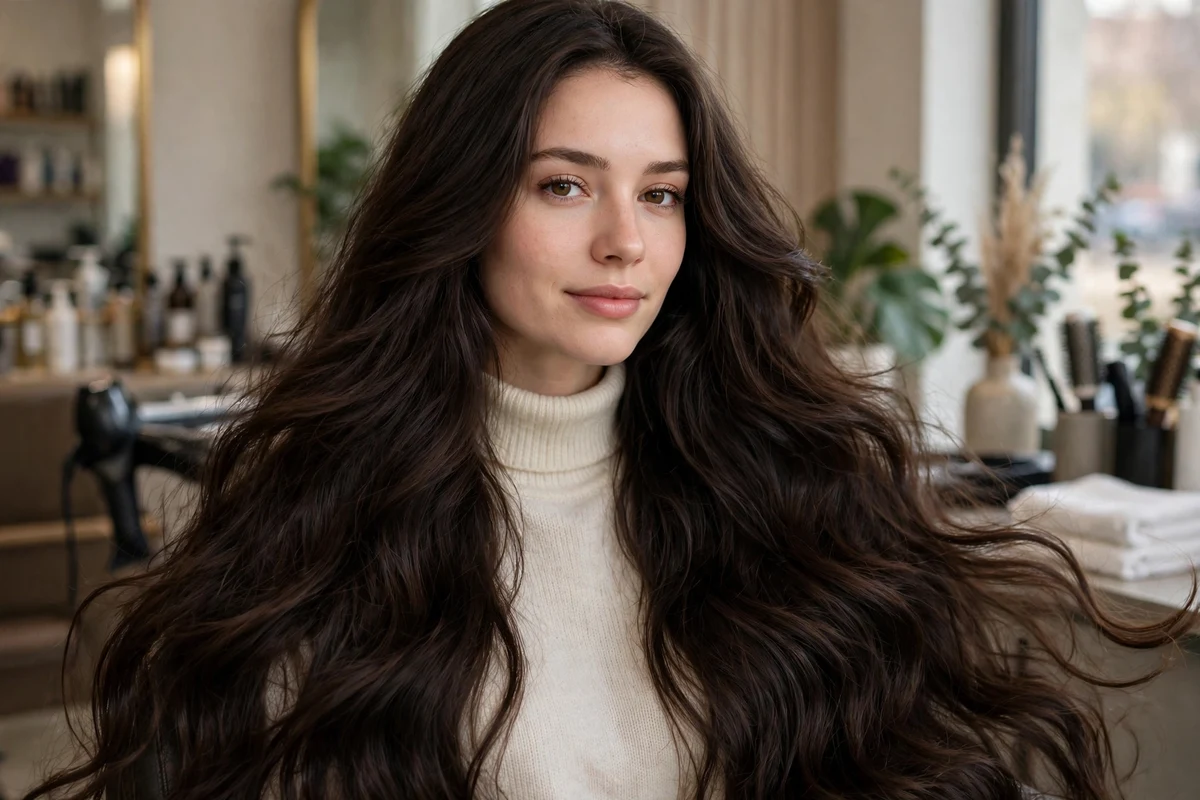
Long, thick hair holds a wave well once the wave is set in the right size sections. The weight that pulls waves flat on fine hair works in your favor here: a large bend, cooled fully before you touch it, can stay in place through a full day. The work is in the prep. Thick hair needs smaller sections than most tutorials show, a heat protectant worked through every layer, and time for each section to cool before brushing.
This list collects 22 soft waves for long thick hair, grouped by method: heated tools first, then heatless sets, air-dried and textured finishes, waves paired with layers and braids, and second-day styles that use the waves you already have. Each idea covers section size, tool or method, and how to keep bulk under control. If you want to skip heat on some days, the heatless hairstyles for long hair guide covers overnight sets in more depth.
Key Takeaways
- Work in layers. Clip the top half up and wave the bottom layer first, or the iron never reaches the hair underneath.
- Use a large barrel or a flat iron for soft bends. Small barrels make tight curls that read very different from waves.
- Let every section cool in your hand or clipped up before brushing. Brushing warm hair pulls the wave out.
- Brush heated waves together at the end for a soft finish, and separate heatless waves with fingers only to limit frizz.
- Thick hair needs hold at the ends and lightness at the roots: flexible spray on lengths, dry shampoo or texture spray at the crown.
1. Large-Barrel Curling Iron Waves
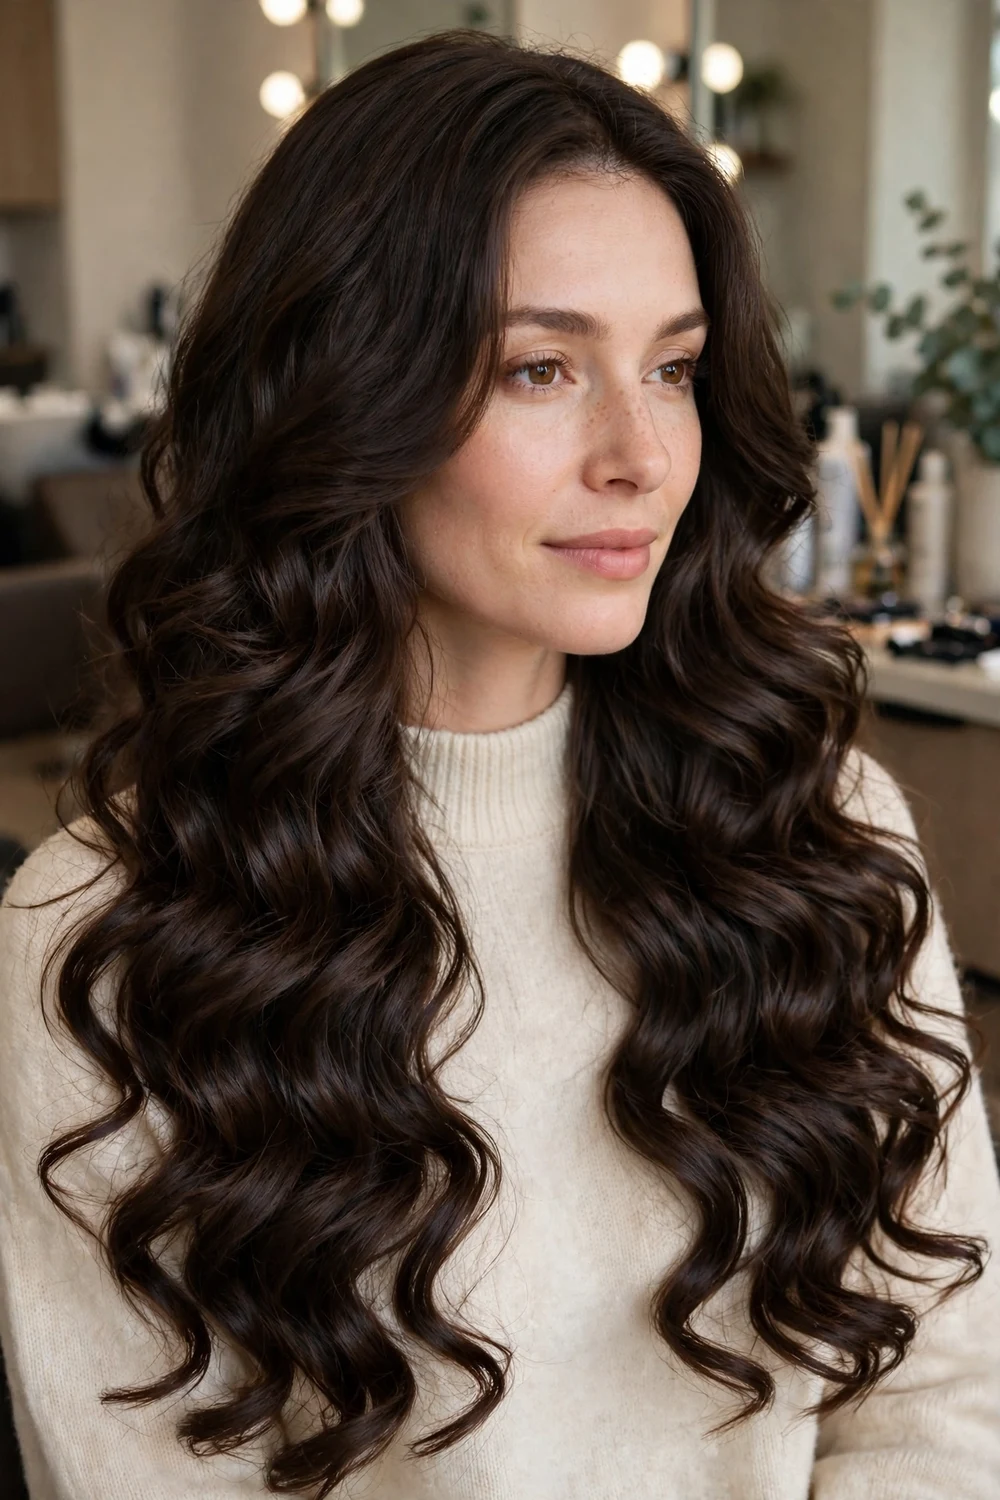
Use a barrel of one and a half to two inches and wrap wide sections away from the face. Work in three horizontal layers, starting at the nape, and keep each section about two inches wide so heat reaches the middle of thick hair. Leave the last inch of the ends out of the clamp for a relaxed finish.
Hold each wrap for a few seconds, slide the iron out, and cup the warm coil in your palm until it cools. Once the whole head is done and cool, brush through with a paddle brush so separate curls merge into even waves.
Try this: curl the front sections away from the face on both sides, and alternate direction at the back so the waves sit in layers instead of one solid block.
Difficulty: Medium · Cost: $$ (salon)
2. Curling Wand Waves with Straight Ends
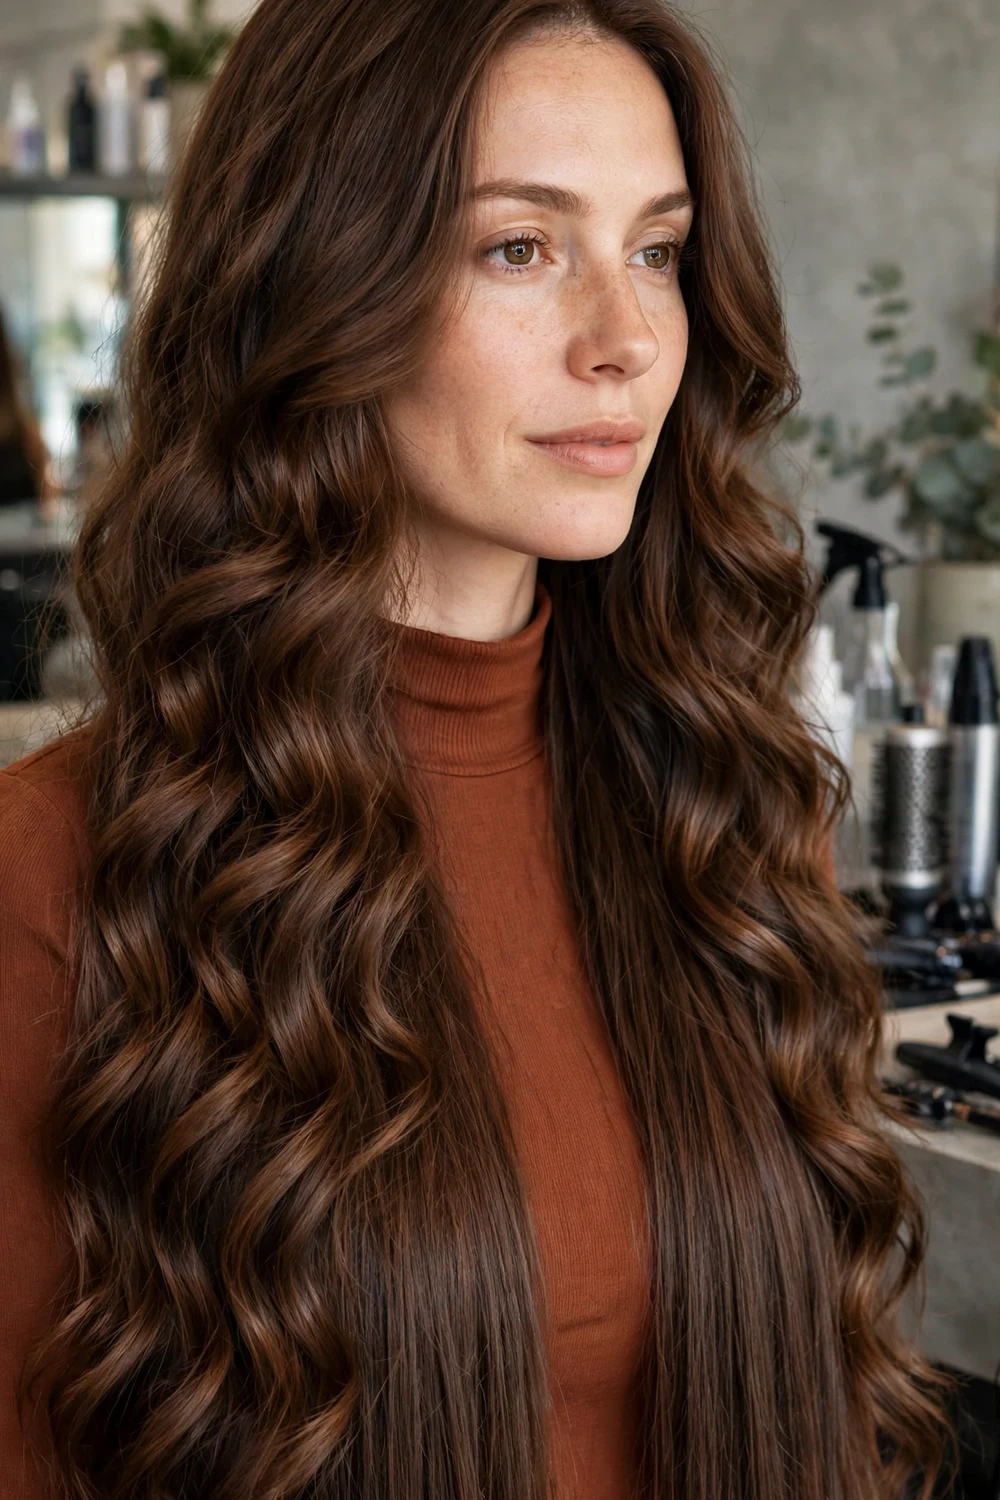
A wand gives a looser, less uniform wave than a clamped iron. Wrap sections around the barrel by hand, starting at ear level, and leave the final two inches unwrapped. Those straight ends keep long hair looking current and stop thick ends from bunching into a triangle shape.
Wear a heat glove on the wrapping hand and keep sections consistent in size. Twist each section once before wrapping if your hair is very straight and tends to slip off the barrel. Finish with texture spray scrunched into the ends rather than sprayed over the top.
Try this: start the wrap lower, around cheek level, on the front sections. The smoother top keeps the style calm around the face while the lengths carry the movement.
Difficulty: Medium · Cost: $$ (salon)
3. Flat-Iron S-Waves
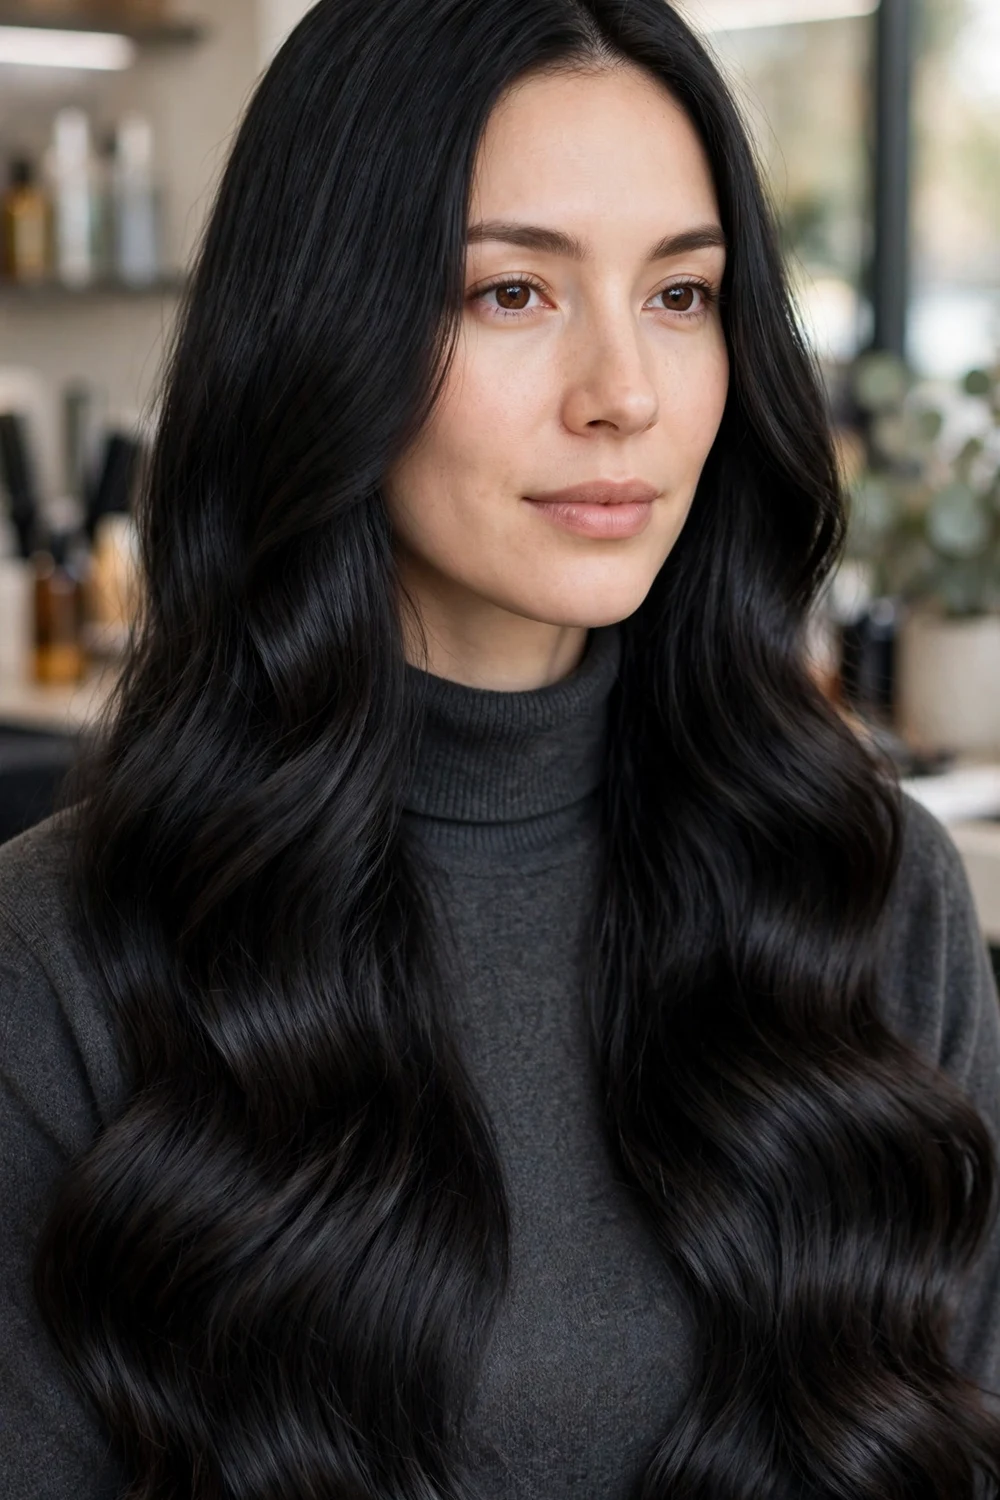
A flat iron makes flat, wide S-bends that suit thick hair because the plates compress bulk as they shape. Feed a two-inch section into the iron, turn your wrist one way, glide down a few inches, then turn the other way. Keep the iron moving at a steady pace to avoid dents.
This method works in fewer, wider sections than a curling iron, so a full head takes less time once the rhythm clicks. The compressed finish also helps on humid days, since the surface of each section is smoothed as it is waved. Add a small amount of shine serum over the mid-lengths only.
Try this: practice the wrist turns on a cool iron first. The motion is the whole technique, and learning it cold saves your hair a few slow, hot passes.
Difficulty: Medium to High · Cost: $$ (salon)
4. Brushed-Out Hollywood Waves
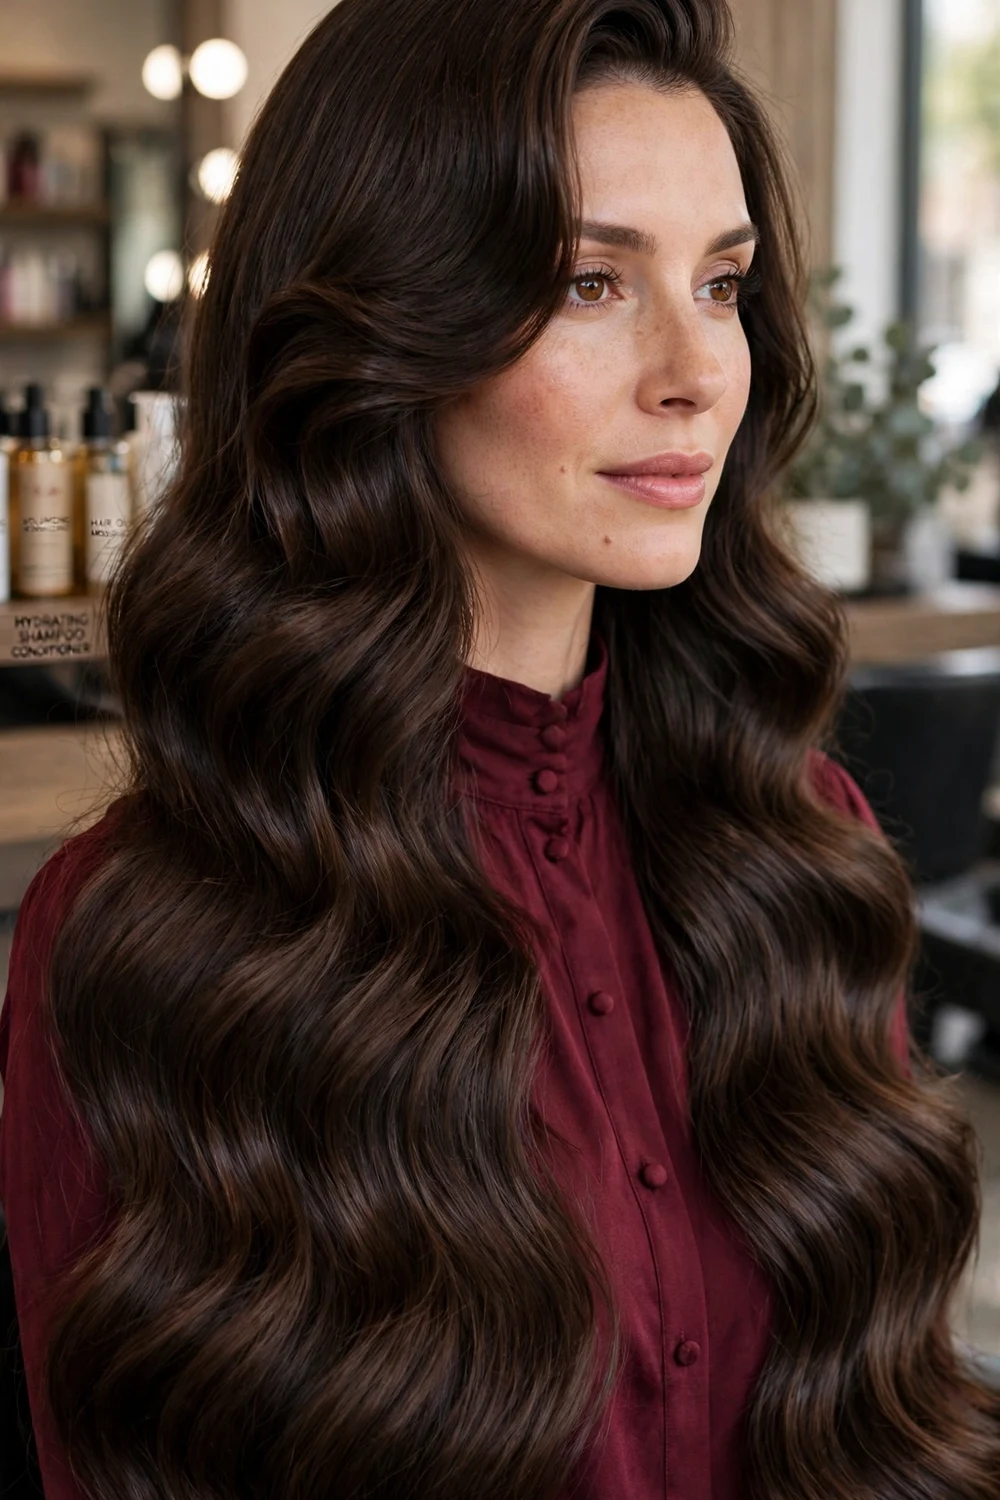
Hollywood waves start as uniform curls, all wrapped in the same direction, then brushed into one smooth wave pattern. Curl in layers with a large barrel, pin each warm curl flat to the head, and leave the pins in until every section is fully cool. The pinning step is what gives this style its hold on heavy hair.
Remove the pins, brush gently with a soft bristle brush, and guide the waves into S shapes with your fingers and clips for a few minutes while they settle. Thick hair suits this finish because the density fills the wave ridges out. A light gloss spray over the surface adds the polished sheen.
Try this: tuck the smaller side behind one ear and secure it with a flat clip. The asymmetry is part of the classic shape and keeps thick hair off the face.
Difficulty: High · Cost: $$$ (salon)
5. Deep Side Part Glam Waves
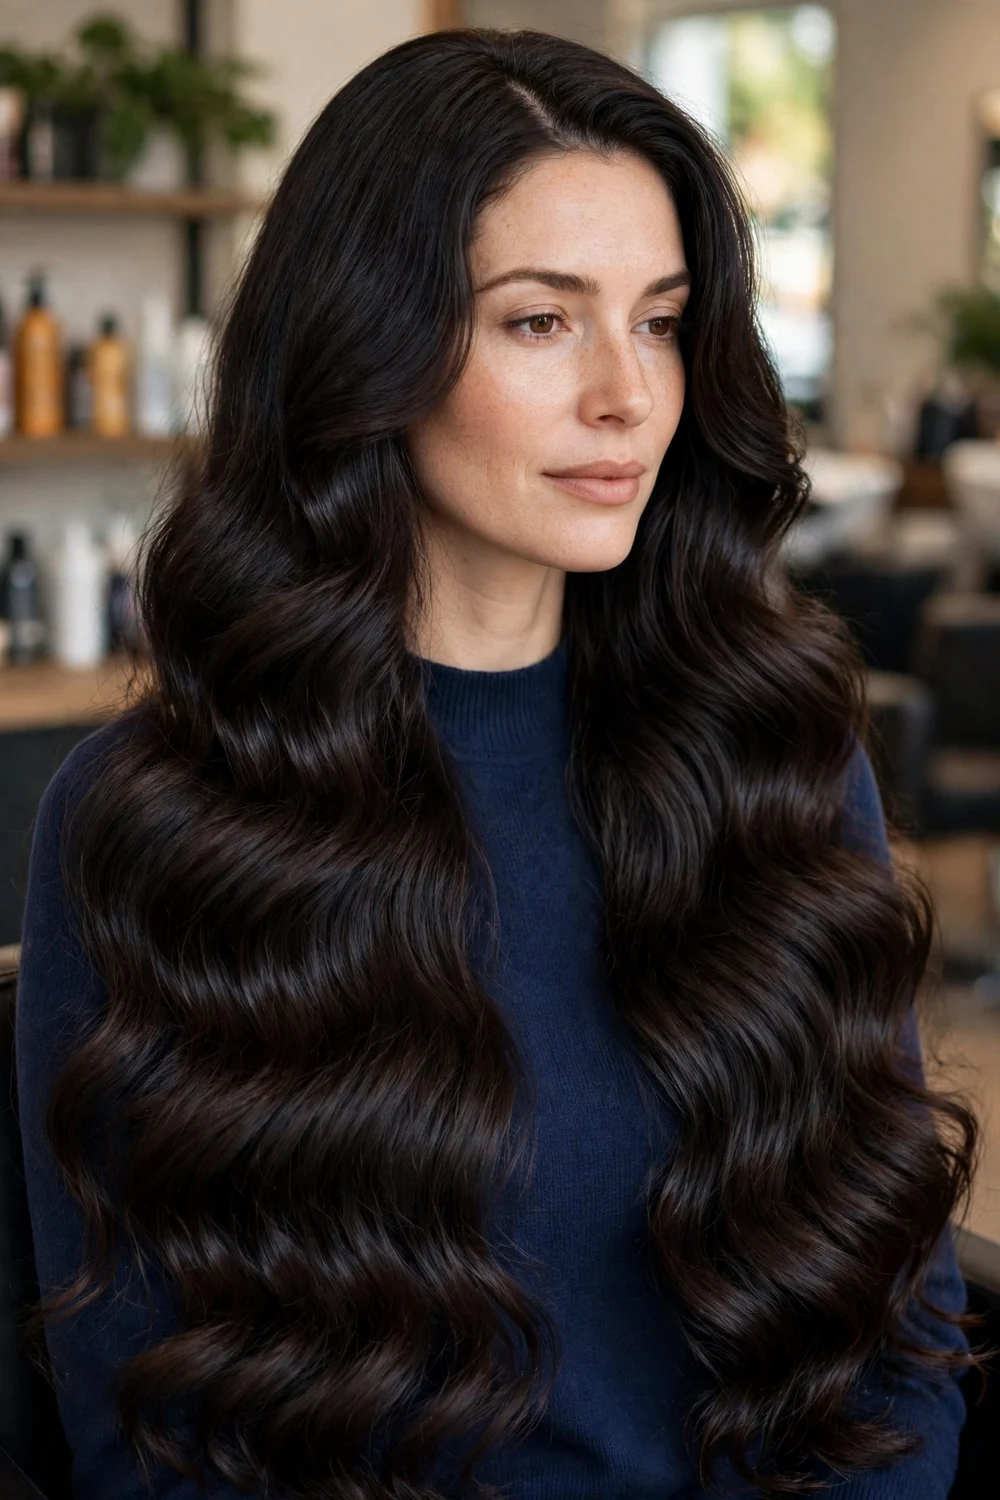
Move your part above the outer corner of one eyebrow and wave all the hair in one direction. The heavy side falls in a smooth cascade, and the lighter side can sit flatter against the head. On thick hair, that weight shift does a lot of the styling work for you.
Blow-dry the part in place first, training the roots to lie in the new direction, then curl. Smooth a small amount of cream over the lighter side and pin it behind the ear while the rest cools. The result reads formal without needing an updo.
Try this: set the crown section on a large roller while you do the lengths. A little lift at the heavy side of the part stops the cascade from dragging the top flat.
Difficulty: Medium · Cost: $$$ (salon)
6. Three-Barrel Waver Waves
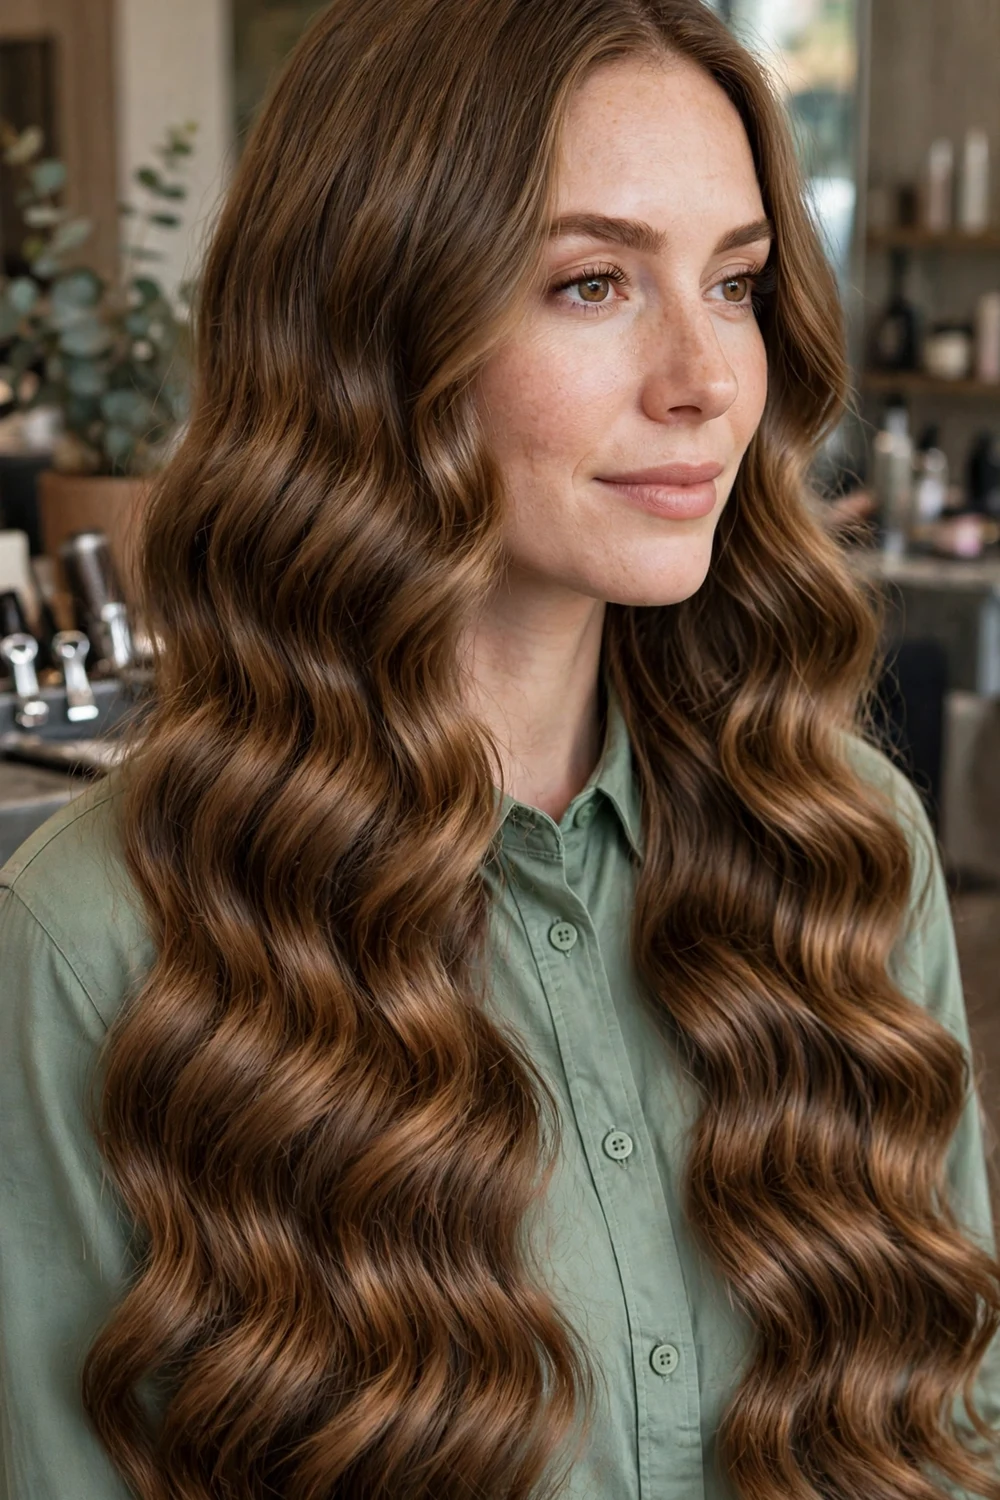
A three-barrel waver clamps a continuous zigzag wave into the hair, section by section. Start an inch or two below the roots, clamp, hold, then move down and match the last ridge into the barrels so the pattern runs unbroken to the ends. Work layer by layer so no hidden sections stay straight.
The pattern is even and fairly tight at first, so shake the roots with your fingers and pull a few sections wider by hand once cool. On long thick hair this tool gives the most uniform result of any method on this list, and the waves tend to last into a second day.
Try this: leave the top layer out and wave only the underneath sections on busy mornings. The smooth top layer falls over waved hair and still shows plenty of texture at the ends.
Difficulty: Low to Medium · Cost: $$ (salon)
7. Overnight Braid Waves

Braid damp hair before bed and undo the braids in the morning for waves with no heat at all. For long thick hair, four to six loose braids give soft, even waves; one single braid makes a loose bend with a straighter feel near the roots. Braid on hair that is damp, since soaking wet thick hair may still be wet at the center by morning.
Work a small amount of mousse or curl cream through each section before braiding, and secure the ends with soft ties that leave no crease. Undo each braid slowly, separate with fingers, and avoid a brush, which turns braid waves into frizz on thick hair.
Try this: start each braid where you want the wave to start. Braids that begin at ear level keep the crown smooth and put the texture through the lengths.
Difficulty: Low · Cost: $ (salon)
8. Robe Belt Heatless Waves
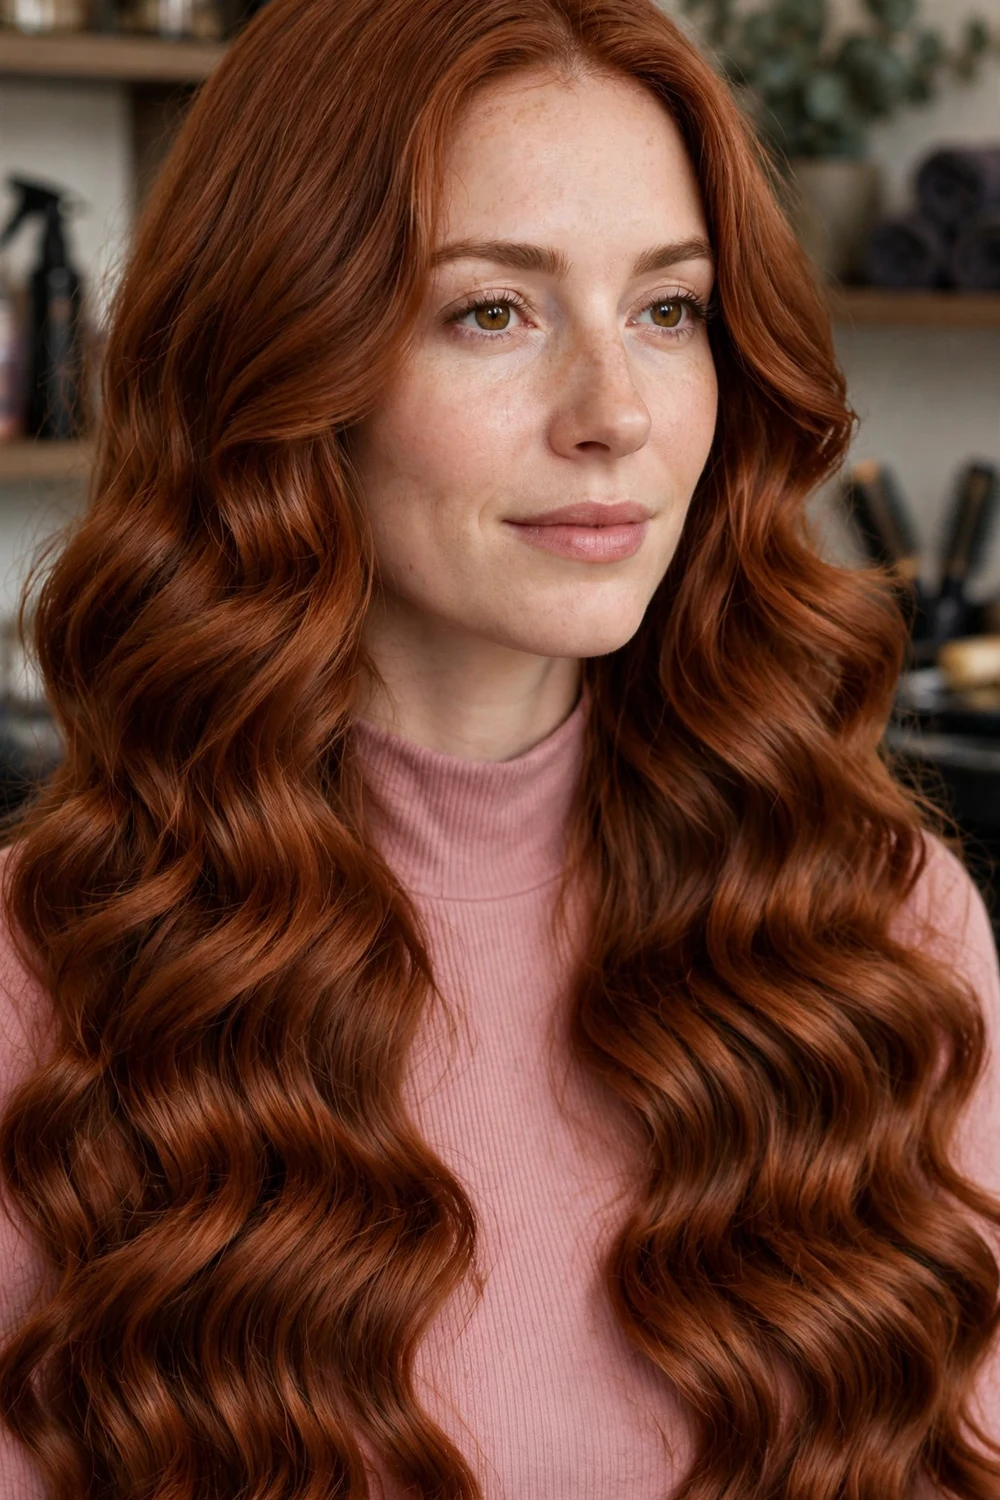
A soft robe belt or a padded heatless curler sits over the top of the head, and you wrap sections of slightly damp hair around each side, adding more hair as you work down, much like a French braid pattern. Sleep on the set or leave it for several hours, then unwind each side slowly.
The wrap gives smoother, rounder waves than braiding, with more volume near the top. Thick hair needs the sections fed in gradually; wrapping too much hair in the first pass makes a bulky coil that dries unevenly. A silk or satin belt surface reduces friction on the outer layer.
Try this: wrap away from the face on both sides and cross the ends at the back before tying. That keeps the front waves sweeping back instead of falling forward by midday.
Difficulty: Low to Medium · Cost: $ (salon)
9. Pin Curl Waves, Brushed Out
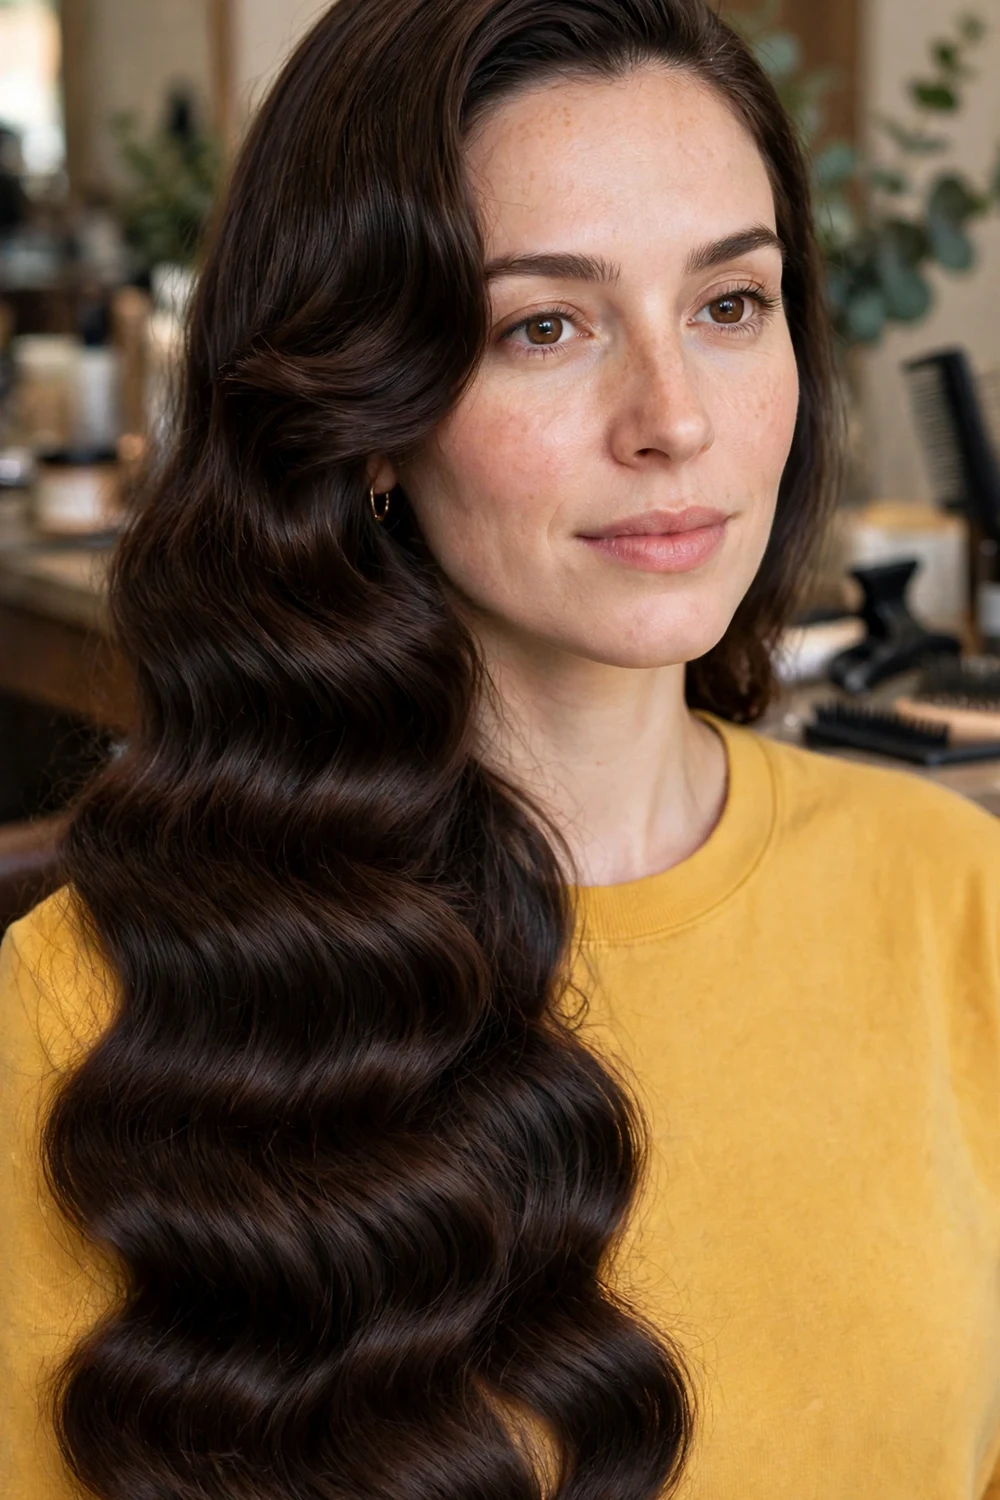
Pin curls are a heatless set with a long track record on thick hair. Roll damp, product-coated sections into flat coils against the head, pin each one, and let the set dry fully, ideally overnight. The flat coil shape is what turns into a smooth wave once brushed.
Unpin in the order you pinned, let the curls drop for a few minutes, then brush through steadily until the separate coils join into waves. Thick hair holds this set longer than most, often through two days, because the wave was formed while the hair dried in shape.
Try this: roll all coils in the same direction on each side of your part. Matching direction is what lets the brushed result form clean ridges instead of a mixed curl pattern.
Difficulty: Medium · Cost: $$ (salon)
10. Air-Dried Waves with a Diffuser
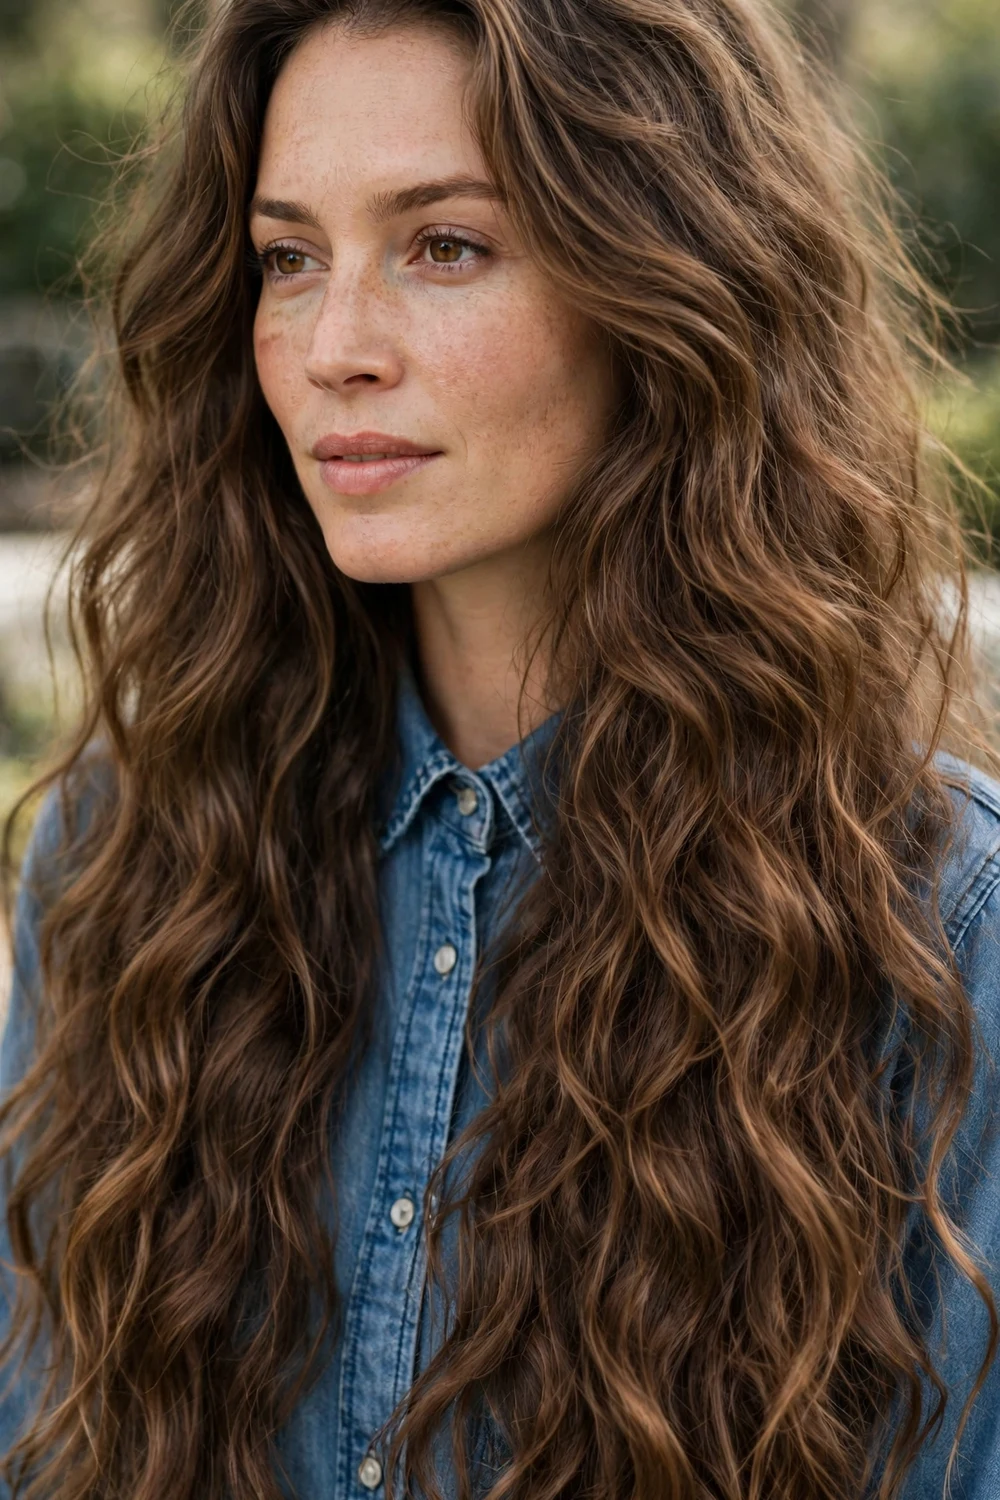
If your thick hair has a natural wave pattern, air-drying with the right product order brings it out without any shaping tools. Apply curl cream to soaking wet hair, scrunch upward in sections, then either leave it alone or diffuse on low heat, cupping sections in the diffuser bowl without moving them around much.
The main rule is hands off while it dries. Touching, flipping, or separating sections early breaks up the wave clumps and creates frizz across the surface, which thick hair shows quickly. Once fully dry, scrunch again with a drop of oil to soften any firm product feel.
Try this: clip the roots at the crown while the hair dries. Long thick hair drags its own roots flat under its weight, and two clips at the part fix that while you do nothing.
Difficulty: Low · Cost: $ (salon)
11. Beach Waves with Sea Salt Spray
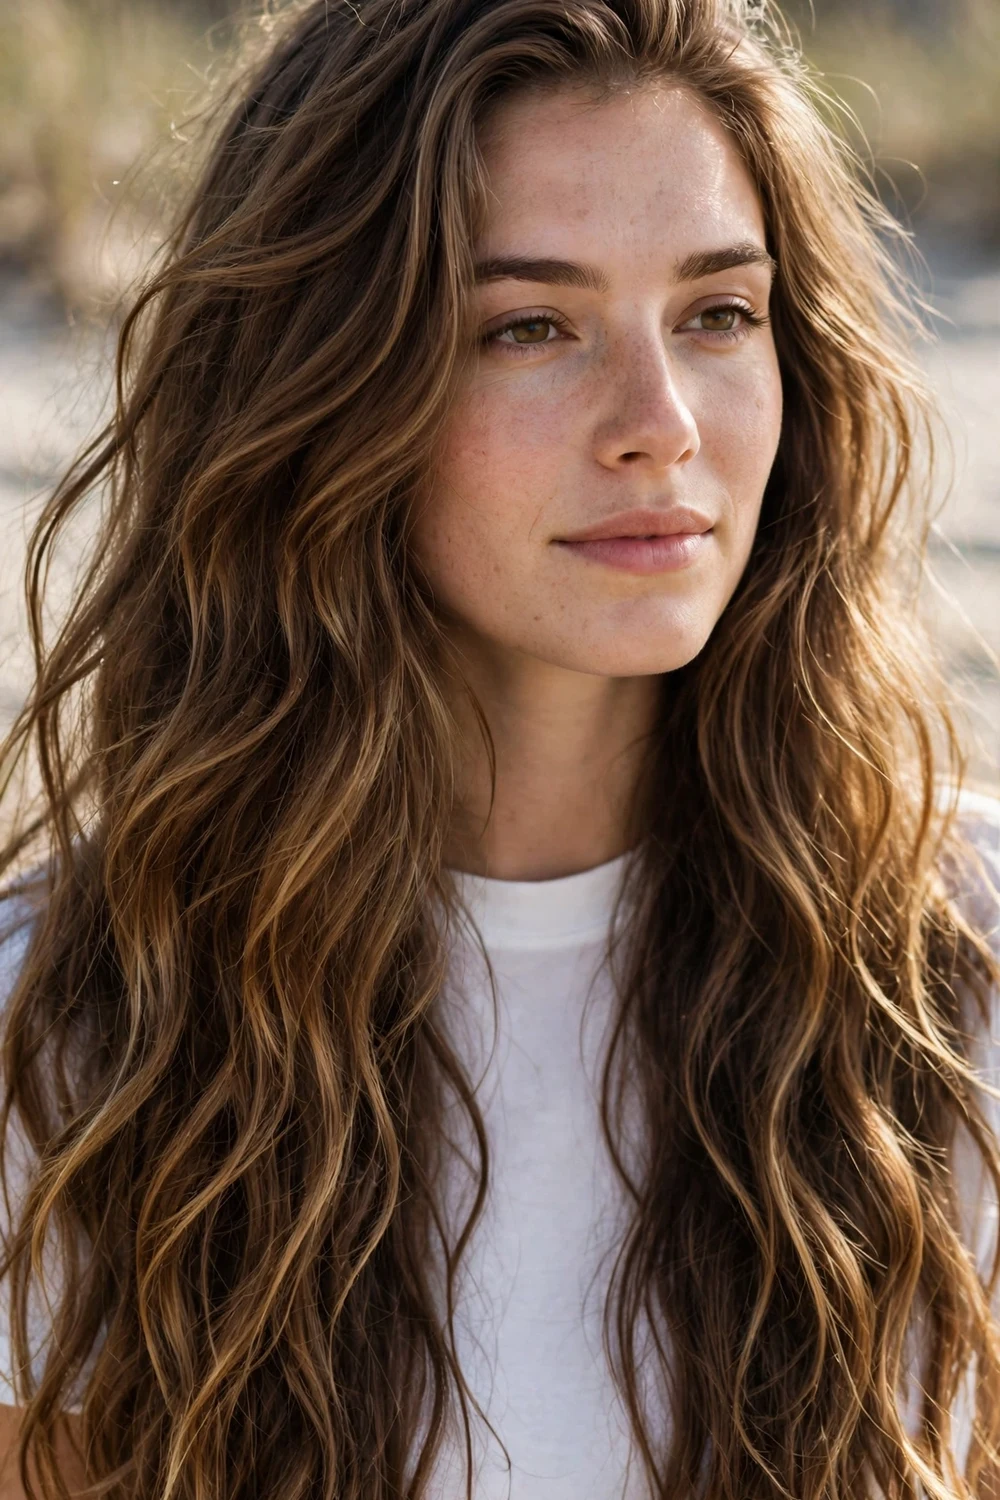
Sea salt spray adds grip and a matte, separated finish to waves. Mist it through damp hair, twist the hair into four loose sections, and let it air-dry, or add a few large wand waves once dry for extra shape. The salt gives thick hair piece separation that plain air-drying rarely does.
Go easy on the amount. Too much salt spray makes long hair feel dry and tangled at the ends, so concentrate on the mid-lengths and follow with a light leave-in conditioner on the last few inches the next day. The finish suits casual days and holds up well in a loose braid overnight.
Try this: spray, twist each section into a rope, coil the ropes into two buns for twenty minutes, then release. The short set sharpens the wave without a full overnight wait.
Difficulty: Low · Cost: $ (salon)
12. Tousled Bedhead Waves
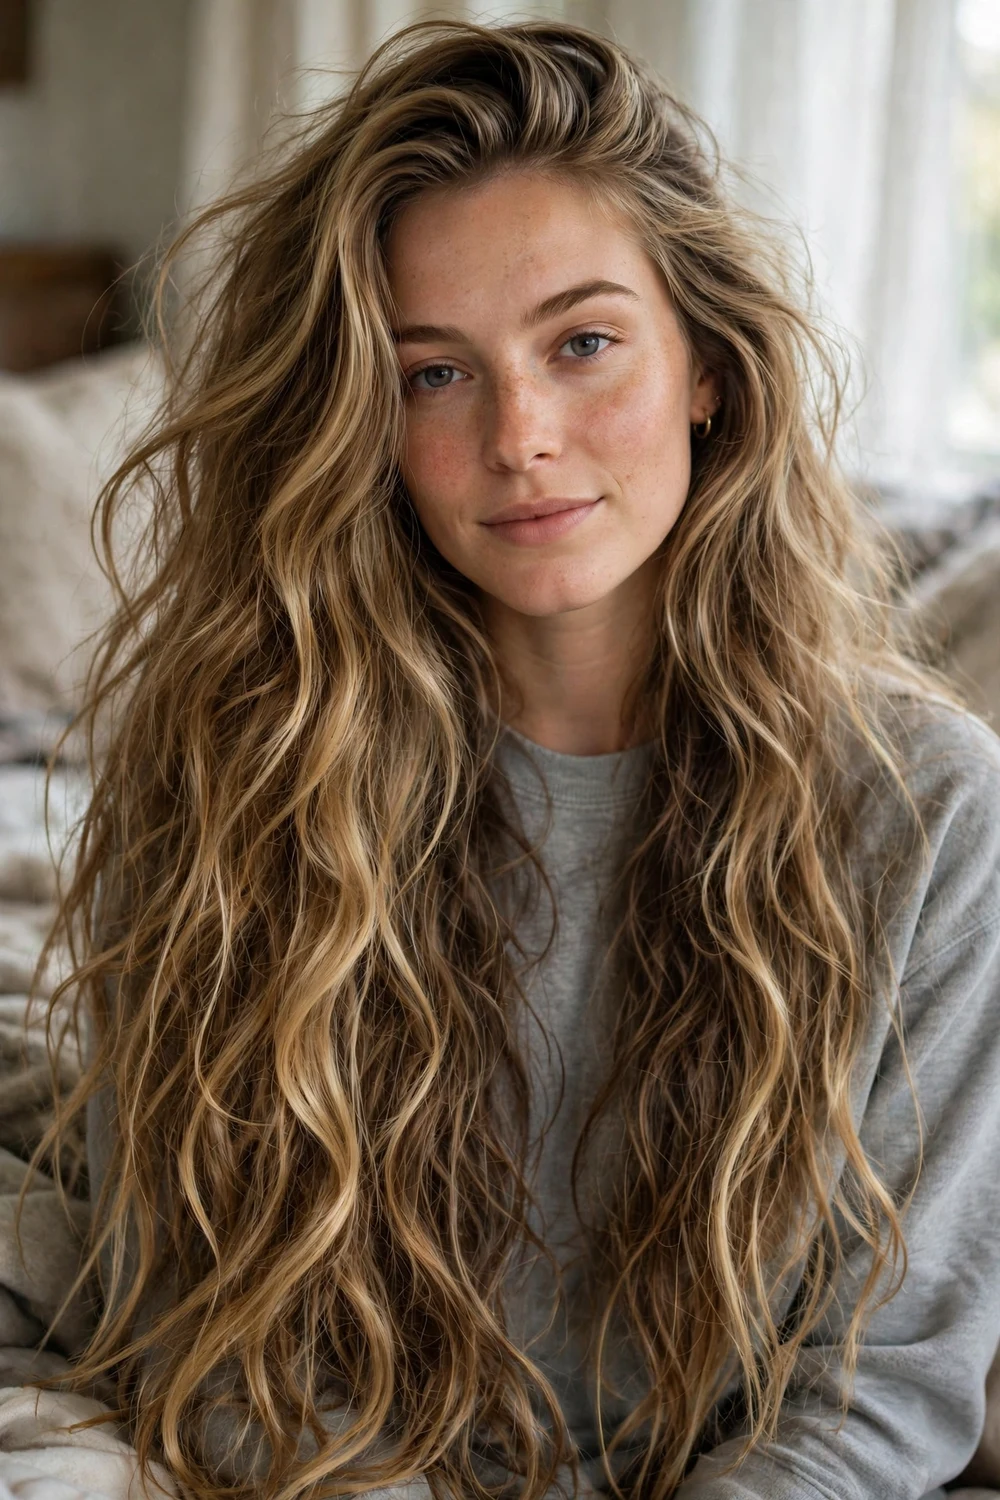
This finish uses waves you already have, from yesterday’s curling session or a braid, and loosens them on purpose. Flip your head, shake the roots with your fingertips, and mist dry texture spray underneath the top layer. Then smooth only the surface with your palms.
Thick hair is an advantage here because the volume is already built in. Add one or two fresh wand bends at the front if the face frame has gone flat, and leave the rest alone. Overworking the whole head turns a relaxed finish into a frizzy one.
Try this: sleep on the style in a high loose bun on top of your head. The position preserves the bends and lifts the roots for the morning.
Difficulty: Low · Cost: $ (salon)
13. Waves over Long Layers for Thick Hair
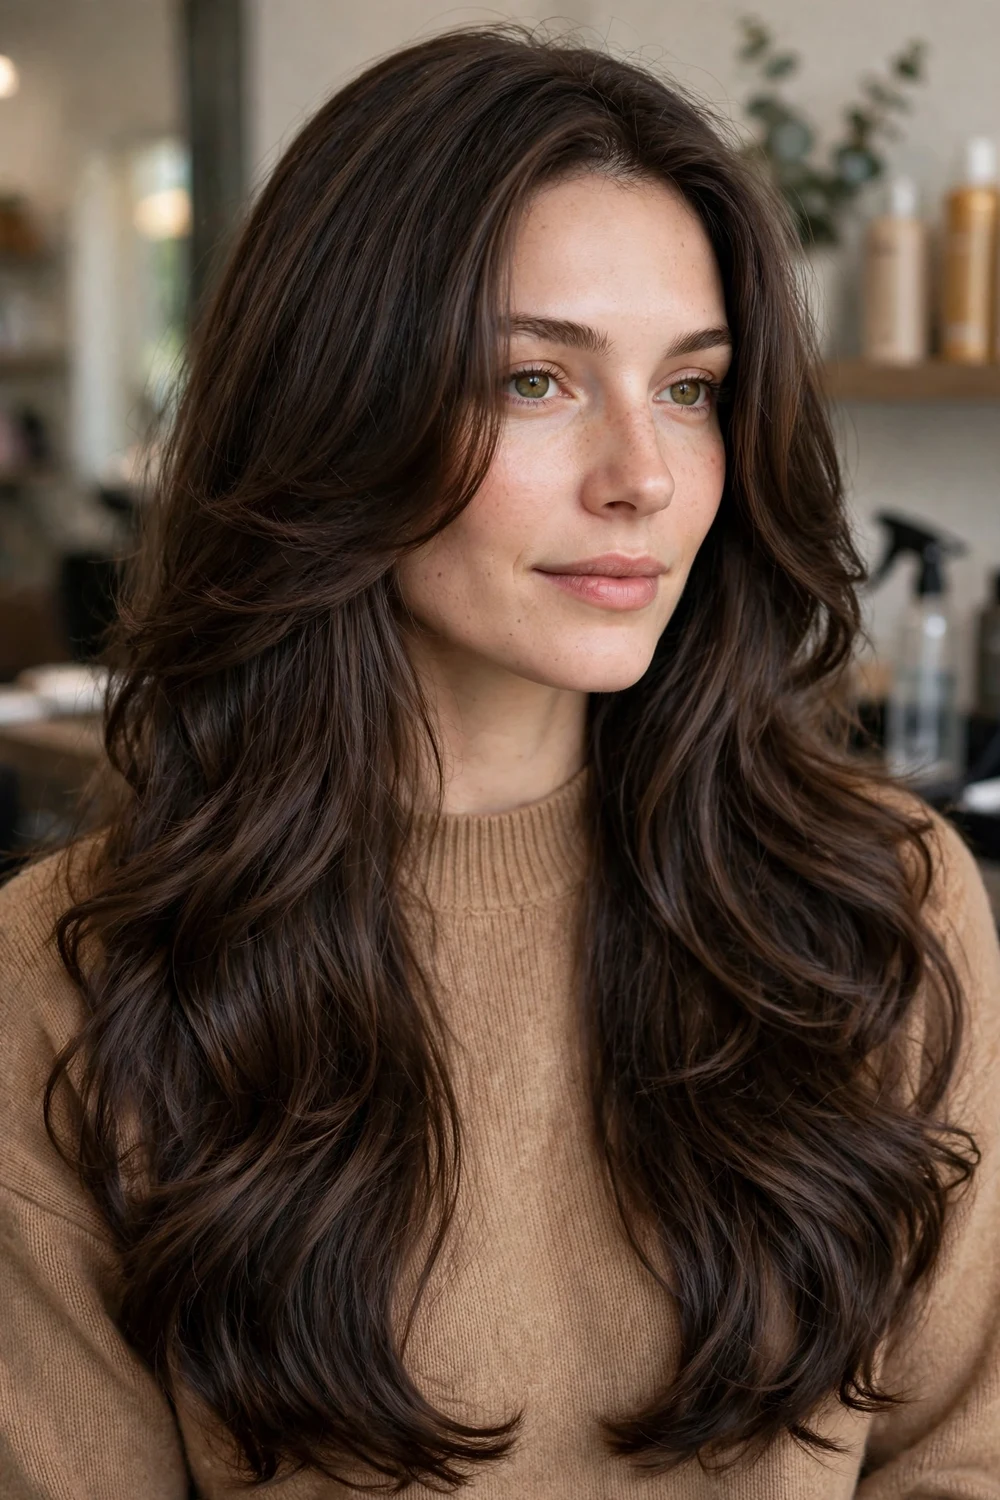
Long layers through the lengths and shorter pieces around the face change how waves sit on thick hair. The layers remove weight from the ends, so waves form higher up and the outline stays narrower. Readers comparing cuts can see how the face frame is shaped in the long hairstyles with curtain bangs collection, then style the frame with the method below.
Curl the face-framing pieces away from the face with a slightly smaller section than the rest, since shorter hair springs up more. Through the lengths, keep waves loose so the layer steps show as movement. This pairing is the most requested salon finish for long thick hair because it controls bulk without losing length.
Try this: ask your stylist for interior layers as well as surface layers. Interior work removes hidden bulk, which is where most of the heaviness in thick hair sits.
Difficulty: Medium · Cost: $$$ (salon)
14. Soft Waves with Curtain Bangs
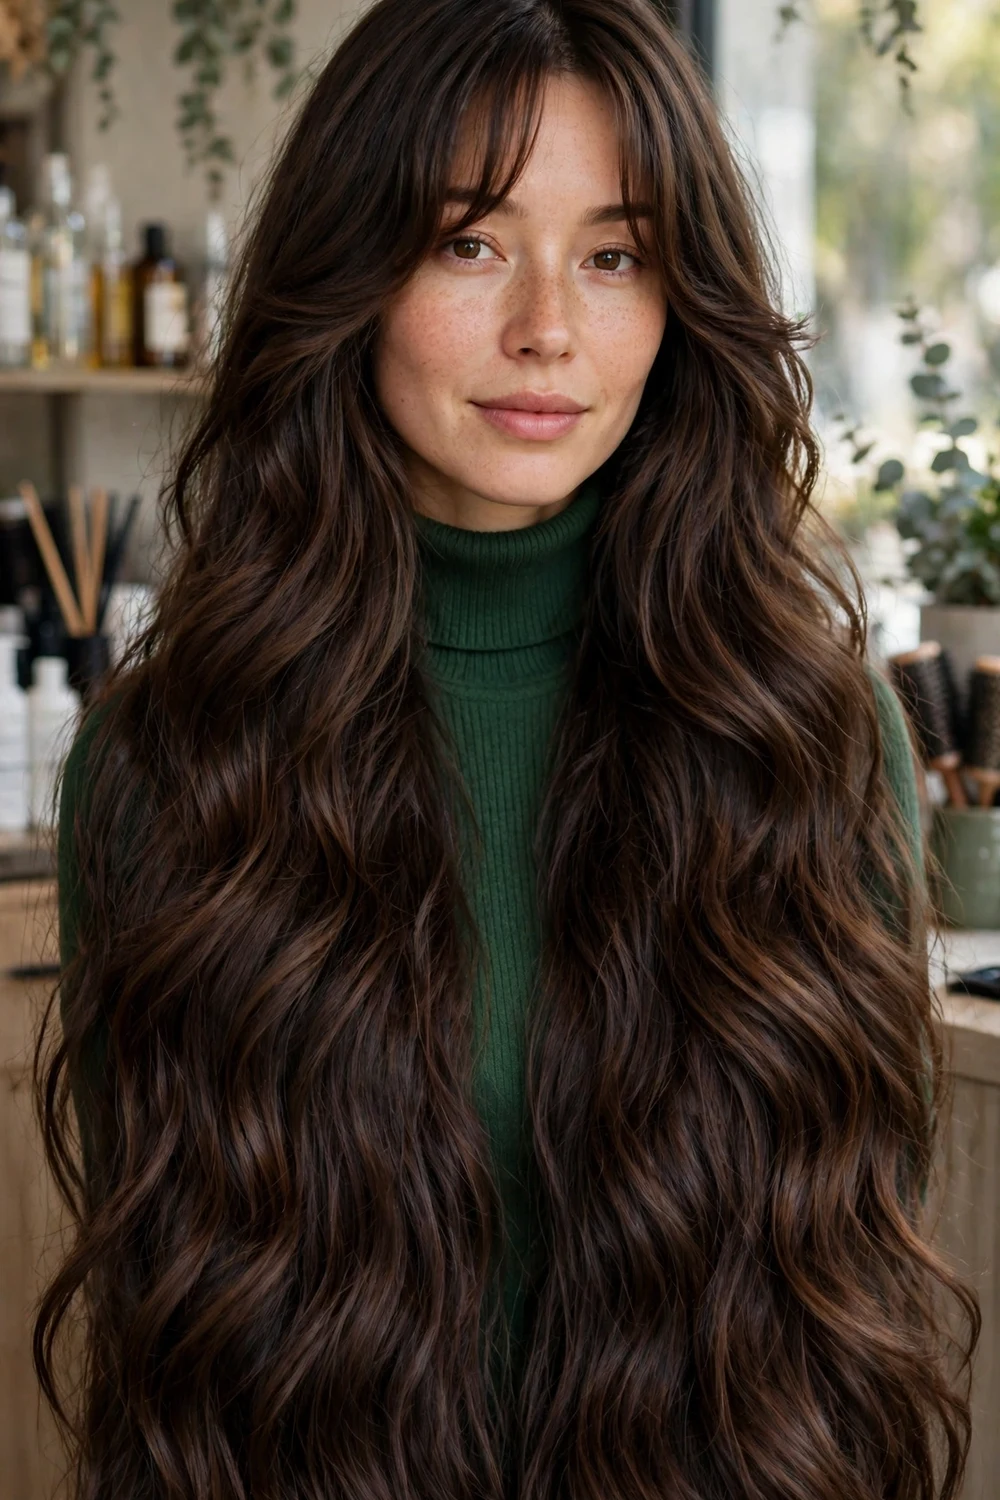
Curtain bangs split at the center and sweep into the waves at cheek or chin level. Style the bangs first: blow-dry them forward, then roll them away from the face on each side with a round brush or a large roller while they cool. If the bangs are left until last, thick hair around the hairline tends to dry in its own direction.
Wave the lengths as usual, keeping the first bend below the point where the bangs end, so the two sections blend. The frame softens the face and gives long hair a clear focal point, which helps when the lengths are one solid color.
Try this: refresh only the bangs on day two with a quick round brush pass and let the lengths stay as they are. The frame makes the whole style look freshly done.
Difficulty: Medium · Cost: $$$ (salon)
15. Blowout Waves on Long Layers
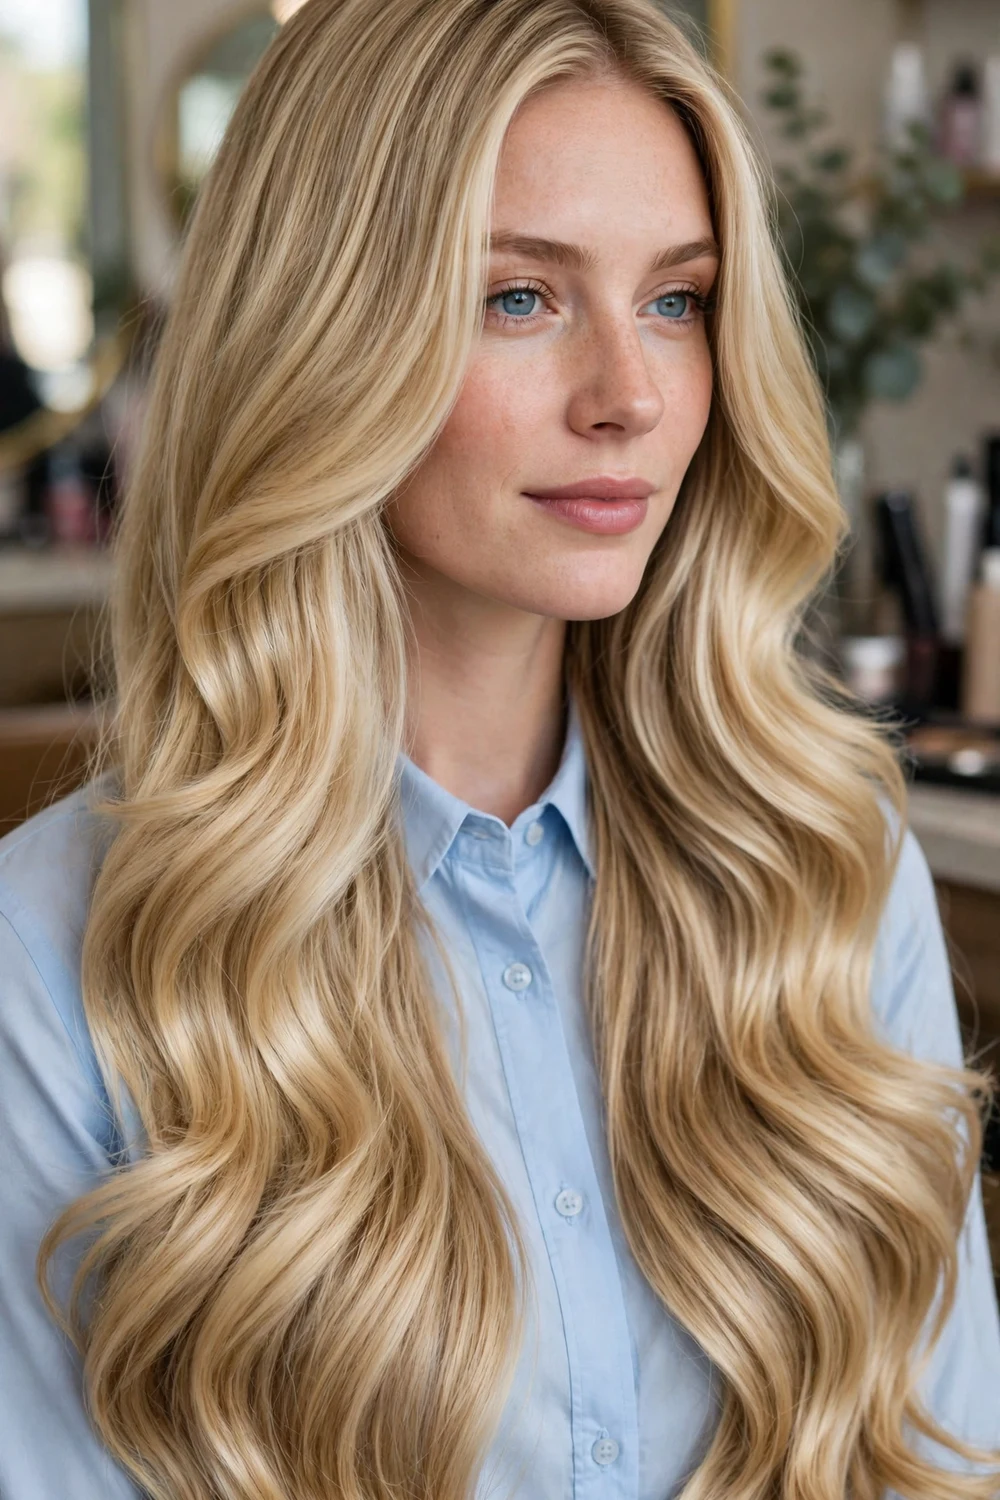
A blowout wave is built with a dryer and a large round brush rather than an iron. Dry in sections, wrap each dried section around the brush, roll it up toward the head, heat it, then let it cool rolled before unwinding. The bend is softer and wider than iron waves, with more root lift.
Thick hair needs the sections kept small and the hair about eighty percent dry before brush work begins, or the process takes too long and arms give out before the back is done. Pin each cooled section in a loose roll while you finish the rest for extra hold. More blonde versions of this finish appear in the hairstyles for long blonde hair roundup.
Try this: finish each section with the cool shot button while it is still on the brush. Cooling on the brush is what locks the blowout bend in place.
Difficulty: Medium to High · Cost: $$$ (salon)
16. Half-Up Twisted Crown with Waves
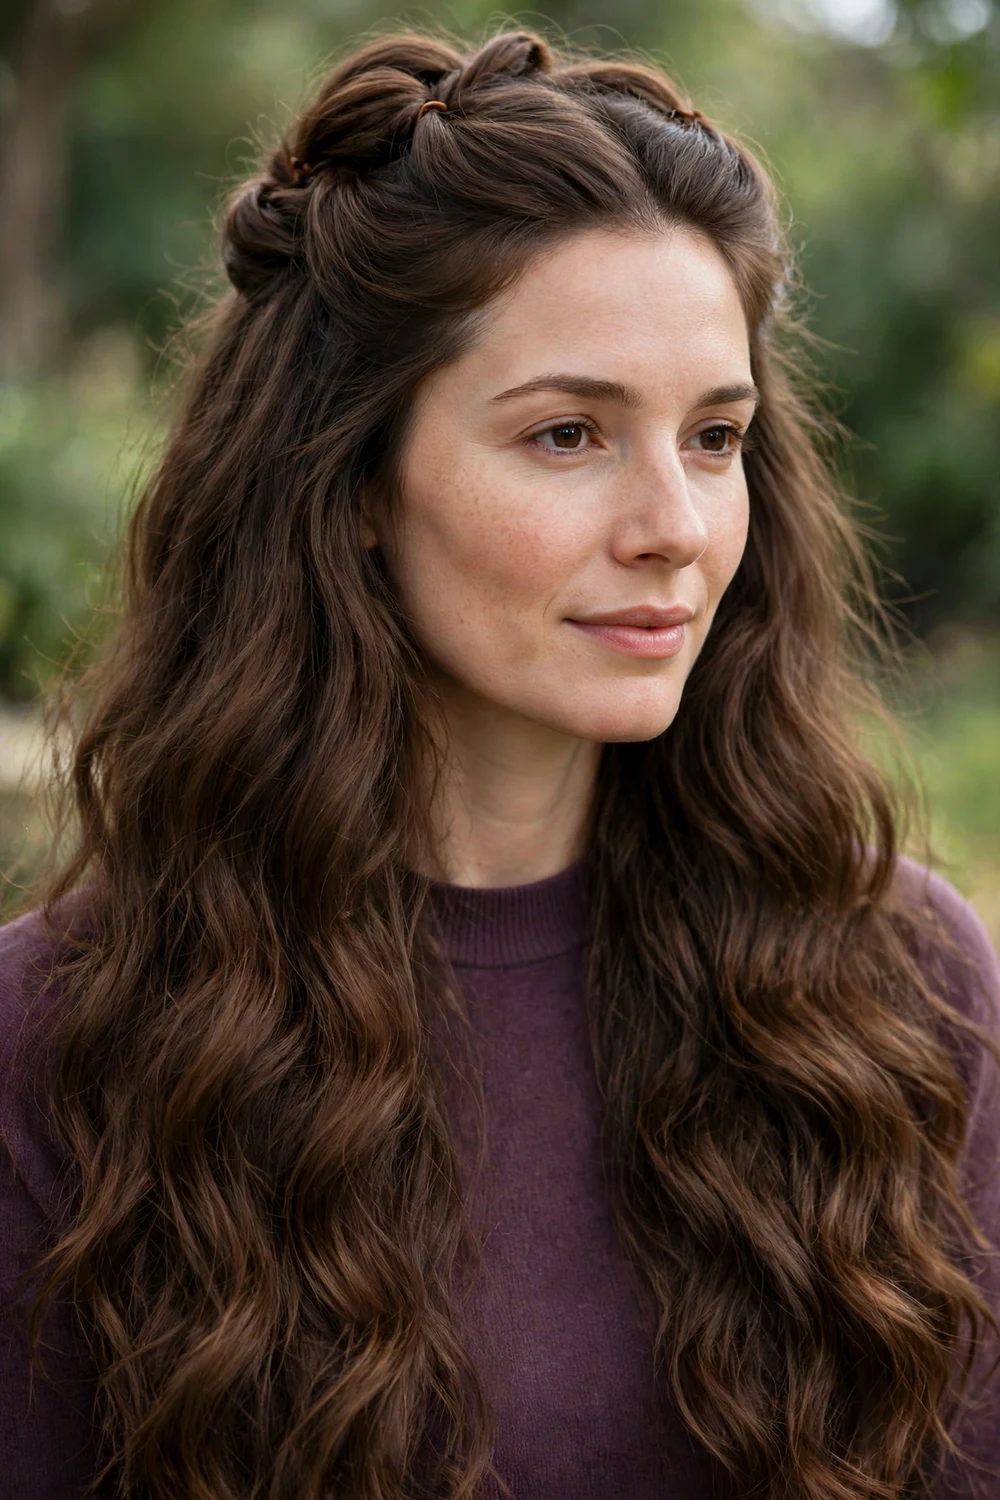
Take a section from each temple, twist both toward the back, and pin them together at the crown. The twists lift hair off the face and reduce the width at the sides, while the rest of the hair falls in waves over the back and shoulders.
Wave the hair first, then twist, so the twists sit over finished texture. On thick hair the twists hold with two or three firm pins and no teasing. Pull the top edge of each twist slightly wider with your fingers for a softer outline, and let two thin pieces fall at the front.
Try this: cross the twists over each other and pin in an X shape under the join. Crossed pins grip thick hair far better than pins pushed straight in.
Difficulty: Low to Medium · Cost: $$ (salon)
17. Hairline Braid Crown with Loose Waves

A braid worked along the hairline from ear to ear forms a crown, and the hair below stays down in loose waves. Thick hair makes a full, clear braid that stays visible, and the crown keeps front sections controlled on windy days or at events.
Braid first on smooth hair, secure the end behind the opposite ear, then wave the loose lengths with a large barrel so the braid stays neat. Widen the braid gently by pulling each edge outward. The mix of one structured element with soft lengths also suits the seasonal looks in the fall hairstyle ideas for long hair collection.
Try this: use a Dutch braid, adding hair under instead of over, if you want the crown to sit raised and read clearly in photos.
Difficulty: Medium · Cost: $$$ (salon)
18. Waterfall Braid with Flowing Waves
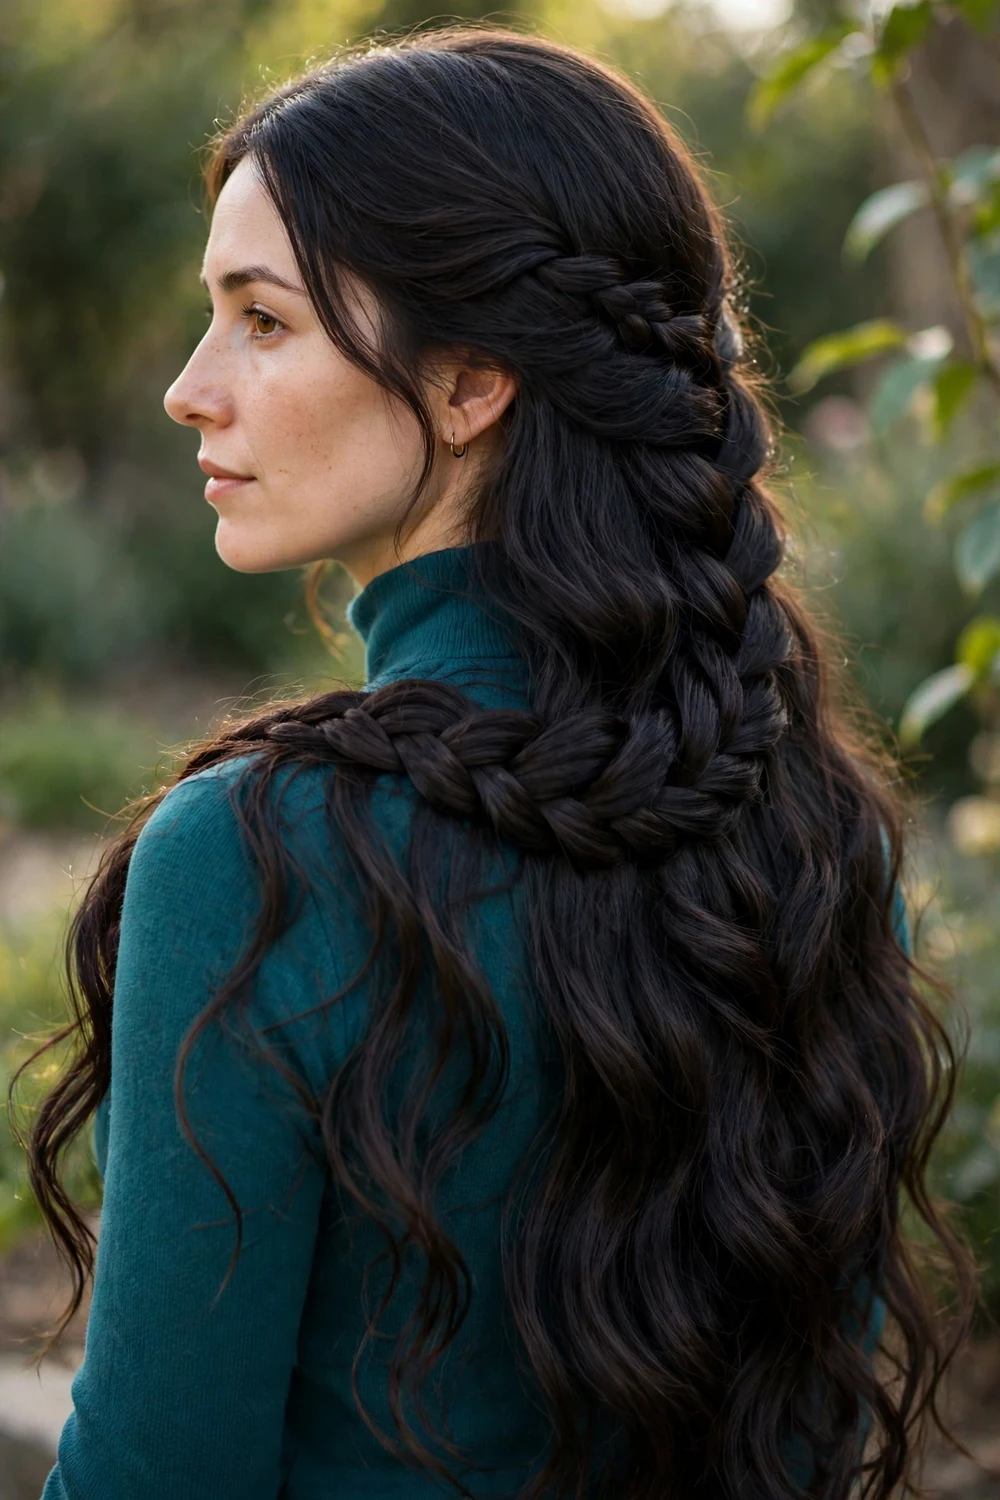
A waterfall braid runs across the back or side of the head and drops the lower strand of each stitch, so those strands fall through the braid and join the waves below. The effect depends on contrast: a tidy braid line above, loose movement underneath.
Start the braid at one temple and work across, keeping tension even so the dropped strands hang at matching lengths. Wave the lengths before braiding if you want the dropped pieces to match the rest, and braid over finished waves with gentle hands. This style takes practice, and most people find the second attempt far easier than the first.
Try this: practice on day-old waves rather than freshly washed hair. A little natural grip keeps the braid stitches from sliding out of thick, smooth hair.
Difficulty: High · Cost: $$$ (salon)
19. Textured Wavy Ponytail
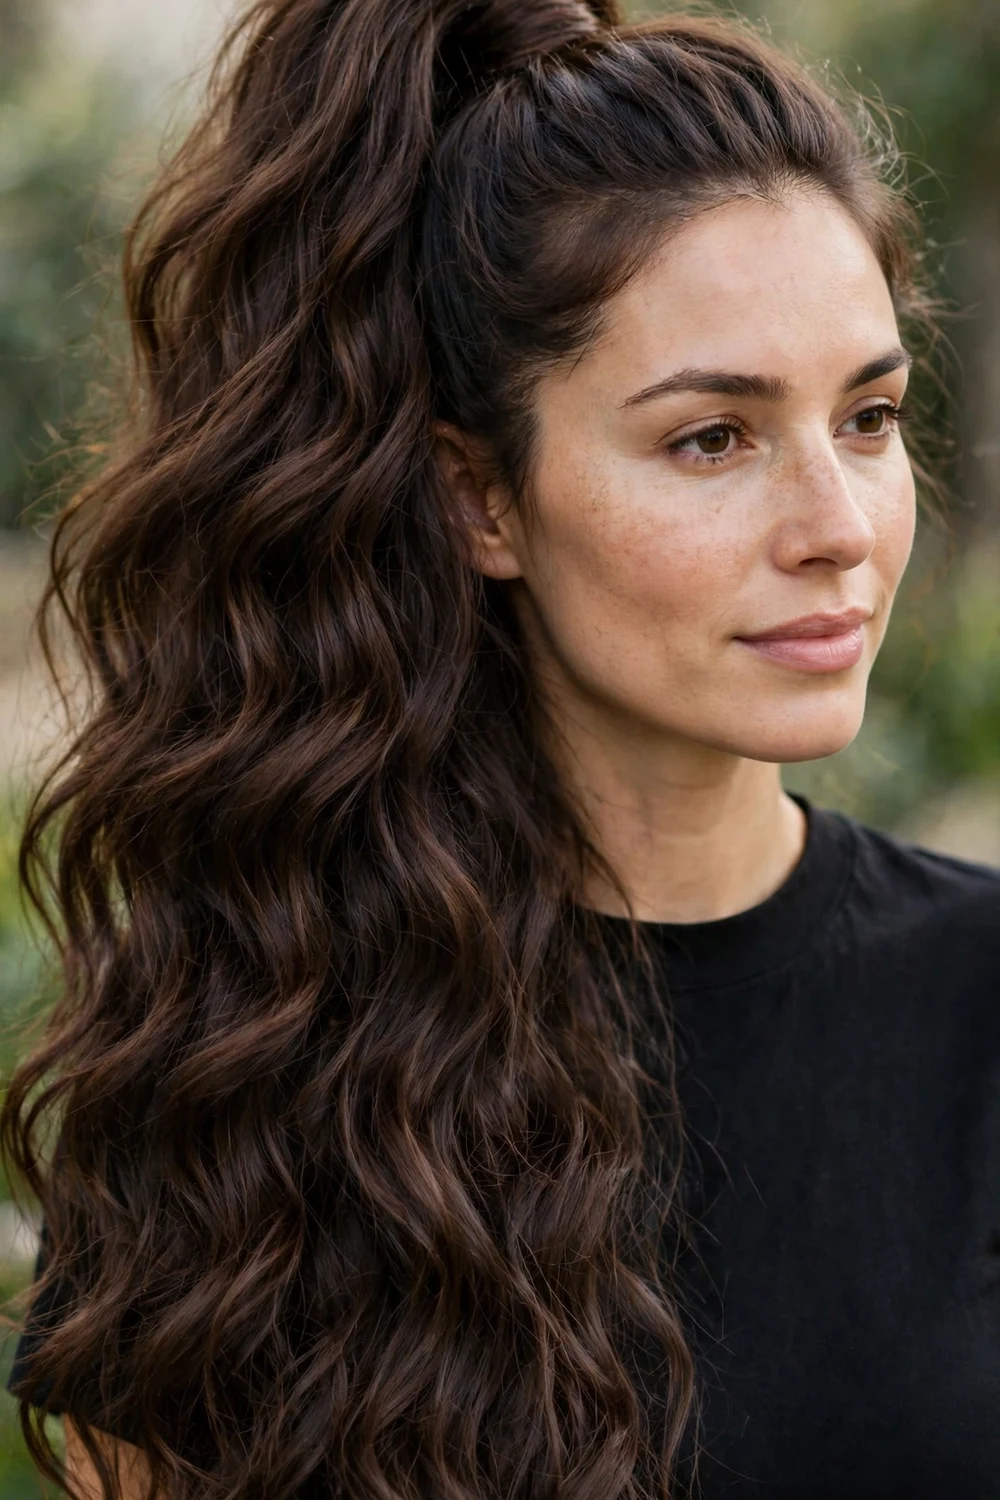
Wave the hair first, then gather it into a ponytail at the crown or mid-back of the head. The pre-waved texture makes the tail full and keeps thick hair from hanging in one heavy rope. Wrap a thin section of hair around the elastic and pin it underneath for a clean finish.
Leave two face-framing pieces out and give them a fresh bend. Backcomb the top of the tail base lightly if you want more height where the tail leaves the head. For cold-weather styling with the tail worn down the back, the winter hairstyles for long hair guide shows how the same waves pair with hats and scarves.
Try this: use a bungee elastic or two elastics linked together for thick hair. A single standard elastic often stretches out or snaps under a full wavy tail.
Difficulty: Low to Medium · Cost: $$ (salon)
20. Low Bun with Face-Framing Waves
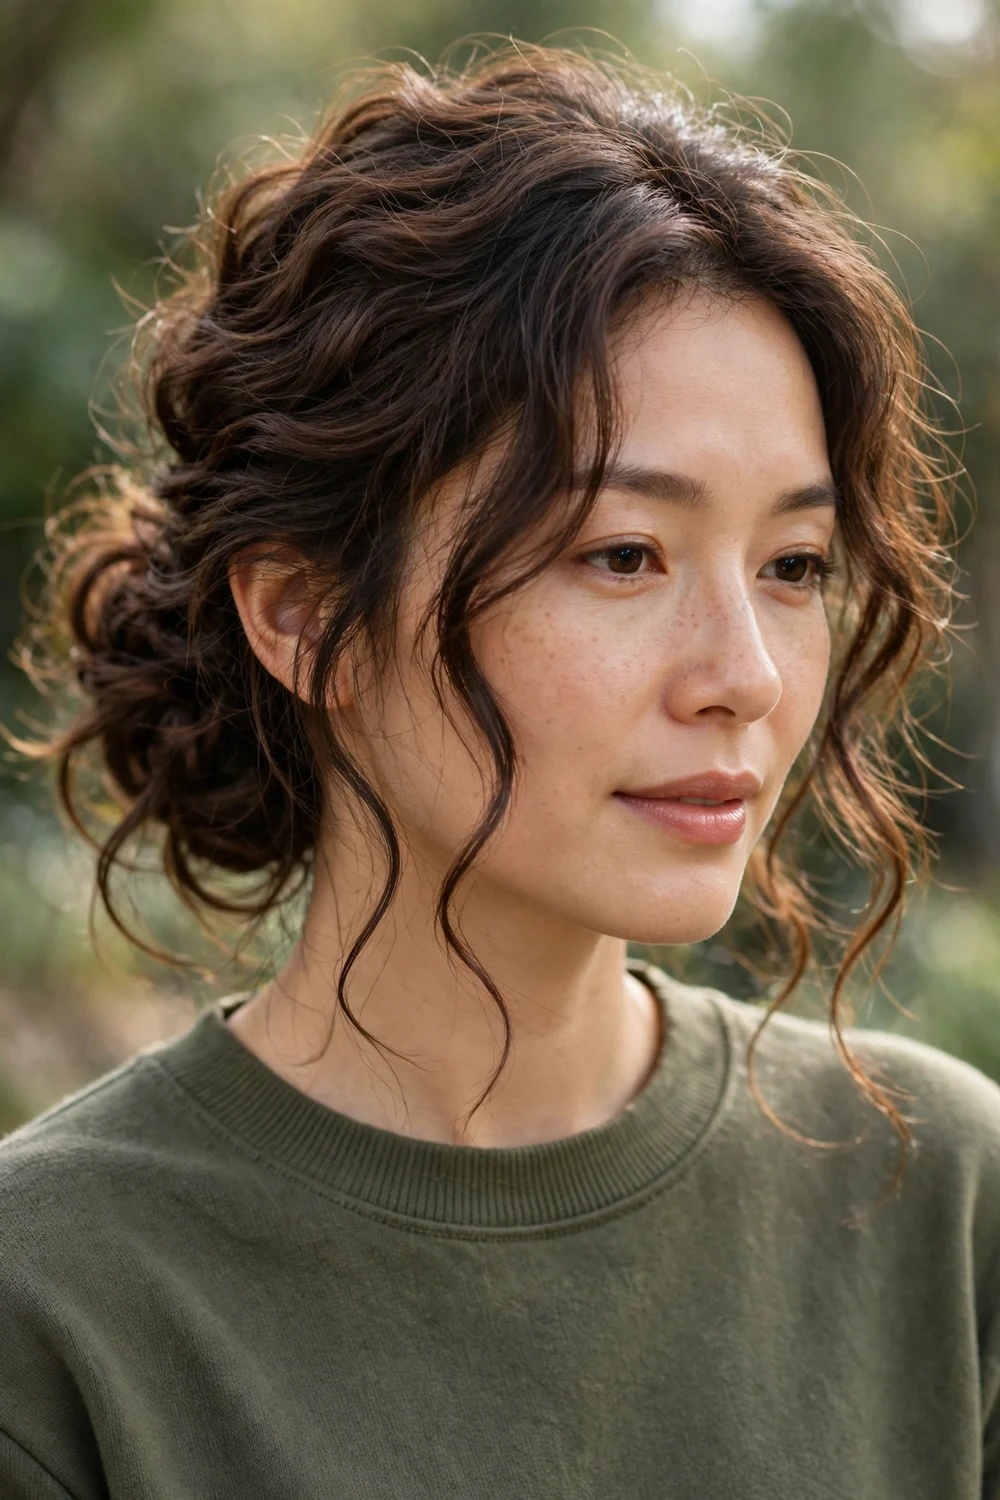
Gather waved hair into a low ponytail at the nape, twist it into a loose bun, and pin. Leave the front sections out, plus a few pieces above the ears, and bend those pieces with an iron so the face keeps the wave pattern even with the hair up.
This style puts the weight of thick hair at the nape, where it is comfortable for a full day, and it works as a second-day rescue when lengths still hold waves but roots need to go up. The bun looks fuller with waved hair than with straight hair, so fewer pins do the job.
Try this: twist the ponytail in two halves and wrap the halves in opposite directions around the base. Two-direction wrapping balances heavy hair and stops the bun listing to one side.
Difficulty: Low to Medium · Cost: $$ (salon)
21. Piecey Textured Waves
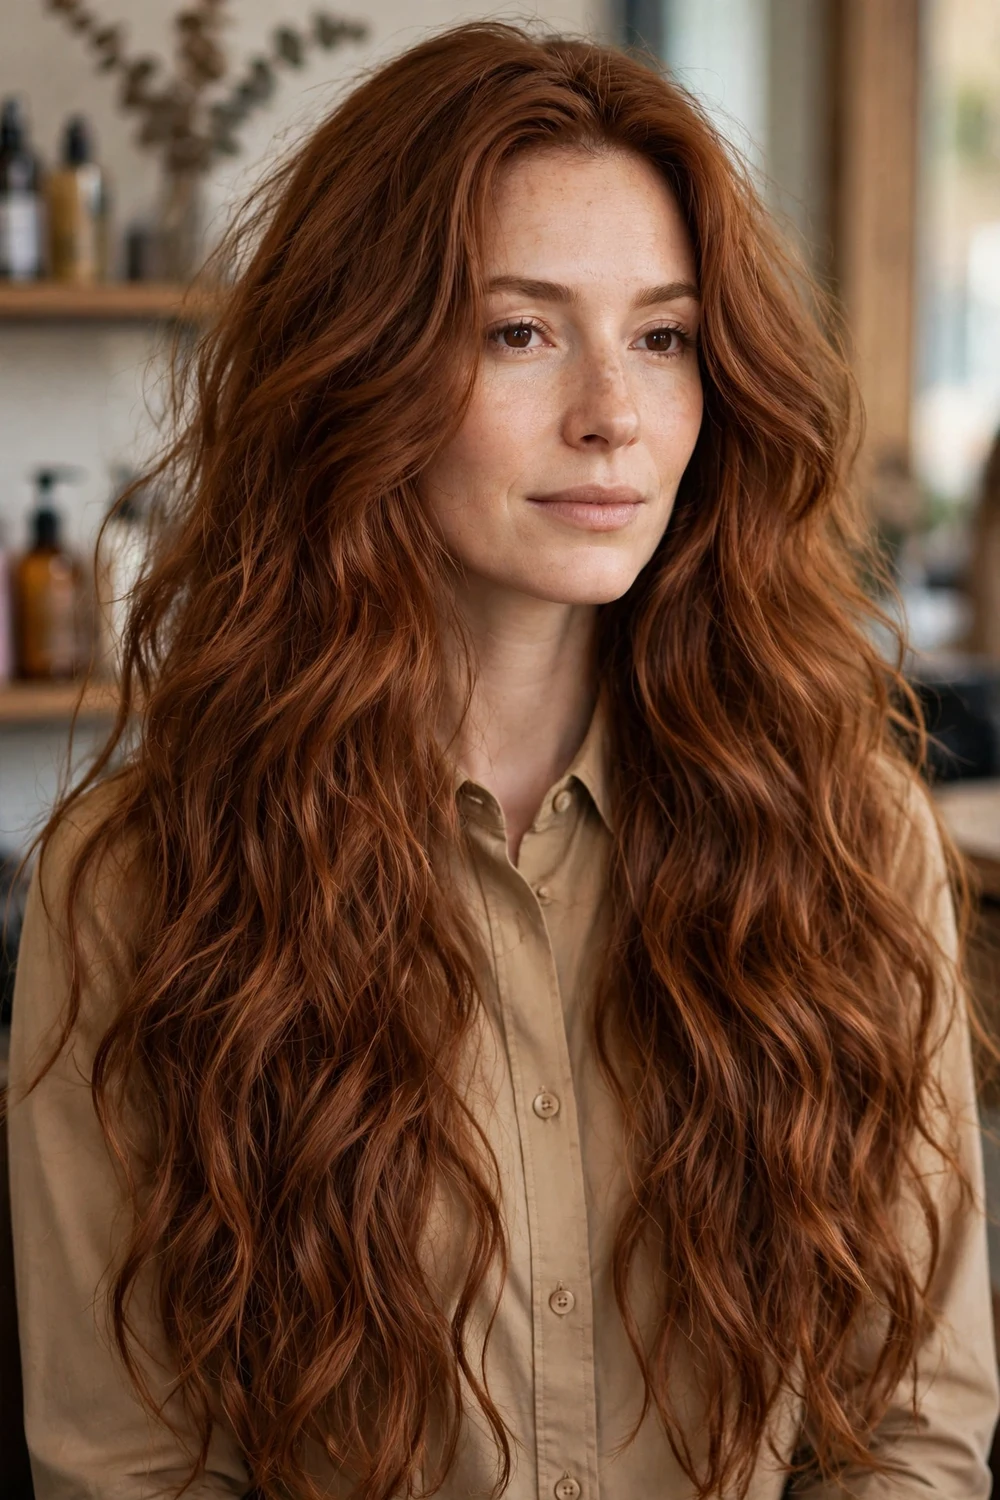
Piecey waves are separated into defined sections on purpose, which stops thick hair from reading as one wide mass. Wave as usual, then work a pea-size amount of texture paste between your palms and twist small sections through the mid-lengths and ends, one at a time.
Keep the product off the roots and the top surface. The goal is separation inside the style, with a clean surface over it. This finish photographs well and holds its shape in wind better than brushed waves, since each piece keeps its own bend.
Try this: twist the pieces in the direction of the wave, following the bend that is already there. Twisting against the bend breaks the pattern and creates stray ends.
Difficulty: Low to Medium · Cost: $$ (salon)
22. Balayage Waves That Show Dimension
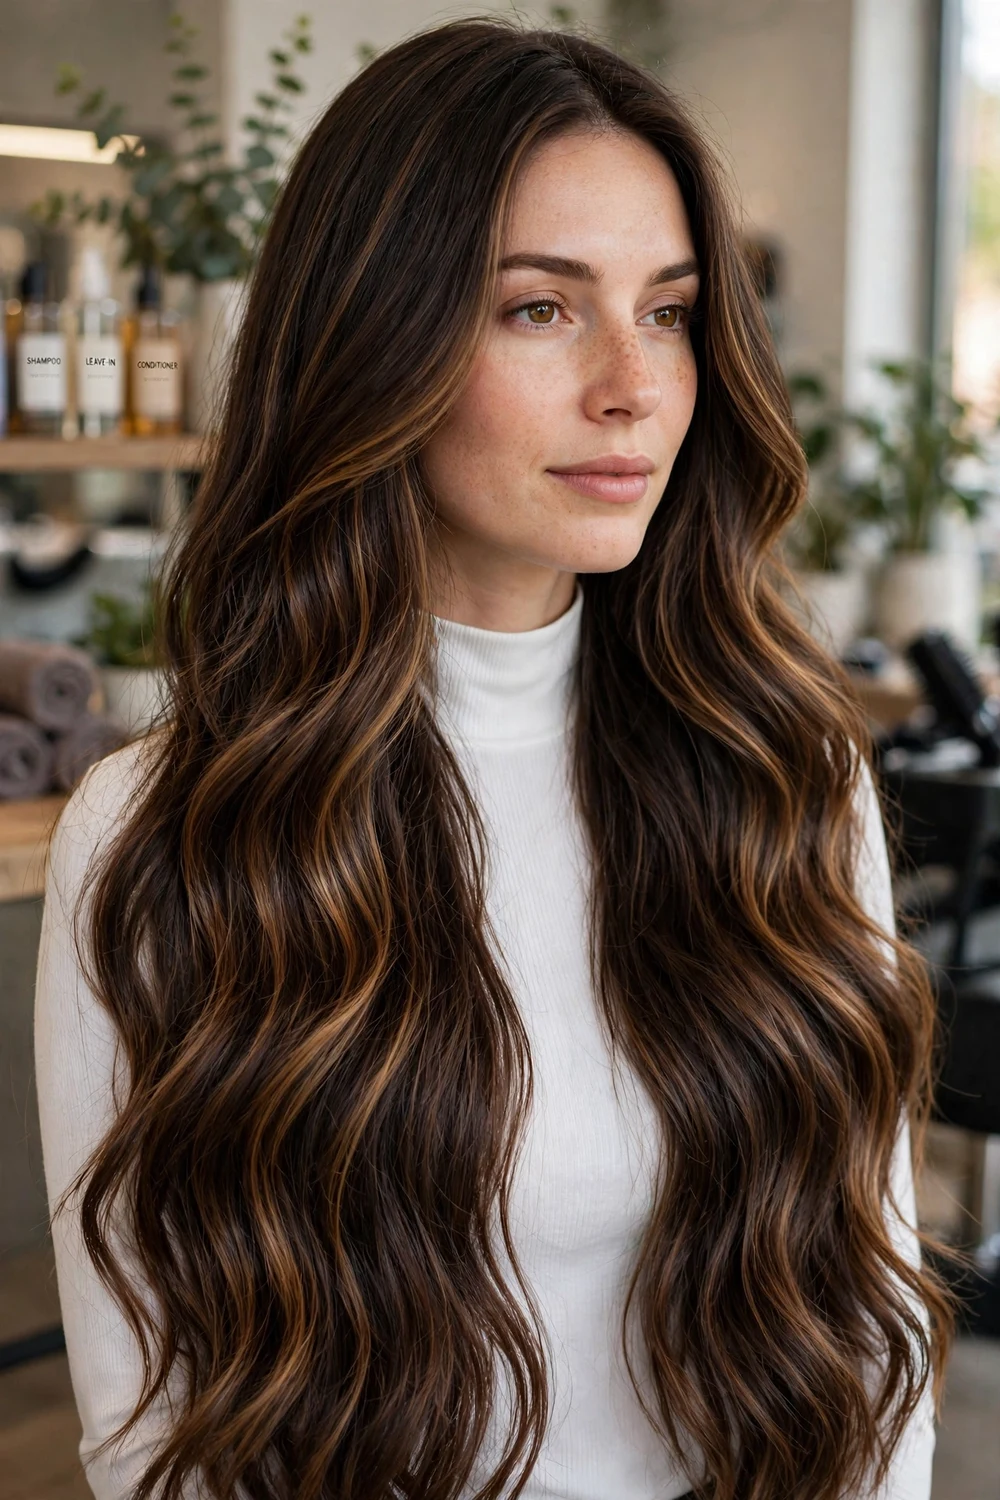
Hand-painted balayage pieces through a darker base give waves visible dimension: the lighter pieces sit on the wave ridges and the darker base shows in the dips. On thick one-color hair, waves can look flat even when they are well shaped, and this color placement fixes that without changing the styling routine.
Ask for the lightest pieces around the face and through the top layer, with the underneath left darker for contrast. Style with any large-barrel or wand method from this list; the color does the extra work. Grow-out stays soft because the roots are left close to your natural shade.
Try this: curl away from the face through the front balayage panels. The lightest hair then lands on the outer edge of each wave, where light hits first.
Difficulty: Medium · Cost: $$$ (salon)
| Method | Heat | Time on thick hair | Hold | Best for |
|---|---|---|---|---|
| Large-barrel iron or wand | Yes | 25 to 40 minutes | Full day | Everyday soft waves |
| Flat-iron S-waves | Yes | 20 to 30 minutes | Full day | Smooth, compressed finish |
| Hollywood or side part glam set | Yes | 40 to 60 minutes | Full day and evening | Events and photos |
| Overnight braids or robe belt | No | 10 minutes plus drying time | Most of a day | Heat breaks and busy mornings |
| Pin curl set | No | 20 minutes plus drying time | One to two days | Longest heatless hold |
| Air-dried with diffuser | Low or none | 10 minutes of product work | Until next wash | Natural wave patterns |
Frequently Asked Questions
Why do waves fall flat on long thick hair?
Usually the sections were too large, the hair was brushed while still warm, or heavy product weighed the lengths down. Thick hair needs sections of about two inches so heat reaches the center, a full cool-down before brushing, and light products kept to the mid-lengths and ends. Length itself also pulls on the wave, so a slightly stronger bend at styling time settles into a soft wave by the time you leave the house.
What barrel size works best for soft waves on thick hair?
A barrel of one and a half to two inches suits most long thick hair. Smaller barrels make defined curls that take a lot of brushing to soften, and the brushing shortens how long the style holds. If your hair is very long, the larger end of that range keeps the wave proportionate to the length.
How can I make soft waves last overnight?
Gather the waves into a high loose bun or two loose braids before bed, and sleep on a satin or silk pillowcase to reduce friction. In the morning, undo the hair, shake the roots, and refresh only the front sections and any flat patches with a wand. A light mist of texture spray at the roots restores lift without adding weight to the lengths.
Do layers help waves on thick hair?
Yes, long layers usually help. They remove weight from the ends, so waves form more easily and sit higher, and they stop the ends from spreading into a wide triangle shape. Ask for long layers with face framing rather than short choppy layers, which can make thick hair expand outward. The wave styling itself stays the same.
How do I keep thick wavy hair from getting frizzy?
Start with heat protectant and smooth products before styling, and handle the hair as little as possible once it is set. Brush heated waves only once, at the end, and separate heatless waves with fingers instead of a brush. A small amount of serum or oil pressed over the surface, rather than raked through, calms flyaways without pulling the wave out.
Final Thoughts
Soft waves on long thick hair come down to three habits: small enough sections, a full cool-down, and a light hand with product on the lengths. Pick the method that fits your morning, heated tools for a defined finish on the day, or a braid, robe belt, or pin curl set the night before when you want the work already done. Once one method holds reliably for you, the braided, half-up, and ponytail versions in this list turn that same wave into a week of different looks.

