

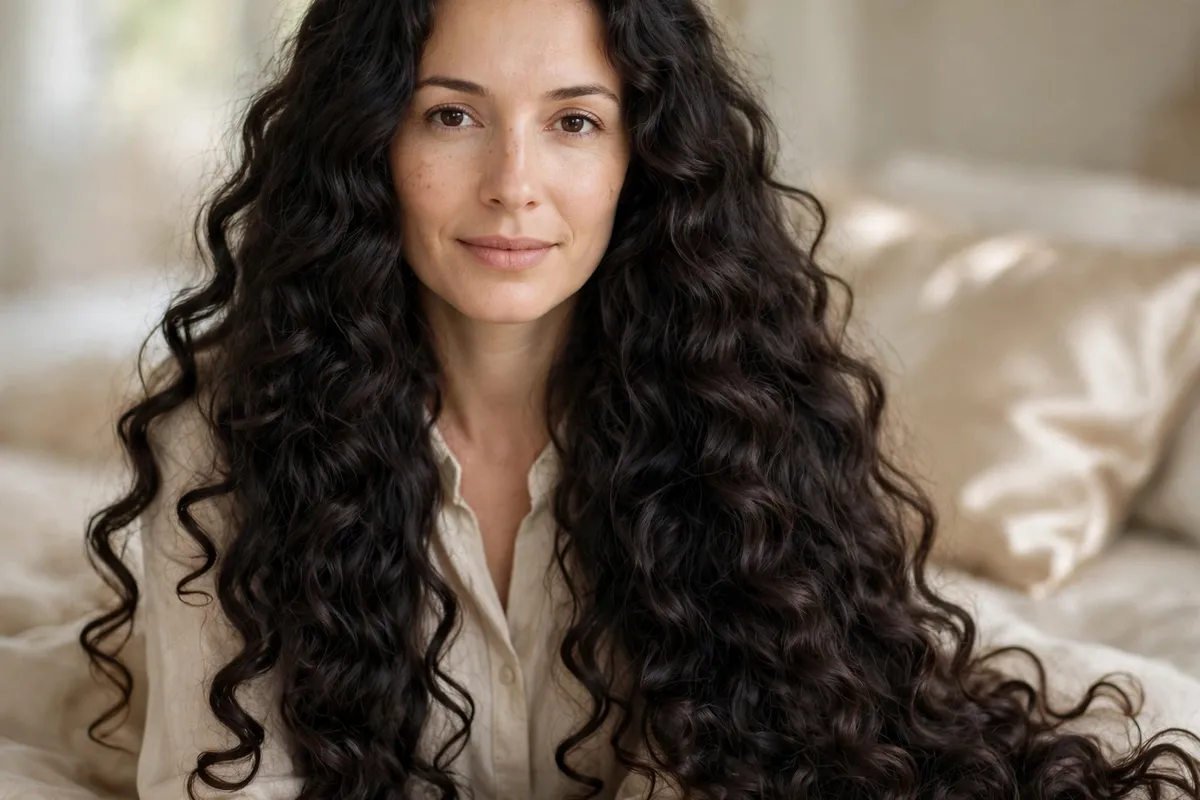
Growing long hair takes patience, and daily heat can quietly undo all of it. Every pass of a hot iron weakens the oldest, most fragile part of your hair: the ends. Heatless styling protects that investment. From experience researching heat-free styling methods, the techniques that actually hold share three traits: they start on slightly damp hair, they use even tension, and they stay put long enough to set.
This list covers 24 heatless hairstyles for long hair in two groups: overnight curl and wave techniques, and wearable no-heat styles for day-to-day life. Every idea skips hot tools entirely, works with the length you already have, and includes the timing and hold tricks that make it last. Pick the ones that fit your texture and your morning routine.
Quick Takeaways
- Start on hair that is 70 to 80 percent dry; soaking wet hair will not finish setting by morning.
- Smaller sections give tighter curls, while larger sections give loose, soft waves.
- Never unwrap early; hair must be fully dry before you take the style down.
- A silk or satin pillowcase cuts overnight friction and keeps frizz down.
- Finish with a light oil or a light mist of hairspray, and separate curls with your fingers instead of a brush.
1. Overnight Loose Braids

Start with hair that is about 70 percent dry. Part it down the middle and make one loose three-strand braid on each side, working from behind the ears to the ends. Keep the tension even and stop braiding a few inches above the tips, then secure each braid with a soft scrunchie so nothing creases overnight. Long hair gives this method plenty of length to wind through the braid, which is why the wave pattern comes out smooth rather than kinky.
Sleep in the braids for at least six hours so the hair dries fully in shape. In the morning, slide the scrunchies out and separate each braid with your fingers, shaking gently from the roots. Do not brush, since brushing turns soft waves into frizz. A drop of lightweight hair oil on the ends adds shine and keeps the waves defined through the day. Braids also keep your lengths tucked away while you sleep, and this guide on do braids help your hair grow explains how protective styles support retained length.
Try this: mist the ends with water and a pea-sized amount of leave-in before braiding if your hair dries fast.
Difficulty: Low · Cost: $ (salon)
2. Multiple Small Braids (Crimped Waves)
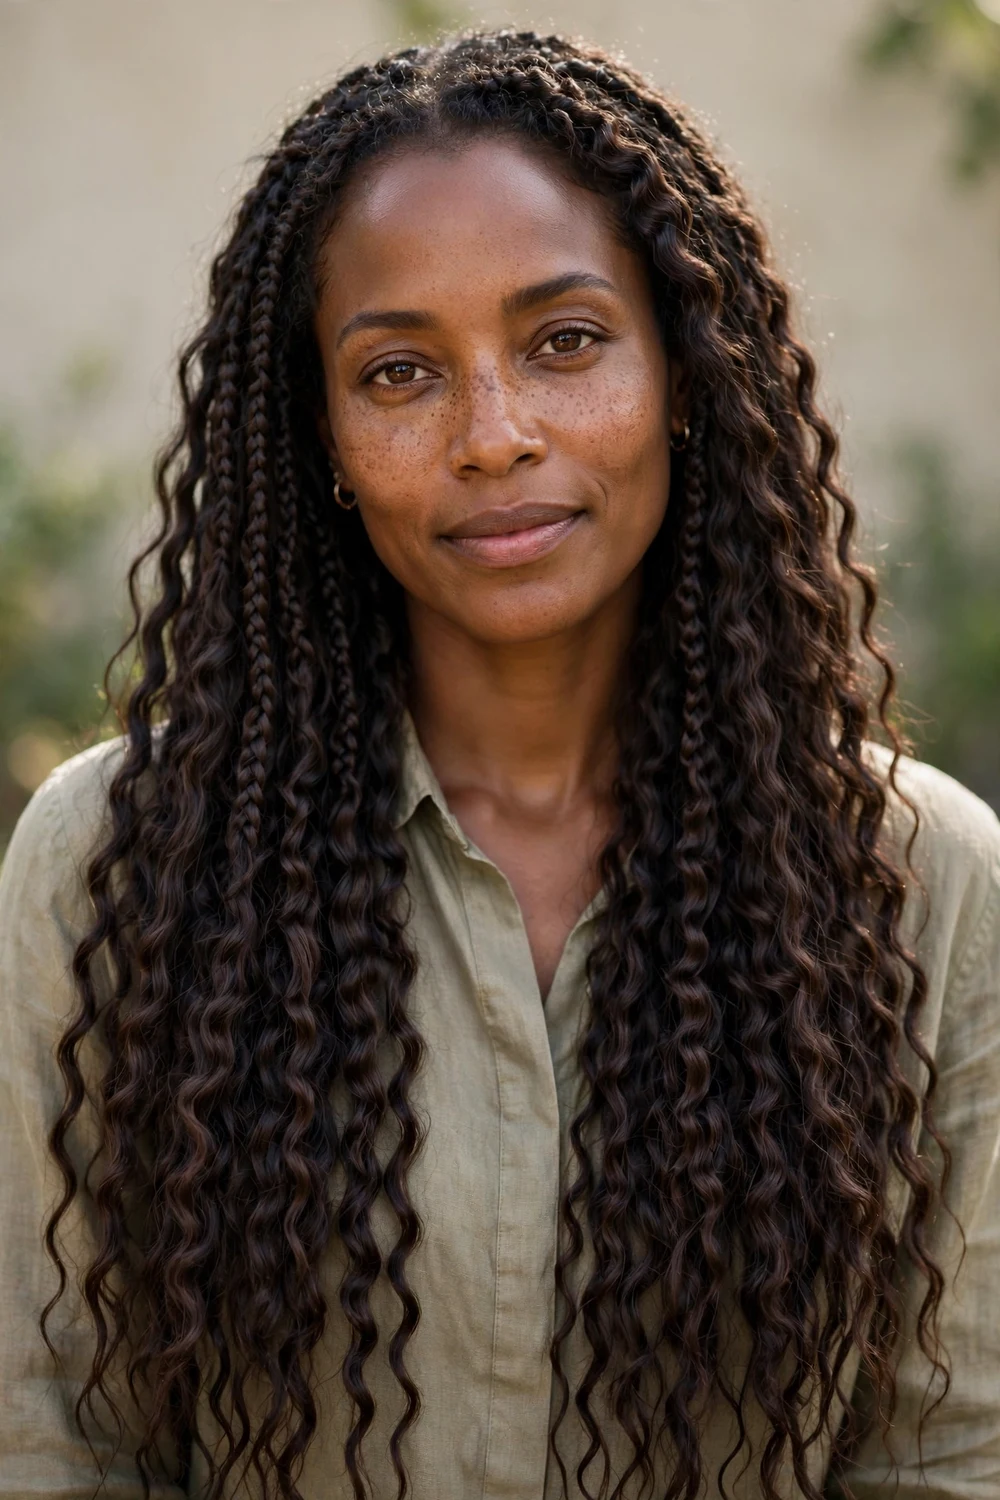
Divide slightly damp hair into six to ten small sections, depending on your thickness, and braid each one snugly from root to tip. More braids mean tighter, more defined texture; fewer braids give a looser, crimped look. The key is keeping every braid about the same size so the pattern comes out even. Secure the ends with small soft elastics, and keep the last inch unbraided if your ends are fragile.
This set needs a full night, around seven to eight hours, because tighter braids take longer to dry. Unravel each braid in the morning and pull the waves apart with your fingers. A light-hold mousse scrunched in before braiding helps the crimped texture last into day two. It suits thick hair especially well, since the braid count spreads the volume evenly instead of puffing out at the crown.
Try this: apply a light mousse to each section before braiding so the crimp holds an extra day.
Difficulty: Medium · Cost: $ (salon)
3. Rope Braid Waves

Take two sections of damp hair and twist each one in the same direction, then wind them around each other in the opposite direction and tie the end. The counter-twist locks the rope in place so it does not loosen overnight. Work with three to four rope braids for a balanced, beachy texture, or two chunky ones for a loose boho wave. This method is easier than a regular braid once the counter-twist motion clicks.
Leave the ropes in for six to eight hours. When you unwrap them, the result is a tousled, ropey wave with more texture than plain braids. Finger-comb gently and finish with a salt-free texture spray if you want extra grip. If you like the undone finish, these boho braids for long hair show more ways to wear twisted textures during the day.
Try this: twist both sections in the same direction first, then coil them opposite; that tension is what sets the wave.
Difficulty: Medium · Cost: $ (salon)
4. Two-Strand Twist-Out
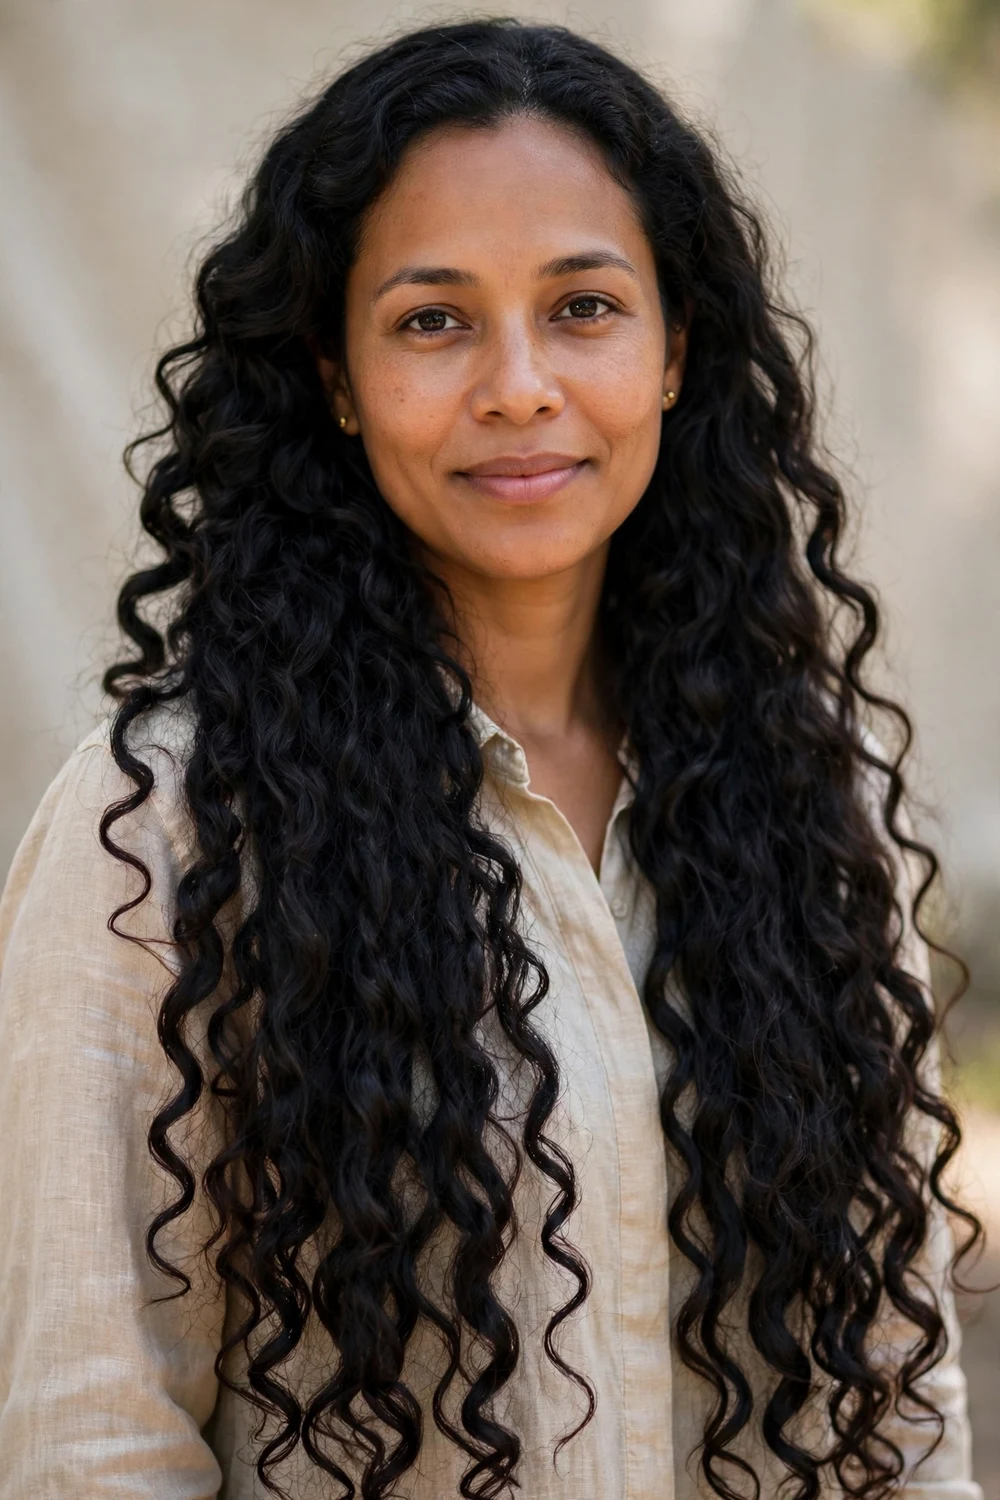
Work with damp hair and a little leave-in conditioner. Take a one-inch section, split it in two, and twist the strands around each other from root to tip. For tighter curls, twist the sections, coil each one into a small flat bun, and pin it; for looser waves, let the twists hang free. Keep the sections small and even across the head so the curl pattern matches from crown to ends.
The set needs at least six hours, and thick hair may need the full night plus morning air time. Untwist each section carefully in the morning and lift at the roots with your fingers for volume. A dab of curl cream on damp hair before twisting adds definition without crunch. This technique is a favorite on textured hair because it enhances the natural curl pattern instead of fighting it.
Try this: work in one-inch sections with a dab of curl cream for the most defined, even curls.
Difficulty: Medium · Cost: $ (salon)
5. Twisted Buns (Overnight)
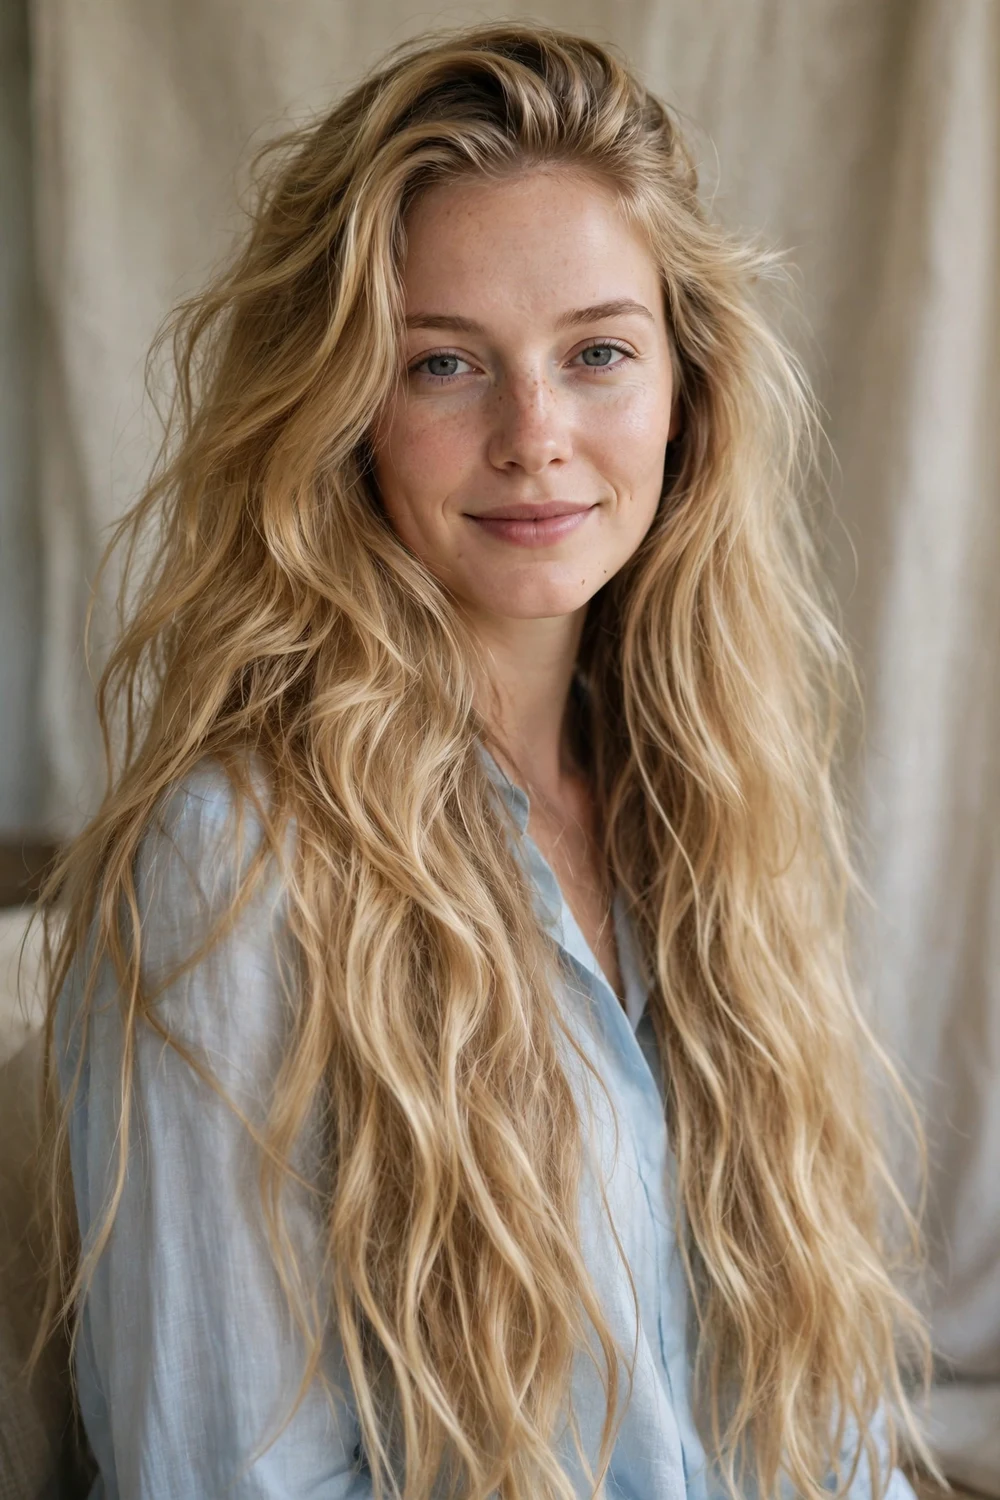
Divide damp hair into two to four sections, twist each section tightly from root to tip, and coil it into a small bun against the scalp. Pin or secure each bun with a soft scrunchie. Placing the buns on top of the head gives root lift; placing them lower gives waves that start further down. Two high buns are the classic setup and also the easiest to sleep in.
Keep the buns in for seven to eight hours so the twists dry completely. Unpin in the morning and shake the hair out with your fingers. You will get soft, natural-looking waves with noticeable lift at the roots, which flat overnight methods sometimes miss. If you wear the same twisted buns out during the day, they become space buns, the playful wearable version of this set.
Try this: place the buns high on the crown if your hair tends to fall flat at the roots.
Difficulty: Low · Cost: $ (salon)
6. Bantu Knots (Knot-Out)
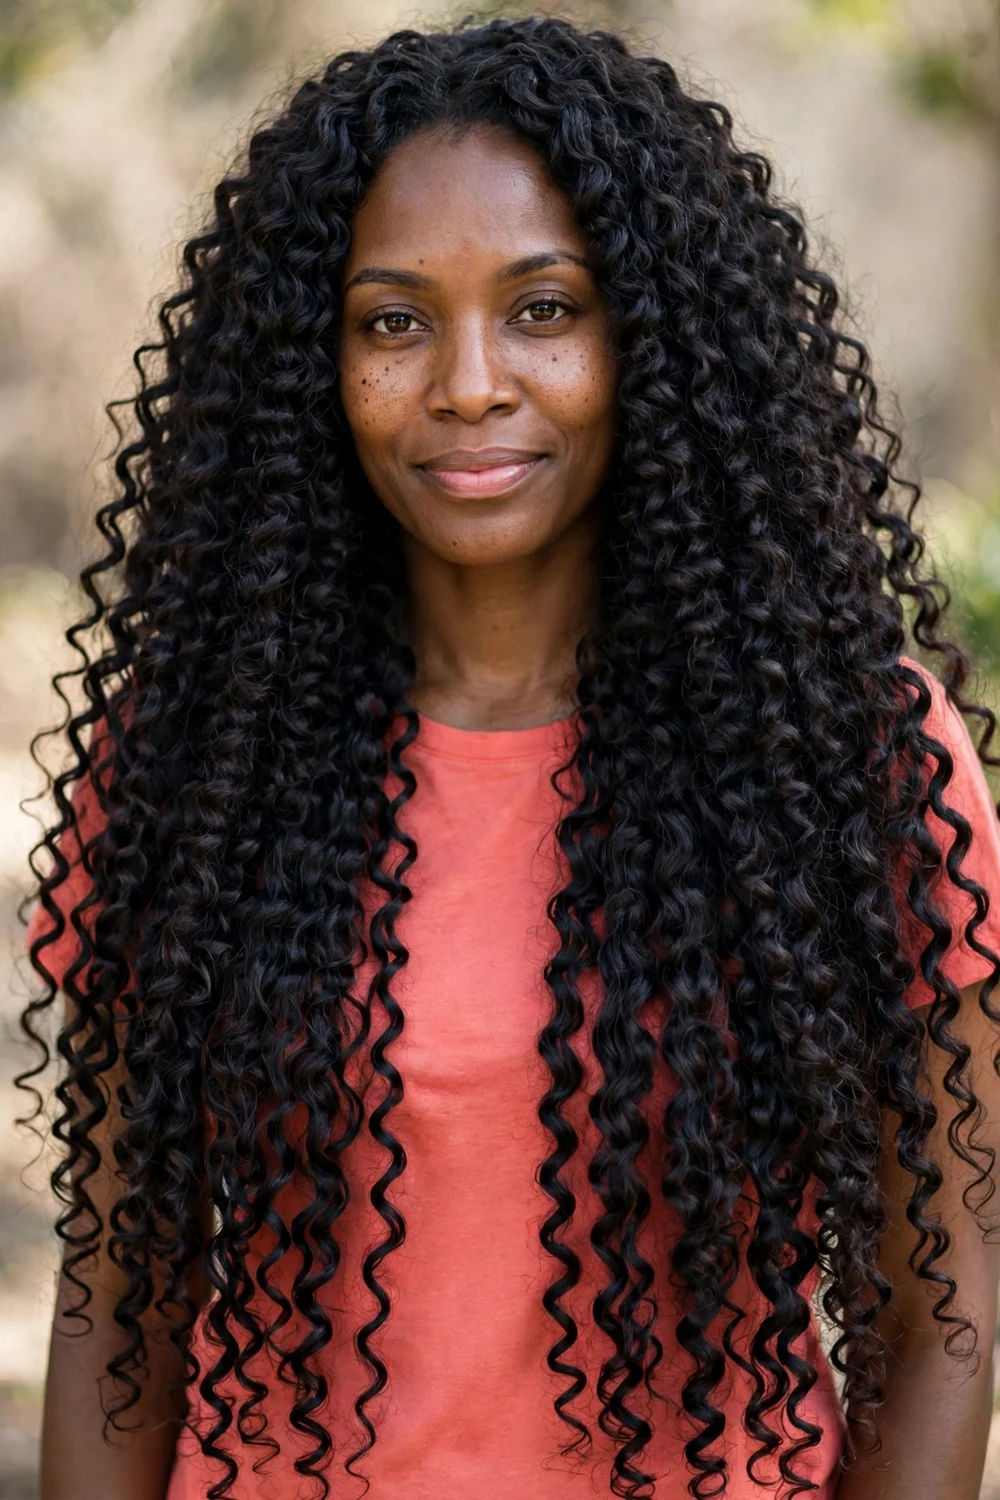
Take a small section of damp hair, twist it from root to tip, then wrap it around itself into a tight knot against the scalp. Pin each knot so it survives the night. Smaller knots give tight, springy curls; larger knots give bouncy, defined waves. Space the knots evenly, working from the nape upward so the pattern stays consistent.
Leave them in for at least seven hours; this set runs on tension, so fully dry hair is non-negotiable before unwrapping. Release each knot in the morning and separate the curls gently with oiled fingers to reduce frizz. The result is tight, voluminous curls with real staying power. It works on all textures but is especially rewarding on coily and curly hair, where the knot-out stretches and defines the natural pattern.
Try this: rub a drop of oil between your palms before separating the curls to keep frizz down.
Difficulty: Medium · Cost: $ (salon)
7. Sock Curls
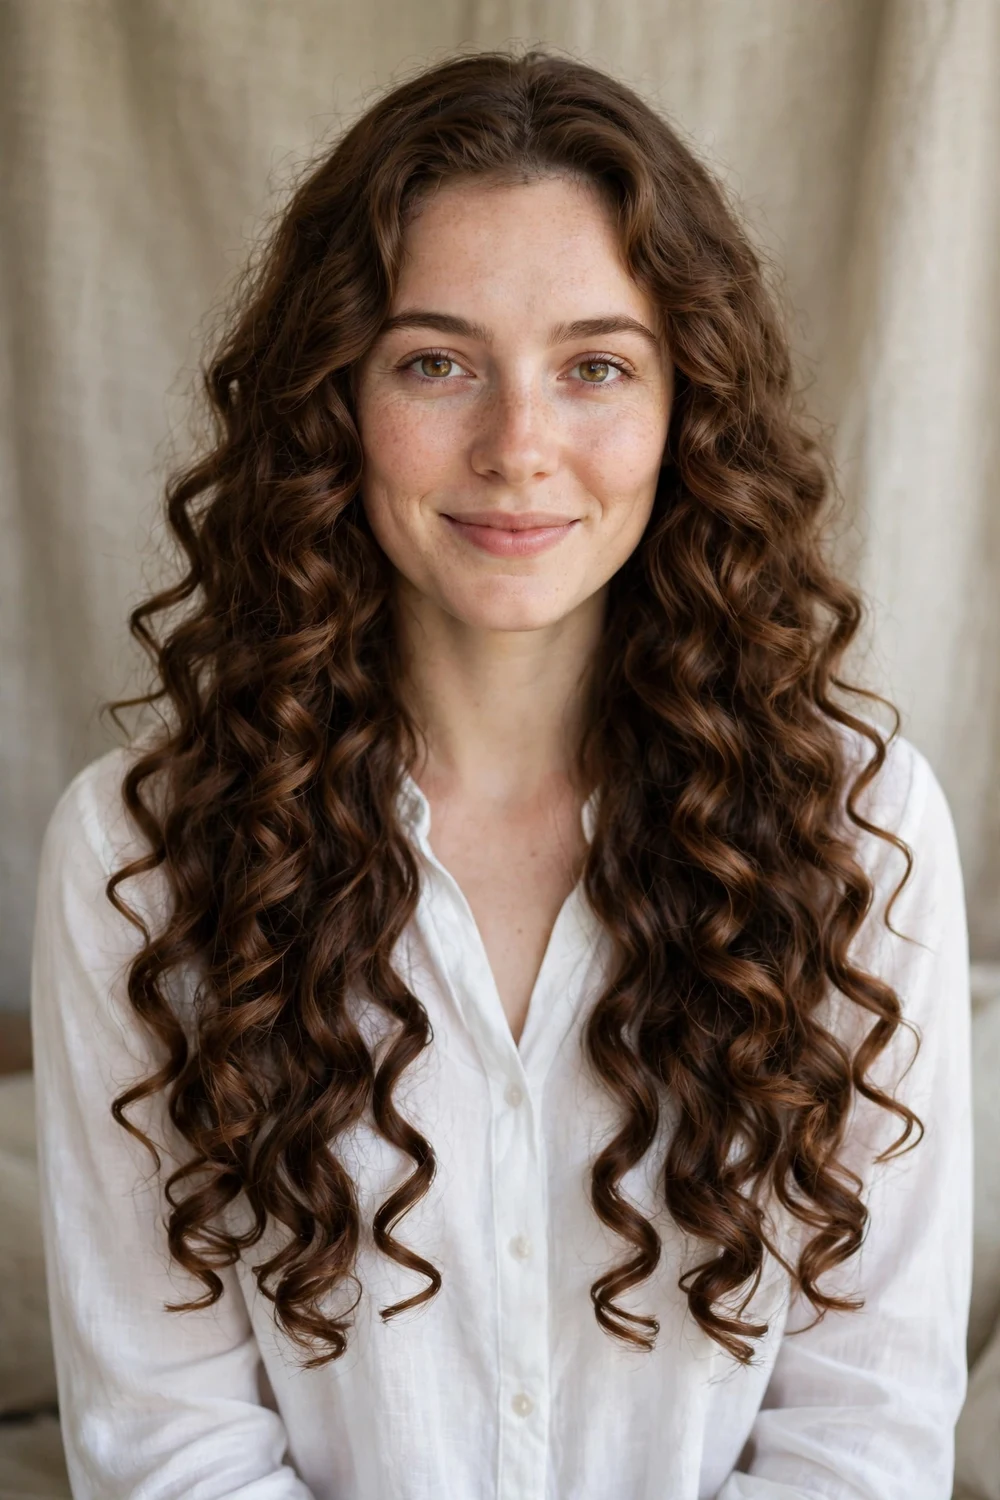
Grab a few clean, soft socks and roll each one into a donut shape. Take a damp section of hair, place the sock at the end, and roll upward toward the scalp, winding the hair around the sock as you go. Tie the sock’s open end to hold it. Thicker socks make bigger, looser curls; thinner socks make tighter ones. Use four to six socks across the head for balanced coverage.
Sleep in the socks for seven to eight hours. Unroll them in the morning and separate the curls with your fingers. The curls come out defined and bouncy, with a finish close to a curling iron. Because the only tool is a sock, this is the most budget-friendly technique on the list, and it travels well since you can find a sock anywhere.
Try this: choose thicker socks for big loose curls and thinner socks for tight ringlets.
Difficulty: Low · Cost: $ (salon)
8. Headband Wrap Waves

Slide a soft, stretchy headband over your head like a crown, resting it across the forehead and around the back. Take damp sections of hair and wrap each one up and around the band, tucking as you go, until all the hair is rolled around the band. Work with sections about two inches wide for soft waves, or narrower ones for more curl. The headband holds everything without pins, which makes it comfortable to sleep in.
Keep it on for seven to eight hours. When you slide the band out in the morning, you will see soft, voluminous waves with a natural finish. Finger-comb and add a light mist of hairspray at the roots for hold. This is one of the gentlest overnight methods because there is no pulling or pinning, just hair wrapped loosely around fabric.
Try this: use a soft fabric headband, not a tight sporty one, so you wake up without a forehead mark.
Difficulty: Low · Cost: $ (salon)
9. Heatless Curling Ribbon (Robe-Belt Curls)

Place a satin curling ribbon or a bathrobe belt over your head like a headband, securing it at the crown with a clip. Take damp sections and wrap each one around the ribbon, working outward on both sides and adding more hair as you go, the way a French braid picks up hair. Clip the ends underneath so nothing unravels. The satin surface keeps the hair smooth as it wraps.
Sleep in the wrap for seven to eight hours. In the morning, pull the clips out and slide the ribbon free, then shake the curls loose. You get big, bouncy curls that look like they came from a large-barrel iron, with a smooth shine from the satin. A robe belt gives a slightly looser curl than a dedicated satin rod, so pick the tool that matches the curl size you want.
Try this: wrap away from your face on both sides so the curls frame rather than cover your features.
Difficulty: Medium · Cost: $ (salon)
10. Pin Curls (Vintage Set)
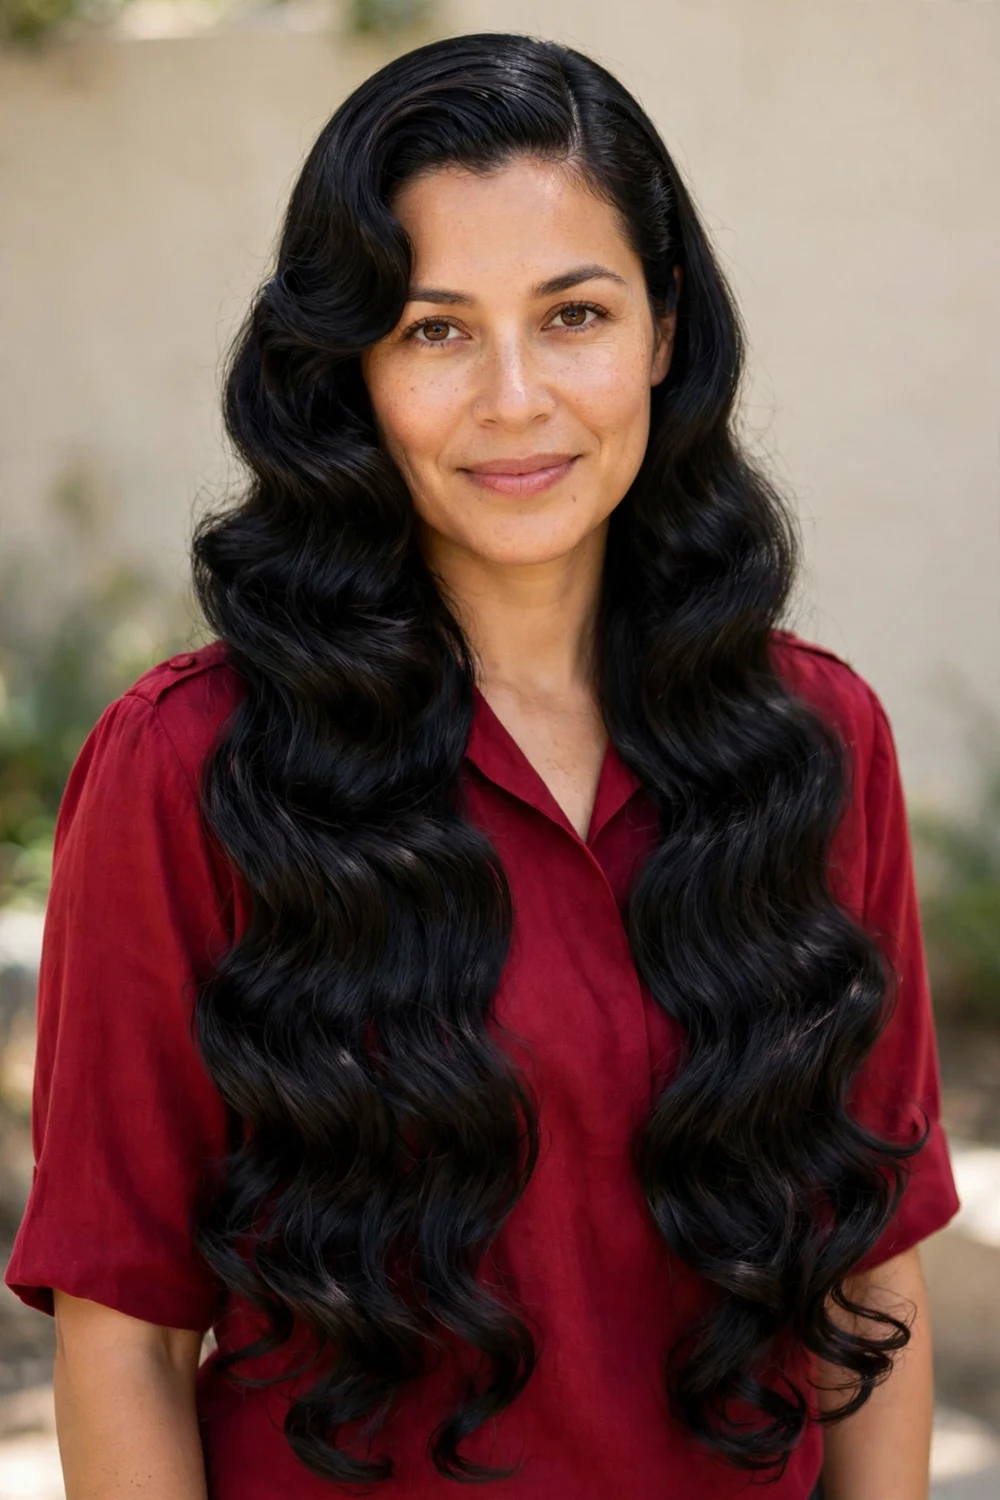
Take a small damp section, wrap it around your finger from the ends up to the scalp, then slide your finger out and pin the coil flat with two crossed bobby pins. Set the whole head this way, keeping the coils the same size for a uniform pattern. Work in rows from front to back so the curls fall in an orderly direction. This is the most precise technique here, and it rewards patience.
Leave the set for at least eight hours or until the hair is bone dry. Remove the pins in the morning and brush through gently with a soft brush for a smooth vintage wave, or leave the coils mostly intact for defined curls. The result is polished and controlled, with a finish no other heatless method matches. Expect this one to take practice before it feels quick.
Try this: mist each section lightly before coiling, and pin with two crossed bobby pins so the coil lies flat.
Difficulty: High · Cost: $ (salon)
11. Silk Scarf Curls

Roll a silk scarf into a long rope and drape it over your head like a headband. Wrap damp sections around the scarf rope the same way you would around a headband, working from front to back. Tie the scarf ends at the nape or the crown to hold everything. The silk surface is the whole point: it reduces friction so the hair dries smooth instead of rough.
Sleep in the wrap for seven to eight hours. In the morning, unwrap slowly and let the curls fall. You will see smooth, frizz-free curls with a soft sheen that cotton methods do not give. This technique is worth trying if your hair frizzes easily or if cotton pillowcases rough up your ends. Finish with a tiny amount of serum on the ends for extra polish.
Try this: use a real silk or satin scarf; cotton scarves create the friction this method is trying to avoid.
Difficulty: Low · Cost: $ (salon)
12. Flexi Rod Curls

Take a damp one-inch section, smooth the ends around a bendable foam rod, and roll it up to the scalp. Bend both ends of the rod inward to lock it. Repeat across the head, keeping sections even. Thinner rods make tight spirals; thicker rods make loose waves. The foam is soft enough to sleep on, though side sleepers may want to place rods only on top.
Leave the rods in for seven to eight hours until the hair is completely dry. Slide the rods out in the morning and separate the spirals with your fingers. The curls come out remarkably uniform, with spring and bounce that holds for days. This is the most reliable way to get consistent curls without heat, which is why stylists have used rods for decades.
Try this: mix two rod sizes, smaller at the nape and larger at the crown, for a natural-looking curl pattern.
Difficulty: Medium · Cost: $ (salon)
13. Finger Coiling

Apply curl cream to damp hair, then take a small section and wind it tightly around your finger from root to tip. Release the coil and let it set. Repeat across the head, keeping the coil direction consistent so the curls clump together. This is a slow, deliberate method, but the control is unmatched: you decide the size and direction of every single curl.
Let the coils air-dry fully, which takes two to four hours depending on thickness, or diffuse on cool for a faster finish. Once dry, separate the coils gently for volume. The result is defined, controlled spirals that last several days with a silk scarf at night. It is an excellent choice for textured and curly hair because it enhances the pattern you already have.
Try this: coil in the same direction across the whole head so the curls clump into a consistent pattern.
Difficulty: High · Cost: $ (salon)
14. Braided Crown (Milkmaid Braids)

Part your hair down the middle and make a braid on each side, starting behind the ear and working down. Pull each braid across the top of the head and pin it in place with bobby pins, tucking the ends under. Gently pull the braids wider with your fingers for a fuller halo. The whole style takes about ten minutes once the braiding motion feels natural.
The braided crown keeps every strand off the neck and face, which makes it a strong pick for warm days, workouts, and formal events. It holds well because the pins distribute the weight across the head instead of hanging it from one point. For weddings and special occasions, these fancy hairstyles for long hair pair nicely with the braided crown as a base. Mist with light hairspray for all-day security.
Try this: pancake each braid by gently pulling the edges wider before pinning for a fuller halo.
Difficulty: Medium · Cost: $ (salon)
15. Twisted Topknot
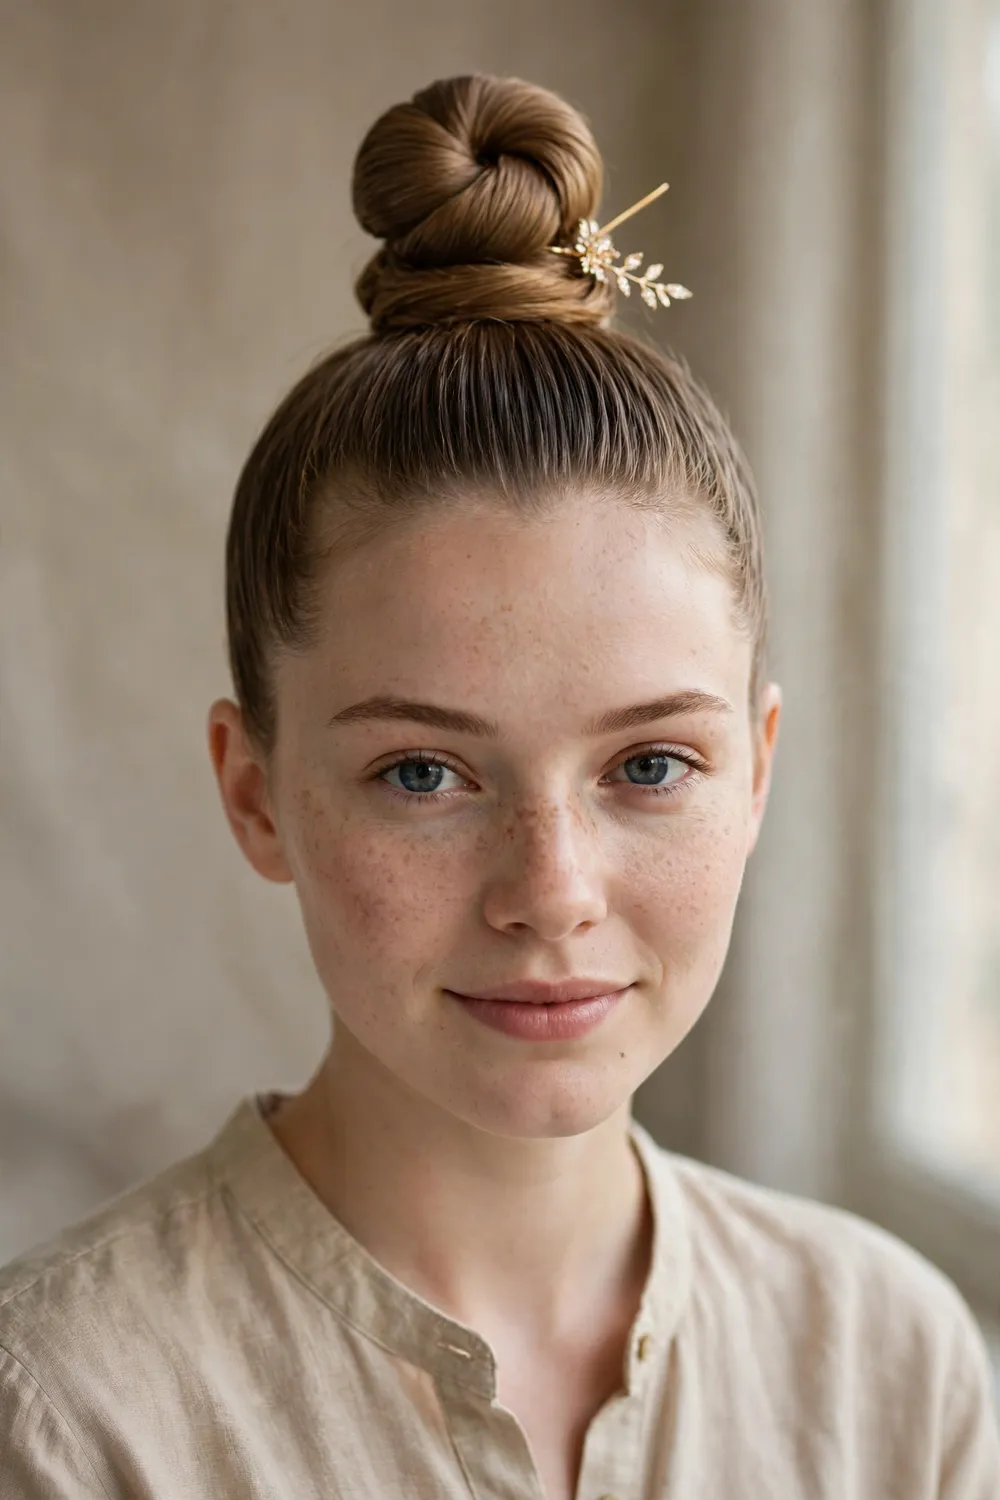
Pull your hair into a high ponytail and secure it with an elastic. Twist the ponytail tightly from base to tip, then coil it around the base and pin it. Smooth the surface with your palms and a touch of cream. The twist is what keeps this bun secure without a mountain of pins: the tension holds the coil against itself.
This is a five-minute updo that looks polished enough for the office and tidy enough for a night out. It works on second-day hair especially well, since a little texture gives the twist grip. If pieces slip, add a pin rather than starting over. The topknot also doubles as a heatless wave set: take it down after a few hours and the lengths will hold a soft bend.
Try this: build the topknot on second-day hair, since a little texture gives the twist much better grip.
Difficulty: Low · Cost: $ (salon)
16. Sock Bun (Donut) Updo
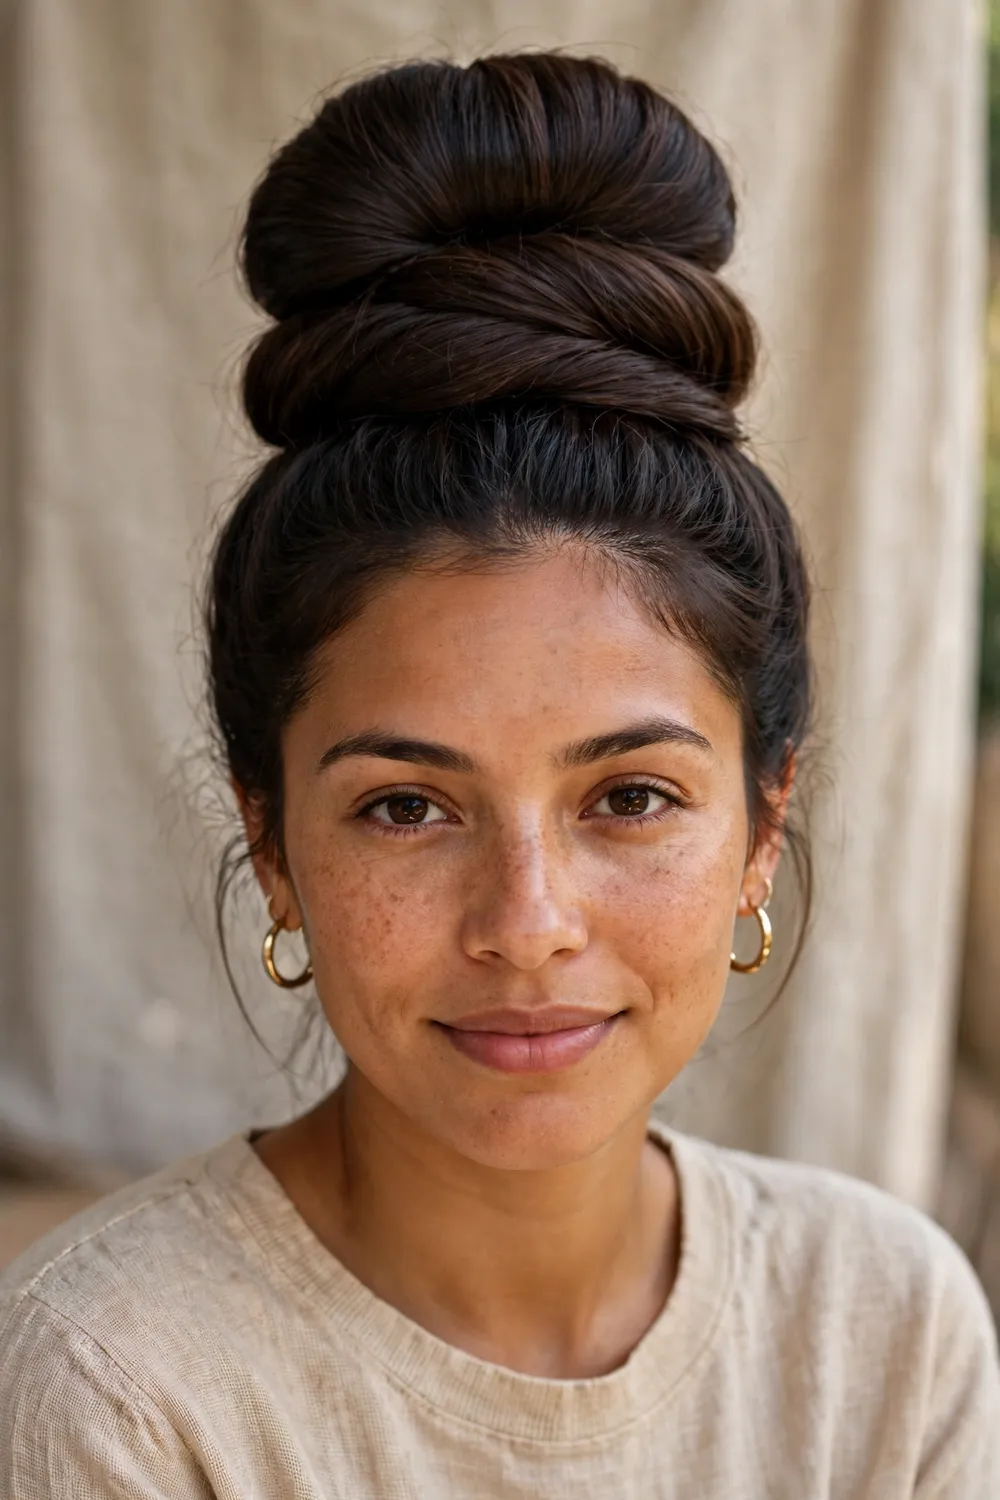
Cut the toe off a clean sock and roll it into a donut. Pull your hair through a ponytail, slide the ponytail through the donut, and spread the hair evenly over the sock. Roll the hair down around the donut, tucking as you go, until you reach the base, then pin. The sock gives the bun its size, so even fine hair looks full.
This updo stays neat for hours because the weight sits close to the head and the rolled hair grips the fabric. It suits workdays, interviews, and any occasion that needs a tidy finish. Unlike overnight sock curls, this is a wearable style, not a set: it goes on in the morning and comes off at night. Choose a sock close to your hair color so it stays invisible.
Try this: pick a sock close to your hair color so the donut stays invisible under the hair.
Difficulty: Low · Cost: $ (salon)
17. Scarf Updo
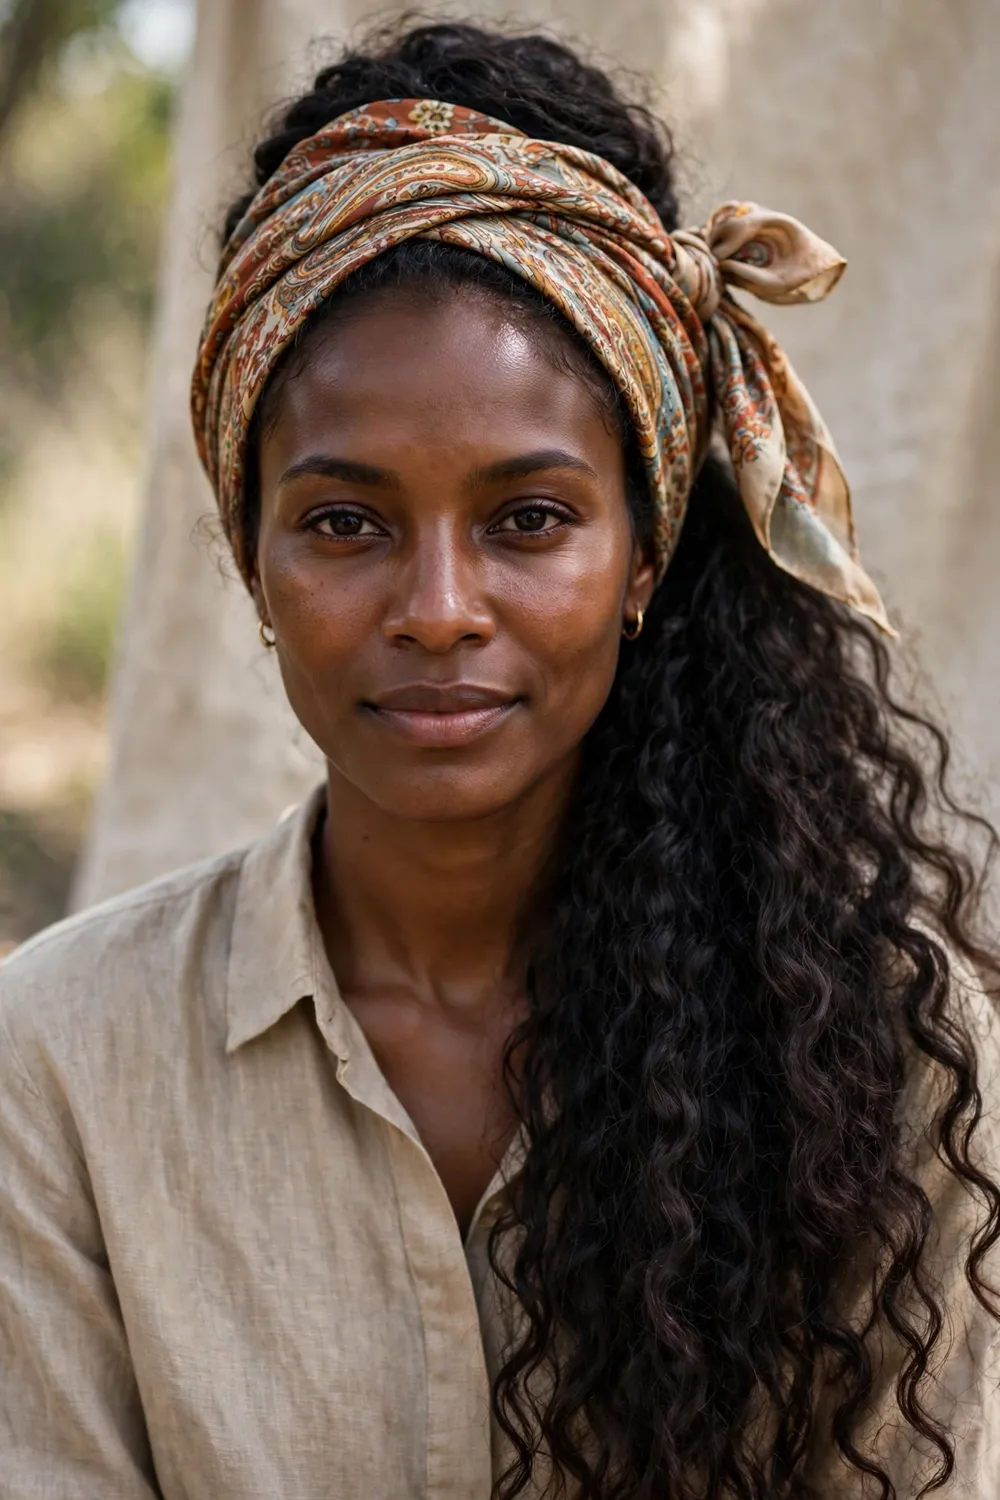
Tie a silk scarf around your head like a headband, knotting it at the nape or the side. Gather your hair into a low ponytail, then tuck and roll sections up and into the scarf band, pinning as needed. The scarf acts as both the accessory and the anchor. A square scarf folded into a band works best because it gives enough width to tuck hair under.
The result is a boho-chic updo that also protects your hair: the lengths stay tucked away from sun, wind, and friction. It is a strong choice for travel days and outdoor events. The scarf adds color and pattern to the outfit, so it does double duty. Re-tuck any slipped pieces during the day and the style holds.
Try this: fold a square silk scarf into a wide band so there is enough fabric to tuck hair under securely.
Difficulty: Medium · Cost: $ (salon)
18. Twist-and-Pin Half-Up

Take a face-framing section from each side, twist each one back toward the crown, and cross them over each other. Pin the twist in place with bobby pins, tucking the ends under. Leave the rest of the hair down. The whole style takes about three minutes, which makes it a reliable fix for busy mornings and fine hair that will not hold a full updo.
The twisted sections keep hair out of your face while the lengths stay free, so you get the polish of an updo with the ease of wearing your hair down. It also refreshes second-day hair: the pinned-back front hides oily roots while the lengths look intentional. Add a small clip over the pins if you want the twist to read as a deliberate detail.
Try this: cross the two twists over each other before pinning so the hold lasts twice as long.
Difficulty: Low · Cost: $ (salon)
19. Bubble Ponytail
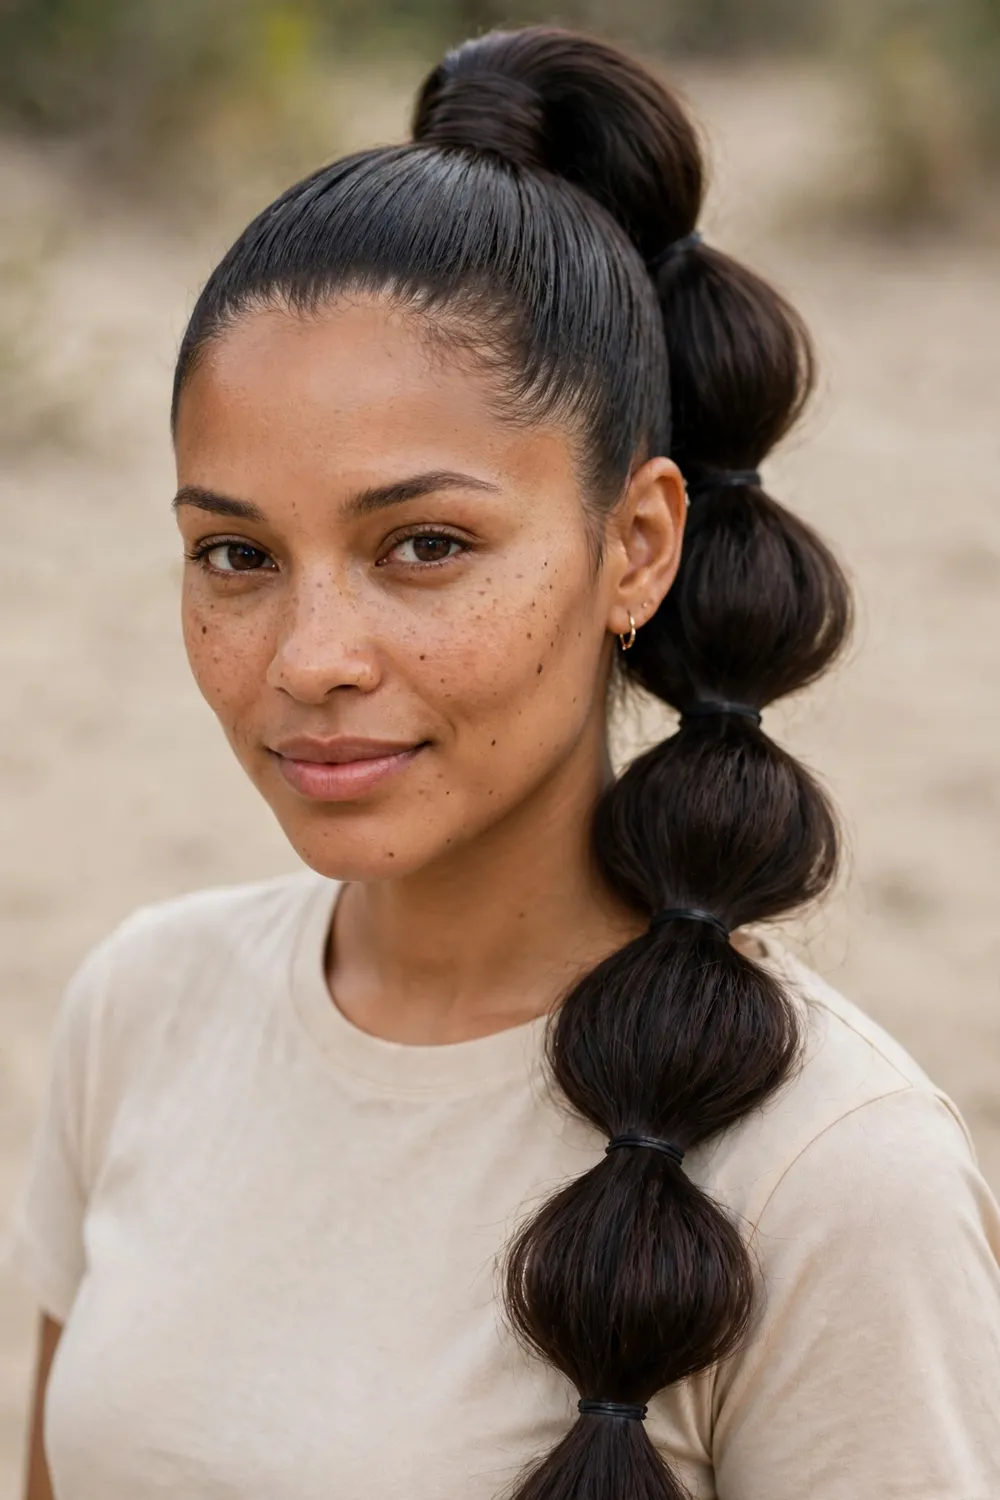
Pull your hair into a high ponytail and secure it. Add small elastics every two to three inches down the length, then gently pull each section wider between the elastics to create the bubble shape. Long hair is ideal for this style because the extra length gives you more bubbles. Keep the sections even so the bubbles graduate smoothly instead of bulging.
The bubble ponytail is playful and on-trend, and it needs no heat at any step. It holds well through the day because the weight is distributed across multiple elastics. The bubble pony is fun by design; for more easy daytime looks, see these cute hairstyles for long hair. Use soft elastics and do not pull them too tight, since long hair plus tension can crease.
Try this: pancake each section by gently pulling it wider between elastics for fuller, rounder bubbles.
Difficulty: Low · Cost: $ (salon)
20. Fishtail Braid
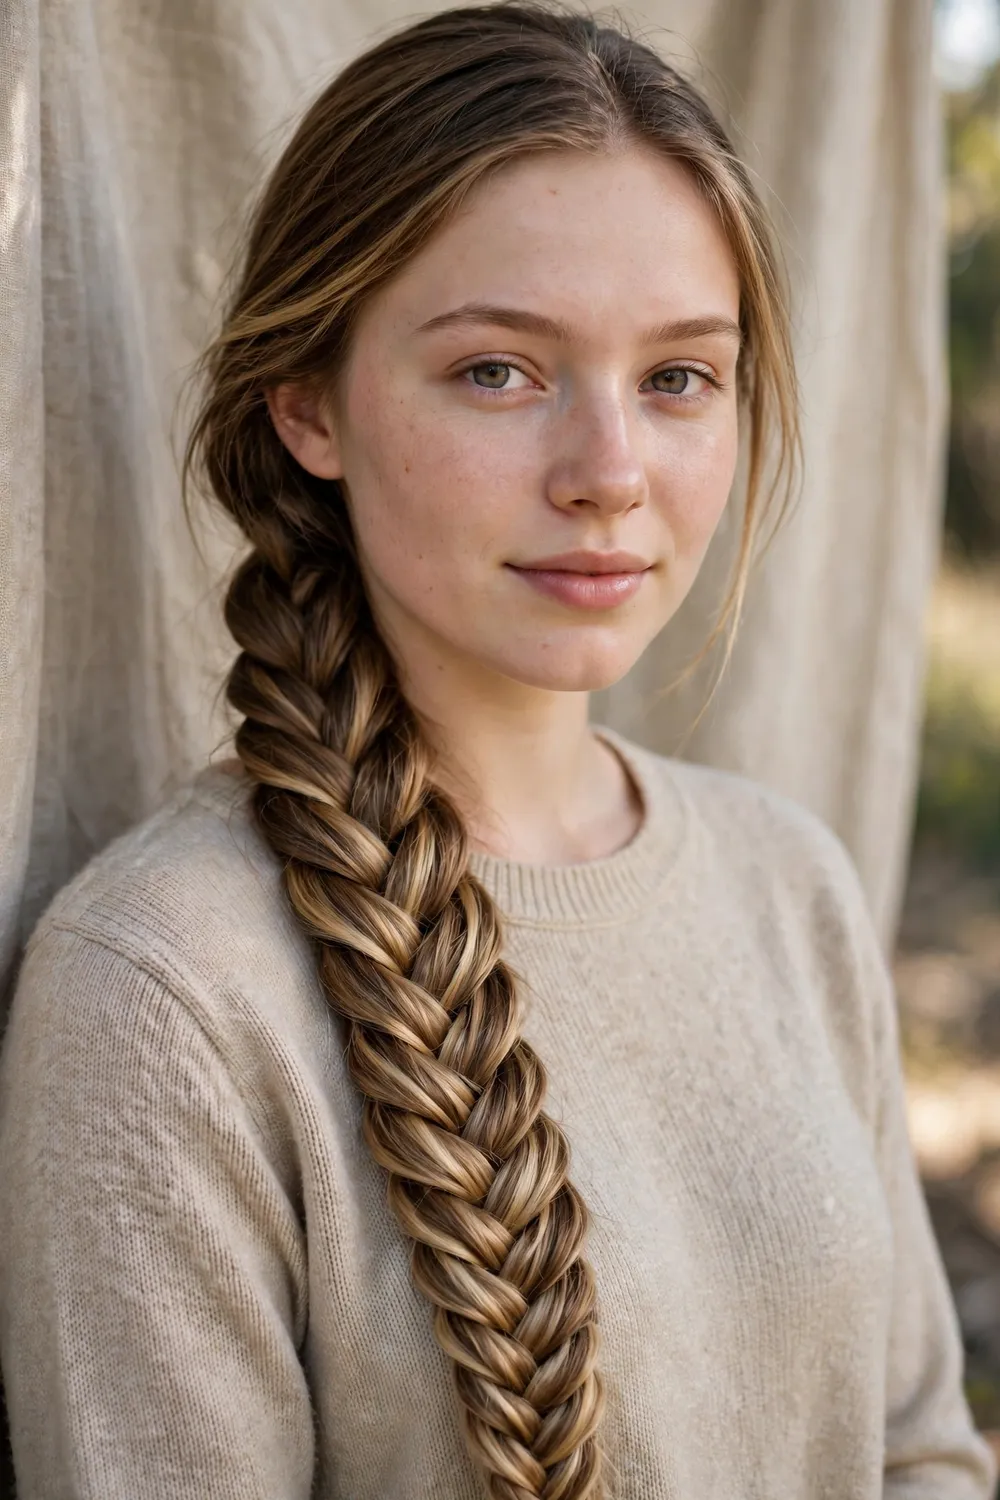
Split your hair into two equal sections. Take a thin strand from the outside of the left section and cross it over to the inside of the right section, then repeat from the other side. Keep alternating with small, even strands. The pattern looks intricate, but the motion is simple once your hands learn it. Tie the end with a soft elastic.
The fishtail suits long hair because the length shows off the woven pattern. Gently pull the braid wider afterward for a fuller, relaxed look. It keeps the hair contained all day without a single pin, and it doubles as an overnight wave set if you sleep in it. Expect the first few attempts to take ten minutes; with practice it drops to five.
Try this: keep the strands small and even; thin pieces are what make the fishtail pattern look intricate.
Difficulty: Medium · Cost: $ (salon)
21. Rope Braid Bun

Make two rope braids the way you would for waves: twist two sections in the same direction, then coil them around each other in the opposite direction. Instead of wearing them loose, wrap both ropes into a low bun at the nape and pin them. The rope texture gives the bun visual interest that a plain bun does not have.
This updo is elegant and secure, which makes it a strong pick for formal events and long days. The rope twist grips itself, so the bun needs fewer pins than a smooth one. It sits low at the nape, so it pairs well with high necklines and statement earrings. Smooth the crown with a touch of cream before you start for a tidy finish.
Try this: wrap the two ropes in opposite directions around the base so the bun looks balanced from every angle.
Difficulty: Medium · Cost: $ (salon)
22. Pinned-Back Waves
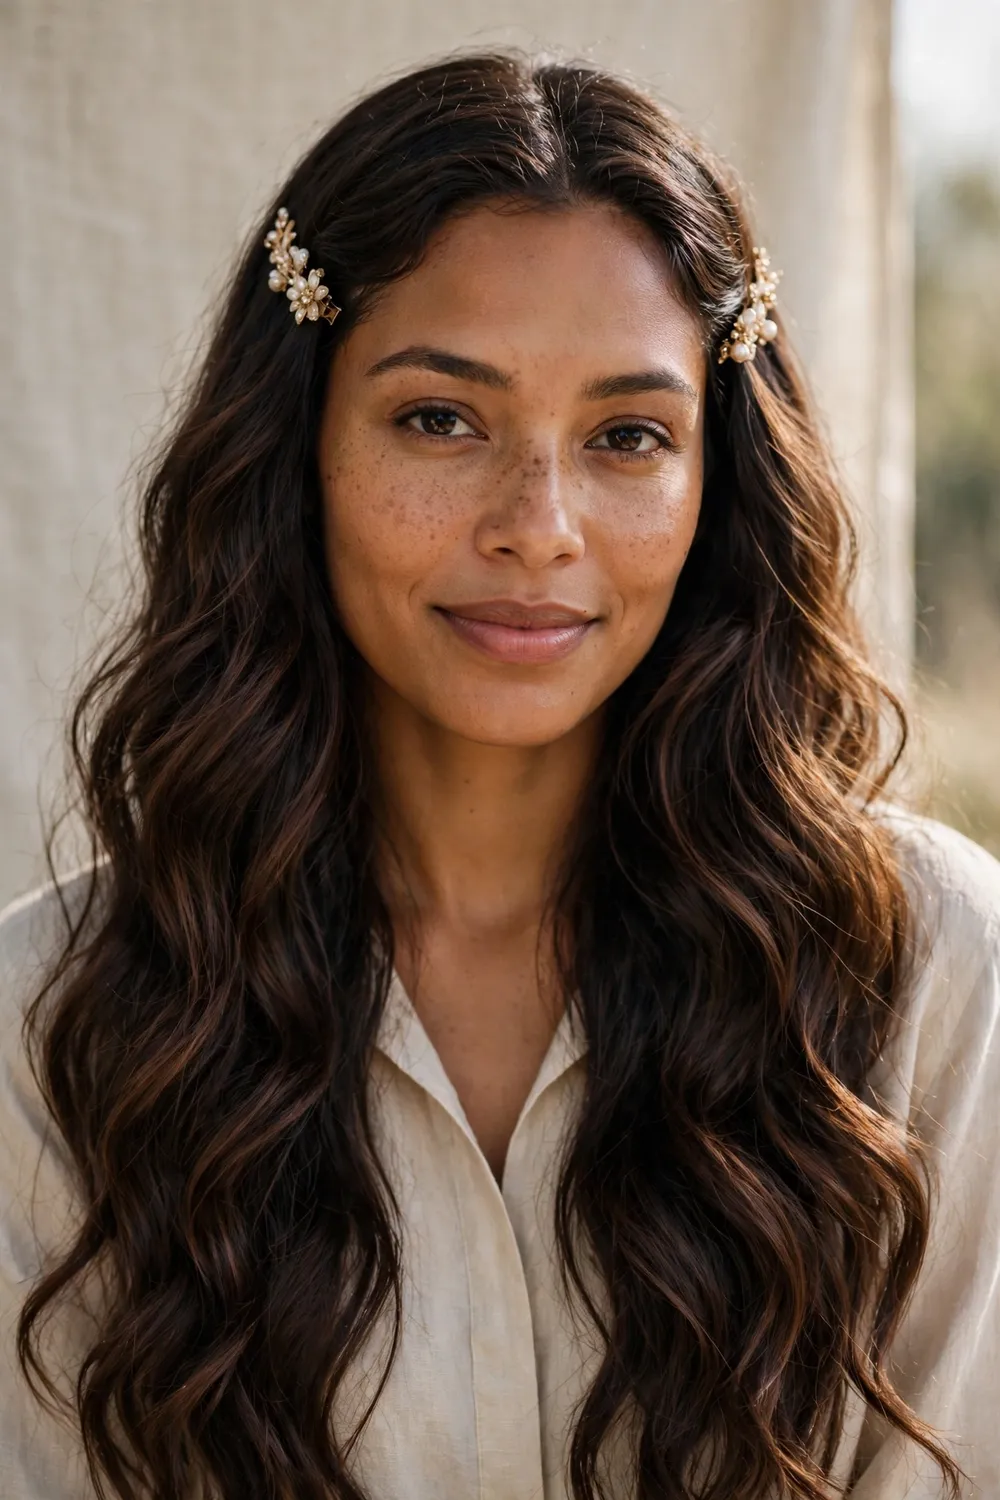
Set your hair in waves the night before using any method on this list, braids or twists work well. In the morning, take the front sections on each side, twist them back loosely, and pin them at the crown. Let the waves fall free behind the pins. The pinned-back front keeps hair out of your face while the loose lengths show off the wave pattern.
This style is effortless in the best way: it looks like you styled your hair for twenty minutes when you really set it overnight. It suits days when you want volume and texture without a full updo. If the pins show, swap them for a small decorative clip. Refresh the waves with a water mist and a scrunch if they flatten by afternoon.
Try this: twist the front sections loosely instead of pulling them tight, since tension flattens the waves.
Difficulty: Low · Cost: $ (salon)
23. Half-Up Bun

Gather the top half of your hair at the crown, twist it into a small bun, and pin it. Leave the bottom half down. The twist is what keeps the bun compact; winding a twisted section coils tighter than winding loose hair. Smooth any bumps with your palms and a little cream before pinning.
The half-up bun is practical and polished at once. It keeps hair off the face for work and errands while the lengths stay free, which flatters long hair. It also hides a less-than-fresh crown on second-day hair, since the pinned top looks deliberate. Wear the bun high for a playful feel or lower for a softer one.
Try this: twist the top section tightly before coiling so the bun stays compact instead of floppy.
Difficulty: Low · Cost: $ (salon)
24. Air-Dried Natural Texture

Wash your hair, apply curl cream or lightweight mousse to damp hair, and scrunch upward from the ends. Then leave it alone. Do not touch it while it dries: every touch adds frizz. Air-drying takes two to four hours depending on thickness, so plan it around your schedule. A microfiber towel or cotton T-shirt for the initial squeeze cuts drying time and friction.
This is the truest heatless style because there is zero manipulation beyond product. It enhances whatever pattern you already have, from soft waves to tight curls. Once dry, shake the roots gently for volume and add a drop of oil to the ends. If your texture falls flat by day two, mist with water and scrunch again to wake it up.
Try this: hands off while it dries; touching wet curls is the fastest way to create frizz.
Difficulty: Low · Cost: $ (salon)
At a Glance: 24 Heatless Styles Compared
| Style | Type | Time needed | Best for |
|---|---|---|---|
| Overnight Loose Braids | Overnight set | 6+ hours | Beginners, all textures |
| Multiple Small Braids | Overnight set | 7-8 hours | Thick hair, defined texture |
| Rope Braid Waves | Overnight set | 6-8 hours | Boho, beachy texture |
| Two-Strand Twist-Out | Overnight set | 6+ hours | Textured and curly hair |
| Twisted Buns | Overnight set | 7-8 hours | Waves with root lift |
| Bantu Knots | Overnight set | 7+ hours | Tight, springy curls |
| Sock Curls | Overnight set | 7-8 hours | Budget-friendly defined curls |
| Headband Wrap Waves | Overnight set | 7-8 hours | Soft, natural-finish waves |
| Heatless Curling Ribbon | Overnight set | 7-8 hours | Big bouncy iron-style curls |
| Pin Curls | Overnight set | 8+ hours | Polished vintage curls |
| Silk Scarf Curls | Overnight set | 7-8 hours | Frizz-prone hair, smooth finish |
| Flexi Rod Curls | Overnight set | 7-8 hours | Uniform springy spirals |
| Finger Coiling | Air-dry set | 2-4 hours | Defined, controlled spirals |
| Braided Crown | Wearable updo | 10 minutes | Events, formal wear |
| Twisted Topknot | Wearable updo | 5 minutes | Office, polished quick fix |
| Sock Bun Updo | Wearable updo | 10 minutes | Fine hair needing volume |
| Scarf Updo | Wearable updo | 10 minutes | Boho looks, travel days |
| Twist-and-Pin Half-Up | Wearable half-up | 3 minutes | Fine hair, busy mornings |
| Bubble Ponytail | Wearable style | 10 minutes | Playful, trendy volume |
| Fishtail Braid | Wearable style | 5-10 minutes | Intricate look, basic skill |
| Rope Braid Bun | Wearable updo | 15 minutes | Formal events, secure hold |
| Pinned-Back Waves | Wearable style | 5 minutes | Volume off the face |
| Half-Up Bun | Wearable half-up | 5 minutes | Second-day hair, errands |
| Air-Dried Natural Texture | Air-dry style | 2-4 hours | All textures, zero effort |
How to Choose Your Heatless Style
Start with your hair type. Straight hair resists curl, so it needs tighter wrapping and a setting product like mousse to hold. Fine hair does better with smaller sections and fewer pins, since heavy styles slip out. Thick or slow-drying hair needs less moisture at the start and more drying time, or the set will fall flat by morning. Match the technique to what your hair already wants to do and you will get better results with less frustration.
Next, think about your schedule. If you have six to eight hours overnight, any wrapped set works. If you style in the morning, pick a wearable style like the twisted topknot, bubble ponytail, or half-up bun, all of which take under ten minutes. Finger coiling and air-drying sit in the middle: they need a few hours of drying time but almost no hands-on work.
Finally, be honest about your skill level. Loose braids, sock curls, and the headband wrap are forgiving first tries. Pin curls, fishtail braids, and finger coiling take practice before they feel quick. Start with one Low-difficulty method, learn how your hair responds to it, and add a new technique each week. Heatless styling is a skill, and it gets noticeably easier with repetition.
Heatless Prep and Care for Long Hair
Prep. Start every set on hair that is 70 to 80 percent dry. Soaking wet hair will not dry in time, and fully dry hair will not hold the shape. Detangle from the ends upward with a wide-tooth comb, and squeeze out water with a microfiber towel or a cotton T-shirt instead of a rough bath towel.
Products. A small kit covers everything: leave-in conditioner for moisture, curl cream or lightweight mousse for hold, a light hair oil or serum for finishing, and soft scrunchies plus bobby pins for securing. A silk or satin pillowcase is the single most useful purchase if you sleep in overnight sets.
Best results. Work in even sections, since uneven sections give uneven curls. Use gentle tension rather than pulling tight, which causes creases and scalp soreness. Let the hair dry fully before unwrapping, and separate curls with your fingers instead of a brush. A light mist of hairspray or a drop of oil finishes the style.
Hair type tweaks. Naturally straight hair holds best with tighter wrapping and mousse. Fine hair needs smaller sections for curl that lasts. Thick hair should start drier than you think, since it holds water longer. Coily and textured hair benefits from cream or oil on each section before setting to keep the curls soft and defined.
Refresh days. Heatless styles often last two to three days. Revive flattened curls with a light water mist and a scrunch, reshape the front into a twist-and-pin half-up, and use dry shampoo on oily roots. Sleep on a silk pillowcase between sets to keep the pattern intact longer.
Frequently Asked Questions
Should hair be wet or dry for heatless curls?
Somewhere in between: aim for 70 to 80 percent dry. Soaking wet hair will not finish drying overnight, so the curls fall flat in the morning. Fully dry hair lacks the moisture the shape needs to set. Towel-dry after washing, let the hair air-dry partway, then start your set. If your hair dried too much before you begin, mist each section lightly with water.
Do heatless curls work on naturally straight hair?
Yes, but straight hair needs extra help. Wrap the sections tighter than you think you should, use a setting product like mousse or curl cream, and make sure the hair is fully dry before unwrapping. Sleeping in the set a full eight hours matters more for straight hair than for wavy hair. The curls may relax into waves by day two, which is normal and still looks good.
How long do heatless curls last?
Most heatless curls last one to three days, depending on your hair type and the method. Tighter sets like bantu knots and flexi rods hold longest; loose braid waves relax sooner. Sleeping on a silk pillowcase, avoiding heavy oils at the roots, and refreshing with a water mist and scrunch in the morning all extend the wear. Second-day waves often look better than first-day curls.
Can heatless curls work on fine or thin hair?
Yes, with a few adjustments. Use smaller sections, since thinner sections set better and hold longer on fine hair. A lightweight mousse adds grip without weighing the hair down. Avoid heavy creams and oils near the roots, which flatten fine hair. Sock curls, the headband wrap, and the curling ribbon all give fine hair noticeable volume without damage.
Are heatless styles suitable for everyday styling?
They are. Overnight sets give you styled hair with no morning effort, which makes them practical for daily life. Wearable styles like the twisted topknot, bubble ponytail, and half-up bun take under ten minutes. Because there is no heat damage, you can restyle every day without the breakage and split ends that daily hot tools cause, which is the whole point for long hair.
Final Thoughts
Long hair is an investment, and heatless styling is how you protect it. Start with one overnight method that matches your texture, give it a few tries, and add a wearable style for busy mornings. Your ends will thank you, and so will your routine.

