



Thin, fine curls can look full and bouncy with the right cut and a light hand on product. The trick is simple: keep weight off the ends, lift the roots, and let each curl do the volumizing work for you.
Below are 20 curly hairstyles for thin fine hair, each with exact styling steps, honest time estimates, and the products that won’t drag your curls down. Every style here works with your natural texture instead of fighting it.
Quick Takeaways
- Lightweight foam or mousse beats heavy creams and butters on fine curls every time.
- Layers and shorter lengths keep curls from stretching flat under their own weight.
- A diffuser on low heat builds root volume that air drying alone can’t give.
- Don’t touch curls while they dry. Disturbing them causes frizz and lost definition.
- Refresh second-day curls with water mist and a scrunch instead of a full rewash.
1. Layered Curly Bob with Root Lift
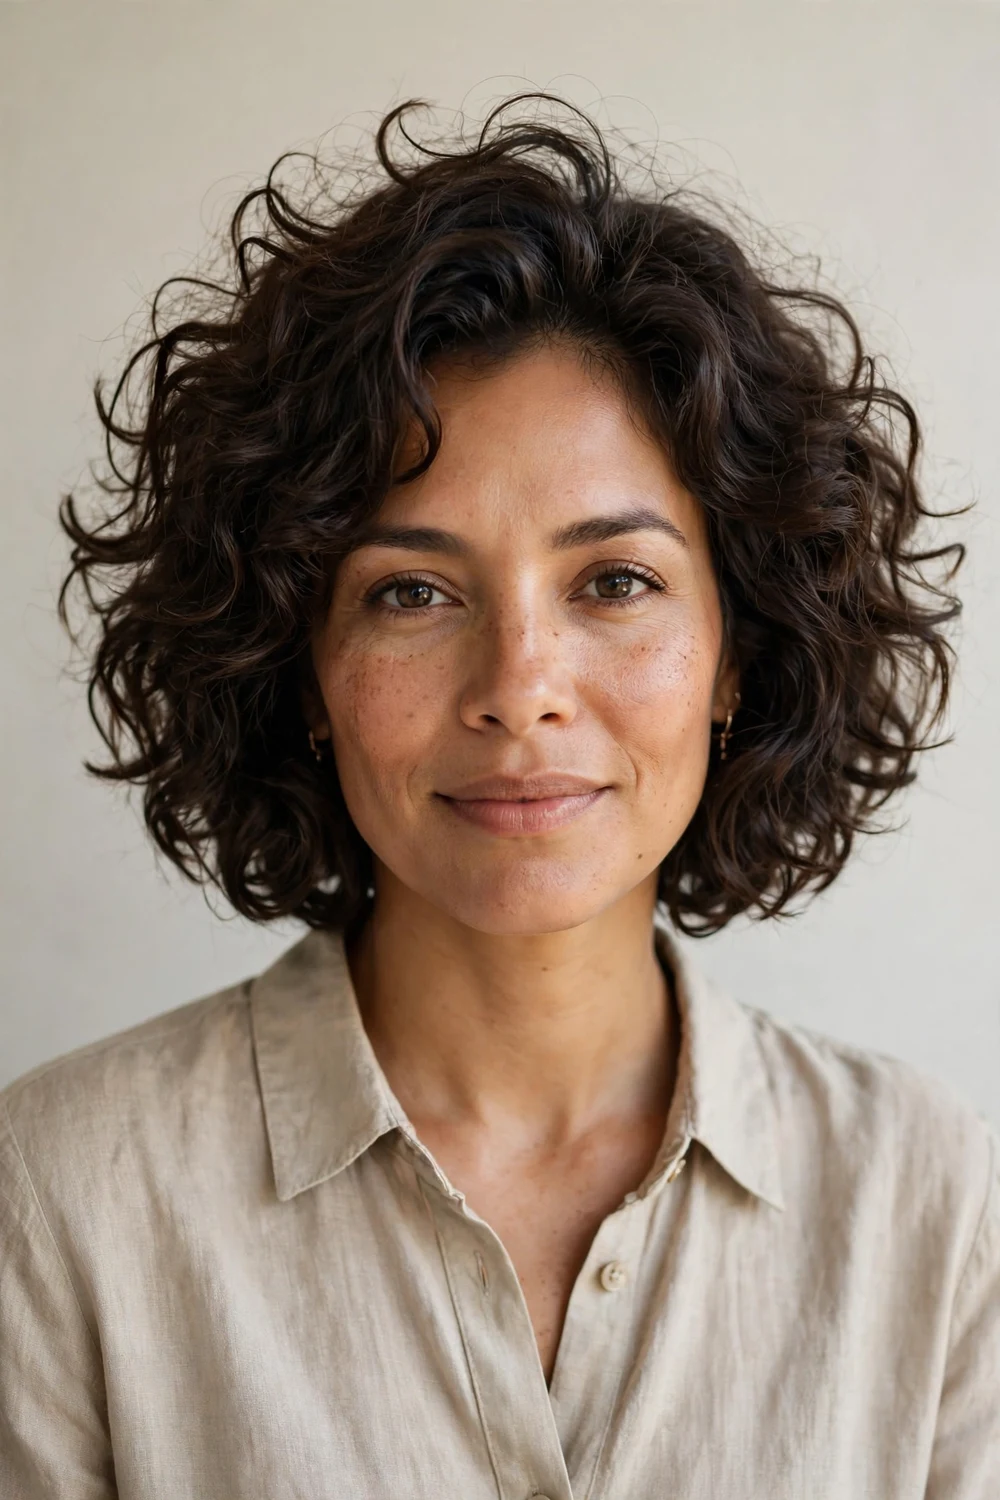
A chin-length bob with light layers is one of the most reliable cuts for thin fine curls. The layers remove bulk from the ends so the top layers can spring up instead of lying flat. Ask your stylist to keep the perimeter soft rather than razor sharp.
Style on damp hair with a golf-ball amount of lightweight mousse, then diffuse upside down for 8 to 10 minutes. Flip back up and let the roots cool for 2 minutes before touching anything. The whole routine takes about 15 minutes.
Try this: Clip two small root clips at the crown while diffusing for extra lift that lasts all day.
Difficulty: Easy · Cost: $0 (styling only)
If you sometimes wear your curls straight, our short hairstyles for thin hair has smoothing tricks that don’t flatten your roots.
2. Diffuser-Dried Spiral Curls
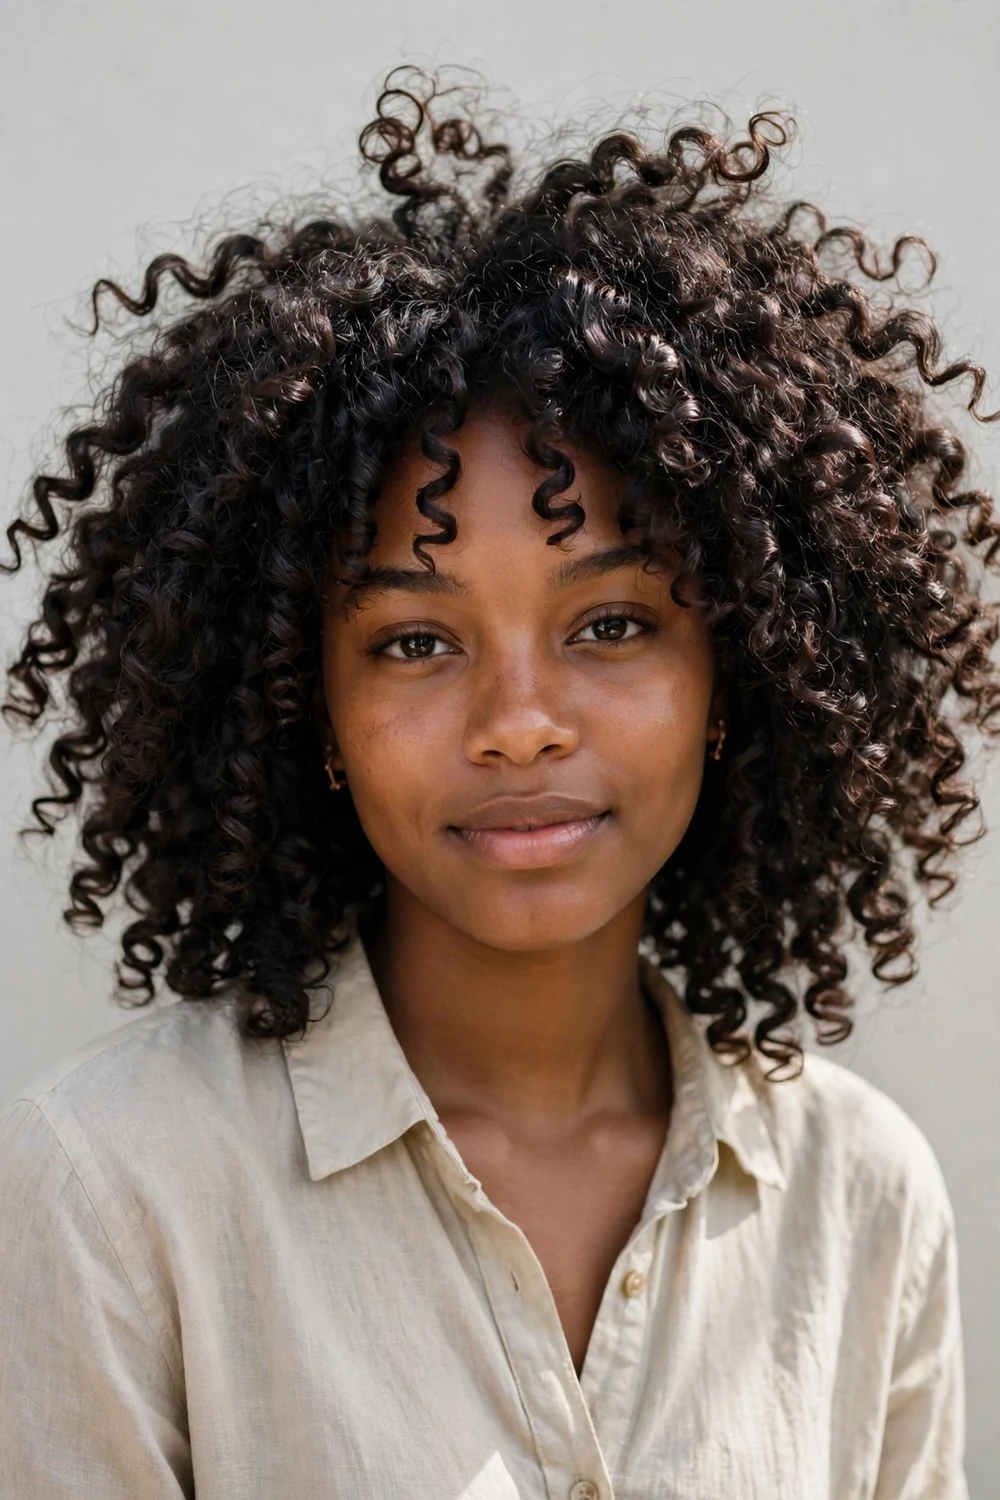
This is a technique more than a haircut, and it works on almost any curl length past the chin. A diffuser spreads airflow so curls dry in their natural coil instead of getting blown straight and frizzy. Use low heat and low speed, and always apply a heat protectant first since the dryer runs for 10 to 15 minutes.
Cup sections of hair in the diffuser bowl, lift toward the scalp, and hold each section for 20 to 30 seconds. Work around the head twice. Finish with a cool shot to lock the shape. Expect defined spirals with twice the root volume of air drying.
Try this: Hover the diffuser around the roots first for 2 minutes before cupping lengths. Roots set the volume.
Difficulty: Easy · Cost: $25-$40 for a diffuser attachment
3. Curly Shag with Wispy Bangs
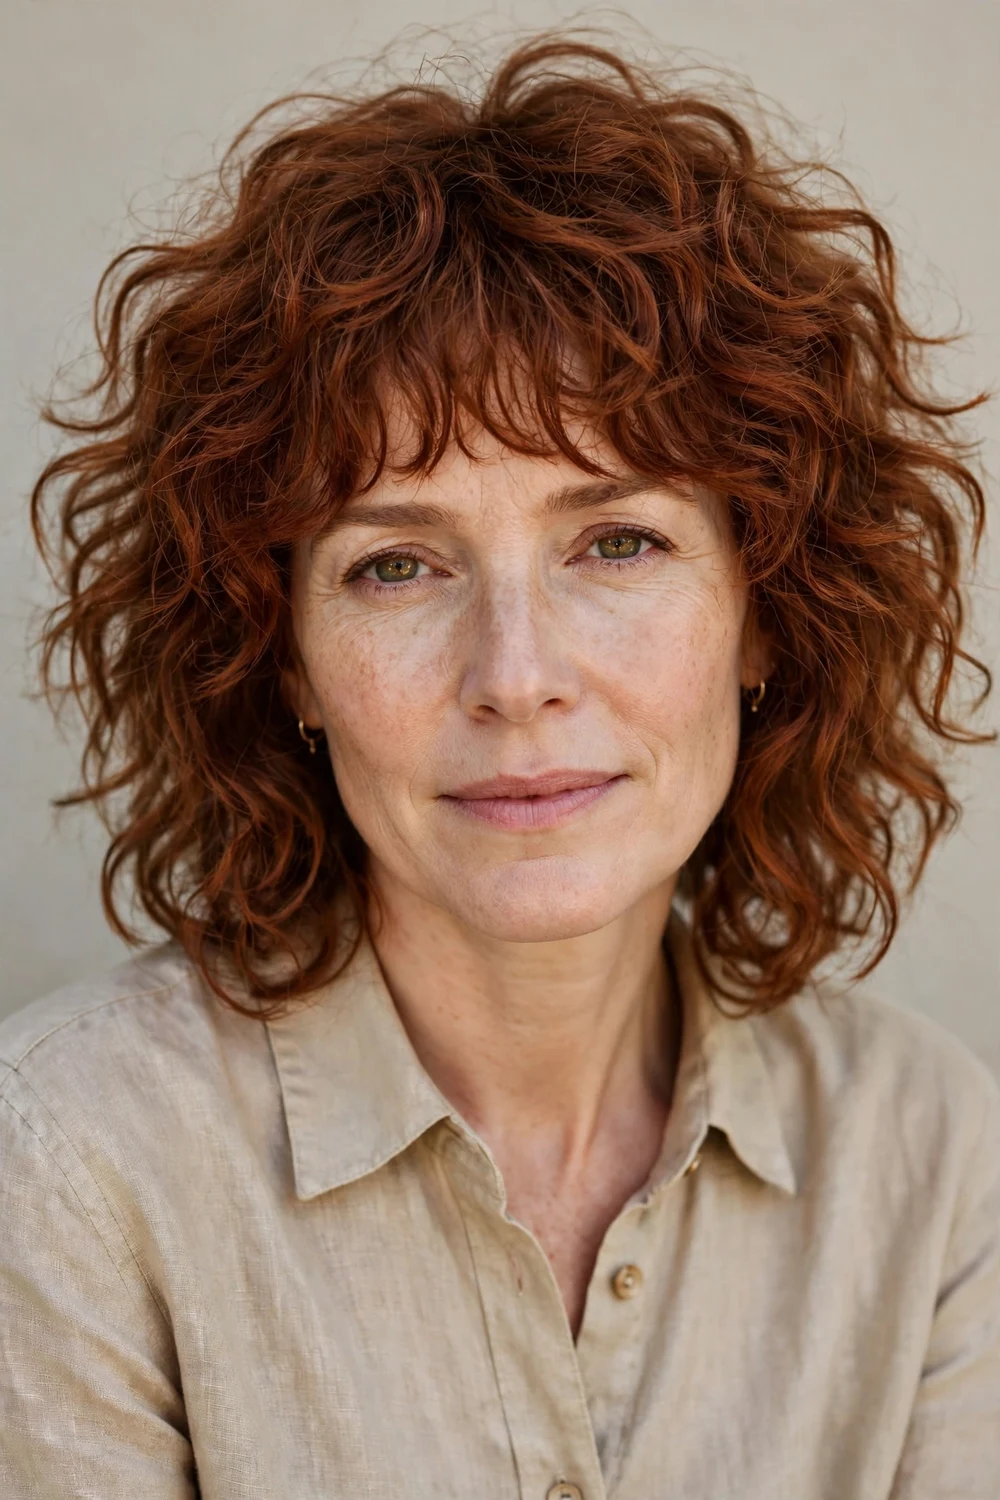
The shag was practically designed for thin fine curls. Short, choppy layers through the crown create built-in volume, and the wispy bangs add fullness around the face where fine hair often looks sparse. Keep the overall length between the chin and shoulders.
Scrunch a lightweight curl cream through damp hair, then either diffuse for 10 minutes or air dry. Shake the roots gently once fully dry. A shag this textured needs a trim every 8 to 10 weeks to keep the layers from growing heavy.
Try this: Twist the bangs around your finger while damp so they dry in separated spirals instead of one clump.
Difficulty: Easy · Cost: $0 (styling only)
4. Curly Pixie Cut
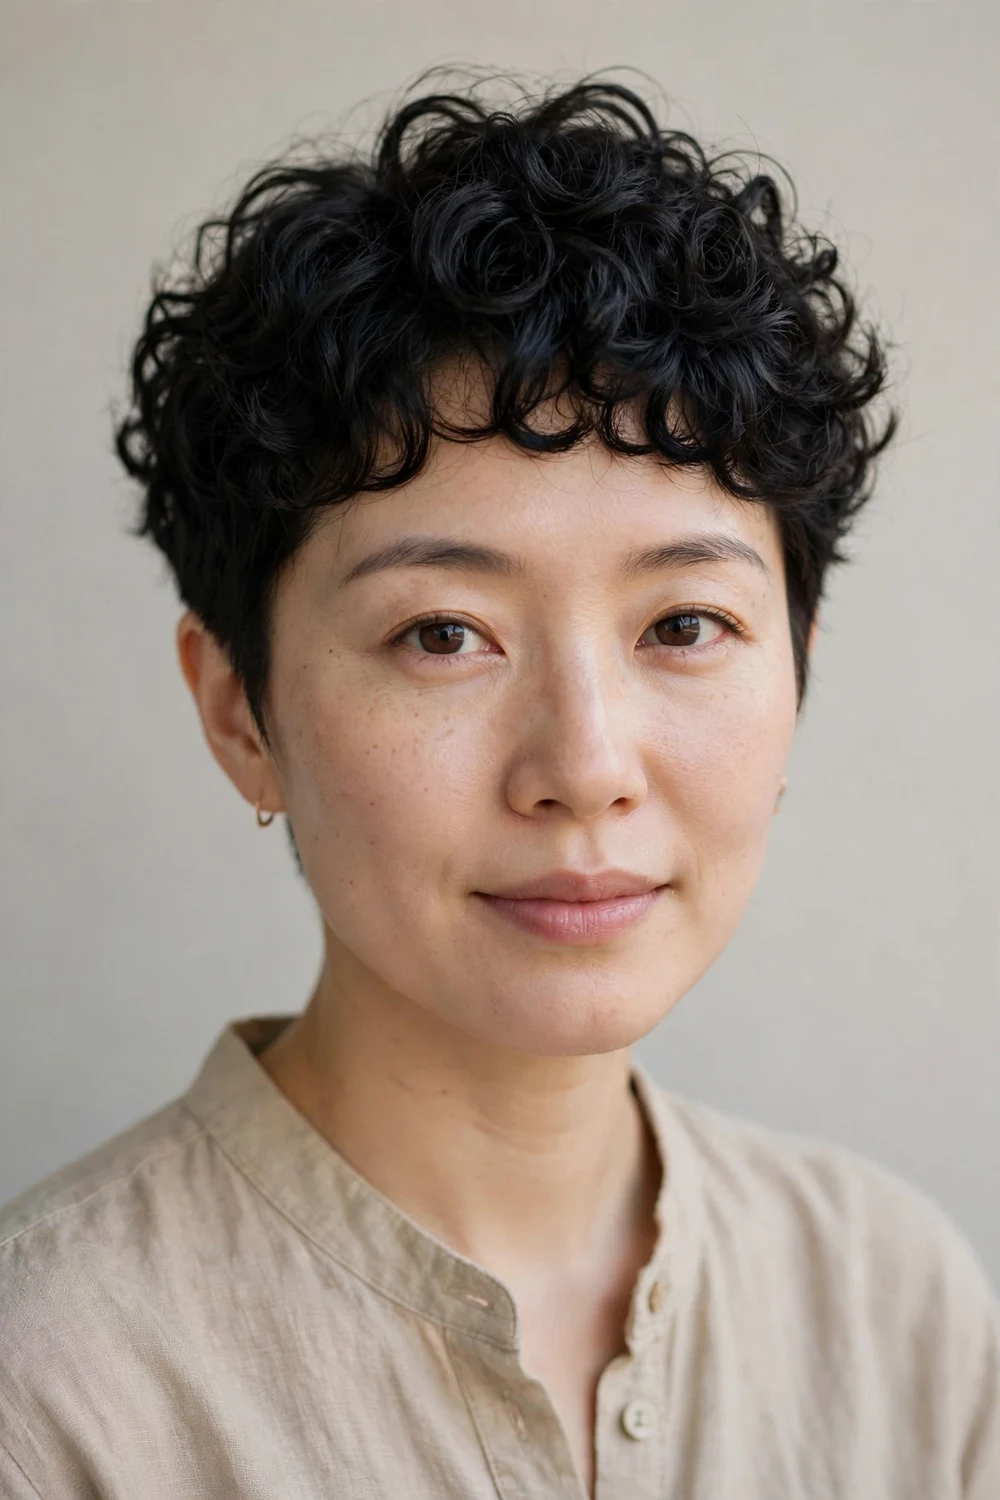
Going short is the fastest way to make fine curls look dense. With only 2 to 3 inches on top, every curl springs to its fullest shape and nothing pulls the roots flat. Tapered sides keep the silhouette neat while the top stays full.
Work a pea-sized amount of light curl cream through damp hair with your fingertips, pushing curls in the direction you want them to sit. Air dry in about 10 minutes. This cut needs reshaping every 4 to 6 weeks, which runs $30 to $60 per visit.
Try this: Sleep on a satin pillowcase to keep the short curls defined overnight without rewetting.
Difficulty: Easy · Cost: $30-$60 per trim
For more short curly cutting ideas, browse our curly pixie haircuts roundup.
5. Curly Lob with Long Layers
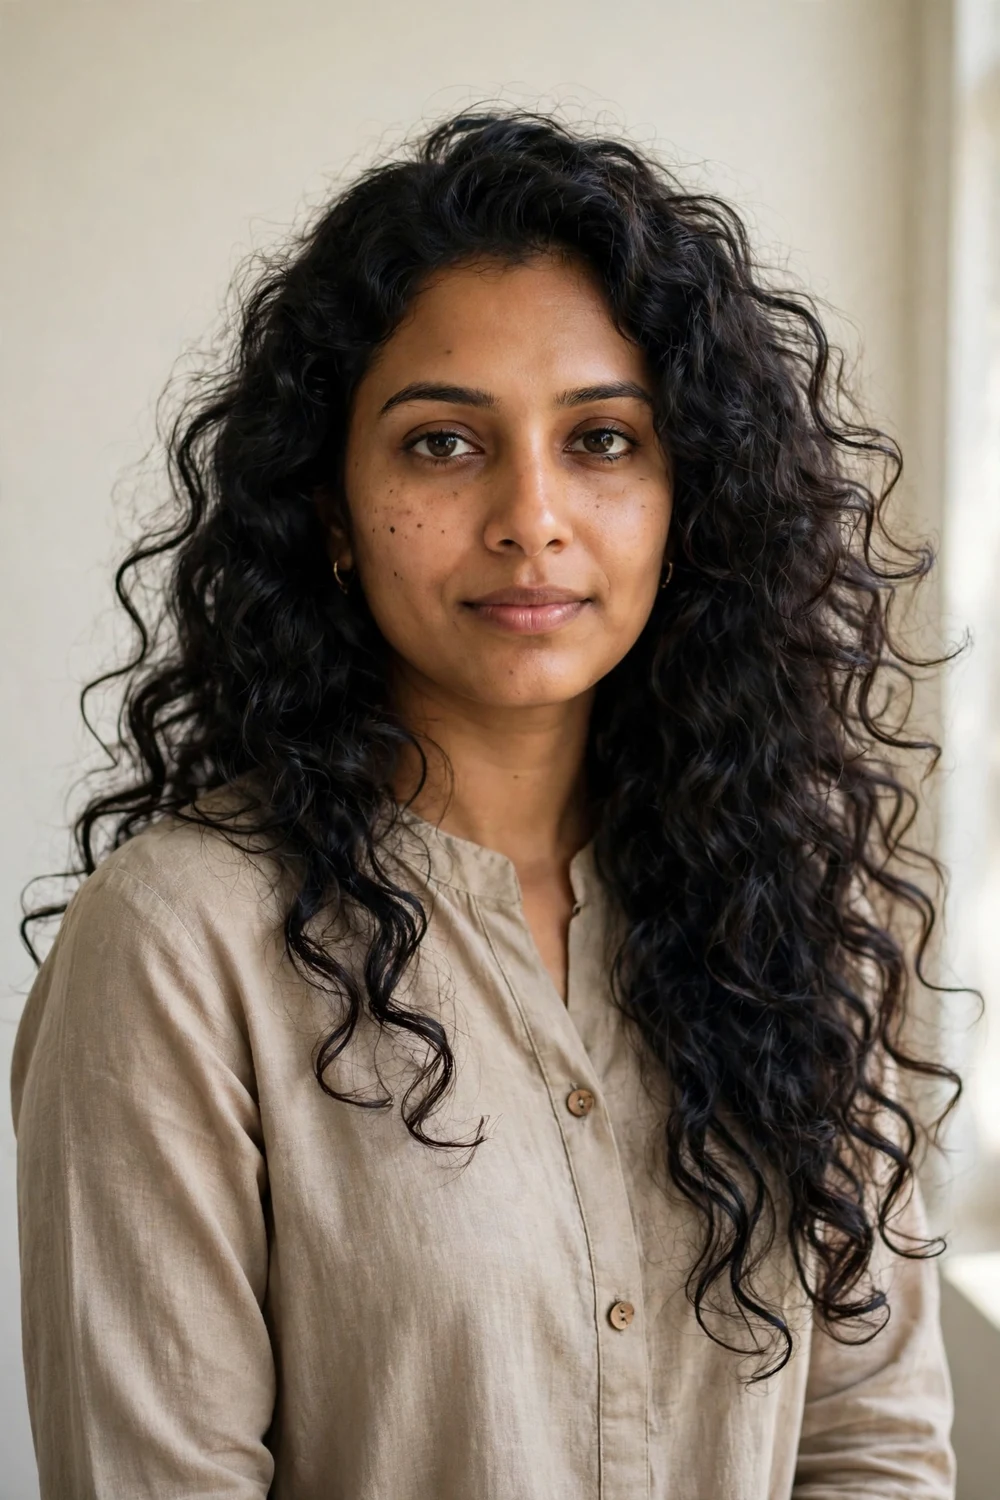
A lob gives you length without the flatness that one-length long hair causes on fine curls. Long layers starting at the cheekbones let the top curls lift while the bottom keeps its length. This is the best pick if you don’t want to go short.
Apply curl foam to soaking wet hair using the praying hands method, then scrunch upward. Diffuse or air dry without touching. The praying hands technique smooths the cuticle so fine curls look shinier and less frizzy. Styling takes 15 to 20 minutes.
Try this: Part your hair on the opposite side while it dries, then flip it back for instant root volume.
Difficulty: Easy · Cost: $0 (styling only)
6. Deep Side Part Curls
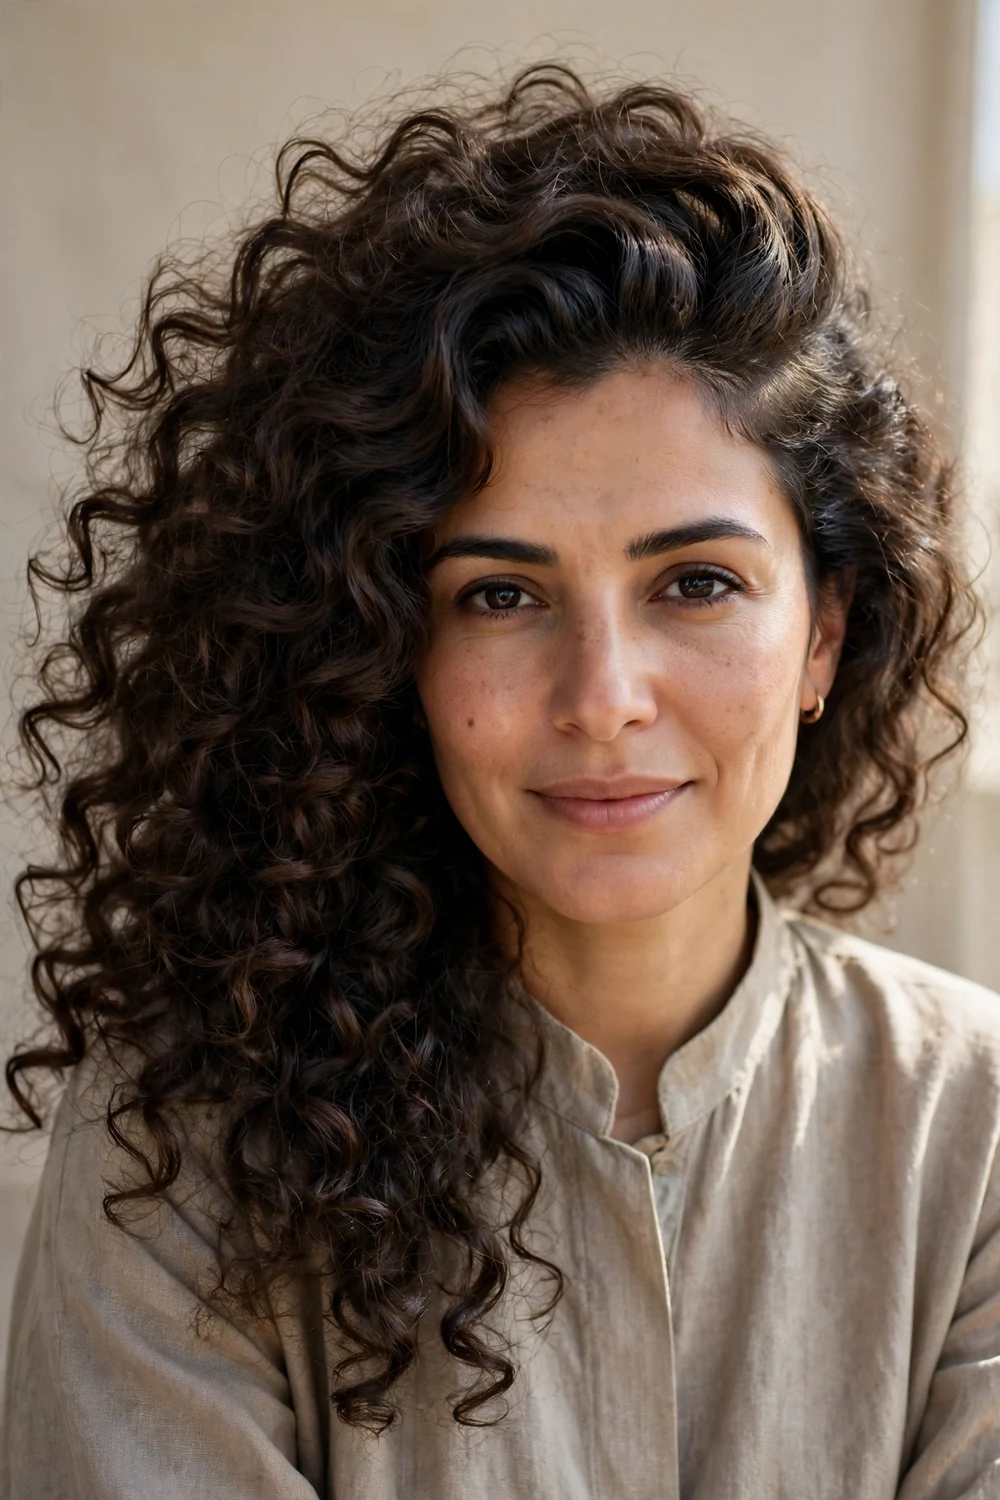
No scissors needed for this one. Moving your part 2 inches to the side forces roots to stand up instead of lying in their trained flat position. It adds visible volume in under a minute and works on any curl length.
Flip your part while hair is damp, then style as usual. The unfamiliar direction makes roots lift on their own. If your part keeps sliding back, set it with one bobby pin at the temple for the first hour. This trick also hides thinning spots at the crown.
Try this: Switch your part side every few days so roots never get trained flat again.
Difficulty: Very easy · Cost: $0
7. Curly Curtain Bangs
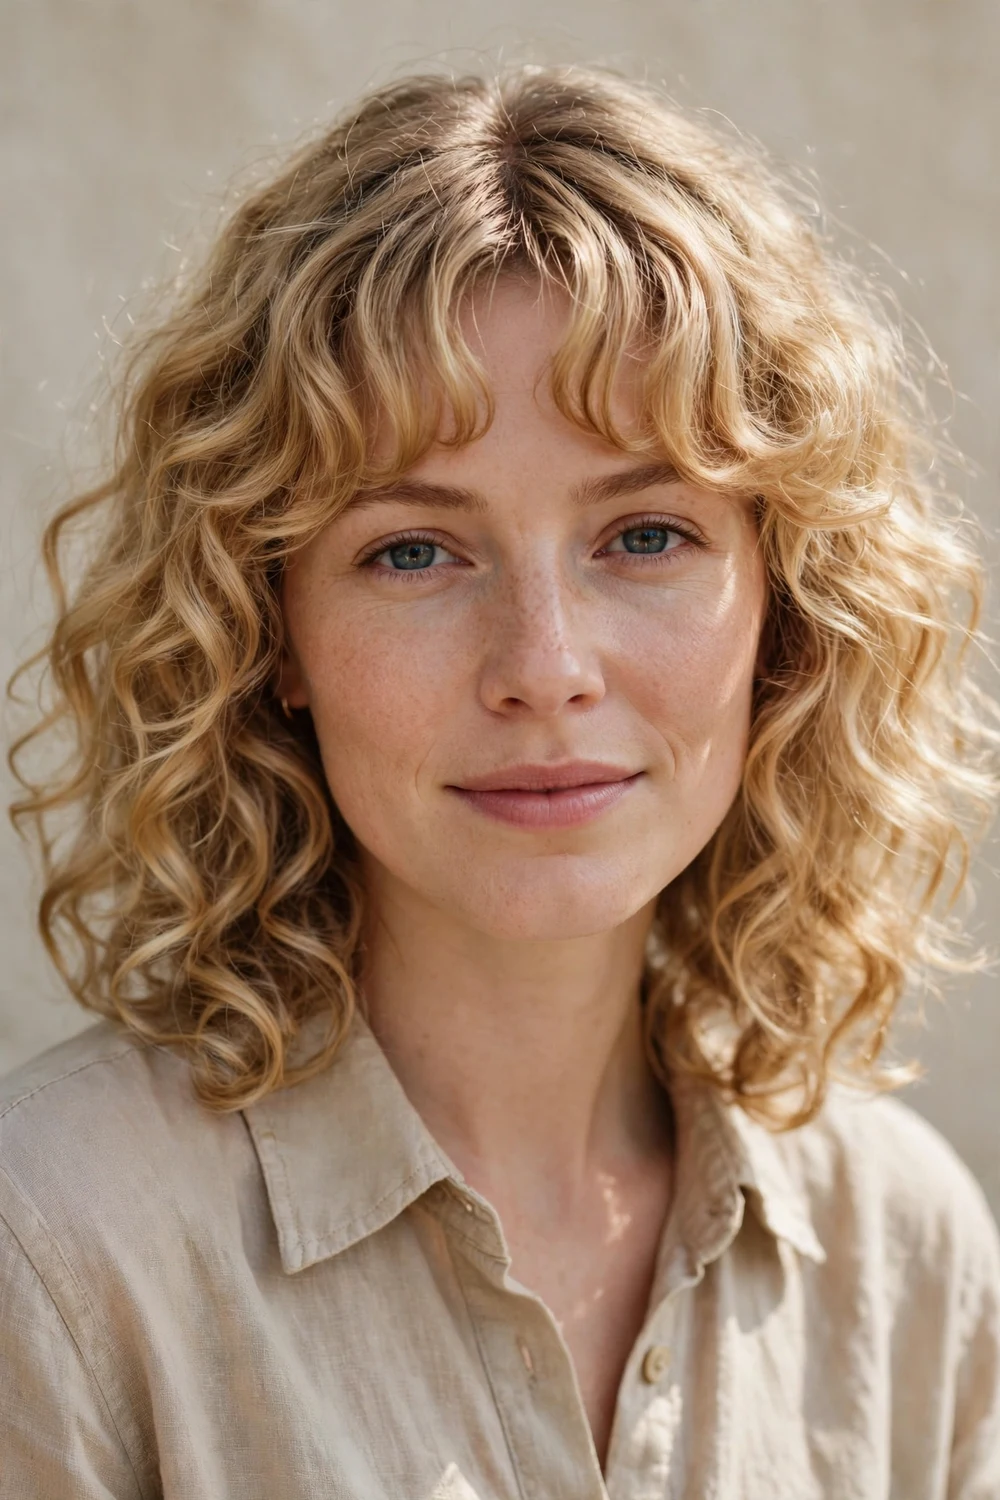
Curtain bangs that blend into curly layers add density around the face, which is exactly where thin fine hair needs help. Cut them dry and curled, never wet and straight, so the length lands right. They should hit between the cheekbones and jaw when dry.
Style bangs separately from the rest: twirl each side away from the face while damp, then let them air dry or hit them with the diffuser for 2 minutes. They’ll fall into soft face-framing pieces. Trim bangs every 3 to 4 weeks to keep the shape.
Try this: If bangs puff up too much, smooth them with the flat of your palm while damp instead of adding more product.
Difficulty: Medium · Cost: $10-$20 per bang trim
8. Half-Up Curly Crown
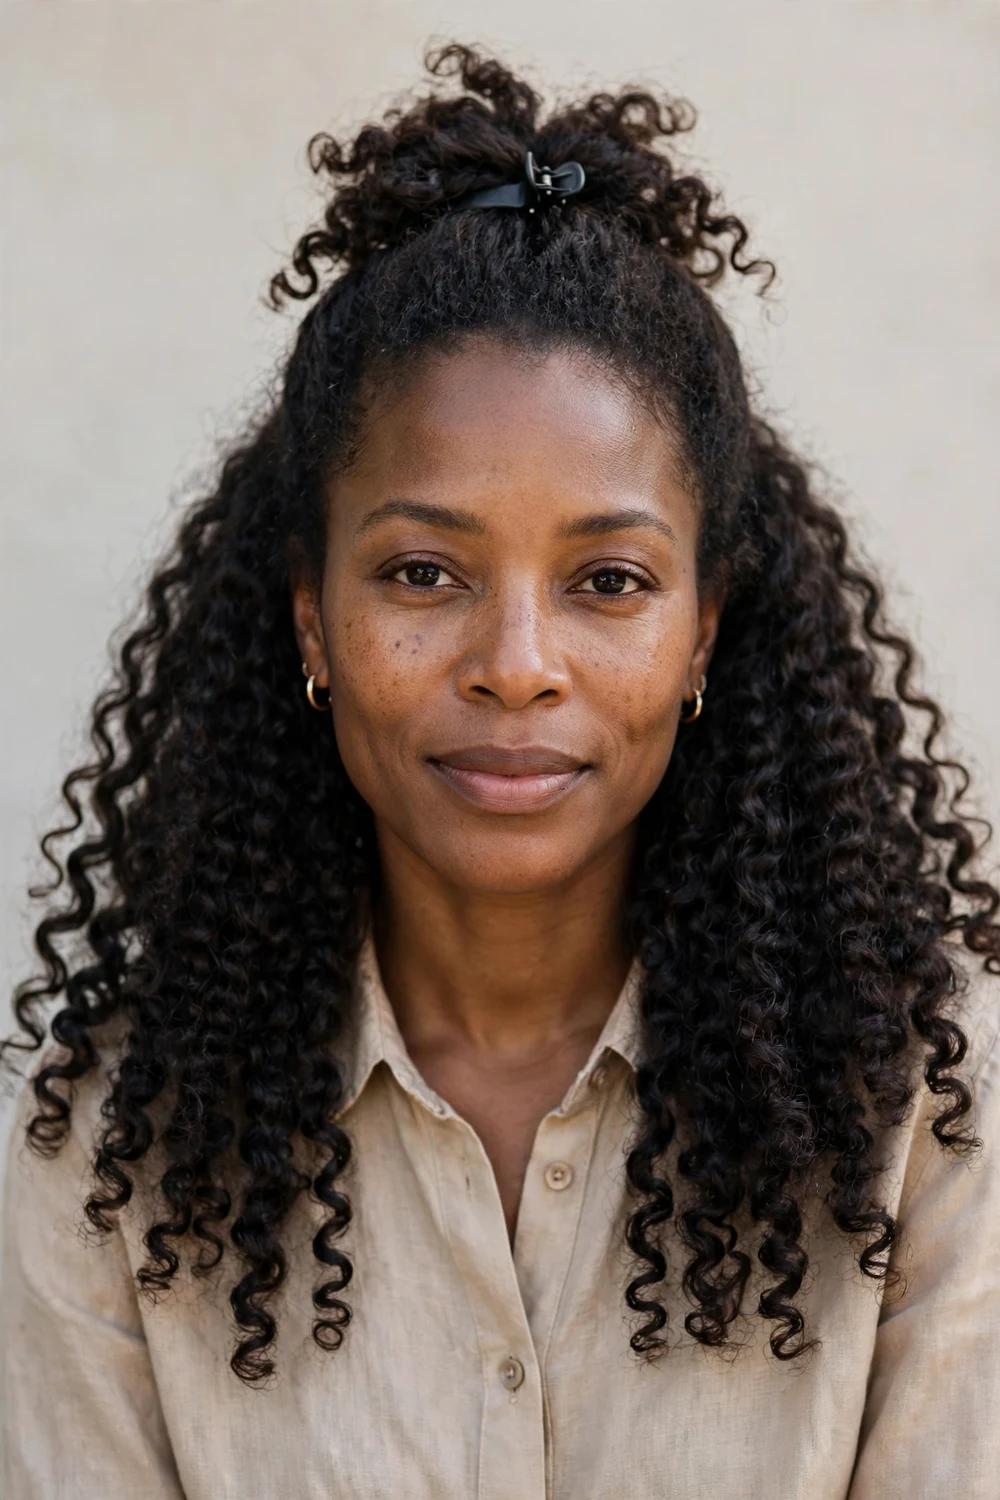
Gathering the top half of your curls up creates instant height at the crown while the bottom half keeps its full length. This style takes fine curls that fall flat and gives them an intentional, lifted shape in about 5 minutes.
Section from temple to temple, twist the top section once for grip, and pin it with two bobby pins crossed in an X. Leave the front pieces loose to frame your face. A light mist of flexible hairspray keeps it in place without crunch.
Try this: Backcomb the underside of the top section with 3 gentle strokes before pinning for hidden padding.
Difficulty: Easy · Cost: $0
9. Pineapple Ponytail
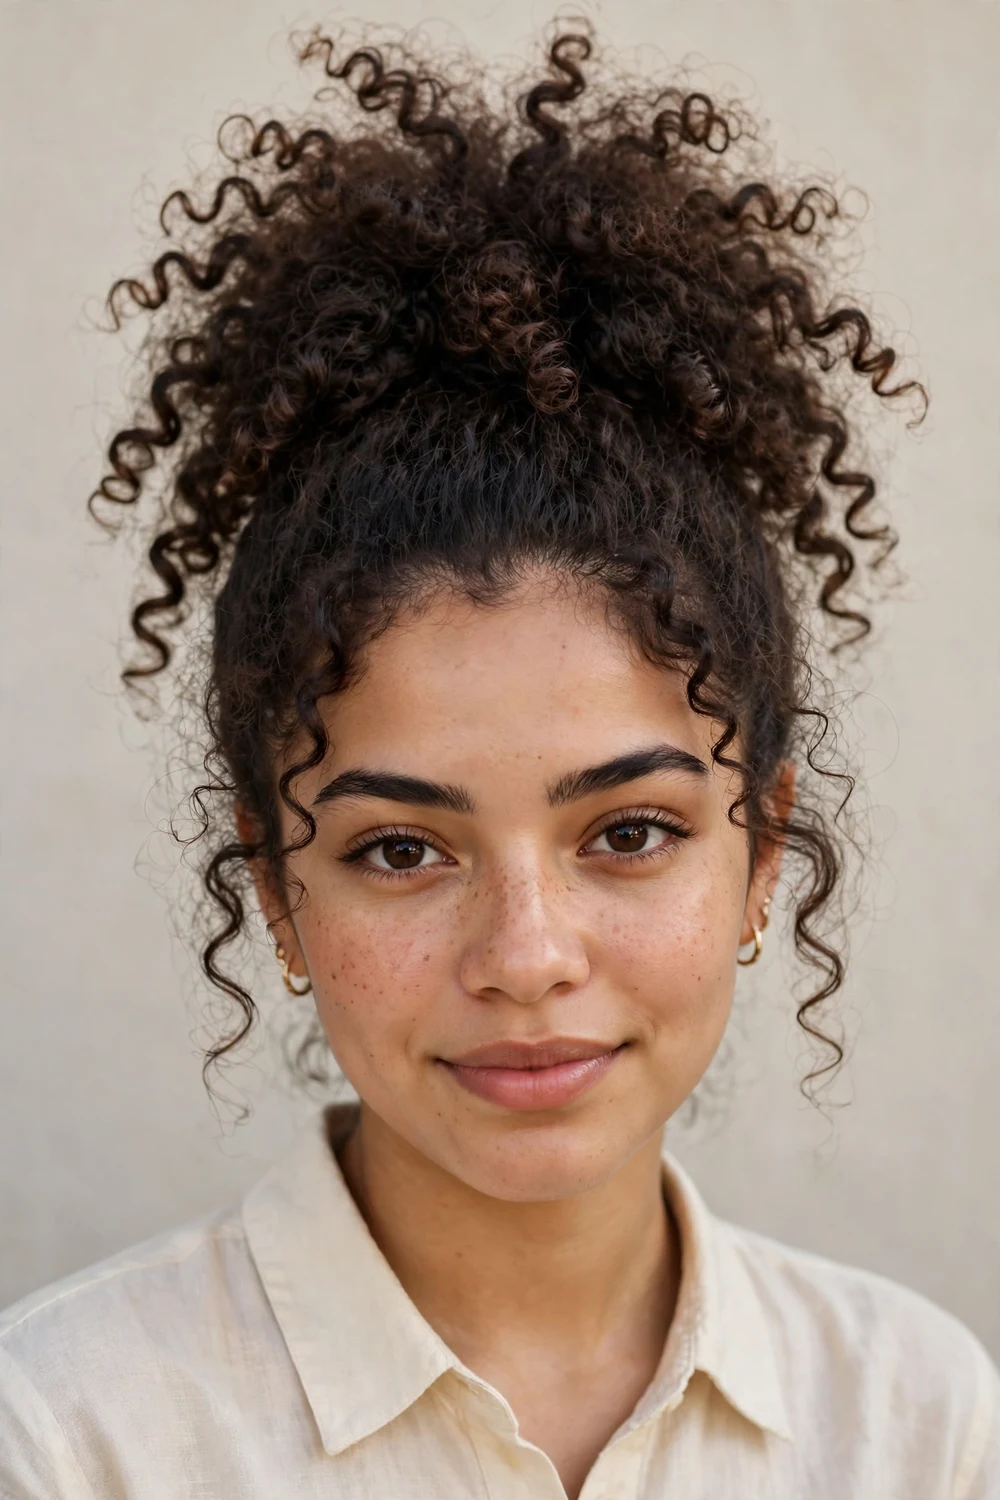
Piling curls into a very high ponytail stacks all your volume in one place, which makes fine hair look dramatically thicker. It also doubles as the best way to protect curls overnight: sleep in a loose pineapple and your morning curls need only a quick shake.
Flip your head upside down and gather hair at the very top of the head with a loose scrunchie. Don’t pull it tight. Let the curls spill forward over the elastic. For daytime wear, wrap one curl around the base to hide the band.
Try this: Use a silk scrunchie instead of elastic to avoid dents and breakage on fine strands.
Difficulty: Very easy · Cost: $5 for silk scrunchies
10. Stacked Curly Bob
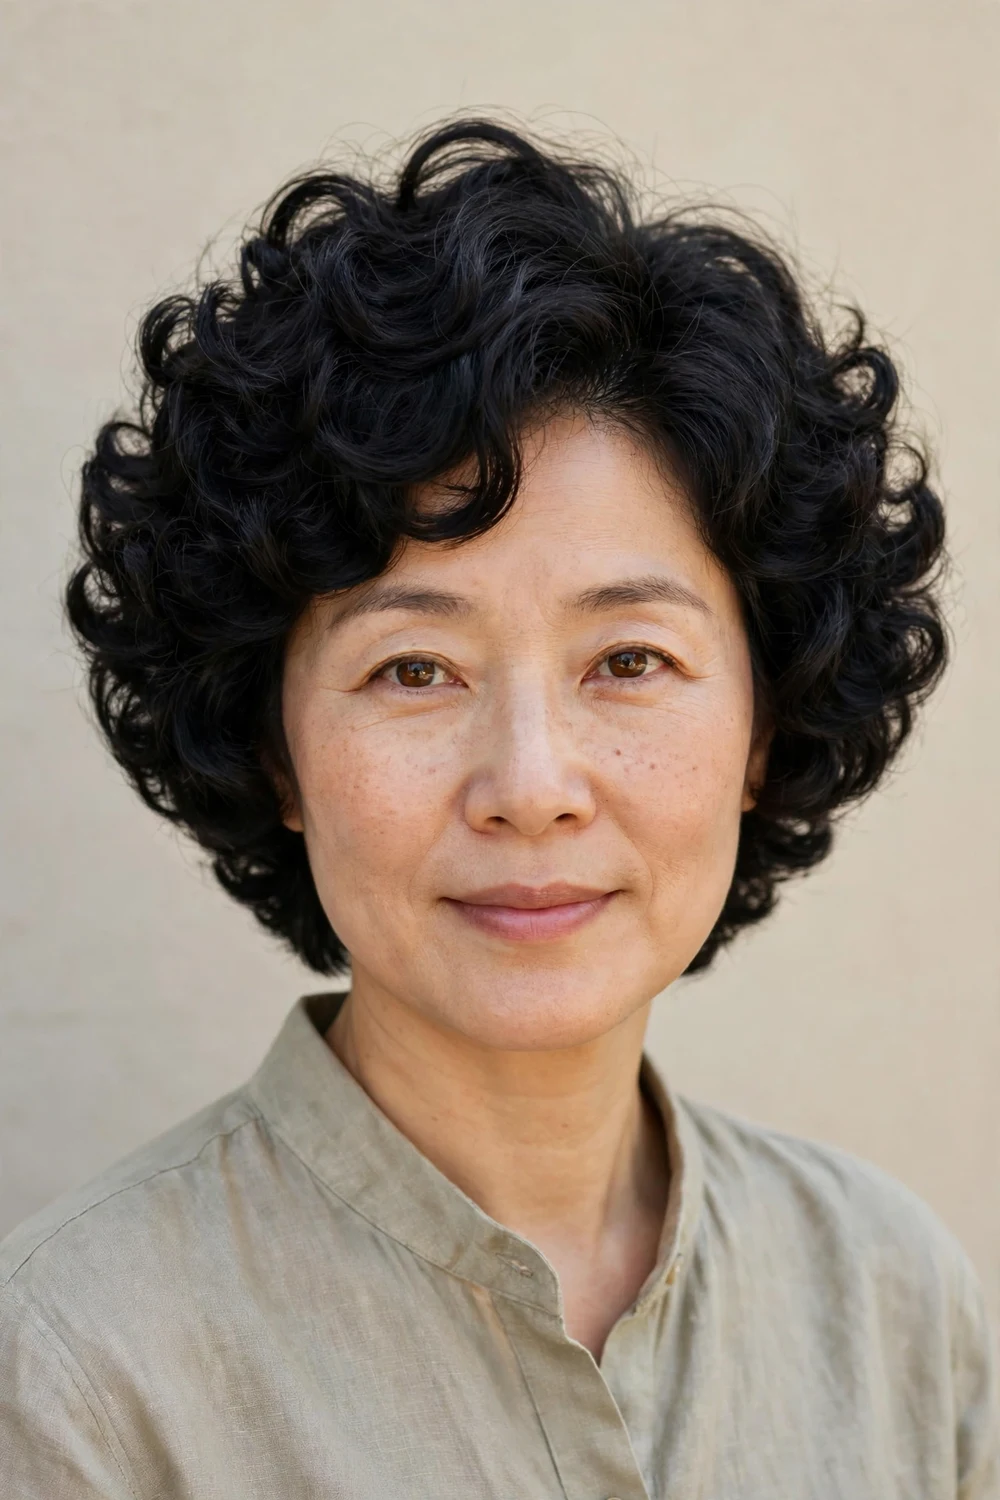
A stacked bob builds volume into the cut itself: shorter layers at the nape push the longer top layers up and out. On fine curls this creates a rounded, full silhouette that holds its shape with minimal styling effort.
Scrunch lightweight gel through damp curls and diffuse for 8 minutes, focusing on the back where the stacking sits. The graduated shape does most of the work. Expect to reshape the stack every 6 to 8 weeks at $40 to $70 per cut.
Try this: Ask for the stack to be cut with curls dry so the graduation lands exactly right on your texture.
Difficulty: Easy · Cost: $40-$70 per cut
The stacked shape flatters straight hair too. See our stacked bob hairstyles for fine hair for the smooth version.
11. Wash-and-Go Air-Dried Curls

The wash-and-go is the lowest-manipulation routine for fine curls: cleanse, condition lightly, apply one styler, and leave it alone. Less touching means less frizz and better curl clumps, which gives the impression of thicker hair.
On soaking wet hair, rake a quarter-sized amount of lightweight leave-in through, then scrunch in a similar amount of foam. Don’t touch again until 100 percent dry, which takes 1 to 3 hours depending on density. Scrunch out any crunch with dry hands.
Try this: Micro-plop with a cotton T-shirt for 10 minutes before air drying to remove excess water without frizz.
Difficulty: Easy · Cost: $0 (styling only)
12. Finger-Coiled Defined Curls
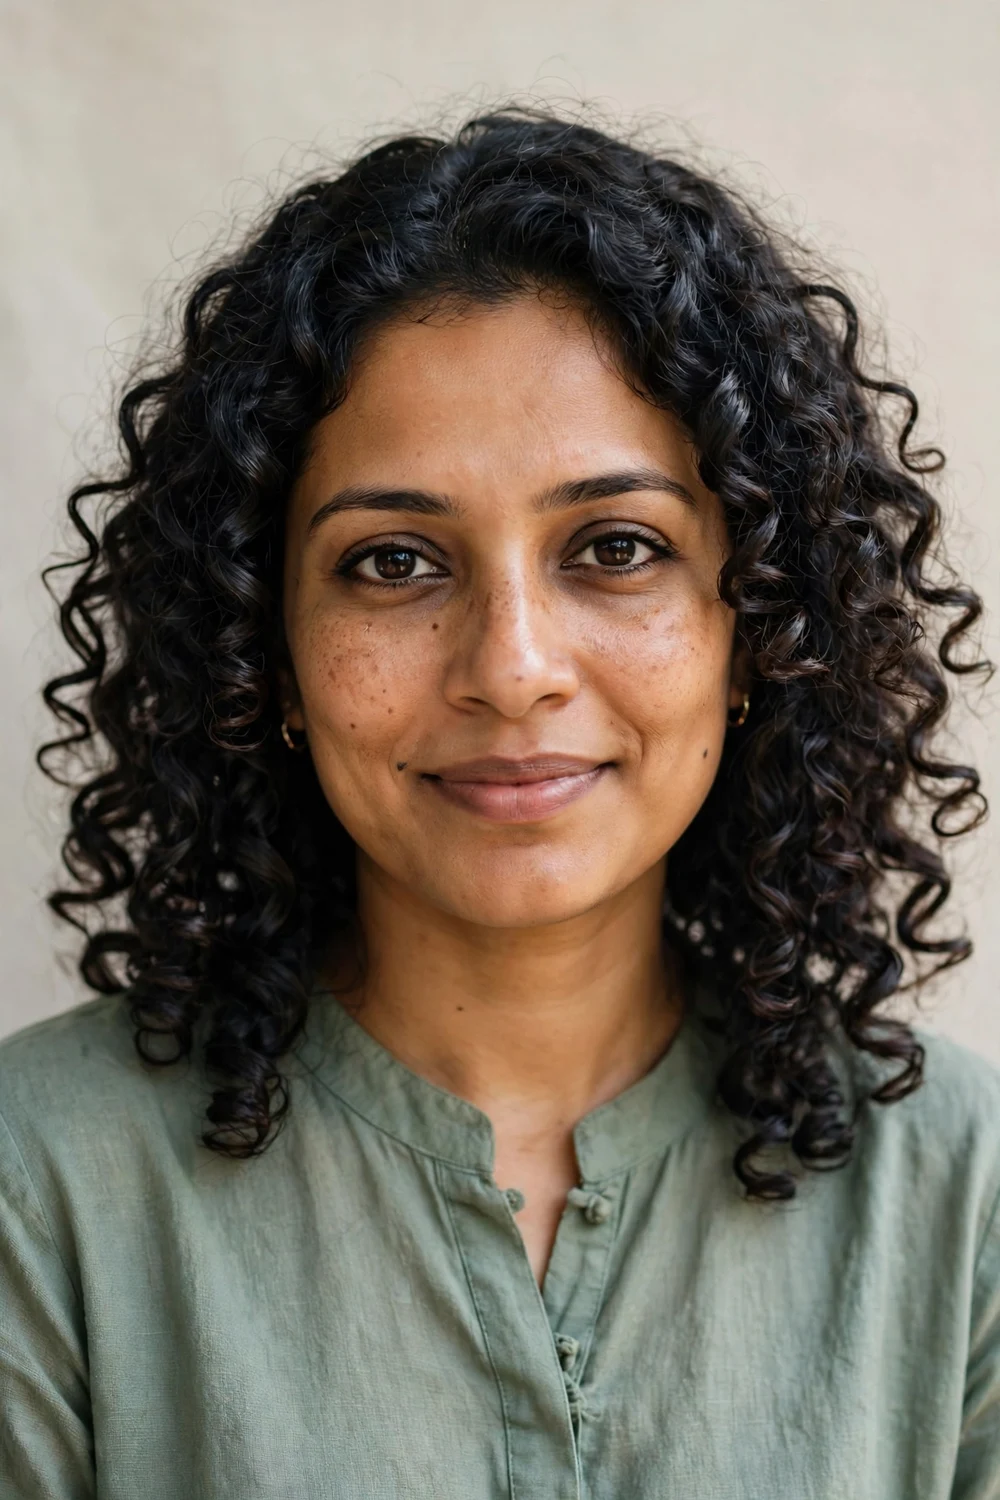
Finger coiling gives you control over every curl, which helps fine hair because you can place volume exactly where it’s missing. It takes 20 to 30 minutes, so save it for days when definition matters most.
Working on damp, product-coated hair, wrap small sections around your finger from ends to roots, then release. Coil the crown sections upward for lift. Let everything dry untouched, then gently separate coils by pulling them apart sideways, never brushing.
Try this: Coil only the top layer and let the underlayer do its own thing to cut the time in half.
Difficulty: Medium · Cost: $0 (styling only)
13. Short Curly Crop
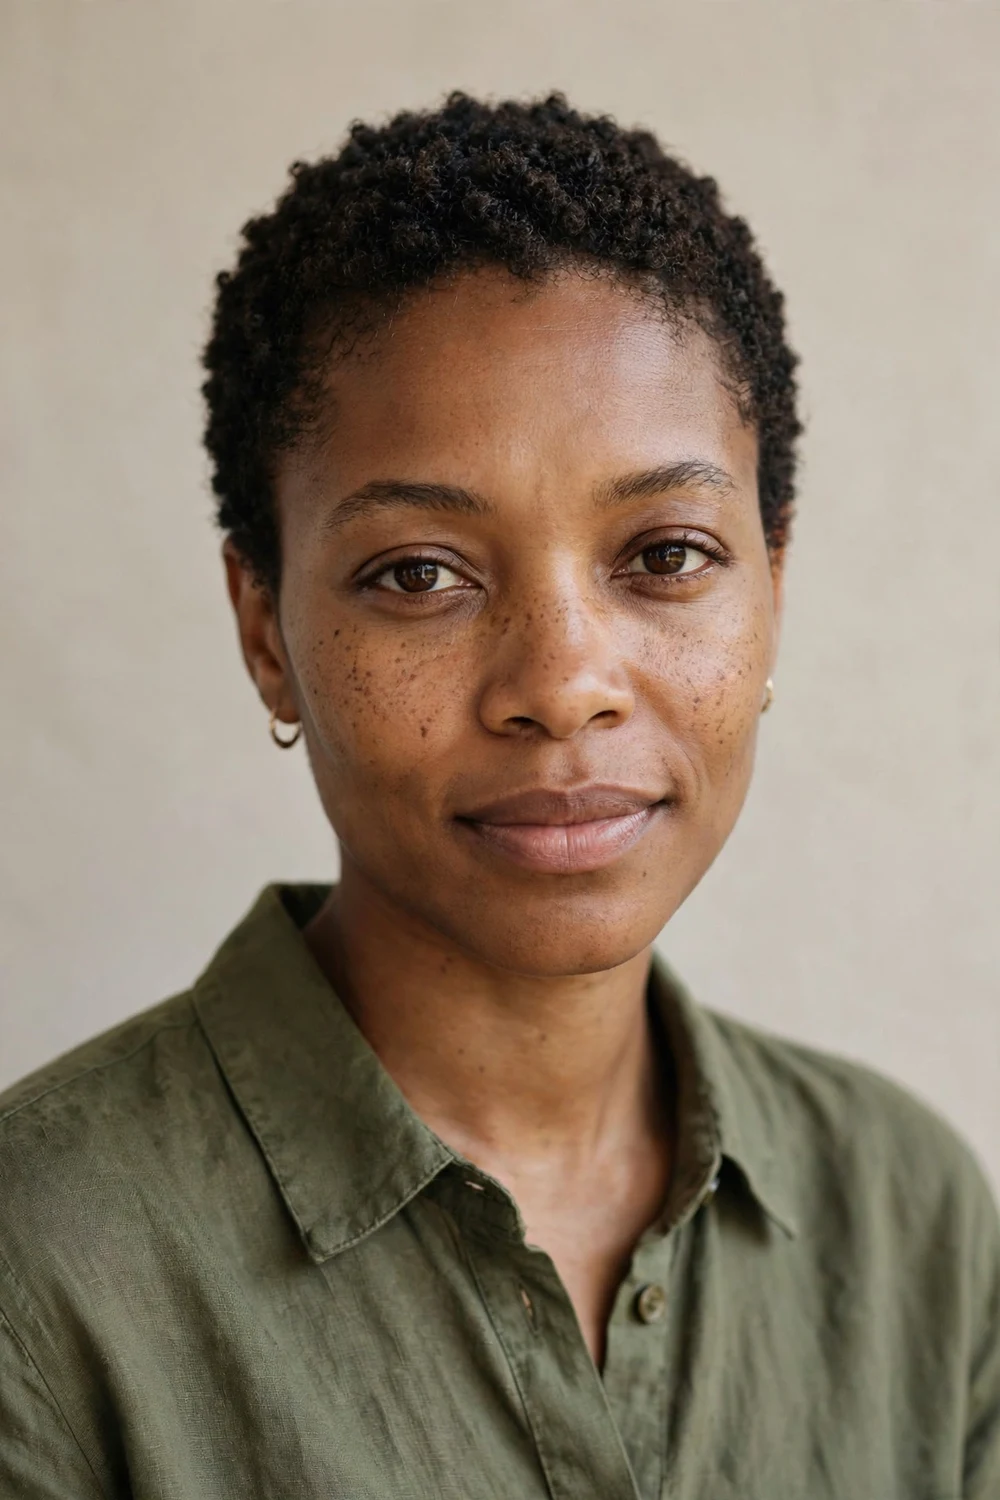
A close crop removes every bit of weight, so even the finest coils stand up with natural texture and shape. There’s no root to fall flat and no ends to thin out. Daily styling drops to almost nothing.
Smooth a dime-sized amount of light curl cream over damp hair with your palms and go. Drying takes minutes. Keep the shape sharp with a trim every 3 to 4 weeks, which many barbershops do for $20 to $35.
Try this: A soft pick lifted at the roots adds shape on days the crop sits too flat.
Difficulty: Very easy · Cost: $20-$35 per trim
14. Tousled Curly Pixie
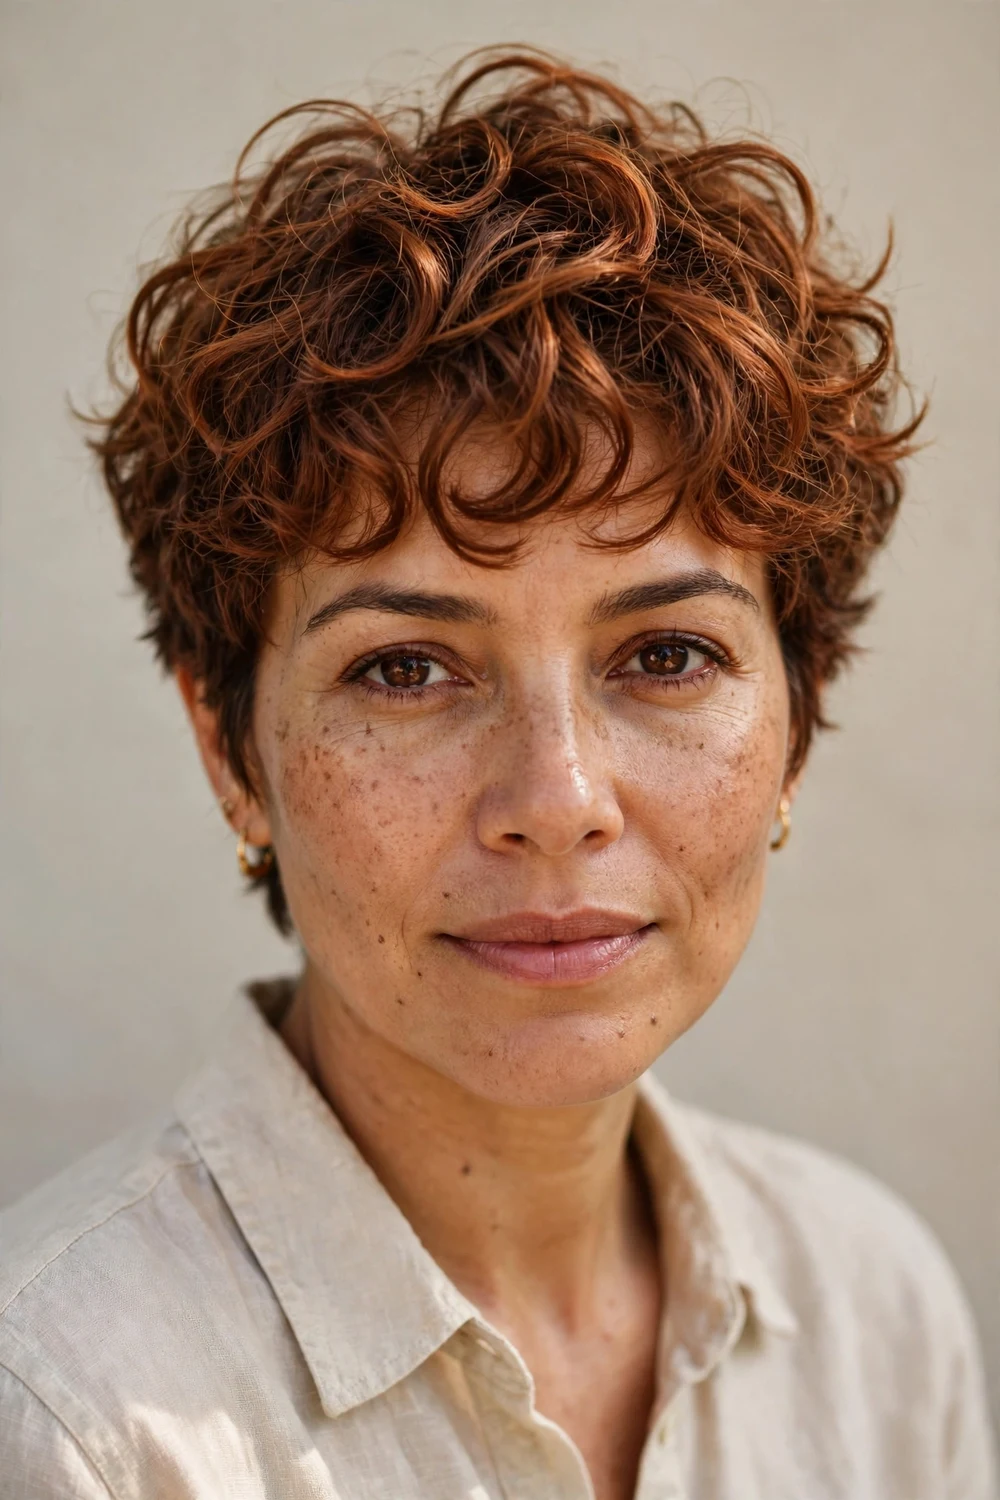
This longer pixie keeps 3 to 4 inches on top for styling versatility while the sides stay short. The extra length up top gives fine curls room to separate and move, which reads as fullness. It’s the middle ground between a crop and a bob.
Rub a pea-sized amount of light pomade between your fingertips and rake through dry curls, lifting at the roots. The fingertip motion creates piecey separation without disturbing the curl pattern. Restyle in the morning takes 3 minutes.
Try this: Twist 4 or 5 random curls at the crown for deliberate texture on flat days.
Difficulty: Easy · Cost: $8-$12 for pomade
15. Root-Clipped Volume Curls
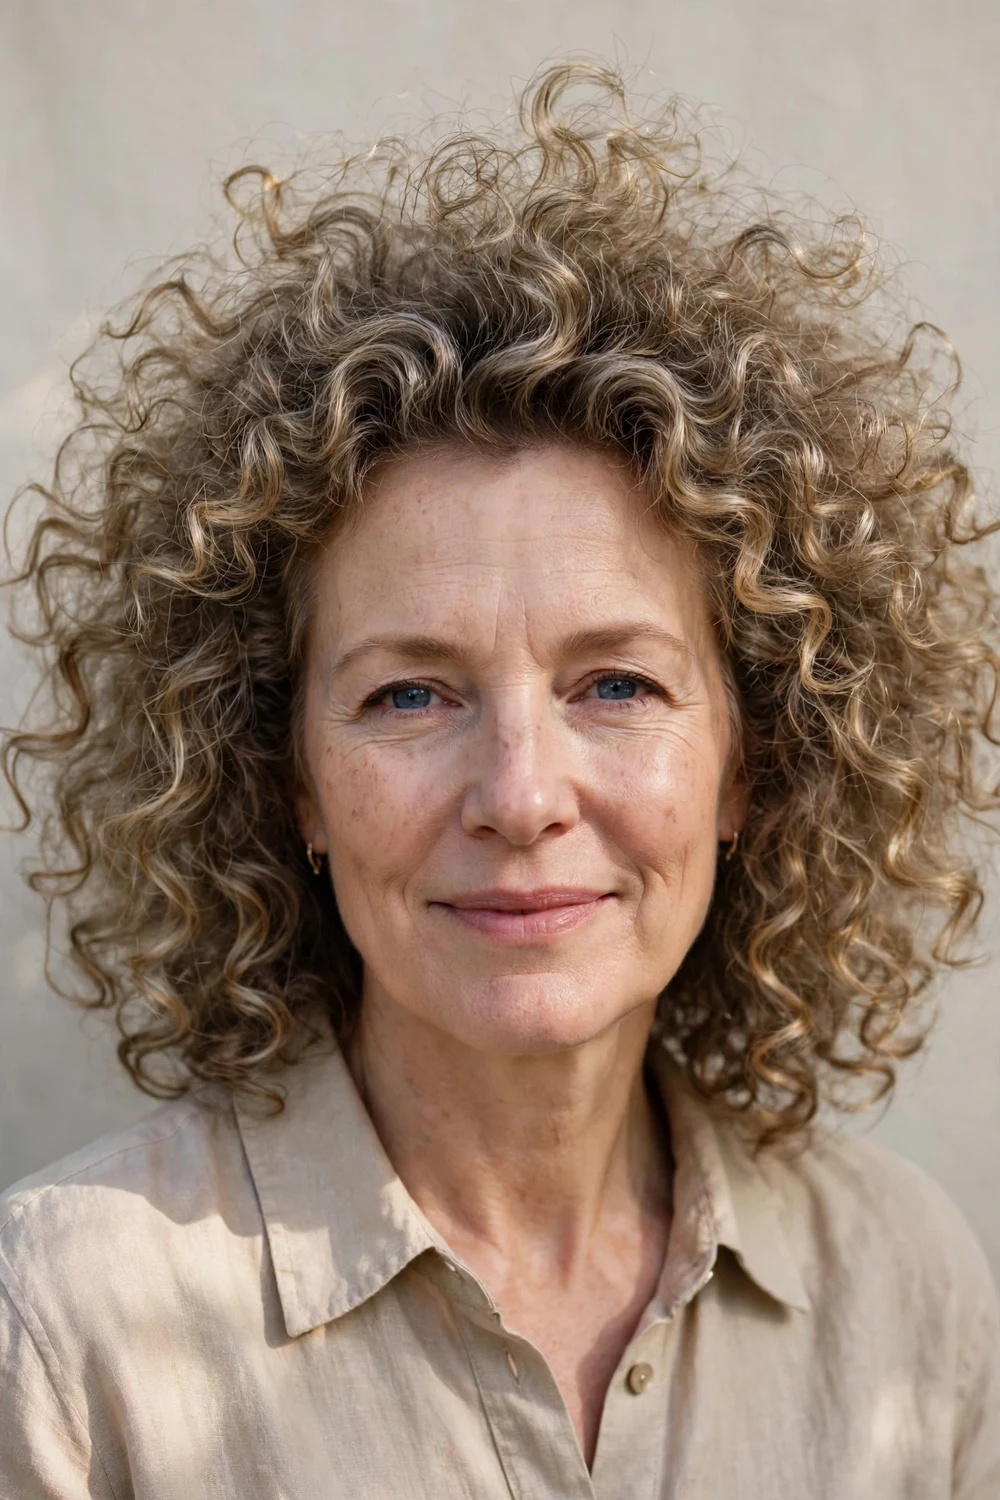
Root clipping is a drying technique that props roots upright while curls set. Small metal clips at the crown hold hair off the scalp as it dries, and when you remove them the lift stays. It adds visible height with zero teasing.
On damp, styled hair, slide 6 to 8 root clips along the part and crown, pinching small sections upright. Diffuse or air dry with clips in, then remove once fully dry. The clips cost about $8 for a pack and last for years.
Try this: Place clips in a row along your part line where flatness shows most.
Difficulty: Easy · Cost: $8 for clips
16. Loose Low Curly Ponytail

A low ponytail keeps curls controlled for work or workouts while still showing off texture. The key for fine hair is keeping it loose: a tight pony pulls roots flat and exposes thin spots, while a soft one keeps volume.
Gather curls at the nape with your fingers, not a brush, and secure loosely. Pull two tendrils free at the temples. Dust a little texture powder at the crown and massage it in for grip and lift. Total time is under 5 minutes.
Try this: Wrap a curl around the elastic and pin underneath for a polished finish.
Difficulty: Very easy · Cost: $8-$10 for texture powder
17. Blunt-End Curly Bob
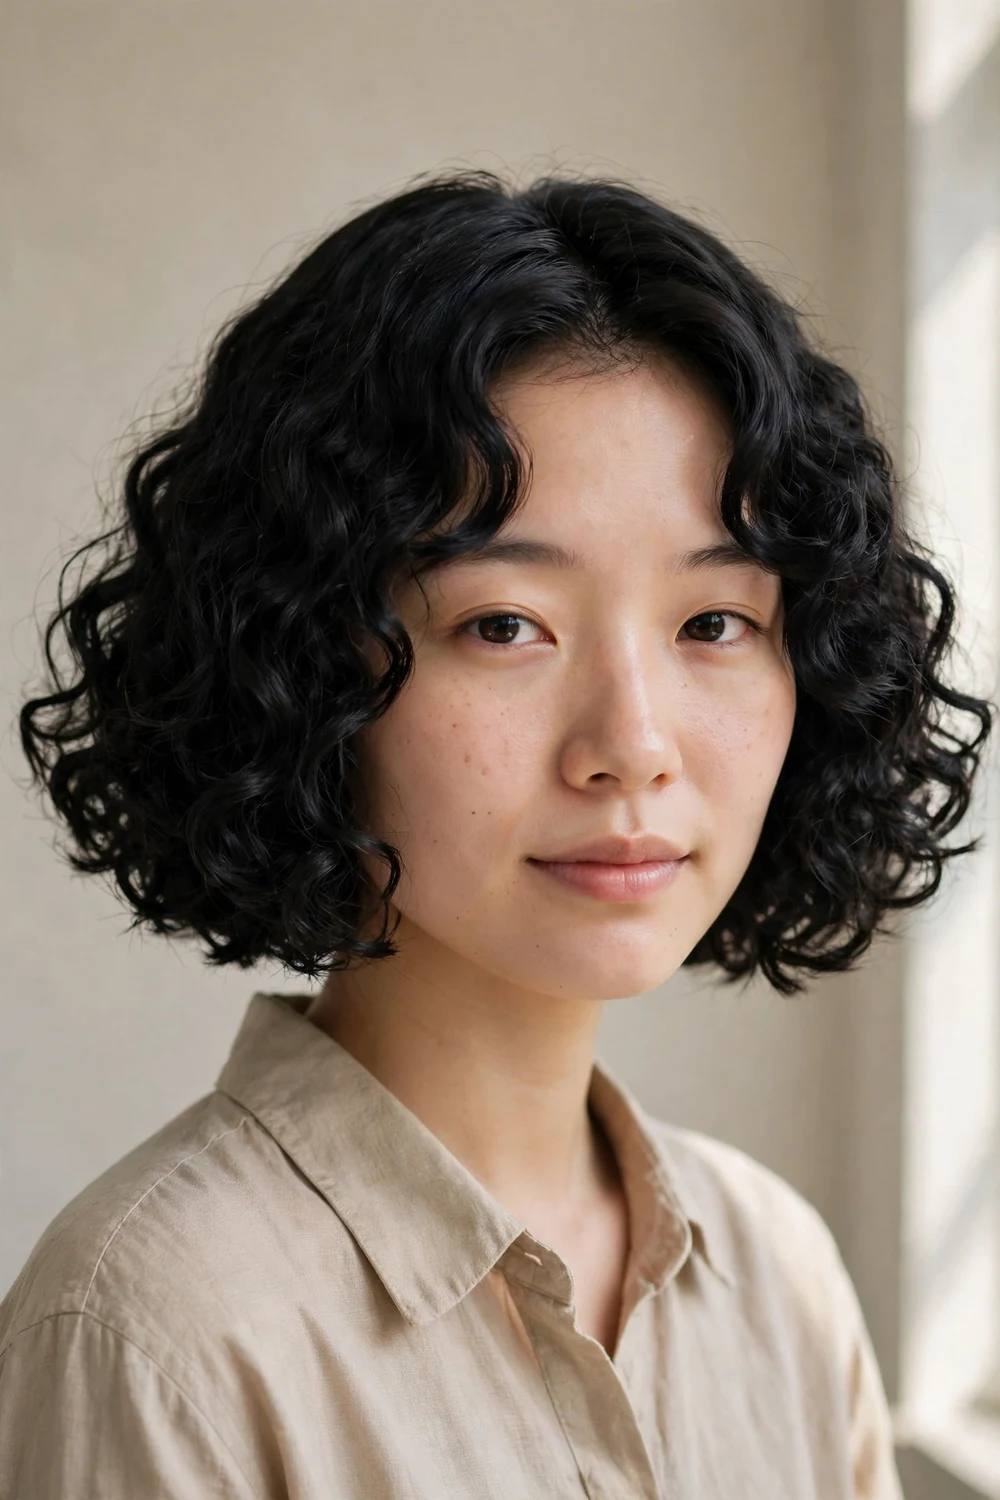
Where layers remove weight, a blunt perimeter does the opposite job: it makes the ends look thick and solid instead of wispy. On fine curls, a clean straight-across cut at the jawline gives the whole bob a denser outline.
Style with foam and diffuse, then let curls fall where they land. The blunt edge keeps its shape as curls move. This cut grows out gracefully, so trims can stretch to 10 to 12 weeks at $40 to $65.
Try this: Ask your stylist to cut the perimeter dry so curl shrinkage doesn’t leave it uneven.
Difficulty: Easy · Cost: $40-$65 per cut
Blunt ends flatter straight fine hair as well. See our bob hairstyles for fine hair for smooth styling ideas.
18. Chin-Length Curls with Curly Bangs
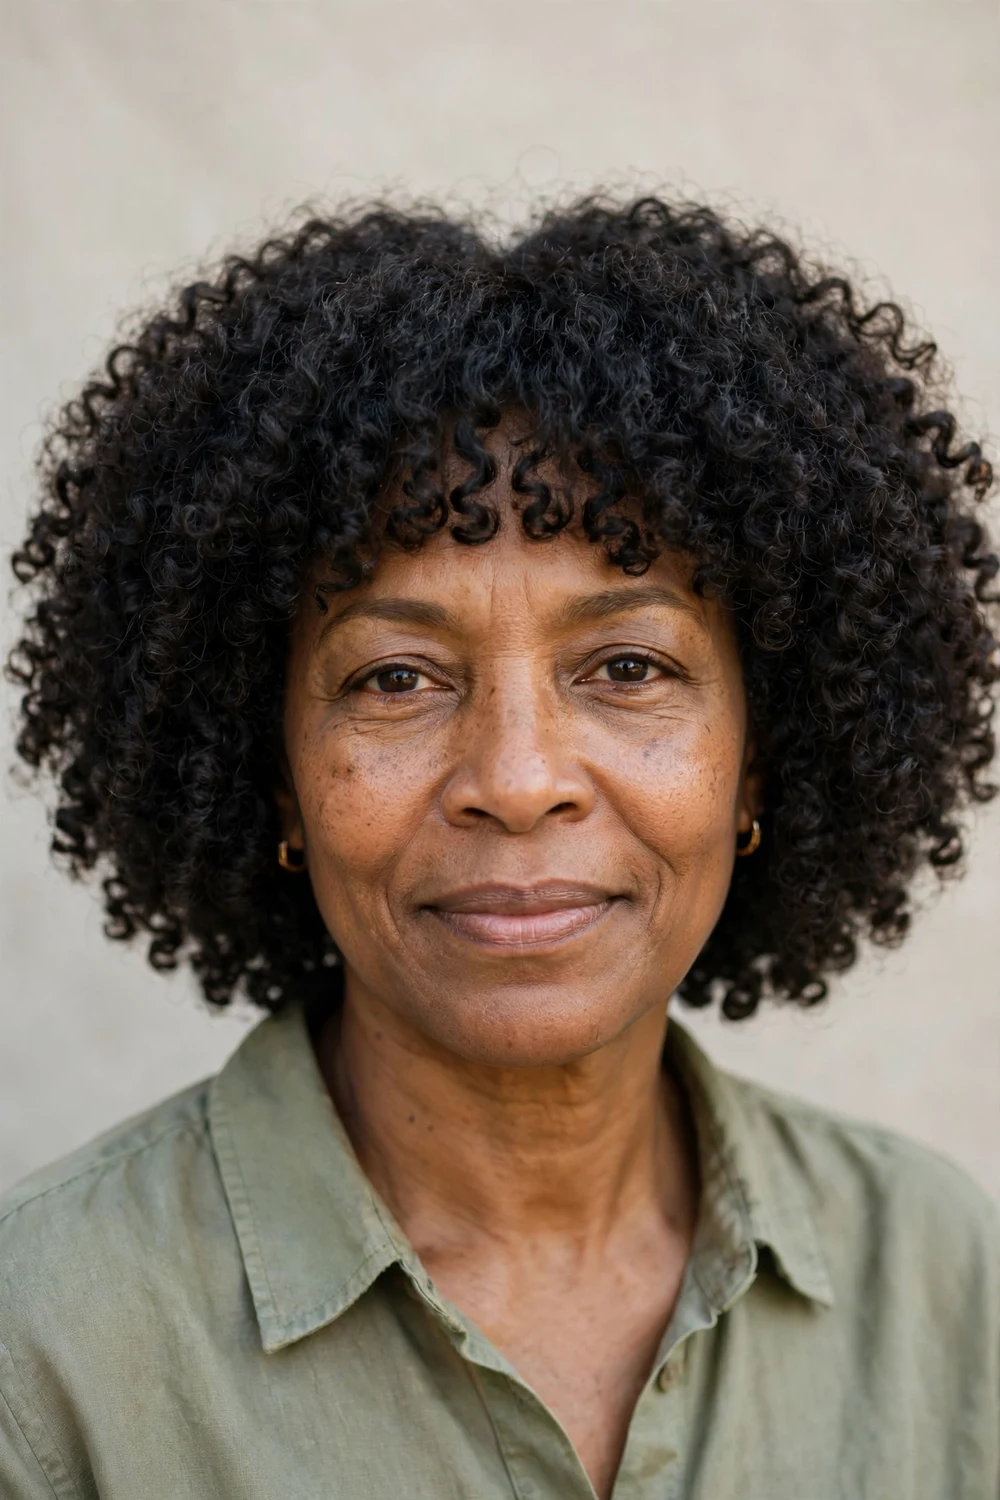
Full curly bangs plus a rounded chin-length shape surrounds the face with curls, which disguises thin density better than any product. The bangs should be cut long enough to spring up to brow level when dry.
Dry bangs first with the diffuser since they set fastest, twirling them into place with your fingers. Then dry the rest. Bangs on curly hair need a dusting trim every 4 weeks to keep them out of your eyes.
Try this: Style bangs with a tiny amount of gel on fingertips for separation without stiffness.
Difficulty: Medium · Cost: $10-$20 per bang trim
19. Plopped Overnight Curls

Plopping wraps wet curls in a T-shirt so they dry scrunched against the head, which builds root volume with zero heat. Doing it overnight means you wake up to defined curls and skip morning styling entirely.
After applying foam to soaking wet hair, lay a cotton T-shirt flat, flip your head over it, and wrap the shirt turban-style. Sleep in it or leave it 30 minutes minimum. Unwrap, shake gently, and go. A T-shirt works better than a towel because it doesn’t rough up the cuticle.
Try this: Plop for just 20 minutes before diffusing if overnight feels like too much.
Difficulty: Easy · Cost: $0
20. Second-Day Refresh Curls

Fine curls often fall flat by day two, but a full rewash strips moisture you need. A refresh routine reactivates yesterday’s product with water and takes 5 minutes, stretching your style another full day.
Mist curls lightly with water from a spray bottle until damp, not soaked. Smooth a pea-sized amount of foam over the canopy and scrunch upward section by section. Diffuse the roots for 2 minutes or air dry. Focus product on the canopy where frizz shows.
Try this: Pineapple your hair overnight to protect curls, then refresh only the flattened top layer in the morning.
Difficulty: Very easy · Cost: $0
How to Choose the Right Curly Style for Thin Fine Hair
Match the cut to your curl tightness and your styling patience. Tighter curls hold short shapes like pixies and crops with almost no effort, while looser waves need layers and root-lifting techniques to keep volume. If you style daily, pick a wash-and-go friendly cut. If you prefer low maintenance, shorter is almost always better for fine texture.
Avoid heavy butters, thick oils, and one-length cuts past the shoulders. All three pull fine curls flat. And skip daily heat styling without protectant: fine strands damage faster than coarse ones, and damaged curls lose their spring.
Curly Styles for Thin Fine Hair Compared
| Style | Best curl type | Daily styling time | Key product |
|---|---|---|---|
| Layered curly bob | Wavy to curly | 15 min | Lightweight mousse |
| Diffuser-dried spirals | Curly to coily | 15 min | Heat protectant + diffuser |
| Curly shag with bangs | Wavy to curly | 10 min | Light curl cream |
| Curly pixie | Curly to coily | 5 min | Light curl cream |
| Stacked curly bob | Curly | 10 min | Lightweight gel |
| Wash-and-go | All curl types | 10 min | Foam + leave-in |
| Blunt-end curly bob | Wavy to curly | 12 min | Foam |
| Pineapple ponytail | Curly to coily | 3 min | Silk scrunchie |
For more on this topic, see hairstyles for thin hair over 50.
FAQs
Can thin fine hair actually hold curls?
Yes, but fine strands need a different approach than coarse hair. Use lightweight foam or mousse instead of heavy creams, style on soaking wet hair so curls clump well, and avoid touching them while they dry. With the right technique, fine curls hold their shape all day.
Should thin fine curly hair be layered?
Light, long layers help because they remove weight from the ends and let the top curls spring up. Ask your stylist to avoid over-thinning or razor cutting, which can make fine ends look wispy. Layers should blend, not create gaps.
What products weigh down fine curls?
Heavy butters, thick oils, and rich creams coat fine strands and pull curls flat. Stick to foams, mousses, and lightweight gels, and use less than you think you need. If your curls look stringy by midday, you’re likely using too much product.
Is a diffuser or air drying better for thin fine curls?
A diffuser builds more root volume, which is the main struggle for fine curls. Air drying gives softer definition with zero heat. Many people combine both: diffuse the roots for lift, then air dry the lengths. Never disturb curls while they dry either way.
How often should I trim thin fine curly hair?
Every 8 to 12 weeks for most lengths. Thin ends show damage faster, and regular trims keep the perimeter looking full. Shorter cuts like pixies need reshaping every 4 to 6 weeks to hold their shape.
Final Thoughts
Thin fine curls don’t need to be forced into volume. They need weight taken off, roots lifted, and products light enough to let the curl pattern show. Start with one cut and one technique from this list, and give it two weeks before judging the results. For more everyday hair guidance, visit our homepage for the full collection of styling guides.
Women over 50 have specific curly-hair needs, from thinning coverage to gray blending. Our curly hairstyles for women over 50 guide rounds up 30 cuts picked for mature curls.

