



Yes, you can loosen tight braids at home without taking the whole style out. Warmth, moisture, and gentle handling are the three things that ease tension at the roots. A warm damp towel held on your head for 15 minutes, a light braid spray, and a careful scalp massage will bring relief to most people within the hour.
If your braids still hurt after a day or two of these fixes, or you notice bumps, thinning, or broken hairs along your hairline, the style is too tight to save. Taking it out is the safer choice. Constant tension can lead to traction alopecia, a type of hair loss that starts at the hairline and can become permanent.
Quick Takeaways
- Moist heat works fastest: a warm damp towel or a warm shower relaxes tight braids in 10 to 20 minutes.
- Massage your scalp with oiled fingertips, never your nails, to ease soreness without frizzing the style.
- Braid sprays and leave-in conditioner add slip at the roots, which reduces the pulling feeling.
- Slide a rat-tail comb handle under the tightest braids to lift them gently off the scalp.
- Take the braids out if pain lasts more than two days or you see bumps, redness, or thinning edges.
Why Do New Braids Feel So Tight?
Fresh braids pull because each braid anchors to a small section of your scalp. The braider grips the root firmly so the style lasts, and that grip tugs on the follicle. Synthetic extension hair also starts out stiff, which adds to the pulling feeling for the first few days.
A little snugness that fades within 48 hours is normal. Pain that keeps you awake, a throbbing scalp, or small bumps along the hairline are not. Those are signs the tension is too high and your follicles are under stress.
1. Use a Warm Damp Towel Compress
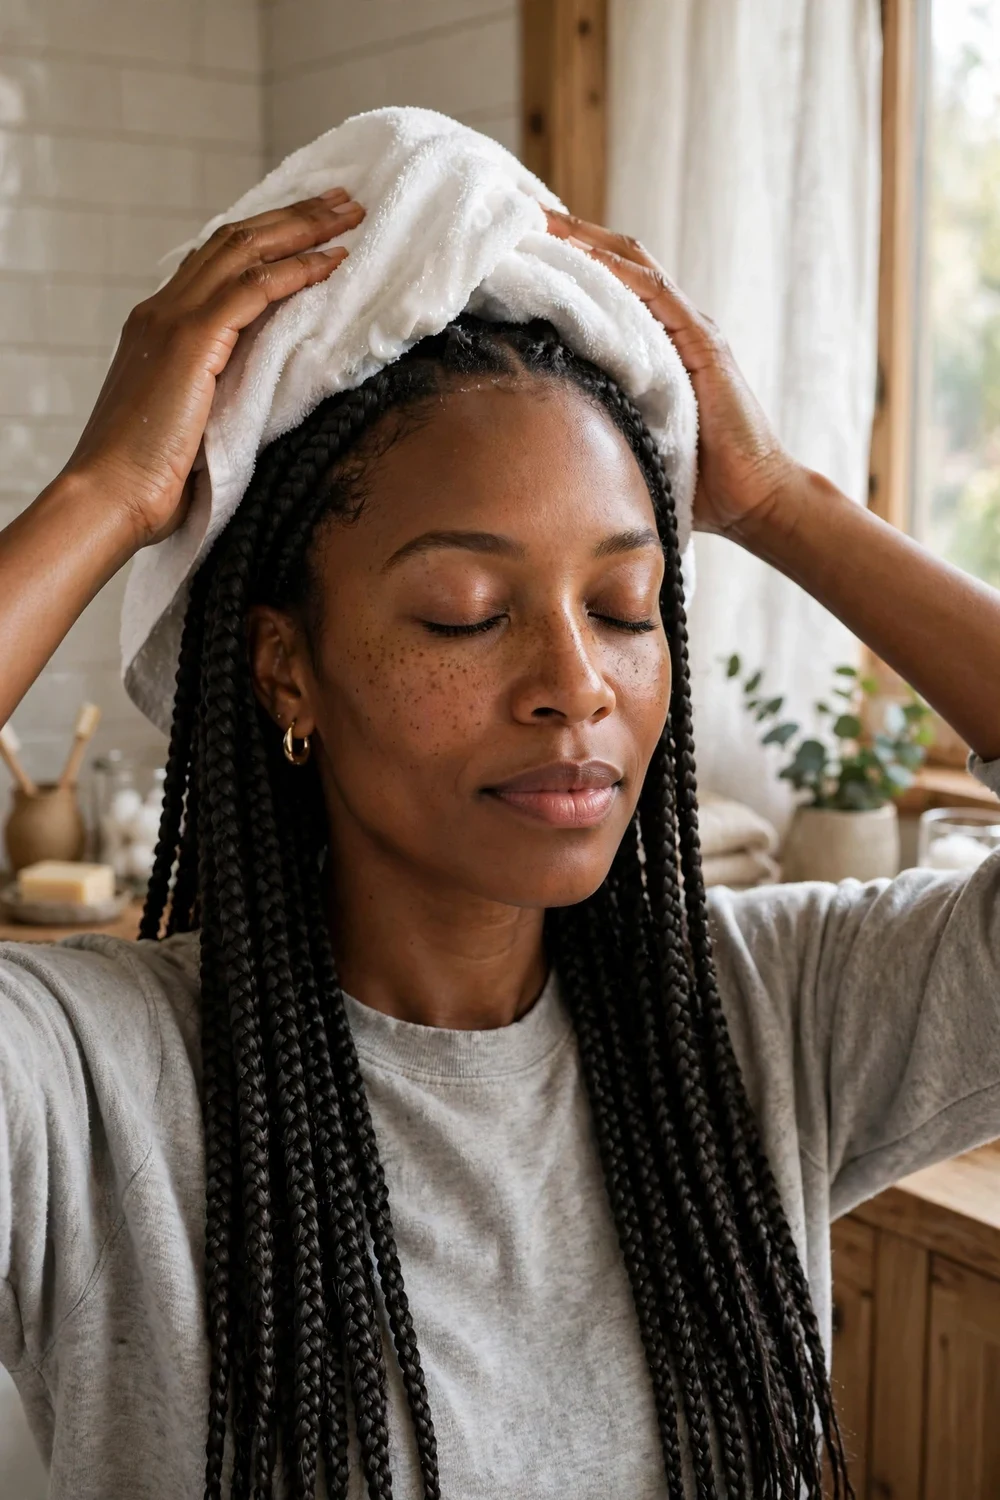
This is the fastest home fix and the one most braiders recommend first. Soak a clean towel in warm (not hot) water, wring it until it stops dripping, and lay it over your head. Focus on the tightest spots, usually the hairline, temples, and nape.
Leave it on for 2 to 5 minutes, then re-wet the towel and repeat three or four times. The full routine takes about 15 to 20 minutes. The moist heat softens both your natural hair and the extension hair, so the braids relax their grip at the root. Covering the towel with a shower cap traps the warmth longer.
Try this: do the compress in the evening so your scalp rests overnight afterward.
2. Take a Warm Shower
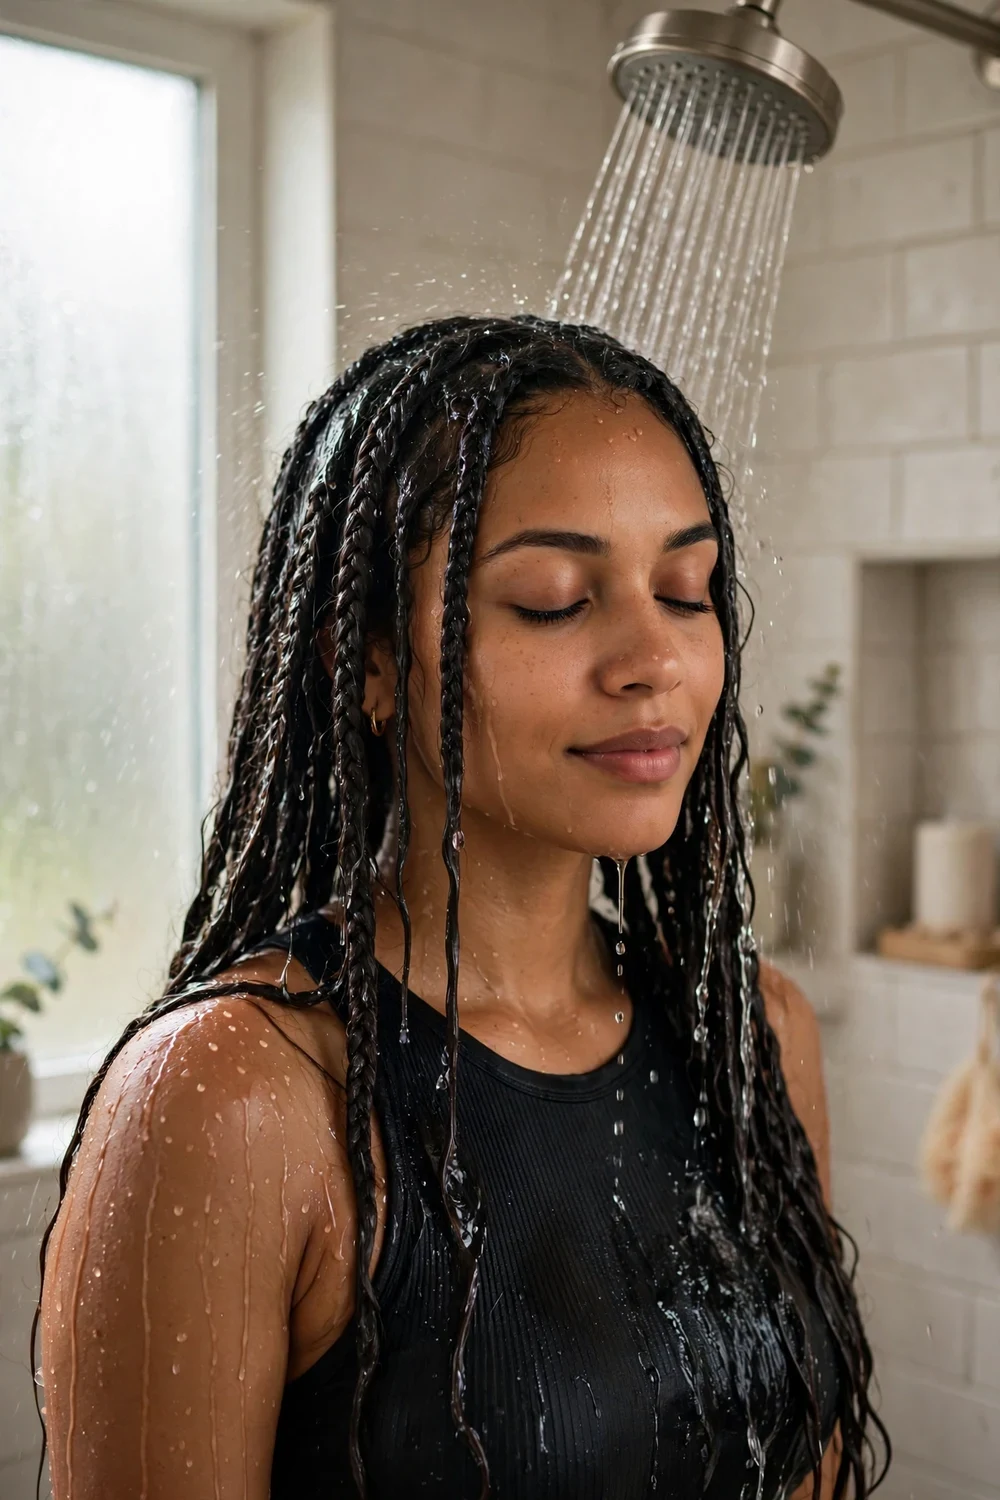
If you are short on time, a warm shower does the same job as the towel method. Let warm water run over your head for 5 to 10 minutes and massage your scalp gently with your fingertips in small circles. Do not scrub or pull at the braids. Let the water and steam do the work.
Pat your braids dry with a microfiber towel or an old T-shirt afterward. Rubbing creates frizz. Let the style air-dry fully or sit under a hooded dryer on low heat so no dampness sits against your scalp.
Try this: keep the water warm, not hot. Very hot water dries out the scalp and can make itching worse later.
3. Spray on a Braid or Tension Spray
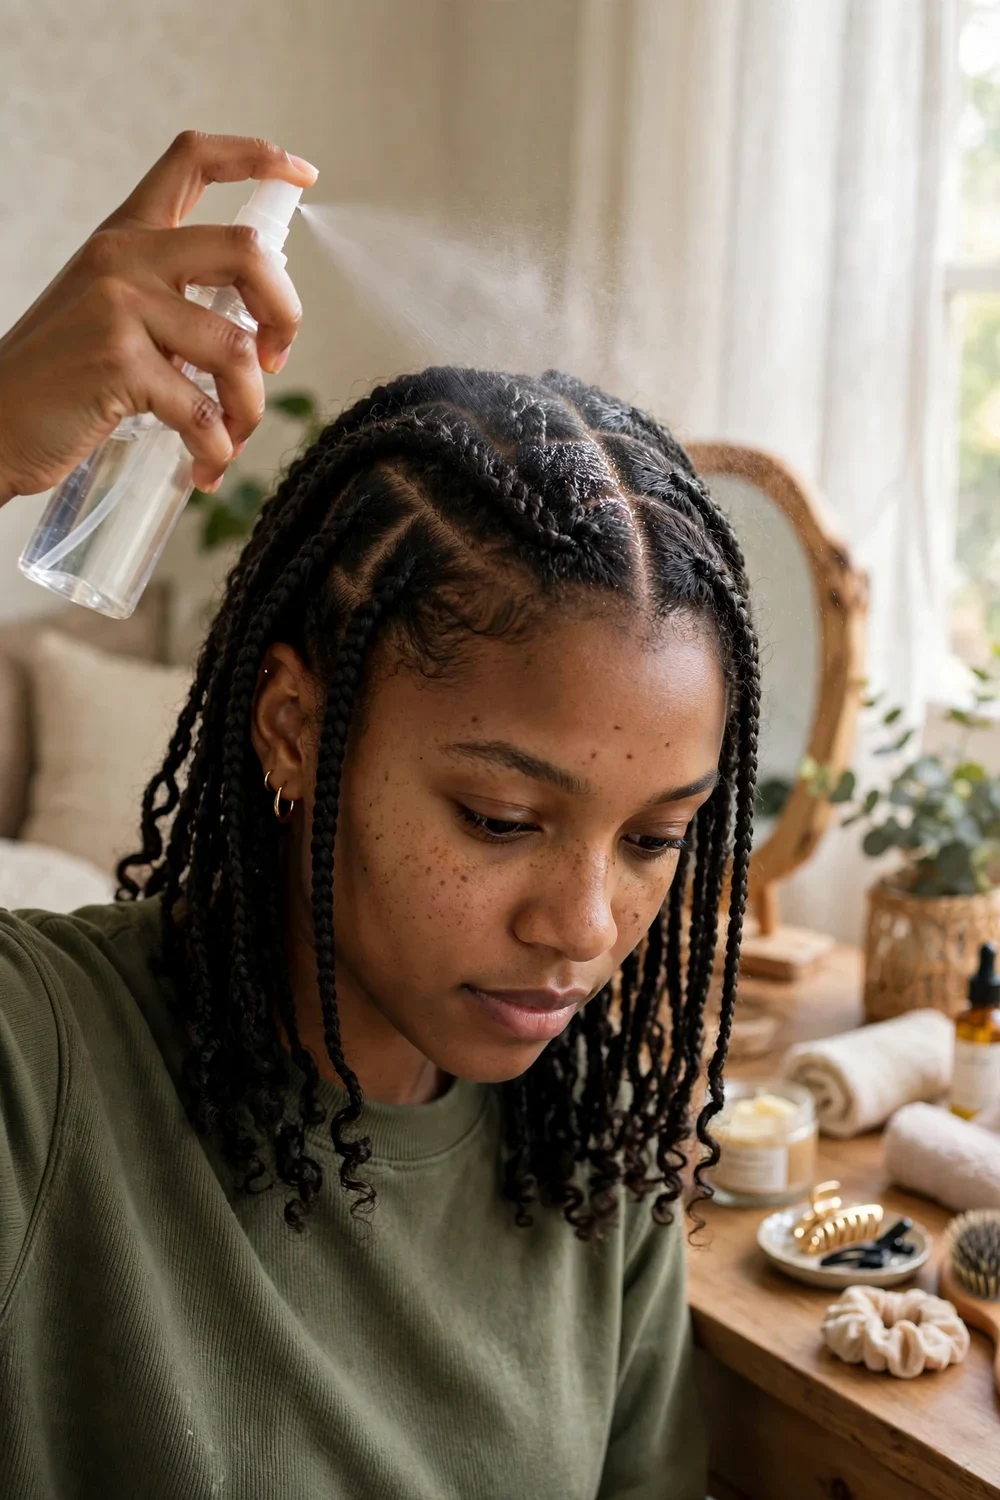
Braid sprays are made for exactly this problem. They soften the hair, add moisture, and calm an irritated scalp. Look for formulas with aloe vera, tea tree oil, or lavender, and pick one with a pointed nozzle so the product reaches under tight braids right at the roots.
Mist lightly along your parts in the morning and again as needed through the day. A light layer is enough. Heavy application leads to buildup, which causes its own itching and dullness.
Try this: keep the spray in your bag for the first week. That is when tightness peaks.
4. Work Leave-In Conditioner Into the Roots
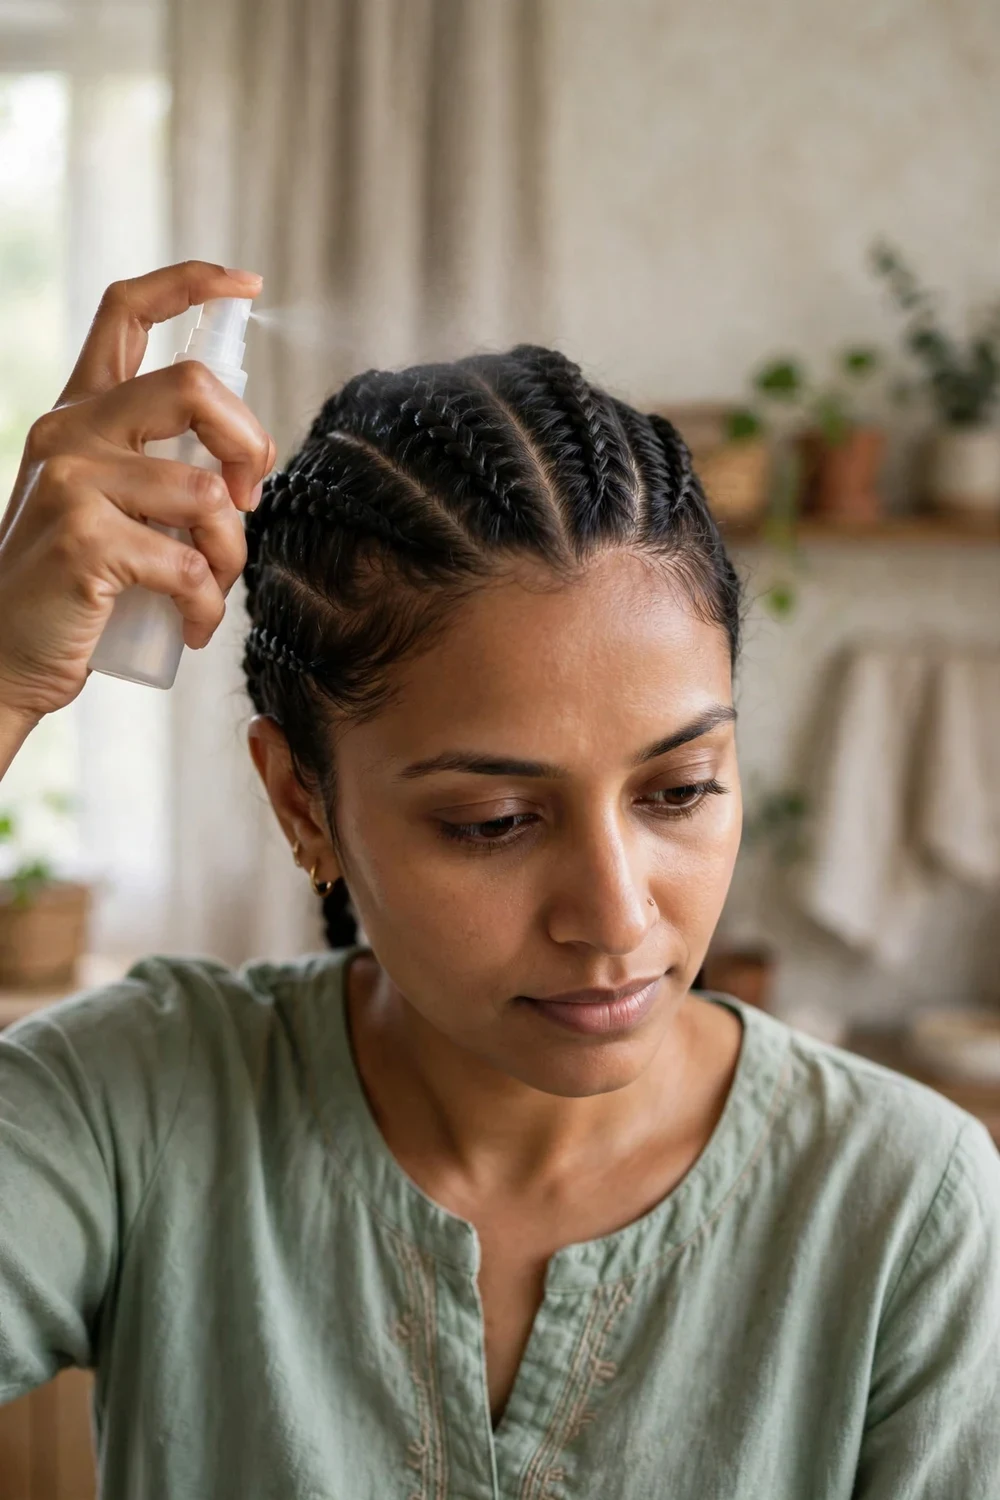
A lightweight leave-in conditioner adds slip between your natural hair and the braid, which reduces the tugging sensation. Spray or dab it along your parts, then work it in with your fingertips. The added moisture also softens dry, brittle-feeling roots.
Choose a water-based formula rather than a thick cream. Creams sit on top of braids and attract lint. A few spritzes per section is plenty.
Try this: apply leave-in right after the warm towel compress while the hair is still slightly damp.
5. Massage Your Scalp With Oil
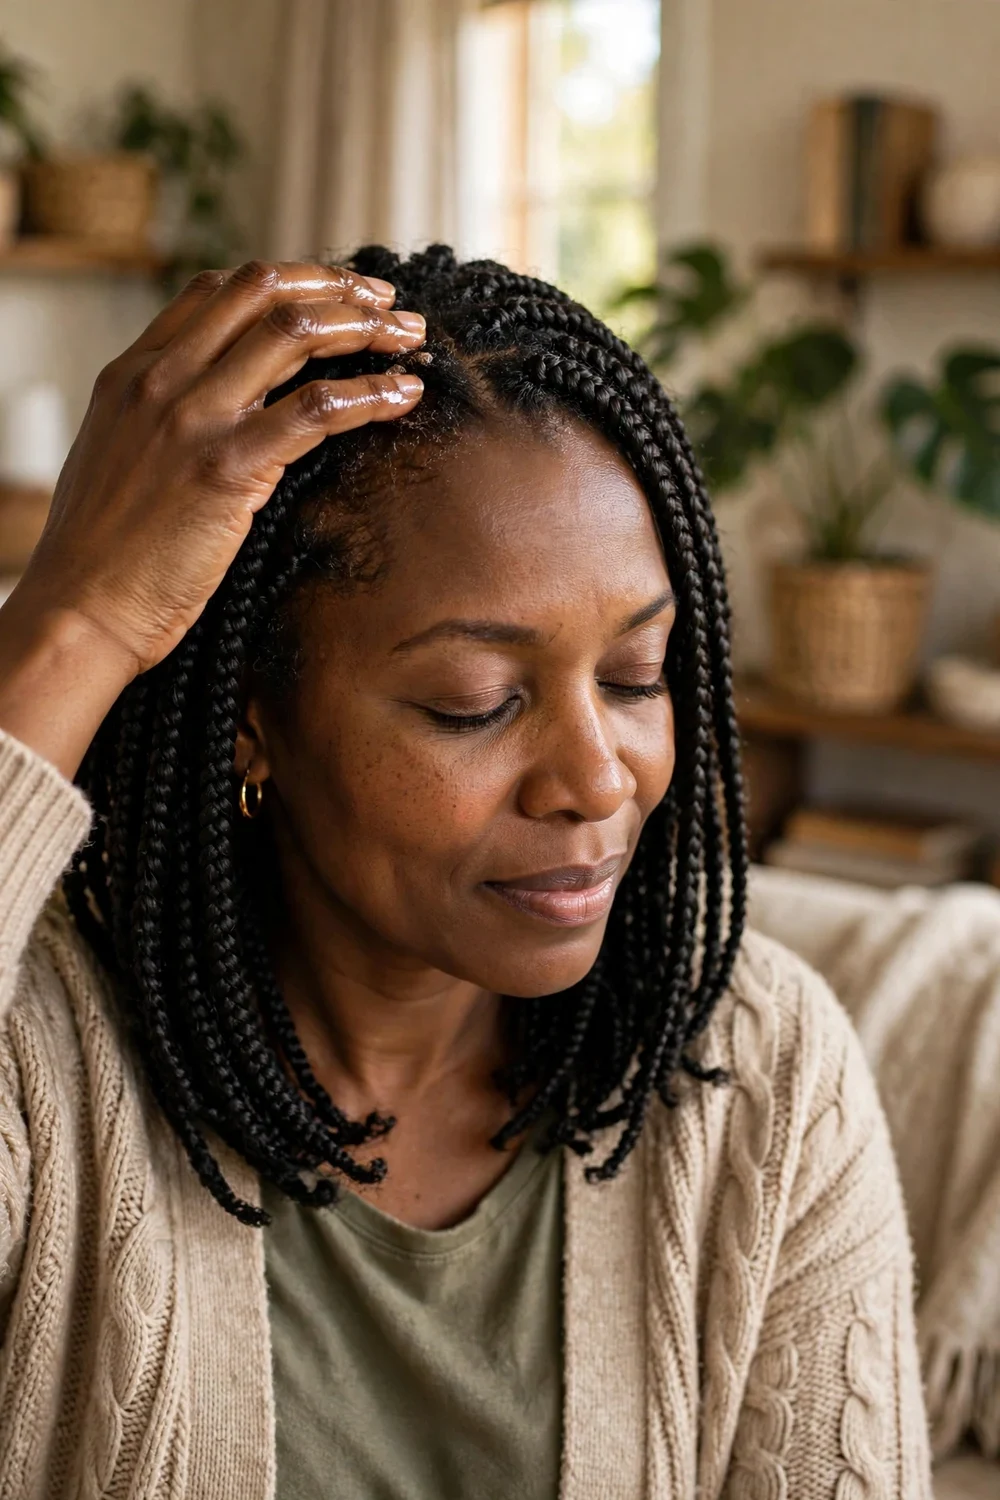
A gentle scalp massage increases blood flow and helps the roots relax. Put a few drops of a light oil, such as jojoba or sweet almond oil, on your fingertips and massage in slow circles along your parts and hairline. Keep your nails away from the scalp.
Two to three minutes is enough. Longer sessions can fuzz up the roots and loosen the style more than you want. If your scalp is oily already, skip the oil and massage on a dry scalp or over your braid spray instead.
Try this: massage before bed. It doubles as a wind-down routine and you wake up with less tension.
If tight braids are a repeat problem for you, it may be worth switching to a gentler braid style next time. Our fulani braids hairstyles roundup includes options with softer root tension that still look polished.
6. Do an Overnight Oil Soak

When daytime fixes are not enough, an overnight oil treatment gives the hair hours to absorb moisture. Coat your braids lightly with coconut, olive, or argan oil, working it down each braid from root to tip. Pile your hair up and cover it with a shower cap or satin bonnet.
In the morning, gently work the braids with your fingers before styling. The oil lubricates the strands so they slide against each other instead of gripping. Wash out excess oil with a diluted shampoo if your scalp feels coated.
Try this: use less oil than you think you need. You can always add more, but an over-oiled scalp attracts dirt.
7. Mist With a Water-Based Spritz
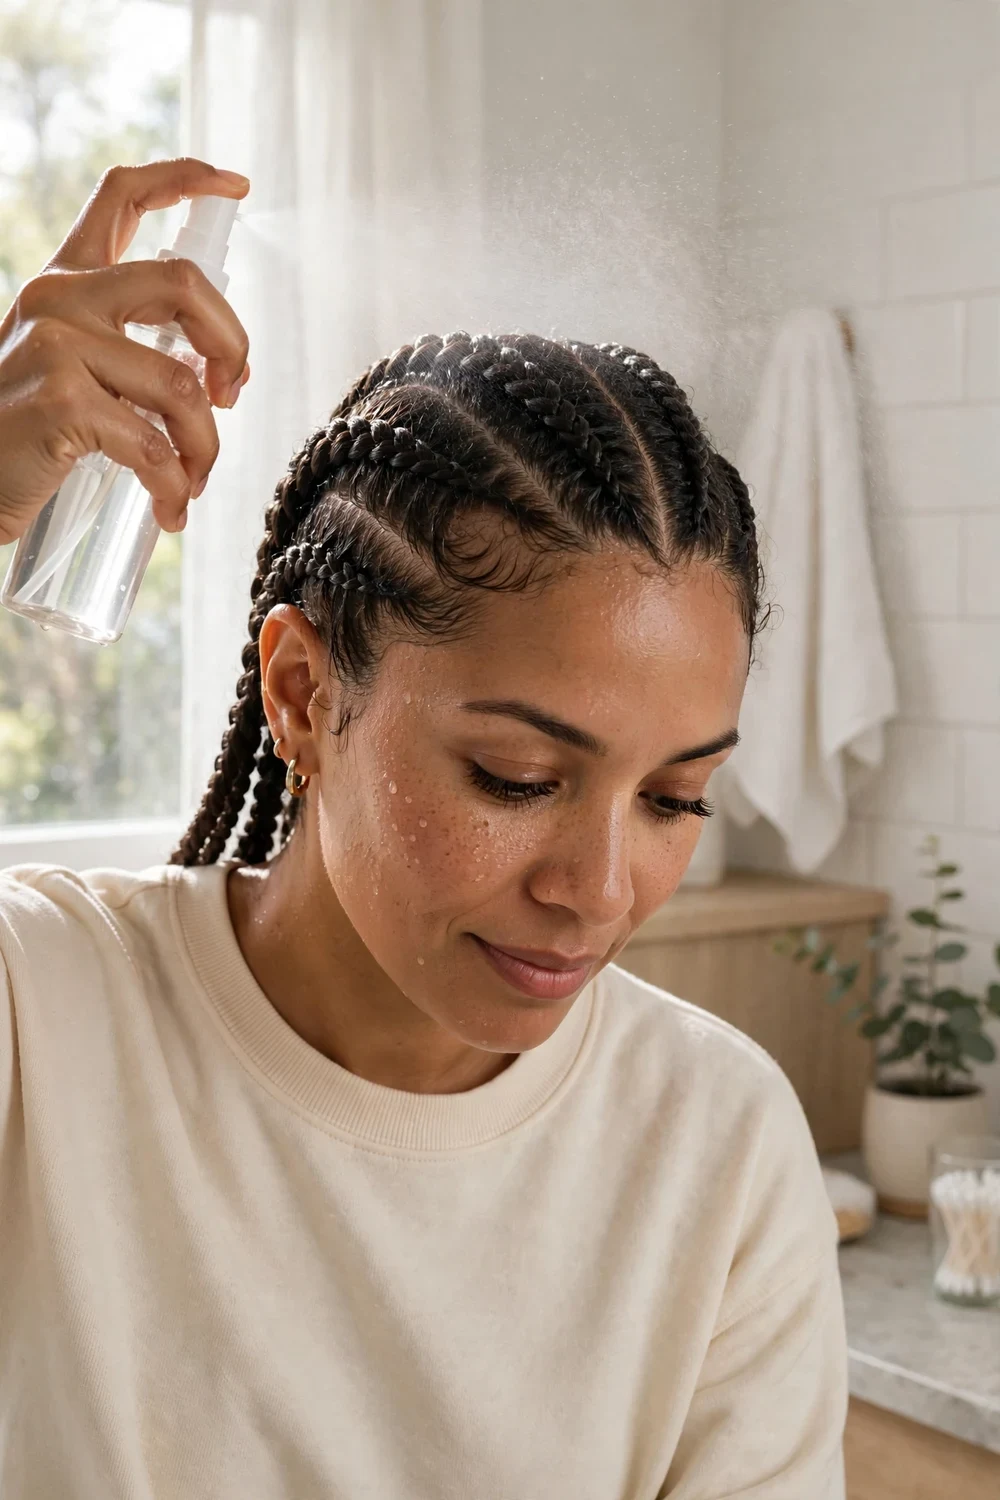
Sometimes braids feel tight because the hair underneath is dry. Dry hair contracts and pulls harder at the root. A simple spritz of water mixed with a little leave-in conditioner rehydrates the strands so they relax.
Mix water and leave-in in a spray bottle at roughly a 3-to-1 ratio, with a drop or two of tea tree or peppermint oil if you like the cooling feel. Mist the braids, focusing on the tight areas, then pat gently. Do this once a day until the style settles.
Try this: spray in the morning so the hair dries fully during the day. Sleeping on damp braids can cause mildew smell.
8. Lift the Roots With a Comb Handle
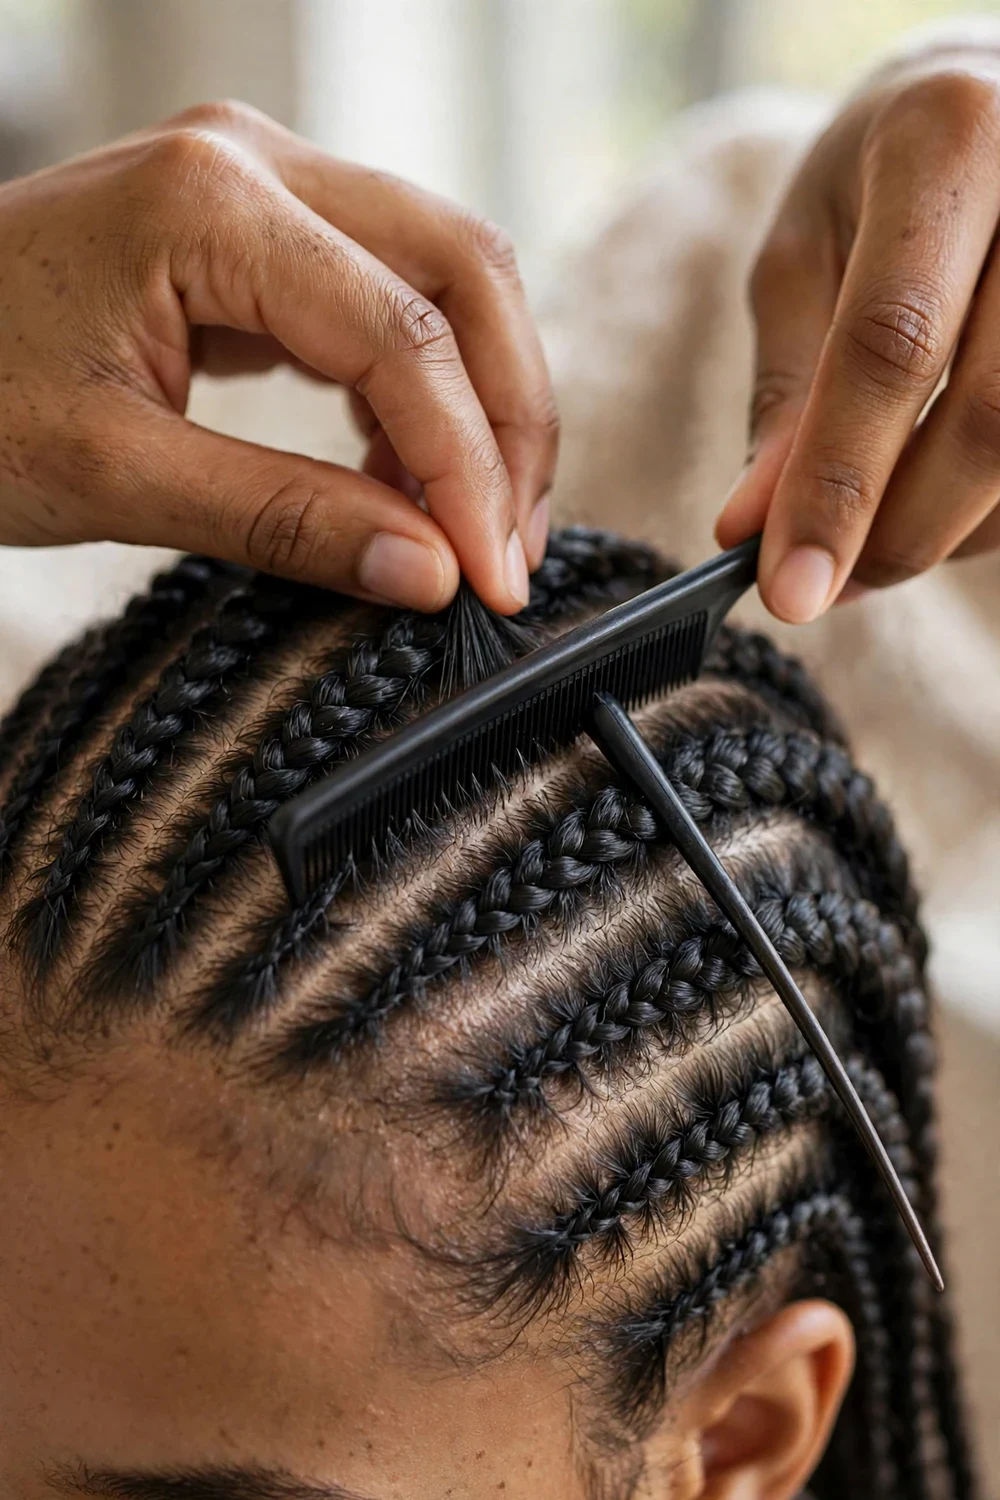
For cornrows or braids that sit flat and pull, slide the thin handle of a rat-tail comb (or the eraser end of a pencil) under the braid right at the scalp. Wiggle it very gently side to side to create a little space between the braid and your head.
Work braid by braid and take your time. The goal is slack, not a new part. Yanking the tool upward can rip the braid out or snap your edges, so keep the motion small and slow.
Try this: do this after the warm compress when the hair is most pliable.
9. Stretch Individual Braids Gently
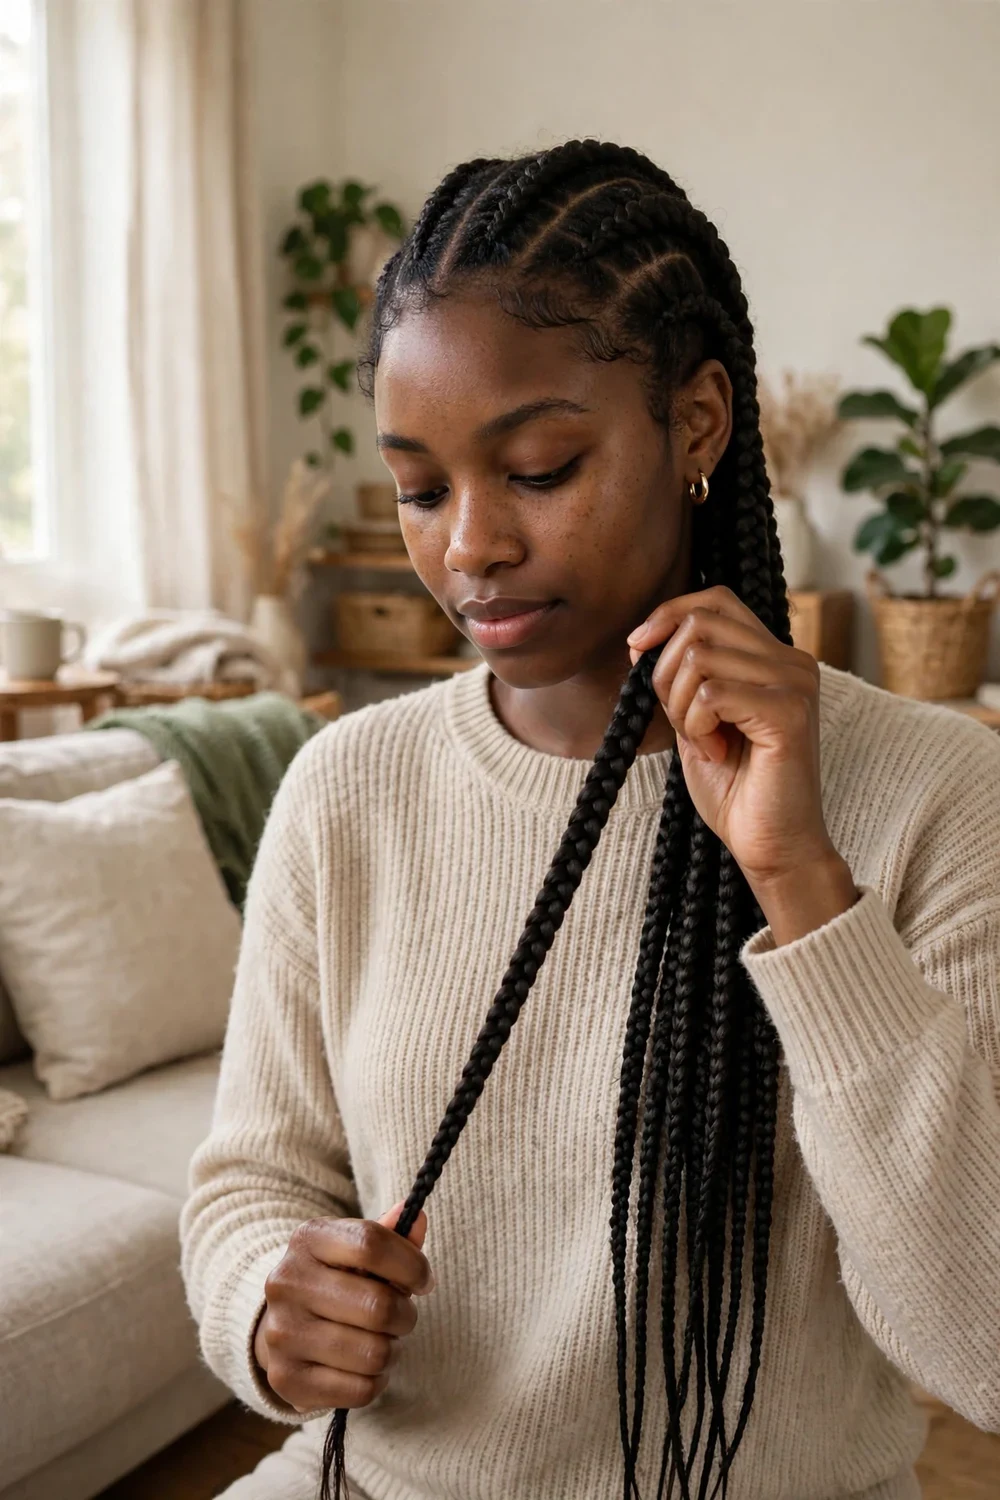
Hold a single braid near the root with one hand and tug very lightly downward and outward with the other. This strand-by-strand stretching creates tiny gaps between braids, which spreads the tension across more of your scalp.
Focus on the nape and temples, where braiders tend to pull hardest. Stop immediately if you feel sharp pain. Mild pressure is fine, but stretching should never hurt.
Try this: stretch braids while watching TV so you go slowly instead of rushing.
10. Remove One or Two Rows
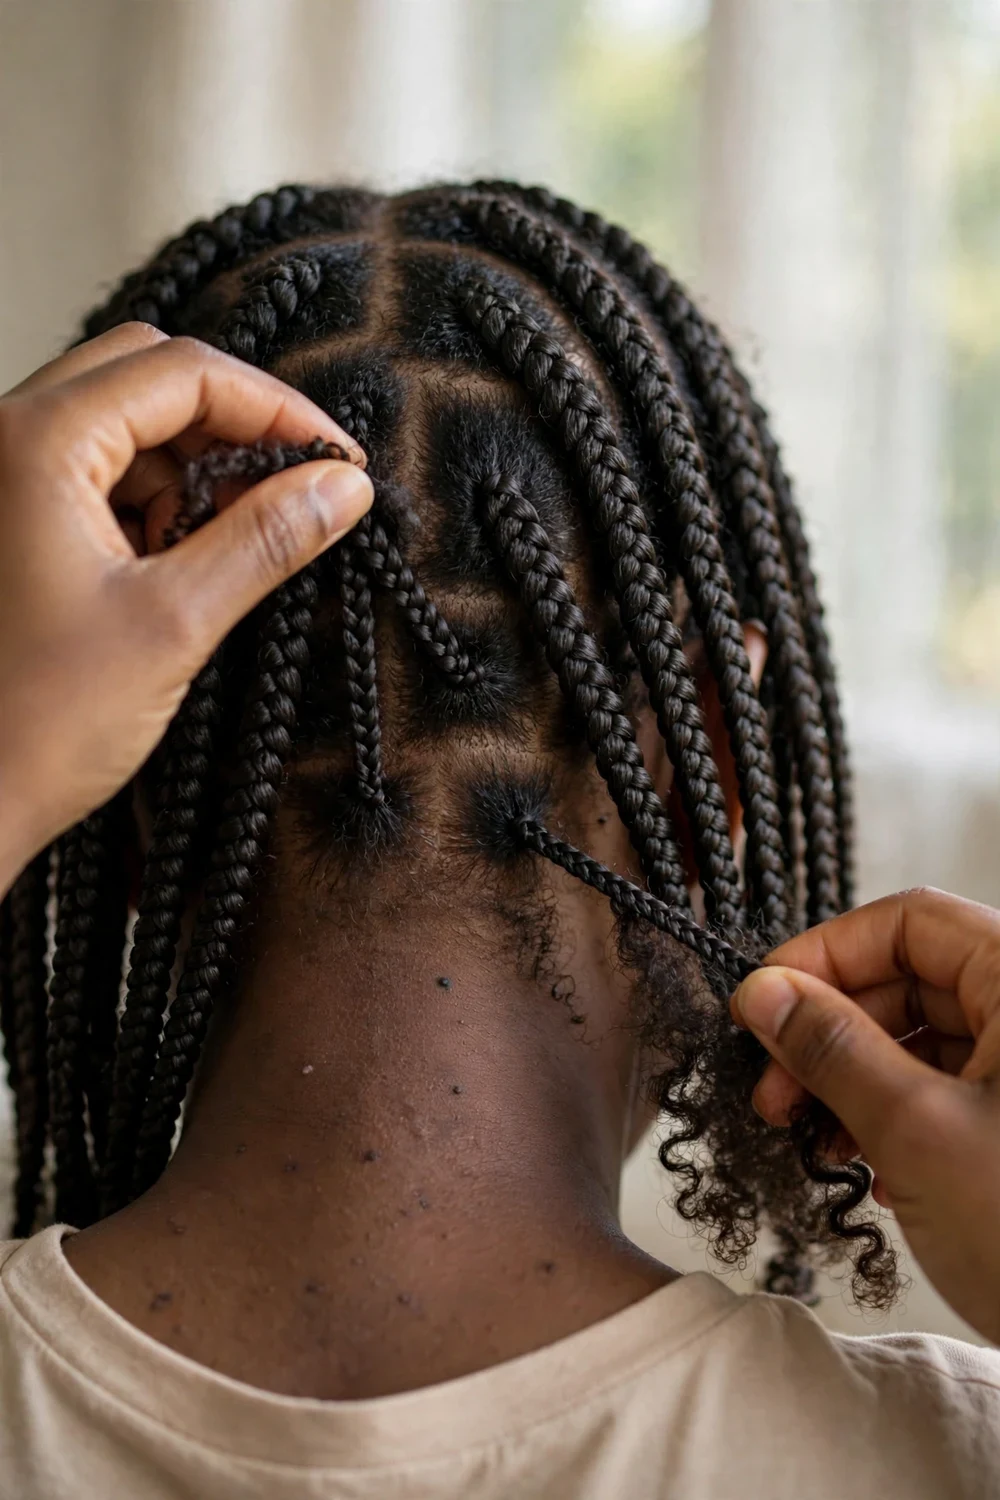
If the whole head aches, removing just one or two rows of braids can drop the overall weight and tension fast. This works best along the hairline or at the nape, where tightness hurts most. Snip the knot at the base of the extension hair with sharp scissors, taking care not to cut your own hair, then unravel slowly downward.
Most people find that losing a single row changes how the entire style feels. Your braids will still look full, especially if the rows around them are medium to large.
Try this: ask your braider to do this if you are nervous about cutting near your own hair.
For your next install, shorter braids put less weight on your scalp from day one. Our short box braids hairstyles guide shows styles that stay comfortable for weeks.
11. Trim a Few Inches Off the Length
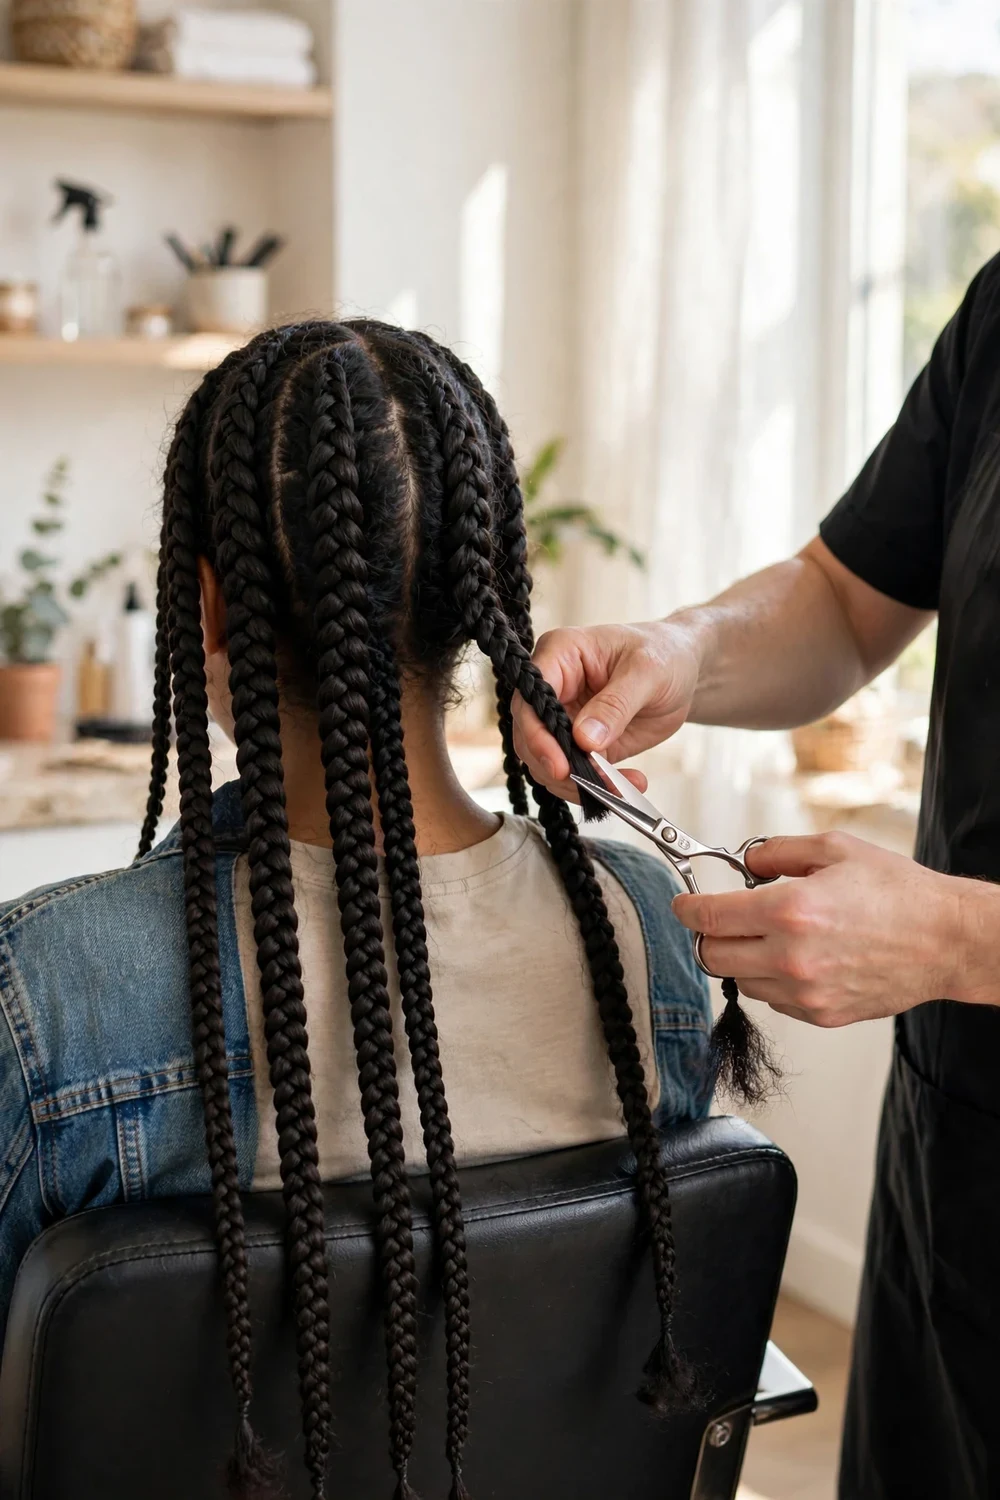
Long, heavy braids pull constantly on the roots. Cutting 2 to 4 inches off the ends lightens the load on every follicle. Use sharp hair shears for a clean cut, and seal synthetic ends with hot water if your braider did that at install.
This is a good middle ground when you like the style but cannot stand the weight. Blunter ends also make braids lie flatter, which some people prefer.
Try this: trim in stages. Cut two inches, wear it a day, and cut more only if you still feel pulling.
What Not to Do With Tight Braids

A few common reactions make things worse. Do not pull the braids into a tight ponytail or bun, since that adds tension on top of tension. Wear them down or in a loose low style until they relax. Do not scratch with anything sharp, including bobby pins or the tail of a comb. Broken skin invites infection.
Skip heavy grease and thick butters on a sore scalp. They trap heat and can clog follicles. And do not ignore real pain. Discomfort that fades is normal. Pain that stays sharp after two days means the style needs to come out.
When to Take the Braids Out
Remove the style right away if you notice any of these: small bumps or pimples along the hairline, shiny stretched-looking skin at the parts, broken hairs at the root, or thinning edges. These are early signs of traction alopecia, and catching it early gives the follicles their best chance to recover.
Also take them out if you have headaches that do not ease, or if the pain is still strong after trying the fixes above for two full days. No hairstyle is worth lasting hair loss. You can always reinstall with a braider who uses a lighter hand.
How to Prevent Tight Braids Next Time
Speak up during the appointment. Tell your braider before they start that you want medium tension, especially around the hairline and nape. A good braider will adjust without taking offense.
Ask for knotless braids if you usually get box braids. The knotless method feeds extension hair in gradually instead of anchoring a tight knot at the root, so the first week feels much gentler. Moisturize and deep-condition your hair before the appointment too, since well-hydrated hair handles tension better than dry hair.
Keeping your natural hair healthy between installs makes every protective style more comfortable. Our natural hairstyles for black women roundup has low-tension options for your rest weeks.
Method Comparison
| Method | How Fast It Helps | Best For |
|---|---|---|
| Warm towel compress | 15 to 20 minutes | All-over tightness, first-day pain |
| Warm shower | 10 minutes | Quick relief when short on time |
| Braid spray | Minutes | Daily maintenance, mild tightness |
| Scalp massage with oil | Minutes | Sore, achy scalp |
| Overnight oil soak | Overnight | Stubborn tightness that resists quick fixes |
| Comb handle lift | Minutes per section | Cornrows pulling flat against the scalp |
| Remove a row / trim length | Immediate | Heavy styles, pain at the nape or hairline |
FAQs
How long does it take for tight braids to loosen on their own?
Most braids relax noticeably within 3 to 7 days as the hair settles and the extension fiber softens. If yours still hurt after a full week, use the methods above or consider taking them out.
Can tight braids cause permanent hair loss?
Yes. Constant tension can cause traction alopecia, which starts as thinning along the hairline and can become permanent if the pulling continues for months. Removing a too-tight style early is the best prevention.
Should I wash tight braids to loosen them?
A gentle wash with diluted shampoo can help, since water and massage relax the roots. Focus the shampoo on your scalp, rinse well, and dry the braids fully so no moisture sits against the skin.
Is it normal for braids to hurt for a few days?
Mild tenderness for a day or two is common, especially with a fresh install. Sharp pain, throbbing, bumps, or pain that gets worse instead of better are not normal and need attention.
Will loosening my braids ruin the style?
The gentle methods above, like warm towels, sprays, and massage, keep the style intact. Only aggressive fixes, such as yanking with tools or removing many rows, change how the braids look.
Final Thoughts
Tight braids are uncomfortable, but most of the time a warm compress, a good braid spray, and a little patience sort them out within a few days. Start with the gentlest fix and work your way up. And remember the hard line: if pain, bumps, or thinning show up, the style comes out. Healthy edges matter more than any install.
Want more braid care tips? Start at our homepage and browse the protective style guides.

