


No heat hair styling covers far more than overnight curls for long lengths. Short bobs can set on small rollers and pin curls, medium hair twists and wraps well, and long hair holds braids, robe tie curls, and a full overnight wrap. This list gathers 26 methods across those lengths and across straight, wavy, curly, and coily textures, and every one uses air, time, and simple tools only.
The methods run in a useful order: braid and twist sets first, then rod, sock, and roller sets, then air-dry texture methods, smoother finishes, and quick updos at the end. If your hair is long and you want a list built for that length alone, the heatless hairstyles for long hair guide goes deeper on long-hair sets. For short cuts, the easy short hairstyles for busy mornings list pairs well with the short sets below.
Quick Takeaways
- Most overnight sets work best on hair that is damp rather than wet. Fully dry hair takes a weak set, and soaking wet hair may still be damp in the morning.
- Section size controls the result. Small sections give tight curls and fine texture, while large sections give loose bends and smoother finishes.
- Short hair sets well on pin curls, small foam rollers, velcro rollers, and a short satin rod. Long rods and robe ties suit medium and long lengths.
- Smoother looks come from wrapping, large rollers, and a slicked back air-dry. Curlier textures hold shape best with twists, coils, and plopping.
- Let every set dry fully before you undo it. Releasing damp hair is the most common reason a no heat style falls flat.
How to Choose a No Heat Method
Start with the result you want. For waves, choose braids, twists, mini buns, or a robe tie. For defined curls, choose flexi rods, foam rollers, rag curls, or finger coils. For a smoother finish, choose the overnight wrap, large rollers, or the slicked back method for short hair.
Then match the method to your length and your schedule. Short hair needs small tools and small sections, and many short sets finish in two to four hours. Medium and long hair can use overnight sets that need six to eight hours to dry. If mornings are rushed, look at the mom haircut ideas list for cuts that air-dry well, and the medium hairstyles with waves list for wave shapes that suit these sets.
1. Two Loose Overnight Braids for Soft Waves

Two loose braids on slightly damp hair give soft, even waves by morning. Use one braid on each side, start below the ears, and leave the last two inches loose so the ends stay smooth. This suits straight and wavy hair at medium and long lengths best.
Separate the waves with your fingers once the braids come out. A brush breaks the wave pattern into frizz, while fingers keep the bends grouped and tidy.
Try this: Shake the roots lightly with your fingertips after you undo the braids. Loose roots stop the waves looking flat against the scalp.
Difficulty: Low | Cost: $ | Time: Overnight, 6 to 8 hours
2. Tiny Plaits for Crimped Texture
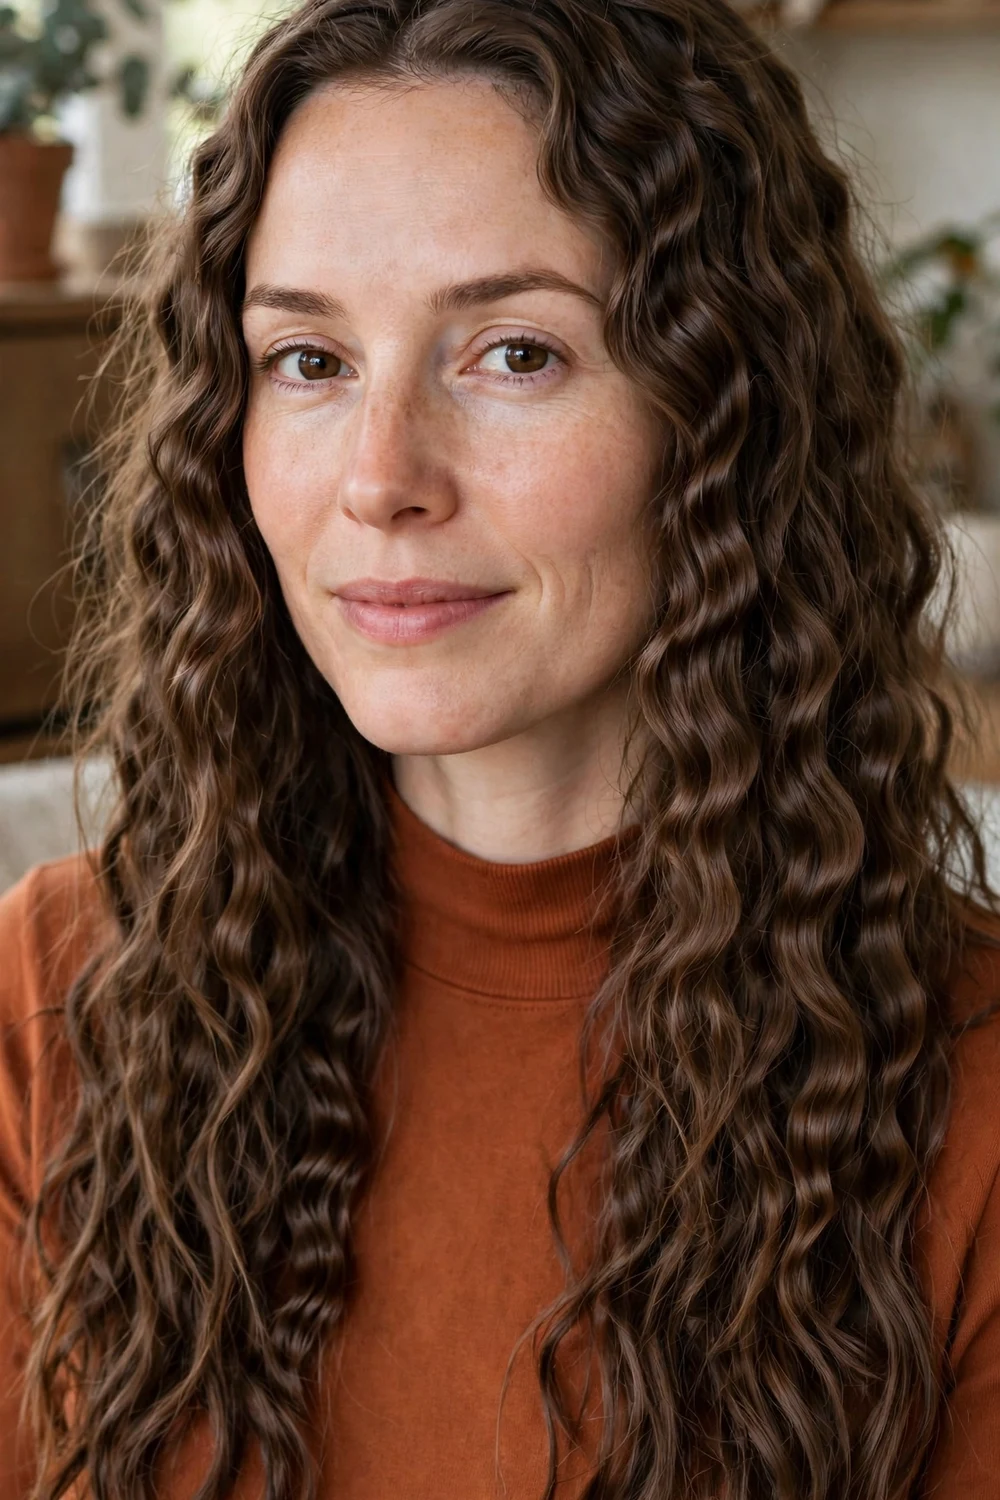
Many small plaits on damp hair dry into a fine crimped texture. Use eight to sixteen plaits depending on thickness, and keep each section small and even. Short hair can use this too, with fewer and shorter plaits at the sides and back.
Let every plait dry fully before you undo it. Damp sections lose the crimp within an hour, while fully dry sections hold the texture through the day.
Try this: Work a small amount of mousse through damp hair before you plait. The mousse helps fine hair hold the crimp without stiffness.
Difficulty: Low to Medium | Cost: $ | Time: Overnight or 4 to 6 hours
3. French Braids for Defined Morning Waves
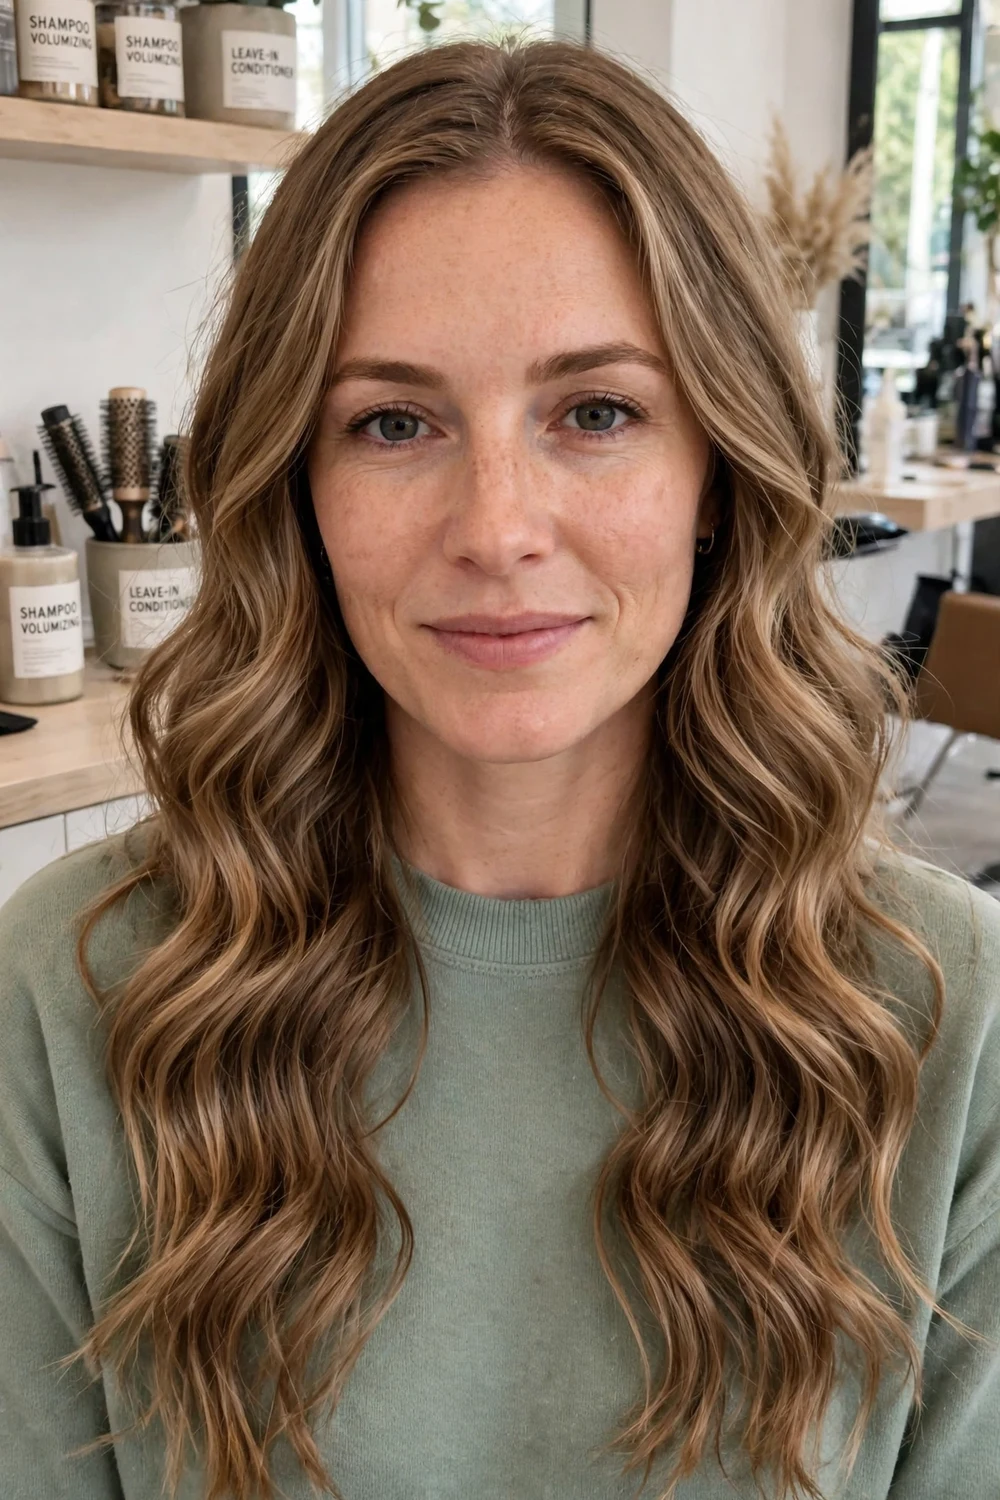
One or two French braids pick up hair from the crown, so the wave starts high and runs through the whole length. Two braids give a more even result on thick hair, while one braid suits fine hair and gives a looser bend.
Braid on hair that feels damp and cool, rather than wet. Wet hair takes too long to dry inside a tight braid and the wave can fall flat by midday.
Try this: Sleep with the braid ends folded up and secured with a soft scrunchie. Loose ends rub on the pillow and turn frizzy overnight.
Difficulty: Medium | Cost: $ | Time: Overnight, 6 to 8 hours
4. Flat Twists for Curly and Coily Hair
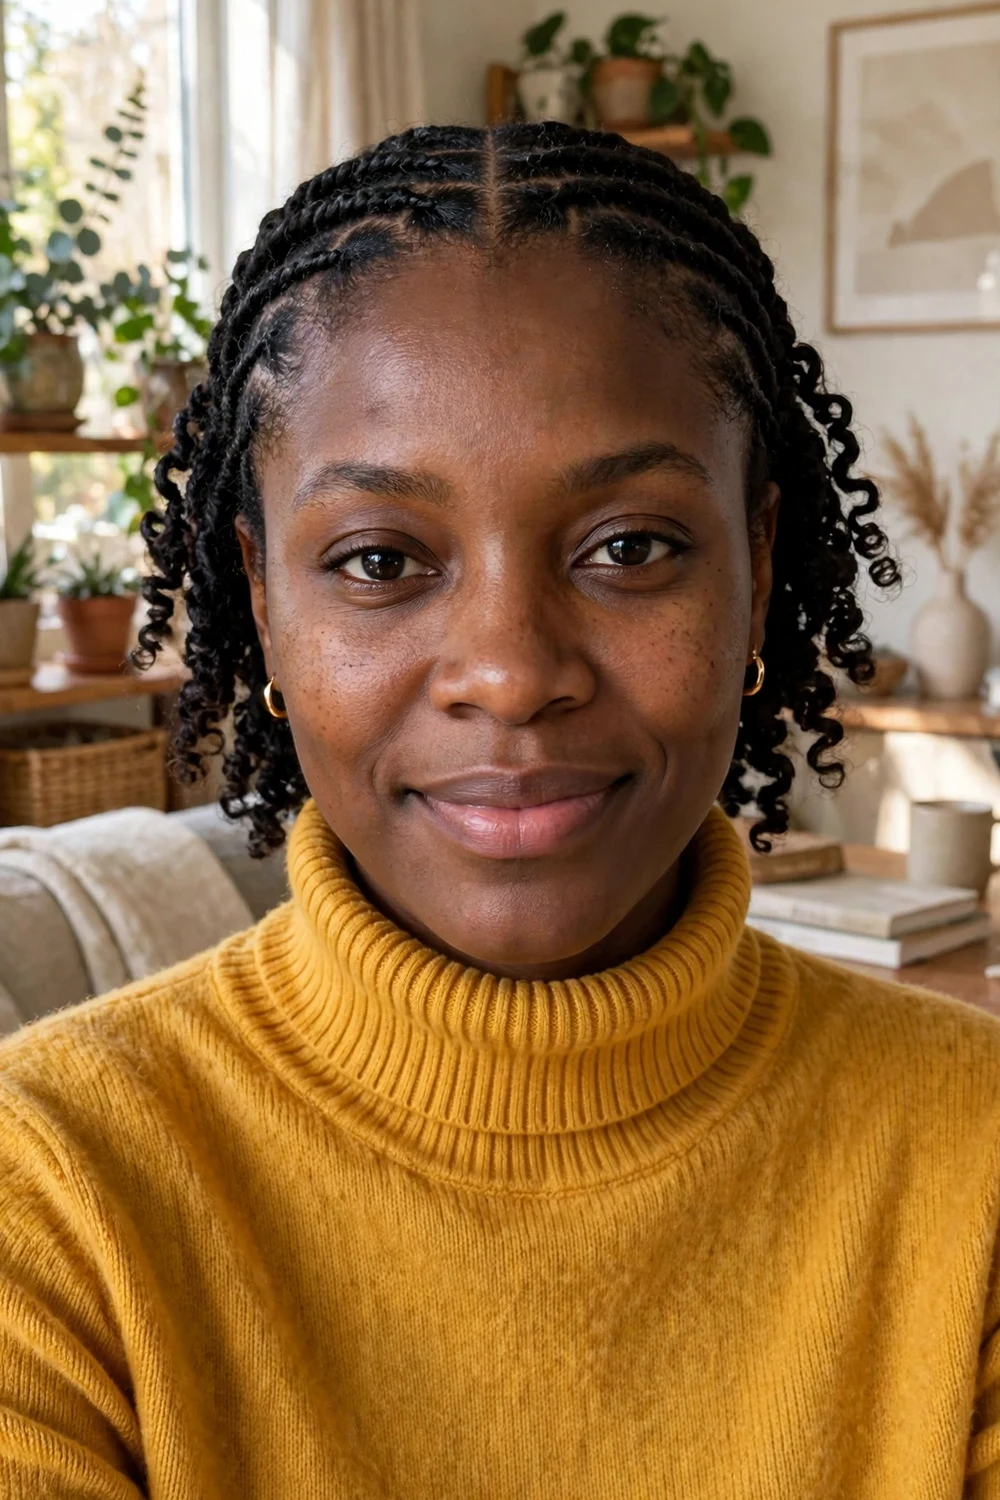
Flat twists lie close to the scalp and set curly and coily hair into a defined twist pattern. Roll each section as you twist, keep the tension even, and pin the ends if they feel loose. The twists can be worn as a style or undone the next day.
Undo the twists with a small amount of oil on your fingertips. Dry hands pull at the pattern and create frizz at the surface.
Try this: Make the front twists slightly smaller than the back twists. Smaller front sections give a cleaner frame around the face when you take them down.
Difficulty: Medium | Cost: $ | Time: Overnight or worn 1 to 3 days
5. Two-Strand Twists Left In as a Style
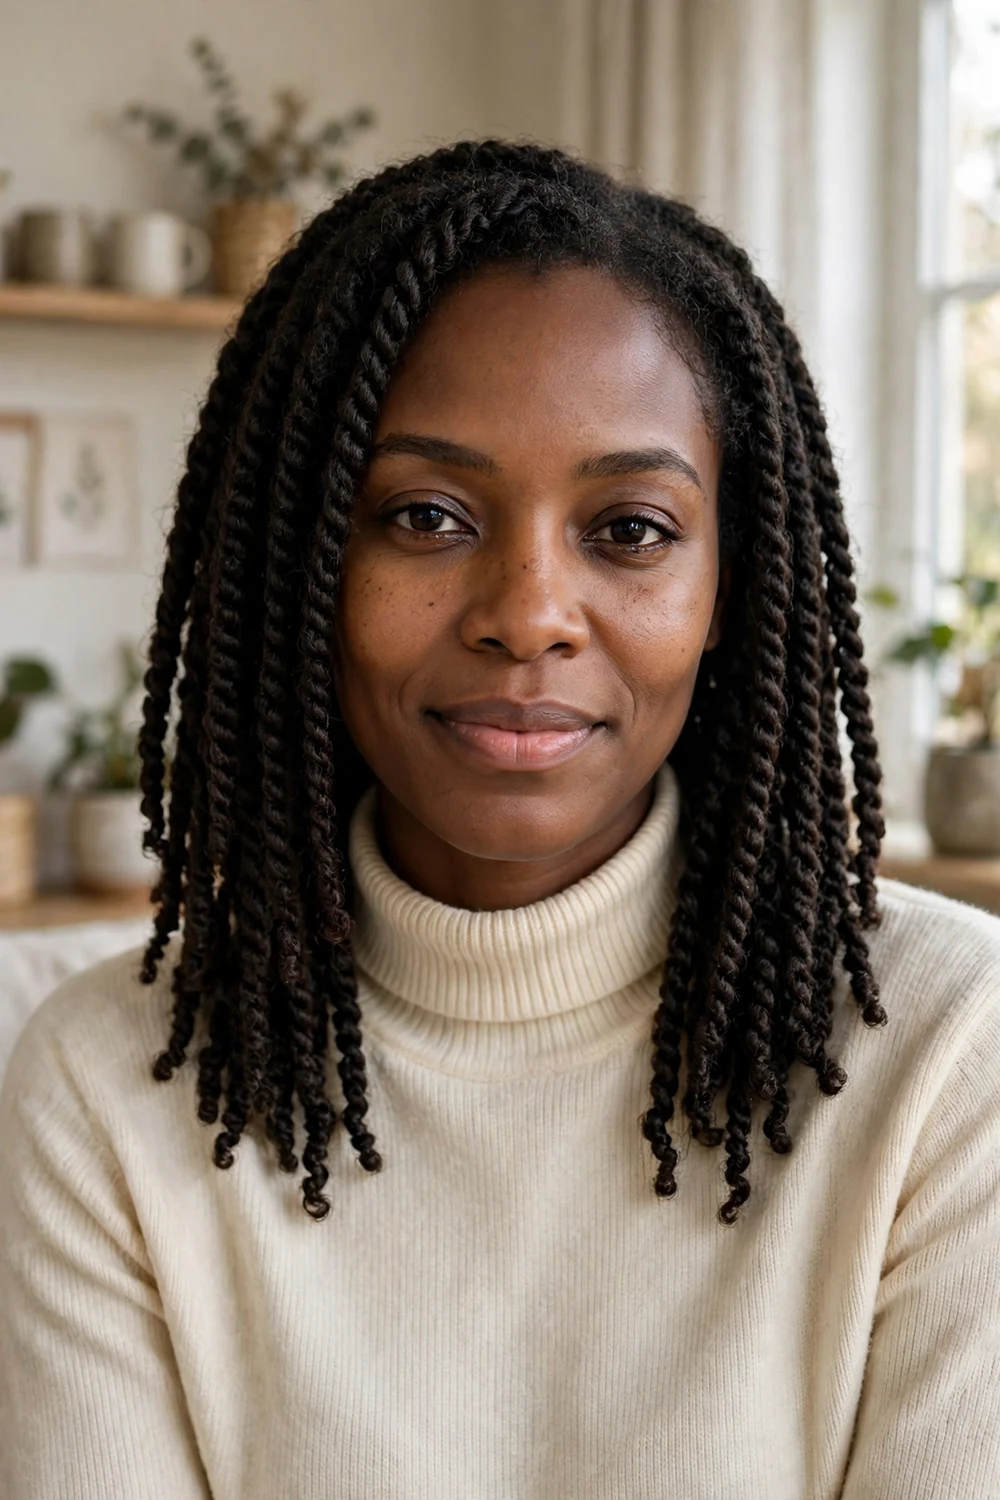
Two-strand twists work as a finished style and as a set at the same time. Twist medium sections from root to end, then curl the ends around your finger so they stay neat. This suits medium and long curly, coily, and relaxed hair.
Keep the twists in for at least two days if you want a strong twist-out later. The longer set gives a clearer pattern when you undo them.
Try this: Twist in the direction your hair naturally falls. Twists that fight the natural fall lift at the root and look untidy sooner.
Difficulty: Low to Medium | Cost: $ | Time: 30 to 60 minutes to install
6. Robe Tie Curls for Medium and Long Hair
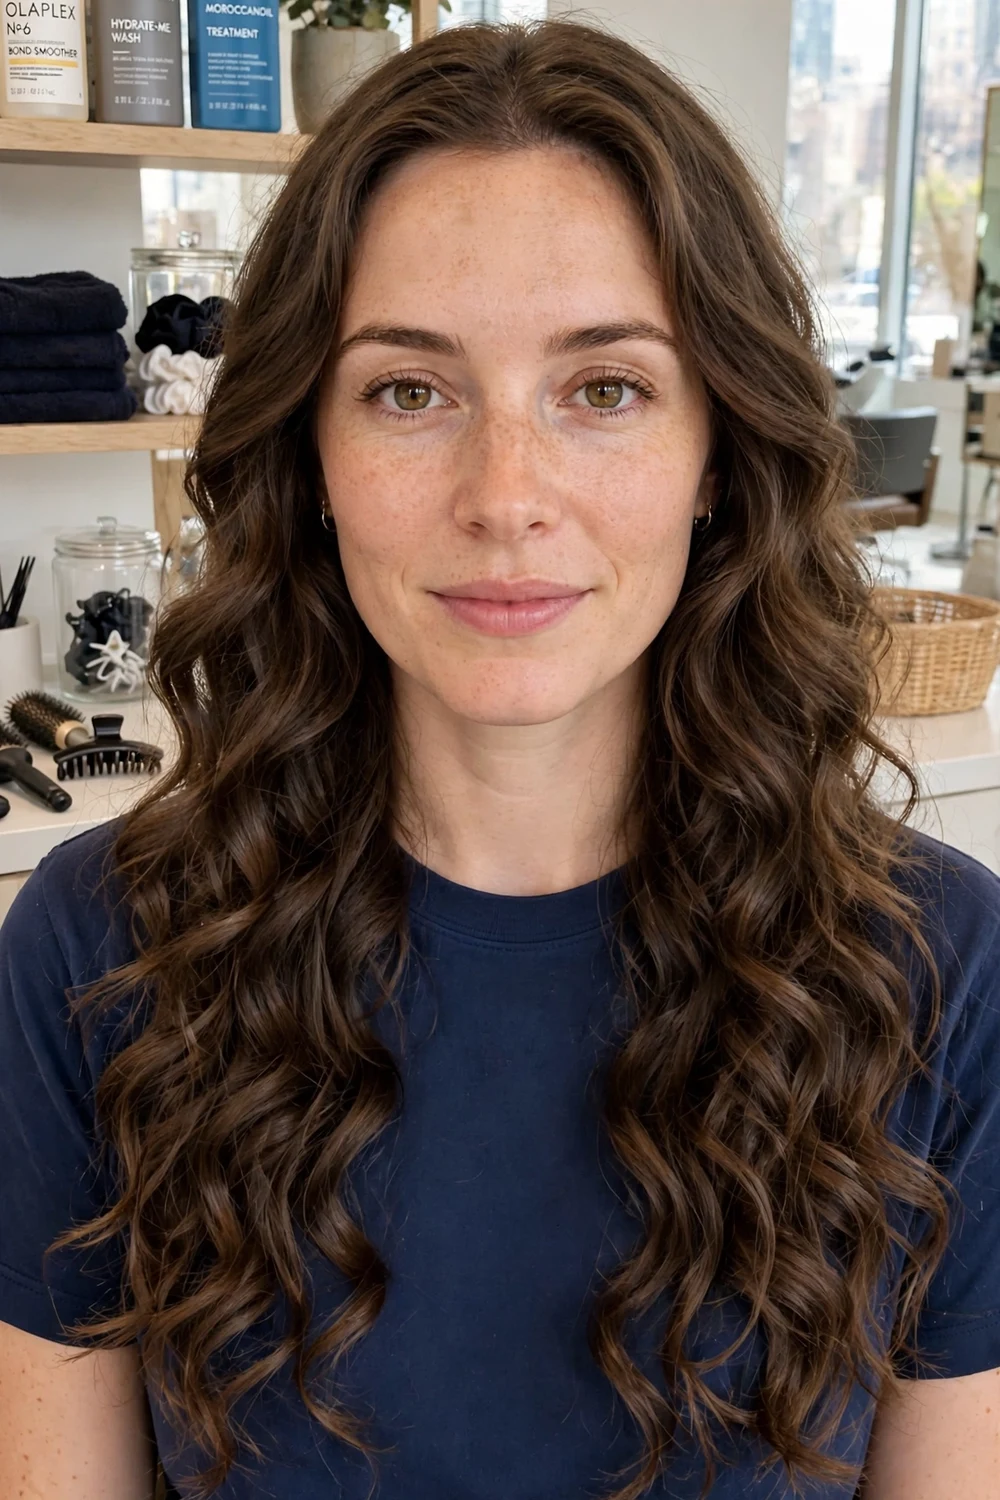
A robe tie or belt sits over the crown with an even length on each side. Wrap sections of slightly damp hair around the tie, adding more hair with each pass, then secure the ends with scrunchies. Medium and long hair wraps most easily with this method.
Brush each section smooth before you wrap it. Smooth wrapping is what gives the finished curls a clean surface in the morning.
Try this: Clip the tie in place at the crown before you start. A tie that slips while you wrap makes one side tighter than the other.
Difficulty: Low | Cost: $ | Time: Overnight, 6 to 8 hours
7. Satin Curling Rod Curls for Short Hair
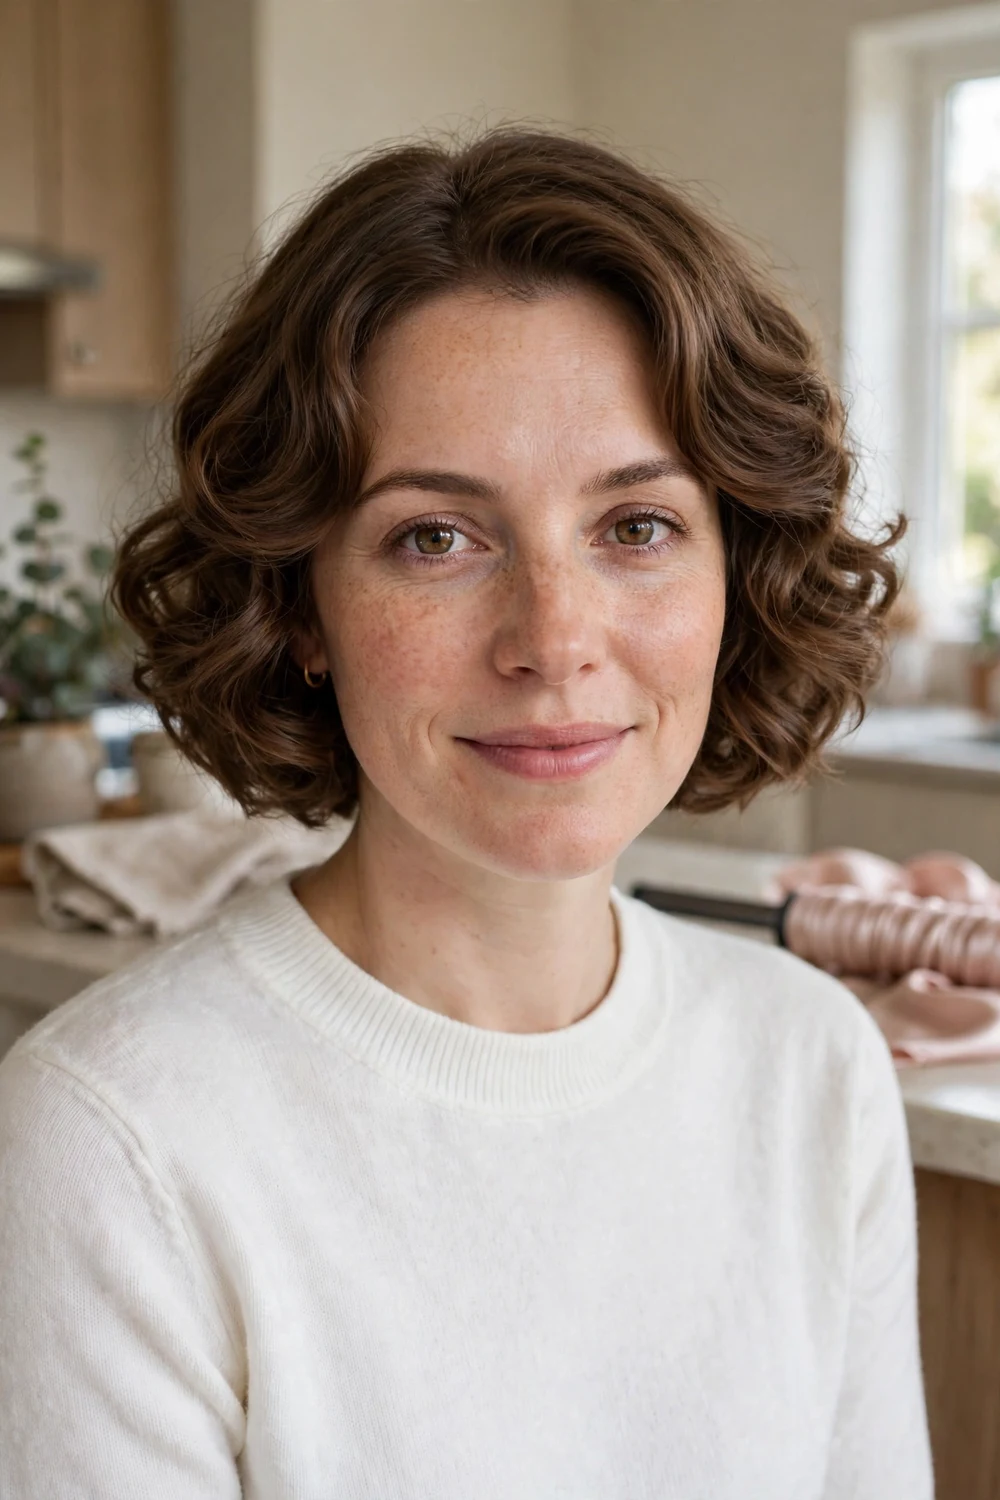
A short satin curling rod suits bob and lob lengths that are too short for a robe tie. Place the rod over the crown, wrap the front sections away from the face, and work back in small sections on each side.
Short hair needs smaller sections than long hair for the rod method. Small sections wrap fully and stay on the rod overnight.
Try this: Mist very dry hair lightly with water before you wrap. A light mist helps short, straight hair take the bend without soaking it.
Difficulty: Low | Cost: $ | Time: Overnight or 4 to 6 hours
8. Leggings Curls as a Budget Rod Alternative

A pair of leggings can stand in for a curling rod. Drape the waistband over your head, use each leg as a wrapping post, and braid or wrap sections around the fabric, then tie the ends. The soft fabric is gentle on fine hair.
Choose leggings with a smooth, stretchy fabric. Rough or thick seams leave marks in the finished curls.
Try this: Test the set for an hour in the evening first. Leggings sit differently on each head shape, and a short test shows you where to clip them.
Difficulty: Low | Cost: $ | Time: Overnight, 6 to 8 hours
9. Single Sock Curls for Loose Bends

Rolling sections around single clean socks gives loose bends and soft curls. Use one sock per section, roll from the ends up to the scalp, and tie the sock ends to hold the roll. Four to six socks cover most medium and long hair.
Use long, thin socks rather than thick sports socks. Thin socks roll tighter and are more comfortable to sleep in.
Try this: Roll the front sections away from the face and the back sections down. Mixed directions look more natural once you shake the curls out.
Difficulty: Low | Cost: $ | Time: Overnight, 6 to 8 hours
10. Foam Rollers for Soft Bouncy Curls

Foam rollers are light, soft to sleep in, and give even, bouncy curls. Roll damp sections from the ends to the scalp, keep the hair smooth on the roller, and use larger rollers for loose curls and smaller rollers for tighter curls.
Match roller size to hair length. Short hair needs small rollers that the hair can wrap around at least twice.
Try this: Let the rollers sit until the hair feels fully dry and cool. Warm or damp hair at removal loses curl shape quickly.
Difficulty: Low to Medium | Cost: $$ | Time: Overnight or 4 to 6 hours
11. Flexi Rods for Defined Spirals

Flexi rods bend and hold without clips, and they give defined spirals on many textures. Wrap damp hair around the rod in a spiral, then bend the ends to lock it. Smaller rods give tight spirals, while large rods give loose, stretched curls.
Keep the sections the same size across the head. Even sections dry at the same speed and give a uniform spiral size.
Try this: Twist the hair lightly as you wrap it on the rod. A light twist helps the spiral form cleanly and reduces tangling at removal.
Difficulty: Medium | Cost: $$ | Time: Overnight or 5 to 7 hours
12. Velcro Rollers for Root Lift on Short Hair
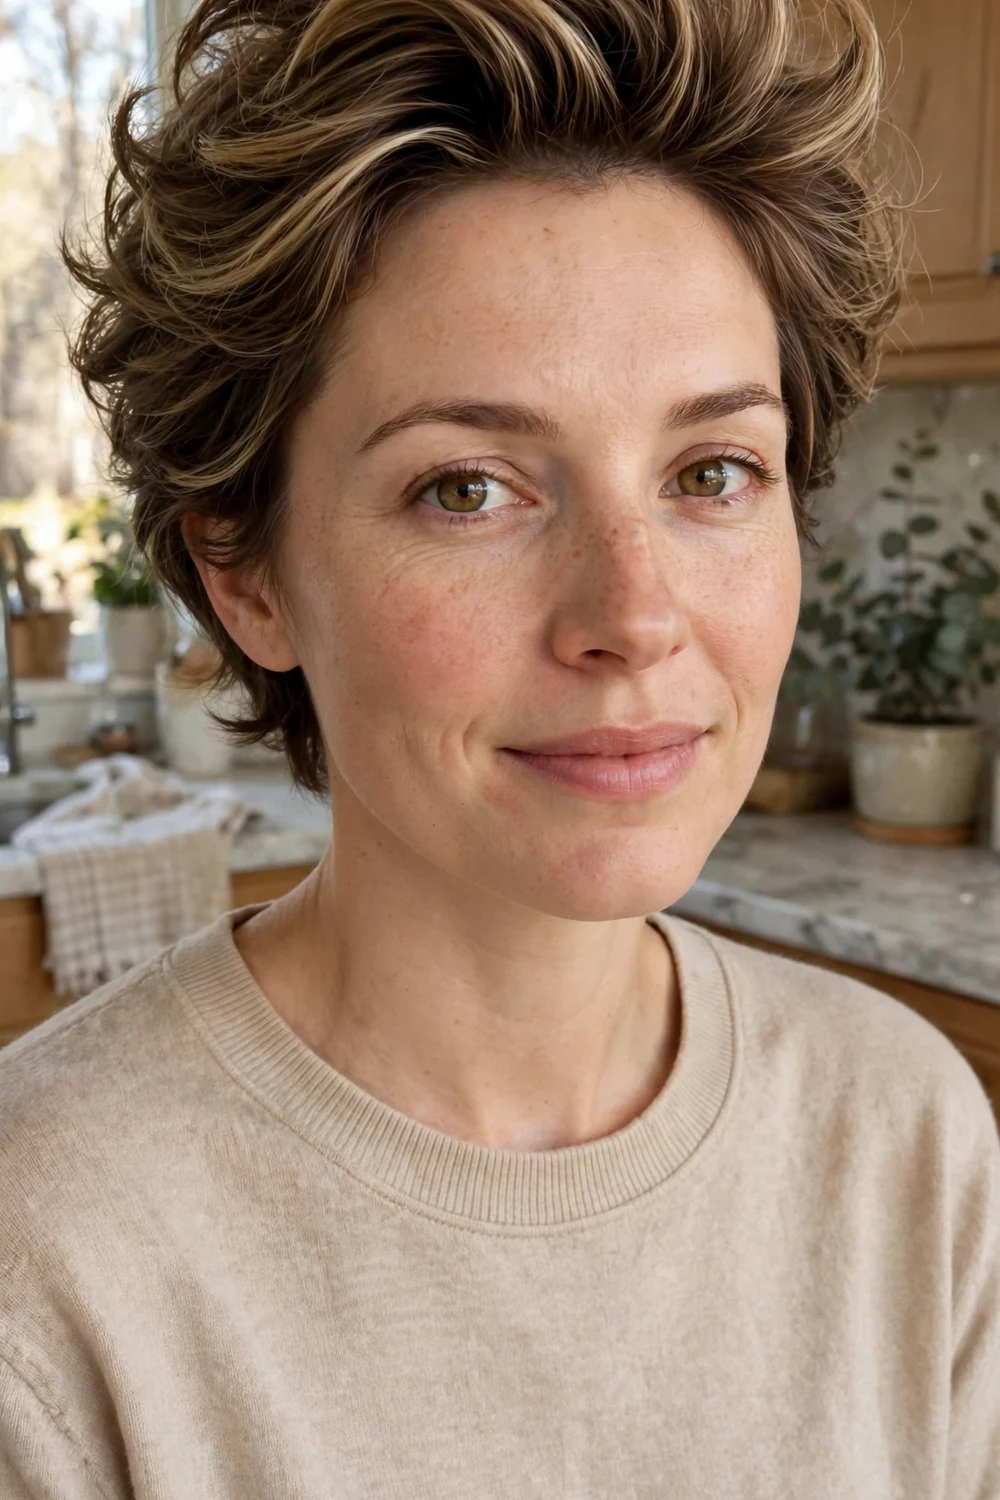
Velcro rollers grip short hair without pins and lift the roots while the hair air-dries. Place large rollers at the crown and front, roll dry or nearly dry hair up and back, and leave them in while you get ready.
This is a daytime method rather than an overnight set. One to two hours gives lift at the root and a soft bend through the ends.
Try this: Lift each section straight up before you roll it. Hair rolled from a lifted position keeps more root volume when the roller comes out.
Difficulty: Low | Cost: $$ | Time: 1 to 2 hours
13. Rag Curls from Fabric Strips
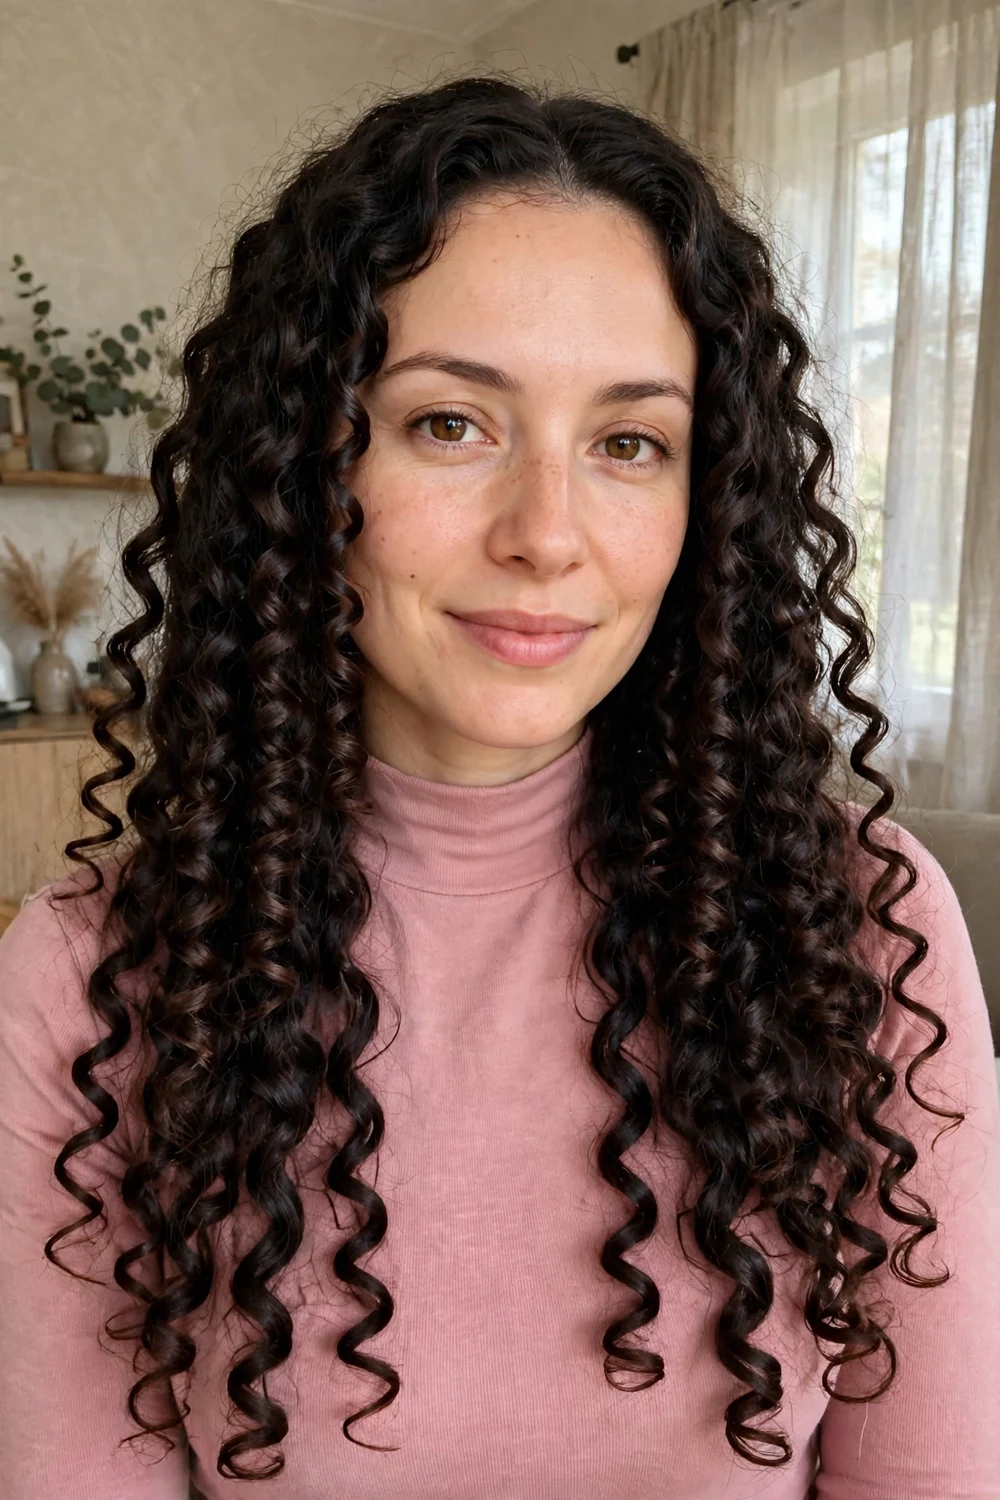
Rag curls use strips of soft fabric, such as an old cotton shirt cut into bands. Wrap a damp section around the strip, roll it up to the scalp, and tie the strip ends. Small sections give tight curls, and larger sections give loose waves.
Cut the strips about twice the length of your hair sections. Short strips run out before you can tie them securely.
Try this: Use smooth fabric with no thick hem in the strip. Hems create a bump that prints into the curl.
Difficulty: Low to Medium | Cost: $ | Time: Overnight, 6 to 8 hours
14. Paper Towel Curls for Short Sets

Folded paper towels can work as soft curling strips for short hair. Wrap small damp sections around each folded strip, roll up, and tie the ends. The short length of the strips suits pixie and bob lengths that slip off larger rollers.
Keep the sections small and the ties snug. Short hair unwinds easily, and small sections stay in place better overnight.
Try this: Change any strip that tears while you roll. A torn strip loosens during the night and leaves one section straight.
Difficulty: Low | Cost: $ | Time: 2 to 4 hours or overnight
15. Pin Curls for Short and Medium Hair

Pin curls roll each section into a flat coil against the scalp and pin it in place. Alternate the direction of each row so the finished waves blend rather than stack. Short and medium lengths suit this method well, since the coils stay flat and neat.
Use two pins in a cross over each coil if your hair is thick or slippery. A single pin often works loose on smooth hair.
Try this: Brush the finished curls gently over your palm once the pins are out. Brushing against your palm shapes the wave without pulling it apart.
Difficulty: Medium | Cost: $ | Time: Overnight or 3 to 5 hours
16. Finger Coils for Natural Curls
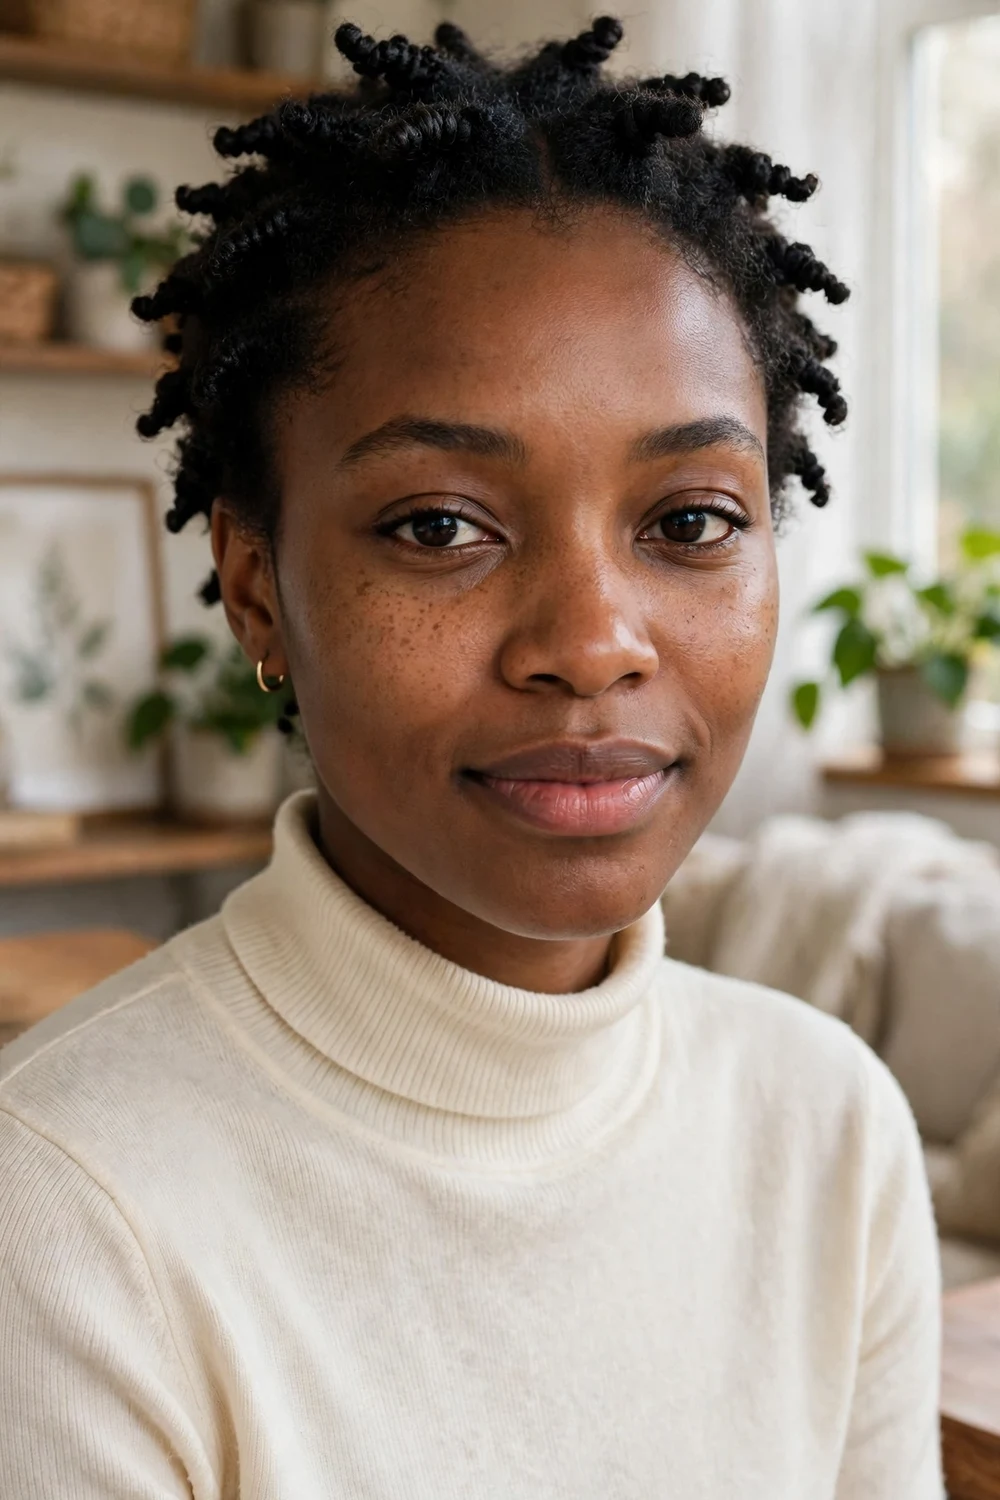
Finger coiling defines each natural curl by hand. Take a small section of damp hair with curl cream, twist it around your finger, and slide the finger out so the coil keeps its shape. It suits short and medium curly and coily hair.
Work in a set order, row by row, so no sections are missed. Missed sections stand out once the hair dries.
Try this: Keep the coil size close to your natural curl size. Coils much larger than the natural pattern tend to split as they dry.
Difficulty: Medium | Cost: $ | Time: 45 to 90 minutes plus air-dry time
17. Hair Plopping for Wavy and Curly Hair
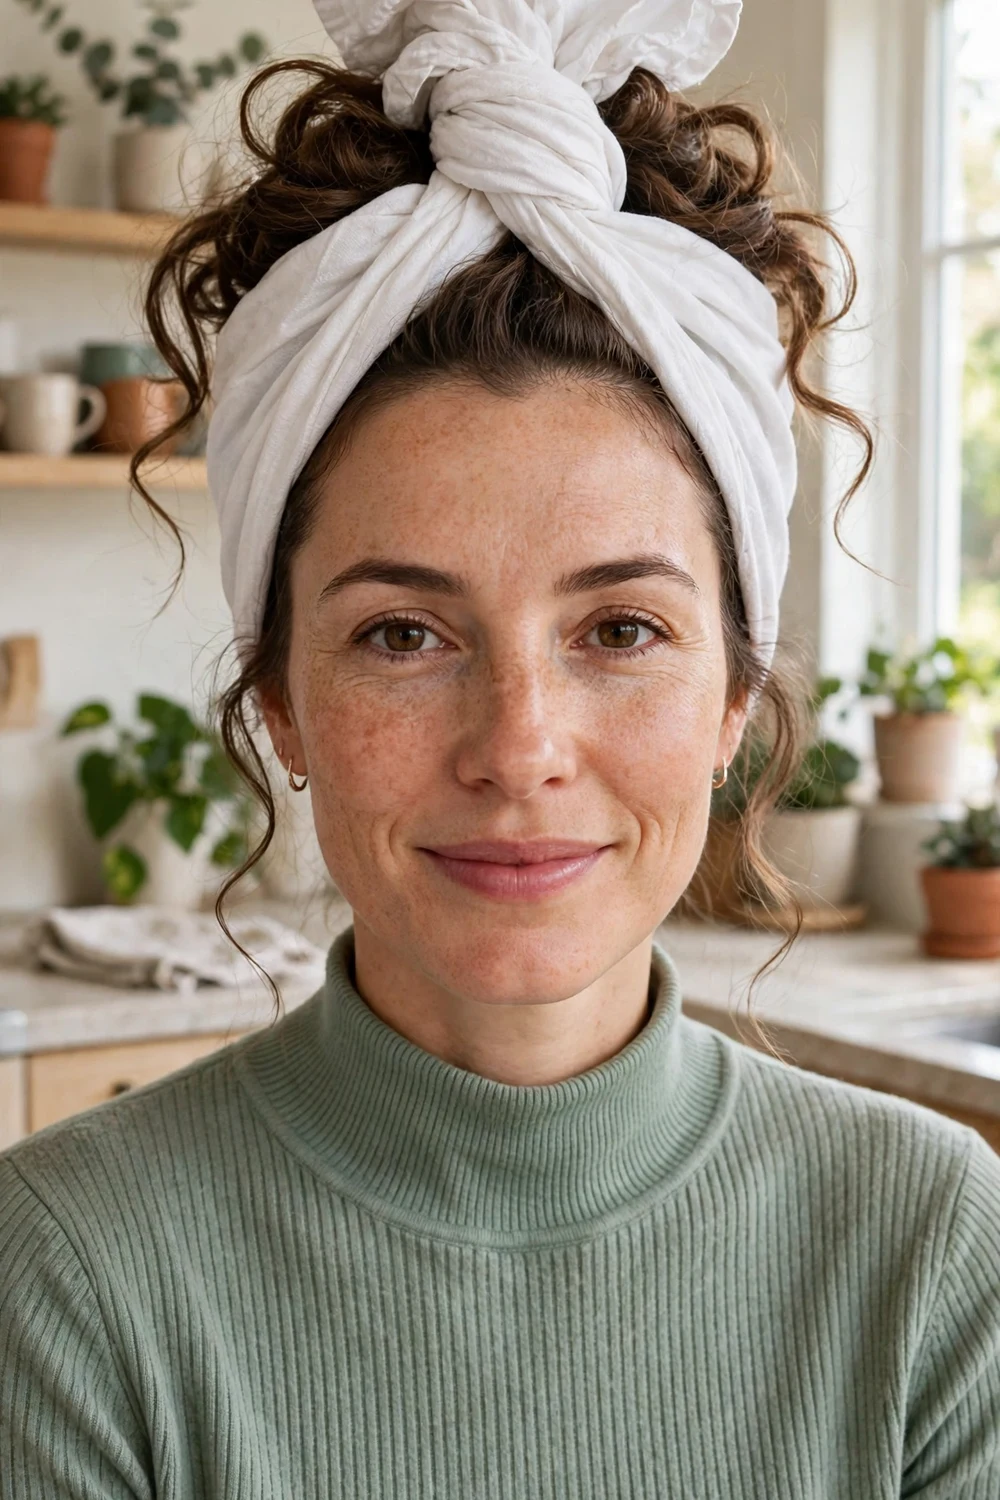
Plopping gathers wet wavy or curly hair into a cotton shirt or microfiber wrap on top of the head. The wrap holds the curls scrunched while they absorb product and start to dry, which helps the pattern form with less frizz.
Apply your leave-in and curl products before you wrap, while the hair is still wet. Products added after plopping sit on the surface instead of coating each curl.
Try this: Plop for twenty to forty minutes, then air-dry the rest of the way. Leaving the wrap on for hours can flatten the roots.
Difficulty: Low | Cost: $ | Time: 20 to 40 minutes wrapped, then air-dry
18. Scrunch and Air-Dry for Natural Waves
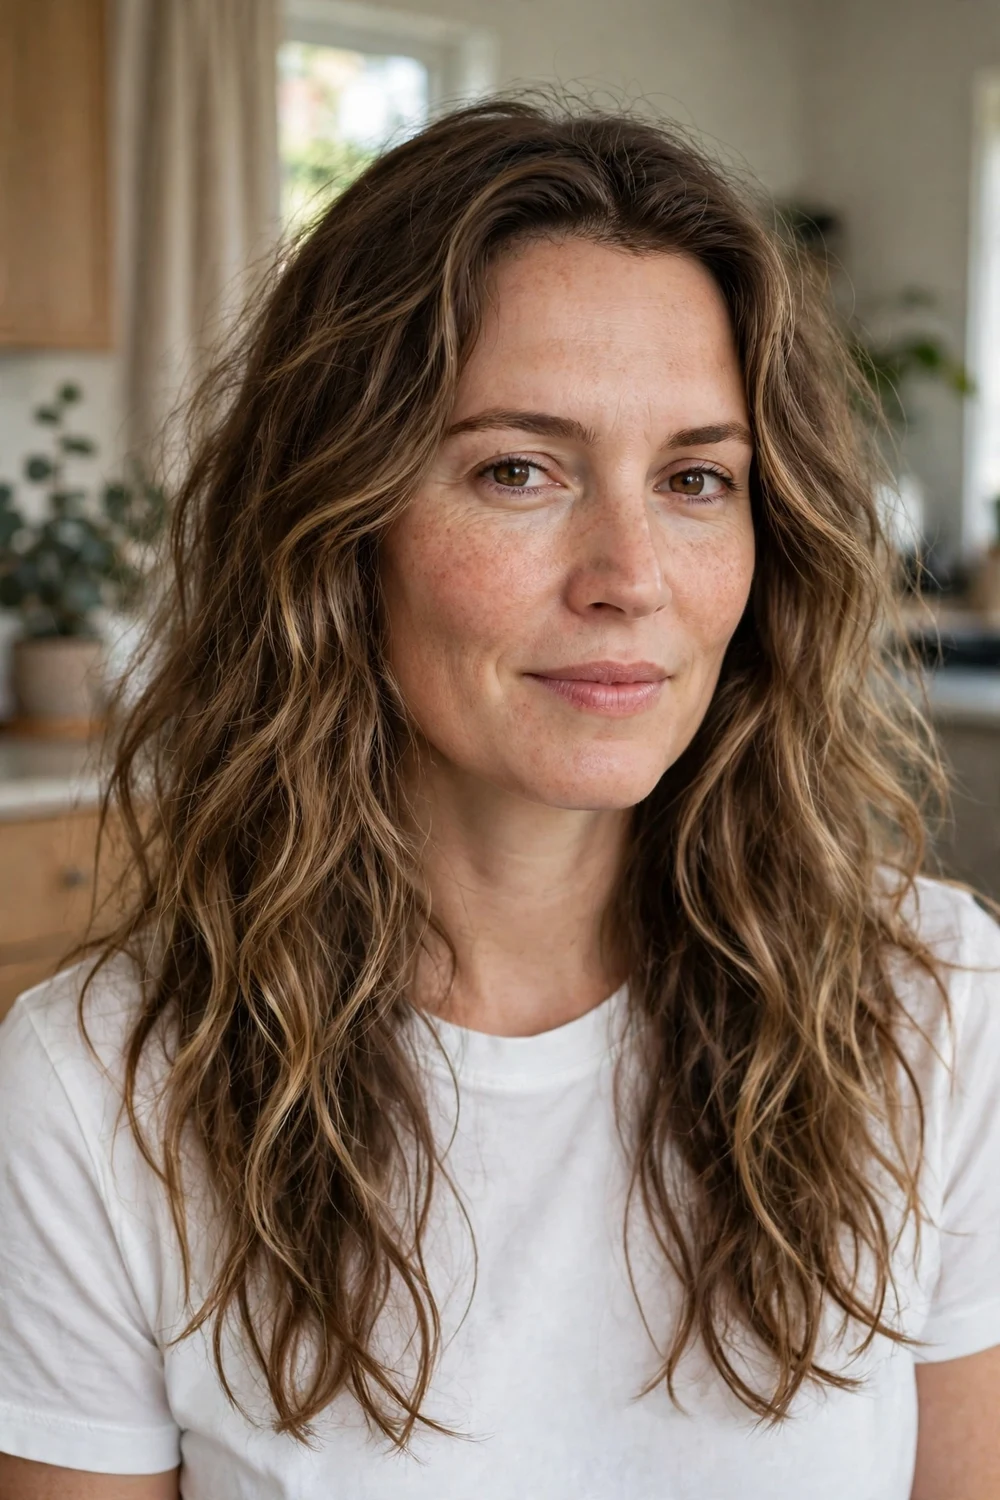
Scrunching lifts natural waves while they air-dry. Apply a light mousse or gel to damp hair, scrunch sections up toward the scalp in your palms, and repeat every fifteen minutes or so as the hair dries.
Avoid touching the hair between scrunch rounds. Handling drying waves breaks the groups apart and creates surface frizz.
Try this: Scrunch out the gel cast once the hair is fully dry. Squeeze each section until the stiffness softens and the waves feel flexible.
Difficulty: Low | Cost: $ | Time: 1 to 3 hours air-dry
19. Twisted Mini Buns for Beachy Texture
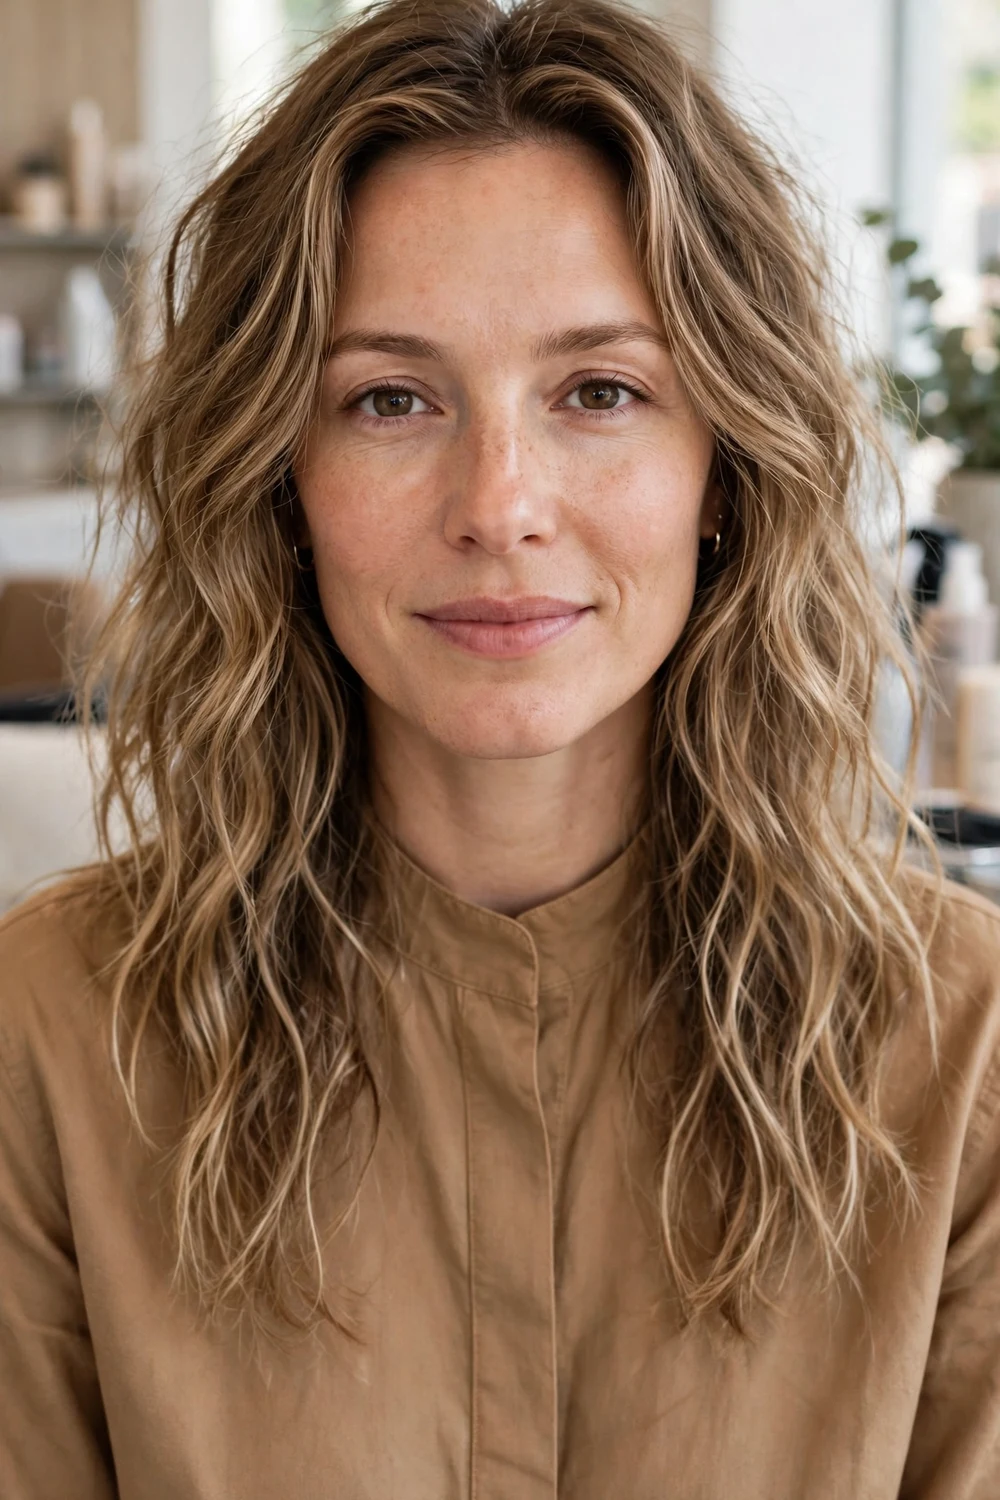
Twist small sections of damp hair and coil each one into a mini bun, then pin or tie it in place. Four buns give loose texture, while eight or more give a tighter, more broken wave. This works across short, medium, and long hair.
Place the buns high on the head if you plan to sleep in them. High placement keeps the buns off the back of your head while you sleep.
Try this: Undo one bun first and check the texture. If it feels damp, leave the rest in for another hour before you take them down.
Difficulty: Low | Cost: $ | Time: Overnight or 3 to 5 hours
20. Space Buns Worn as a Day Style

Two buns at the top of the head work as a day style and set a wave at the same time. Part the hair in the middle, twist each side up into a bun, and secure with soft ties. When you take them down, the top sections fall into loose bends.
Wear the buns on slightly damp hair for a stronger set by the end of the day. Dry hair gives a softer bend that suits fine hair.
Try this: Leave two face-framing pieces loose at the front. Loose pieces soften the style and make it feel finished for daytime wear.
Difficulty: Low | Cost: $ | Time: 20 minutes to style, worn all day
21. Overnight Hair Wrap for a Smoother Finish

Wrapping sets hair smooth without a flat iron. Brush damp or dry hair around the head in a circle, following the head shape, pin it flat, and cover it with a scarf overnight. In the morning the hair falls straight with a slight curve at the ends.
This method suits medium and long straight, relaxed, and silk-pressed hair. Very curly hair may need the wrap repeated on a second night for a smoother result.
Try this: Brush each section flat as you pin it, and place the pins along the wrap direction. Raised sections dry with a bump that shows in the morning.
Difficulty: Medium | Cost: $ | Time: Overnight, 6 to 8 hours
22. Large Rollers for a Smooth Air-Dry Finish
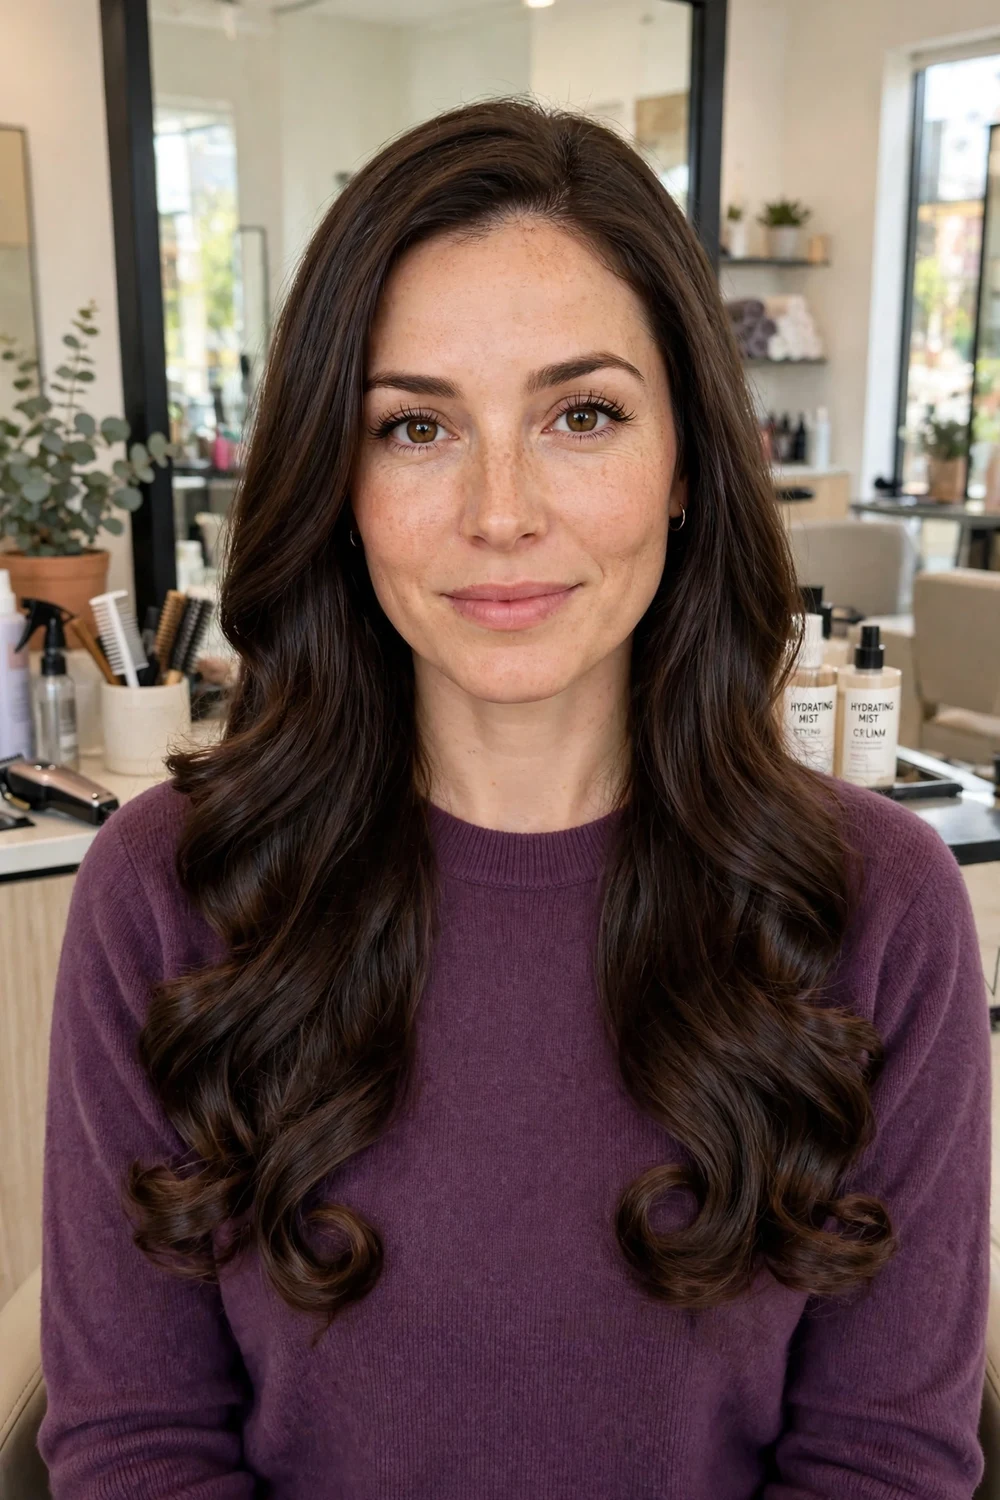
Large rollers smooth the hair while it air-dries and add a curve at the ends. Roll nearly dry hair in large sections, keep the surface smooth on the roller, and remove the rollers only when the hair feels fully dry and cool.
Use the largest rollers your length can wrap around twice. Rollers that are too small add curl rather than smoothness.
Try this: Roll the top sections back and the side sections down. That pattern gives a smooth fall with lift at the crown.
Difficulty: Low to Medium | Cost: $$ | Time: 2 to 4 hours
23. Slicked Back Air-Dry Look for Short Hair
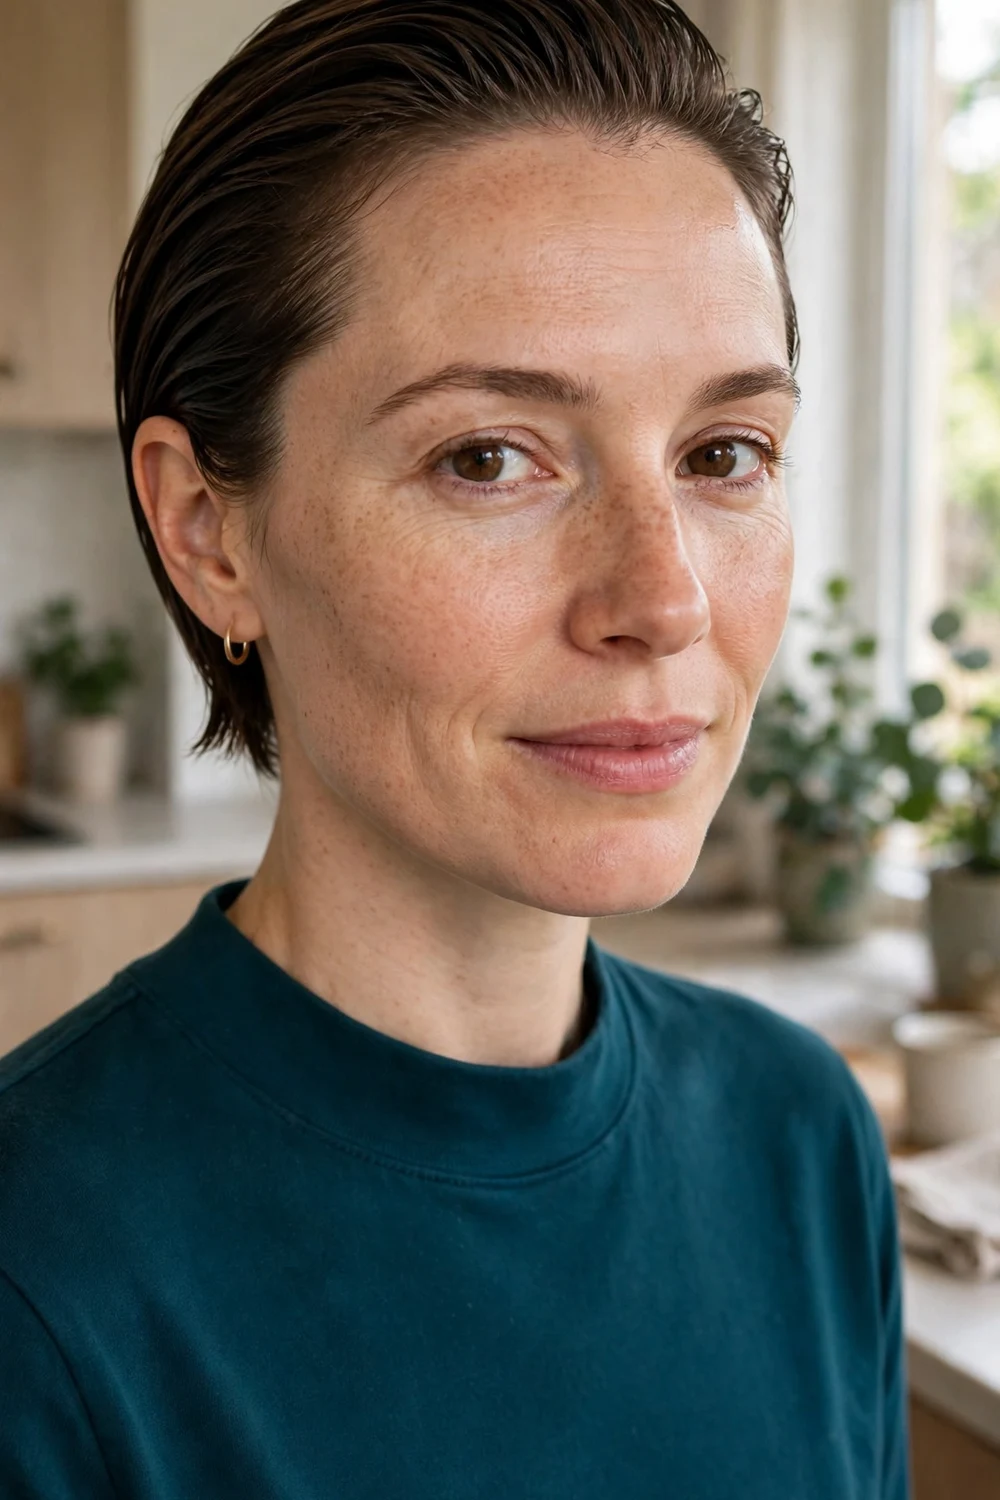
A slicked back look uses gel or styling cream on short hair and a comb to set the direction while it air-dries. Comb the hair back from the forehead, smooth the sides down, and leave it untouched until it dries.
This suits pixie, crop, and short bob lengths, and it works on straight, wavy, and relaxed hair. A small amount of conditioner worked through first keeps the finish flexible rather than crisp.
Try this: Add product in two thin layers rather than one thick layer. Thin layers dry evenly and are less likely to flake.
Difficulty: Low | Cost: $ | Time: 30 to 60 minutes air-dry
24. Low Chignon with a Wrapped Base
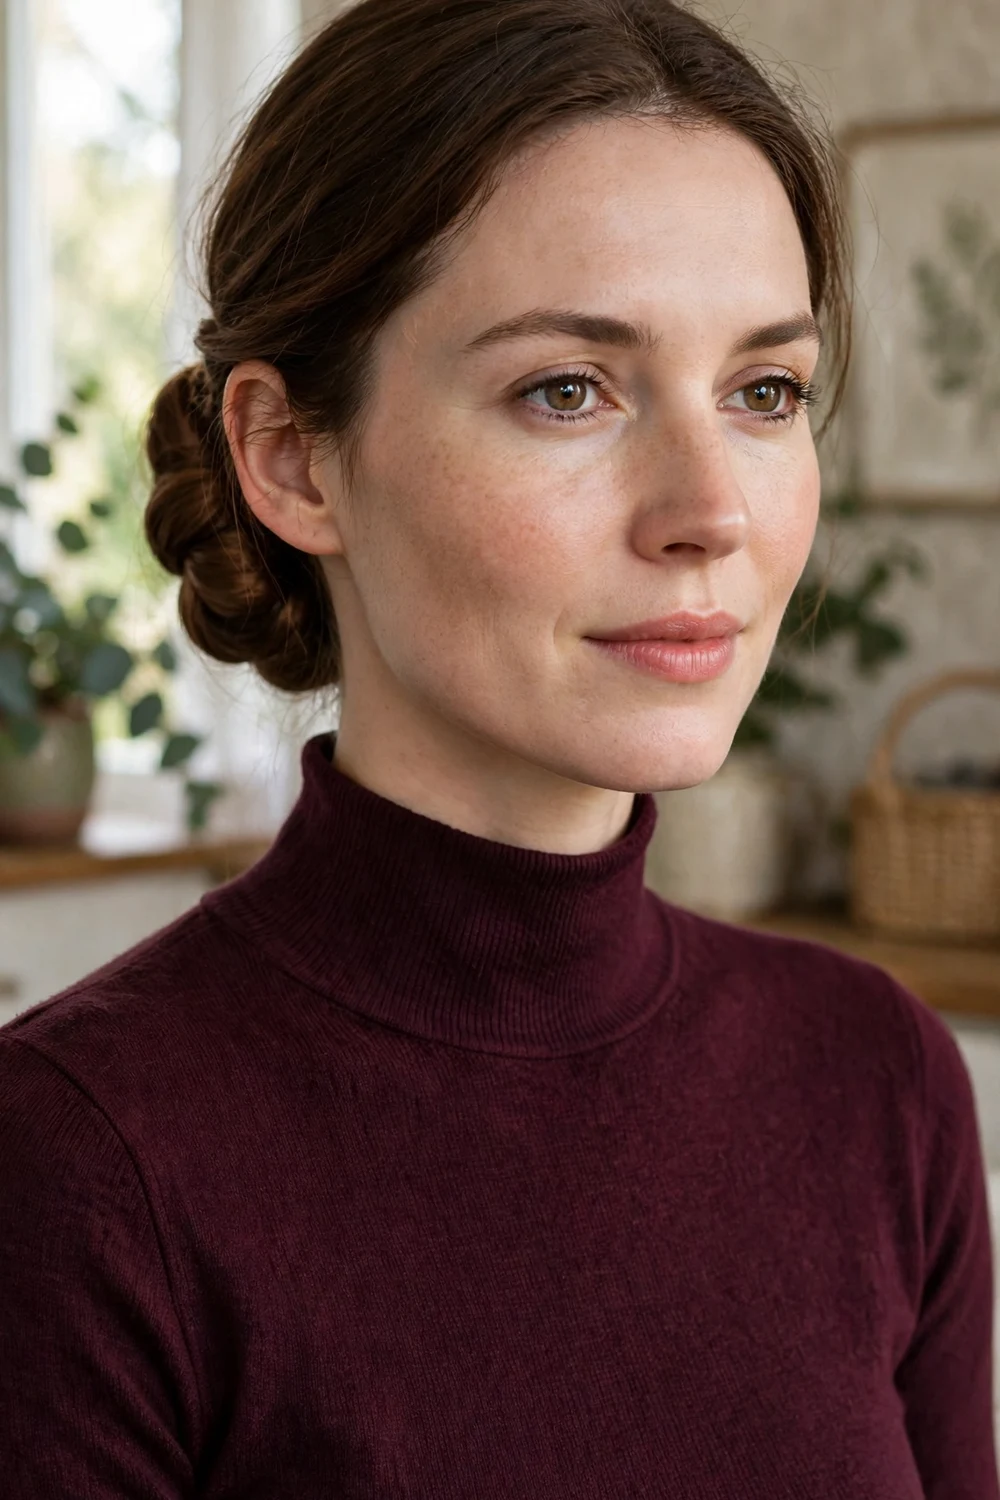
A low chignon gathers air-dried hair into a neat bun at the nape. Smooth the hair into a low ponytail, twist it into a bun, pin it, then wrap a small section around the base to cover the tie. It suits medium and long hair for work or events.
Set aside the wrapping section before you make the ponytail. Taking it from the finished bun leaves a gap in the bun shape.
Try this: Pin the bun at four points, top, bottom, and both sides. Four pins hold a chignon through a full day better than pins on one side only.
Difficulty: Low to Medium | Cost: $ | Time: 15 to 20 minutes
25. Claw Clip Twist for Medium Hair
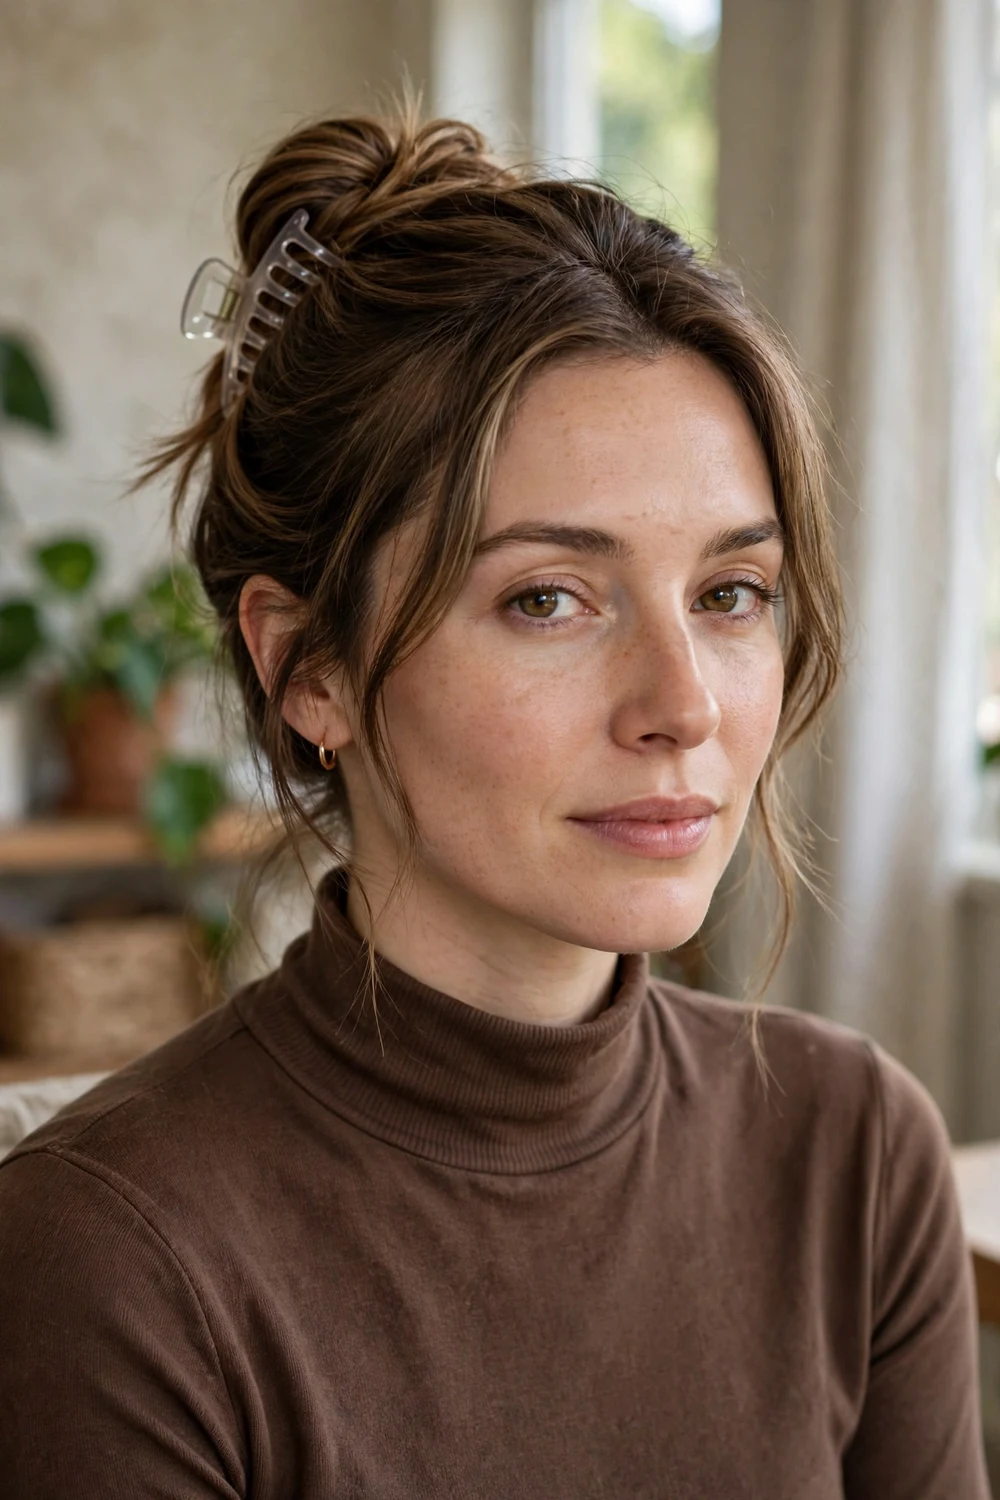
A claw clip twist takes medium hair up in minutes with no heat. Gather the hair at the back, twist it upward, fold the ends down, and clip the twist in place. Leave the top a little loose so the style has height rather than a flat pull.
Choose a clip with a grip that matches your thickness. Fine hair needs a smaller clip, while thick hair needs a large clip with long teeth.
Try this: Twist in the direction that feels secure, then clip slightly off center. An off-center clip holds the fold better on many head shapes.
Difficulty: Low | Cost: $ | Time: 5 to 10 minutes
26. Pineapple Updo for Preserving Curls

A pineapple gathers curly hair into a very high, loose ponytail on top of the head. The curls sit above the head, which keeps them from being crushed while you sleep or rest. It also works as a daytime updo for medium and long curls.
Use a soft, loose tie and loop it only once or twice. A tight tie leaves a dent across the curls that is hard to remove in the morning.
Try this: In the morning, shake the roots and mist any flattened curls with water. A light mist revives the pattern without a full restyle.
Difficulty: Low | Cost: $ | Time: 5 minutes, worn overnight or all day
| Method group | Result | Lengths and textures | Typical set time |
|---|---|---|---|
| Braids and French braids | Waves and crimped texture | Short, medium, long | Overnight |
| Twists and flat twists | Defined pattern, twist-out | Medium, long, curly and coily | Overnight or worn for days |
| Robe tie, rod and leggings | Loose curls | Short rod for bobs, long tie for long hair | Overnight |
| Sock, rag and paper towel sets | Loose bends to tight curls | Short to long, by strip size | 2 hours to overnight |
| Foam, flexi and velcro rollers | Bouncy curls, spirals, root lift | Short to long, by roller size | 1 hour to overnight |
| Plopping, scrunching and coils | Natural wave and curl definition | Wavy, curly and coily, any length | 20 minutes plus air-dry |
| Wrap and large rollers | Smoother, straighter finish | Medium and long | 2 hours to overnight |
| Chignon, claw clip and pineapple | Quick updos, curl preservation | Medium and long, short for slicked back | 5 to 20 minutes |
Frequently Asked Questions
How long does no heat hair styling take to set?
Most overnight sets need six to eight hours, because the hair must dry fully inside the braid, twist, or wrap. Daytime sets are shorter: velcro rollers and large rollers need one to four hours, and plopping needs twenty to forty minutes in the wrap followed by air-drying.
Does no heat styling work on short hair?
Yes. Short hair sets well with pin curls, small foam rollers, paper towel curls, finger coils, and a short satin curling rod. The key is small sections and small tools, since short lengths slip off large rollers and long rods.
Can I get straighter hair with no heat?
You can get a smoother, straighter finish, and the overnight wrap is the main method for it. Brush the hair around the head, pin it flat, cover it with a scarf, and remove it in the morning. Large rollers also smooth the hair while adding a curve at the ends. Very curly hair may need a second night of wrapping for a smoother result.
Why did my heatless curls fall flat?
The most common reason is releasing the set while the hair is still damp. Other common reasons are sections that are too large, hair that started fully dry with no misting, and brushing the curls out instead of separating them with your fingers.
How do I make a no heat style last longer?
Let the set dry fully, undo it gently with your fingers, and avoid brushing. At night, preserve curls with a pineapple updo or a loose braid for waves. A light mist of water and a scrunch in the morning revives most wave and curl patterns without a full restyle.
Final Thoughts
Pick one method that matches your length and the finish you want, and repeat it three or four times before you judge it. Section size and dryness change the result more than the tool does, so adjust those first. For event styles that start from an air-dried base, the easy homecoming hairstyles list has good next steps once your set comes out.

