


A low maintenance pixie should hold its shape on the days you do very little to it. For women over 50, that usually means soft layers, a clean nape, and enough length on top to finger-style in under two minutes. The cuts in this list were picked for short morning routines, forgiving grow-out, and trims spaced five to seven weeks apart.
Hair texture changes with age, so each idea below notes who it suits, how often it needs a trim, and what daily styling actually involves. If you are comparing lengths, the guide to short pixie haircuts for older women shows shorter options side by side, and the list of pixie cuts for thin hair over 50 covers fine and thinning hair in more depth.
Key Takeaways
- Finger styling and one small amount of product is the full routine for most cuts on this list.
- Soft, point-cut layers grow out more forgivingly than blunt edges, so trims can stretch to six or seven weeks.
- Fine hair stays fuller when the sides stay close and the crown keeps short, light layers.
- Natural gray and salt and pepper color need no root touch-ups, which lowers both cost and upkeep.
- Ask your stylist to show you the two-minute morning version of the cut before you leave the salon.
1. Wash and Go Tapered Pixie
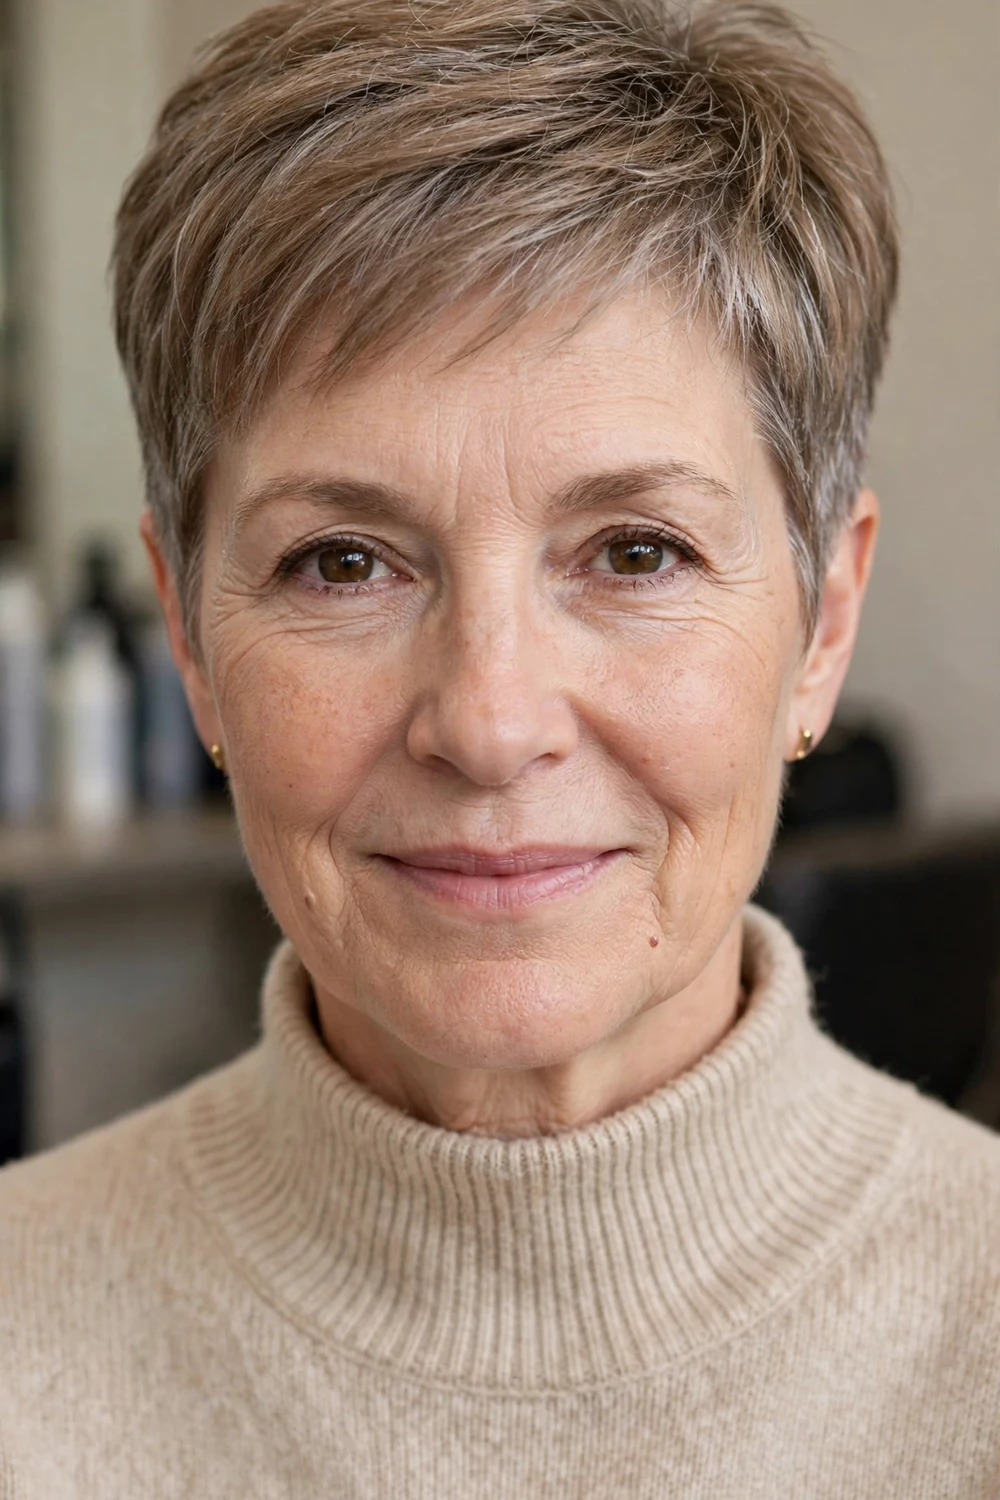
The sides and back are tapered close while the top keeps about two inches of soft length. That contrast gives the cut a clear shape that falls back into place after washing, with no brush work needed.
It suits straight and slightly wavy hair best, and it works across face shapes because the top can be pushed forward, to the side, or slightly up. The nape stays neat between trims, so the grow-out phase looks tidy.
Try this: Towel dry, then push the top forward with your palms while it is still damp. Let it air dry the rest of the way.
Difficulty: Low | Cost: $ | Time: 2 minutes
2. Tousled Messy Pixie with Point-Cut Layers

Point cutting snips into the ends of each layer, so the pieces sit in different directions and the tousled finish is built into the cut. Bedhead blends in instead of showing, which is the main reason this style asks so little in the morning.
Keep the sides soft rather than clipped tight, so the outline stays gentle around the ears. A pea-size amount of texturizing putty, warmed between the fingers and pinched through the ends, is the only product it needs.
Try this: On second-day hair, mist the crown lightly with water, scrunch with your fingers, and leave it to settle for five minutes.
Difficulty: Low | Cost: $ | Time: 2 minutes
3. Choppy Layered Pixie for Fine Hair

Short choppy layers through the crown lift fine hair at the root, so it looks fuller without teasing or heat. The ends are textured only, which keeps the remaining density looking as thick as possible.
Length works against fine hair, so the top stays short and the sides stay close. Style with mousse on damp hair rather than creams or oils, which can weigh the layers flat by midday.
Try this: Blow dry the crown forward first, then back, using only your fingers. That small change in direction adds visible lift.
Difficulty: Low | Cost: $ | Time: 3 minutes
4. Silver Pixie with Side-Swept Bangs
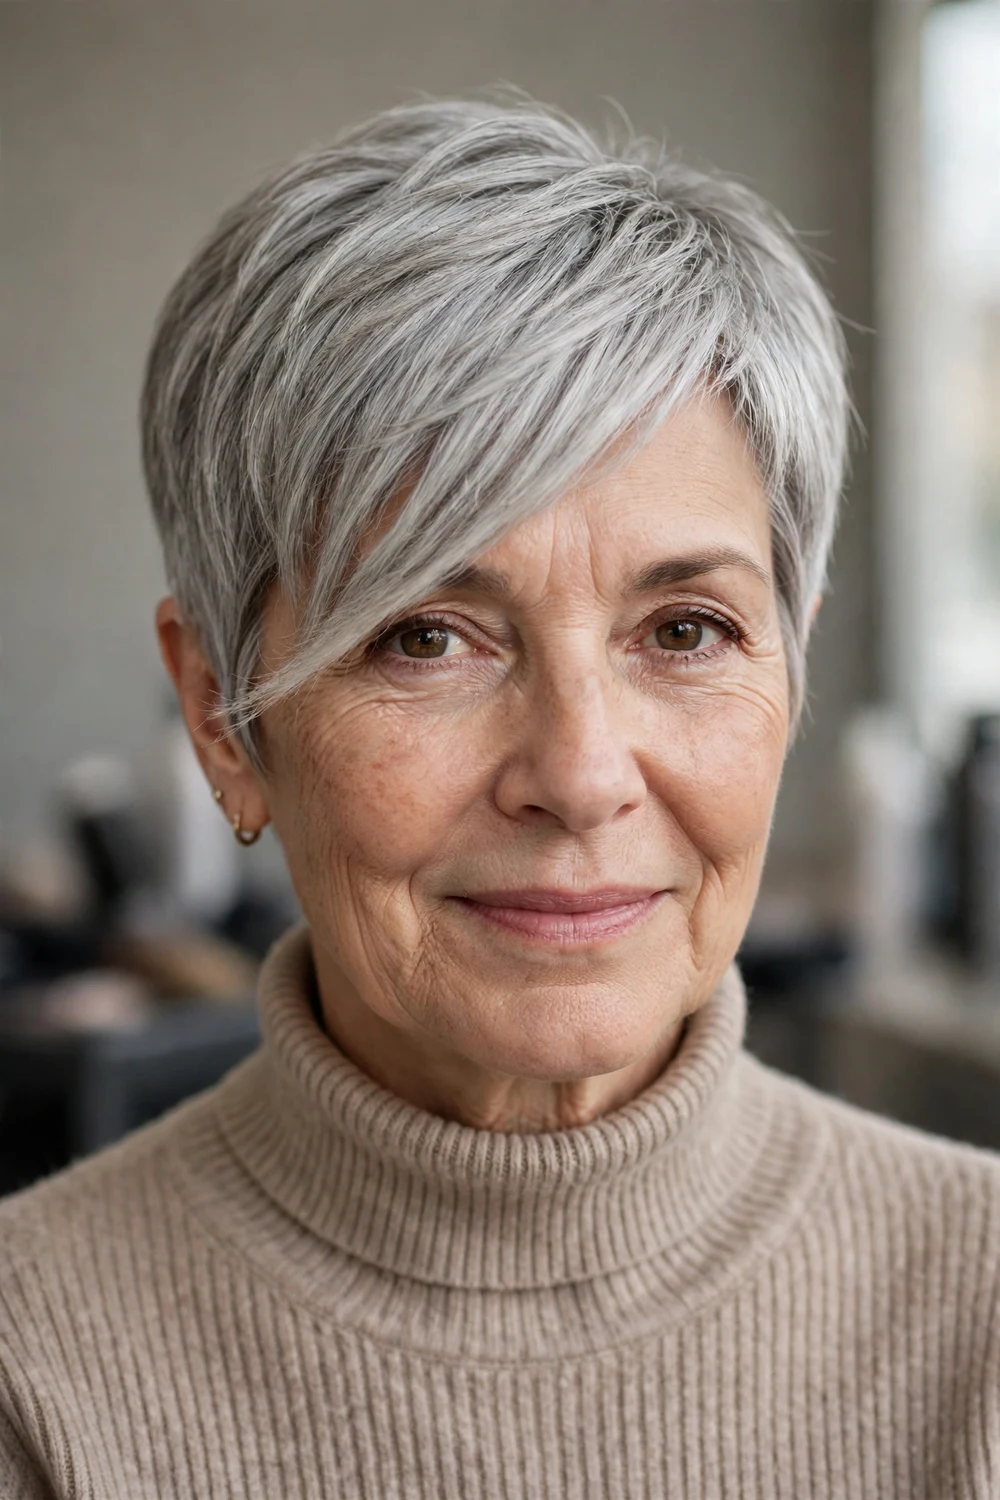
A longer side-swept bang softens the forehead and draws attention to the eyes, while the rest of the cut stays short and simple. Worn in natural silver, it needs no color appointments at all.
The bang is cut on a diagonal and kept long enough to tuck behind one ear on busy days. The back and sides are tapered, so the only section that needs daily attention is the fringe, and a quick finger sweep usually does it.
Try this: Dry the bang first, sweeping it across the forehead with your fingers while the dryer runs on a low setting.
Difficulty: Low | Cost: $ | Time: 3 minutes
5. Soft Cropped Pixie with Rounded Fringe
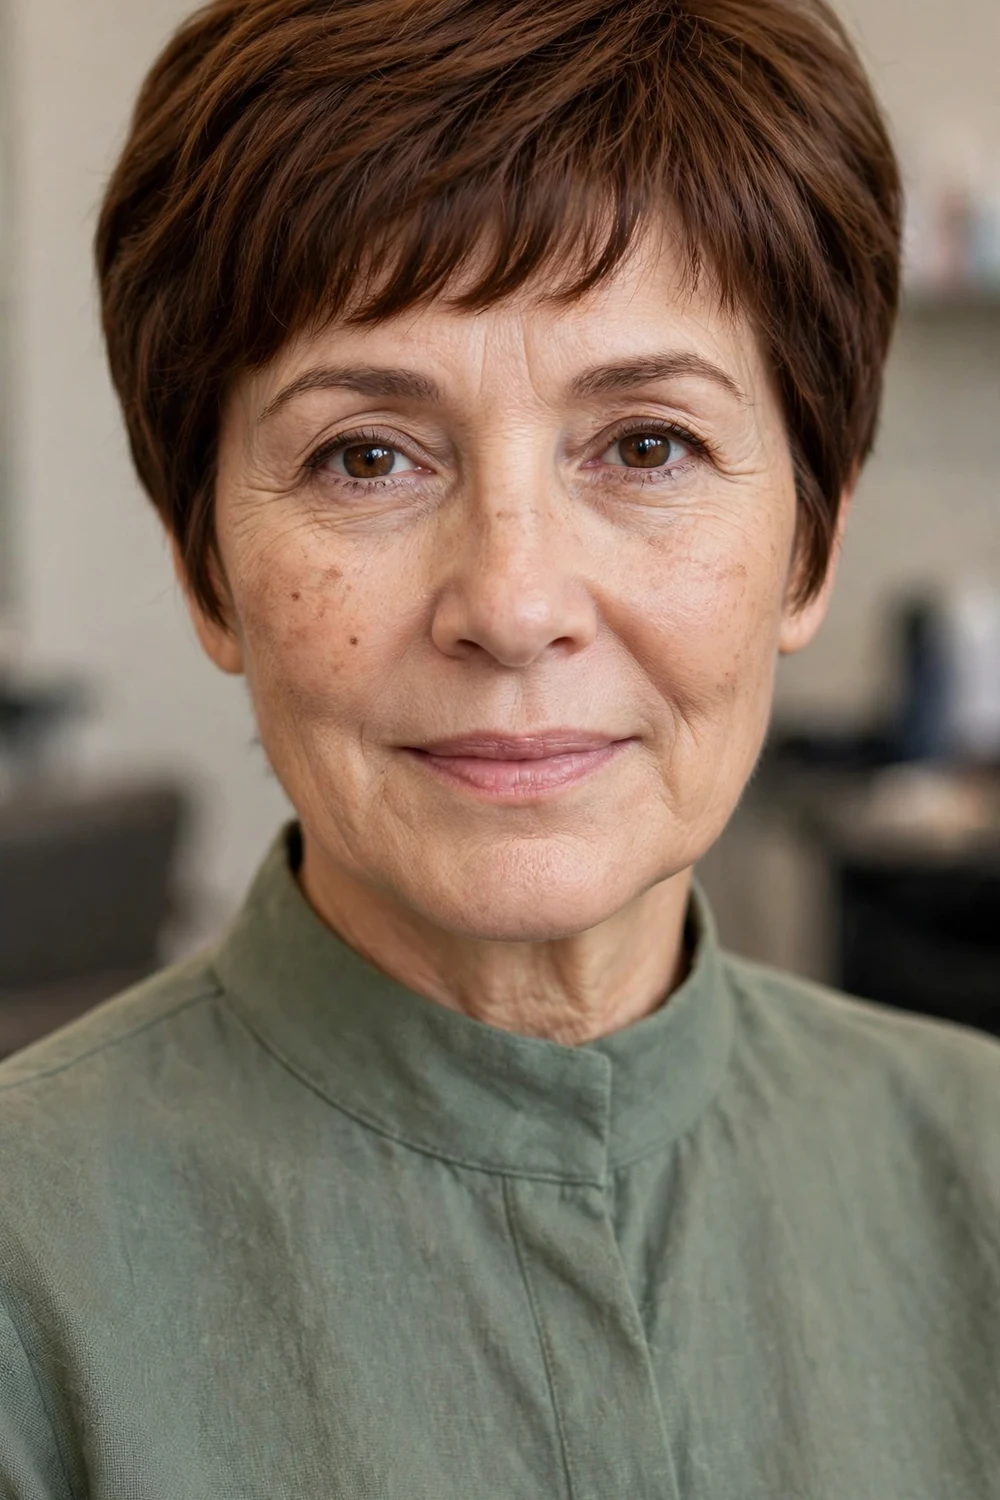
This crop follows the curve of the head, with a rounded fringe that sits just above the brows. The outline is soft all the way around, so there are no sharp corners to grow out unevenly.
It suits straight to slightly wavy hair and oval or heart-shaped faces. Because the fringe is the focal point, keep it trimmed a little more often than the rest; many salons offer quick fringe trims between full appointments.
Try this: Comb the fringe straight down while damp, then leave it alone. Touching it as it dries tends to split the curve.
Difficulty: Low | Cost: $ | Time: 2 minutes
6. Curly Side-Swept Pixie
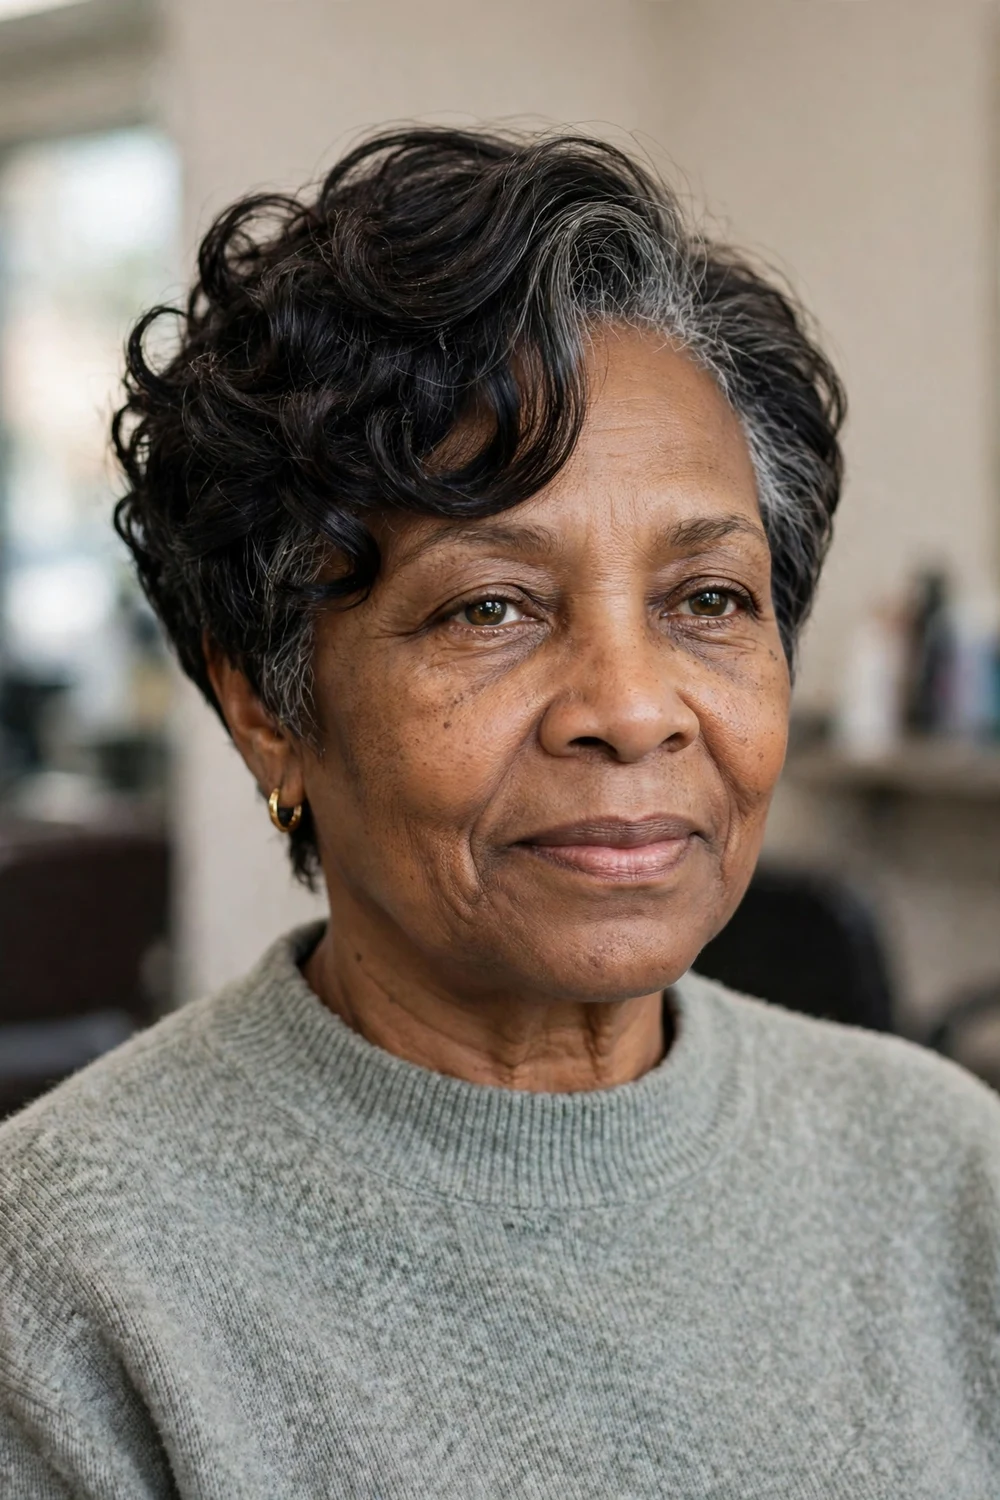
The top keeps enough length for curls to form their full pattern, swept to one side, while the sides are cut shorter so the shape stays controlled. Cutting curls dry, curl by curl, helps the sweep sit where it should.
Daily care is a small amount of leave-in conditioner scrunched into damp hair, then air drying. Curly pixies can stretch trims to eight weeks because the curl hides small changes in length.
Try this: Refresh day-two curls with wet hands only. Scrunch, shake at the roots, and skip extra product unless the hair feels dry.
Difficulty: Low | Cost: $$ | Time: 3 minutes
7. Buzz-Cut Pixie with a Longer Top

The sides are clippered short and even, with a slightly longer, textured top that keeps the cut reading as a pixie rather than a buzz cut. There is almost nothing to style, and hats and scarves sit comfortably over it.
It suits strong features and oval faces, and it shows the scalp more than other cuts on this list, so mention any thinning areas to your stylist first. A slightly longer guard on top can soften that effect.
Try this: Run a damp palm over the top in the morning to reset any sleep marks. That is the whole routine.
Difficulty: Low | Cost: $ | Time: 1 minute
8. Feathered Crown Pixie for Thinning Hair
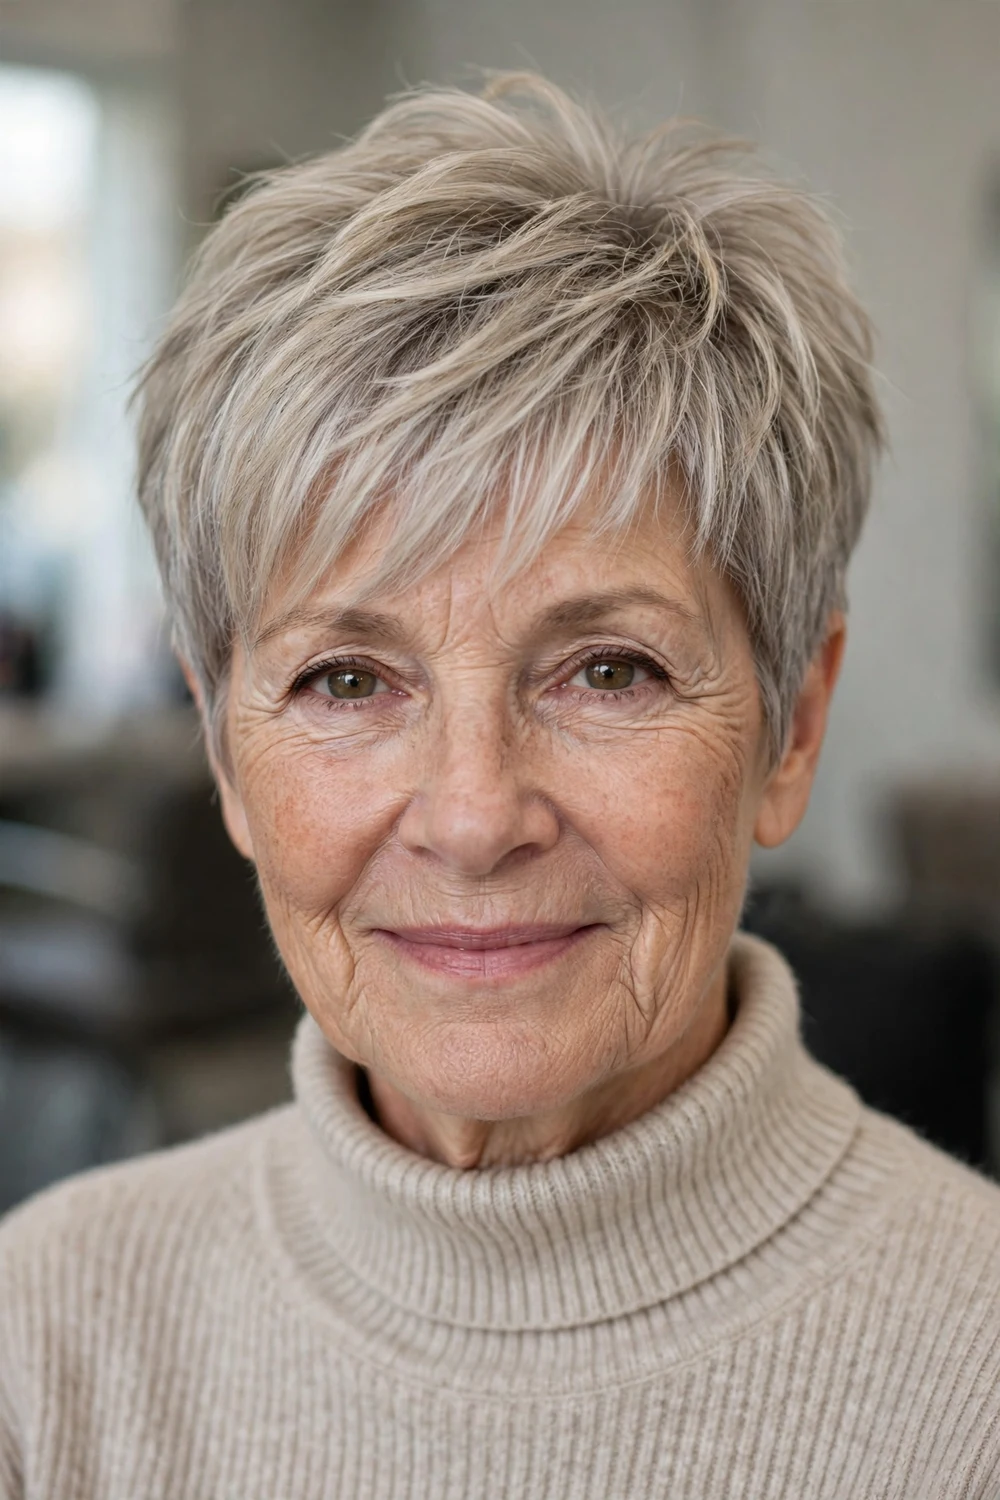
Feathering cuts light, airy layers that fall forward over the crown, which helps cover a thinning part line. The layers overlap like shingles, so the scalp shows less than it does under a flat, one-length top.
Keep the color, if you wear any, close to your natural shade; high contrast between hair and scalp makes thinning more visible. The back and sides stay short and simple so all the attention sits on the crown.
Try this: Apply a small amount of root-lifting mousse only at the crown, then dry that section forward with your fingers.
Difficulty: Low | Cost: $ | Time: 3 minutes
9. Salt and Pepper Tousled Pixie

Choppy layers mix the dark and light strands through the whole cut, so salt and pepper color looks dimensional instead of patchy. Because the color is fully natural, there are no roots to maintain.
The tousled finish means the cut can be worn pushed forward one day and swept back the next. It suits wavy and straight hair, and the texture keeps gray strands, which can be wiry, sitting in line with the rest.
Try this: Work a drop of light hair oil between your palms and smooth only the very ends if gray strands feel coarse.
Difficulty: Low | Cost: $ | Time: 2 minutes
10. Grown-Out Pixie That Skips a Trim
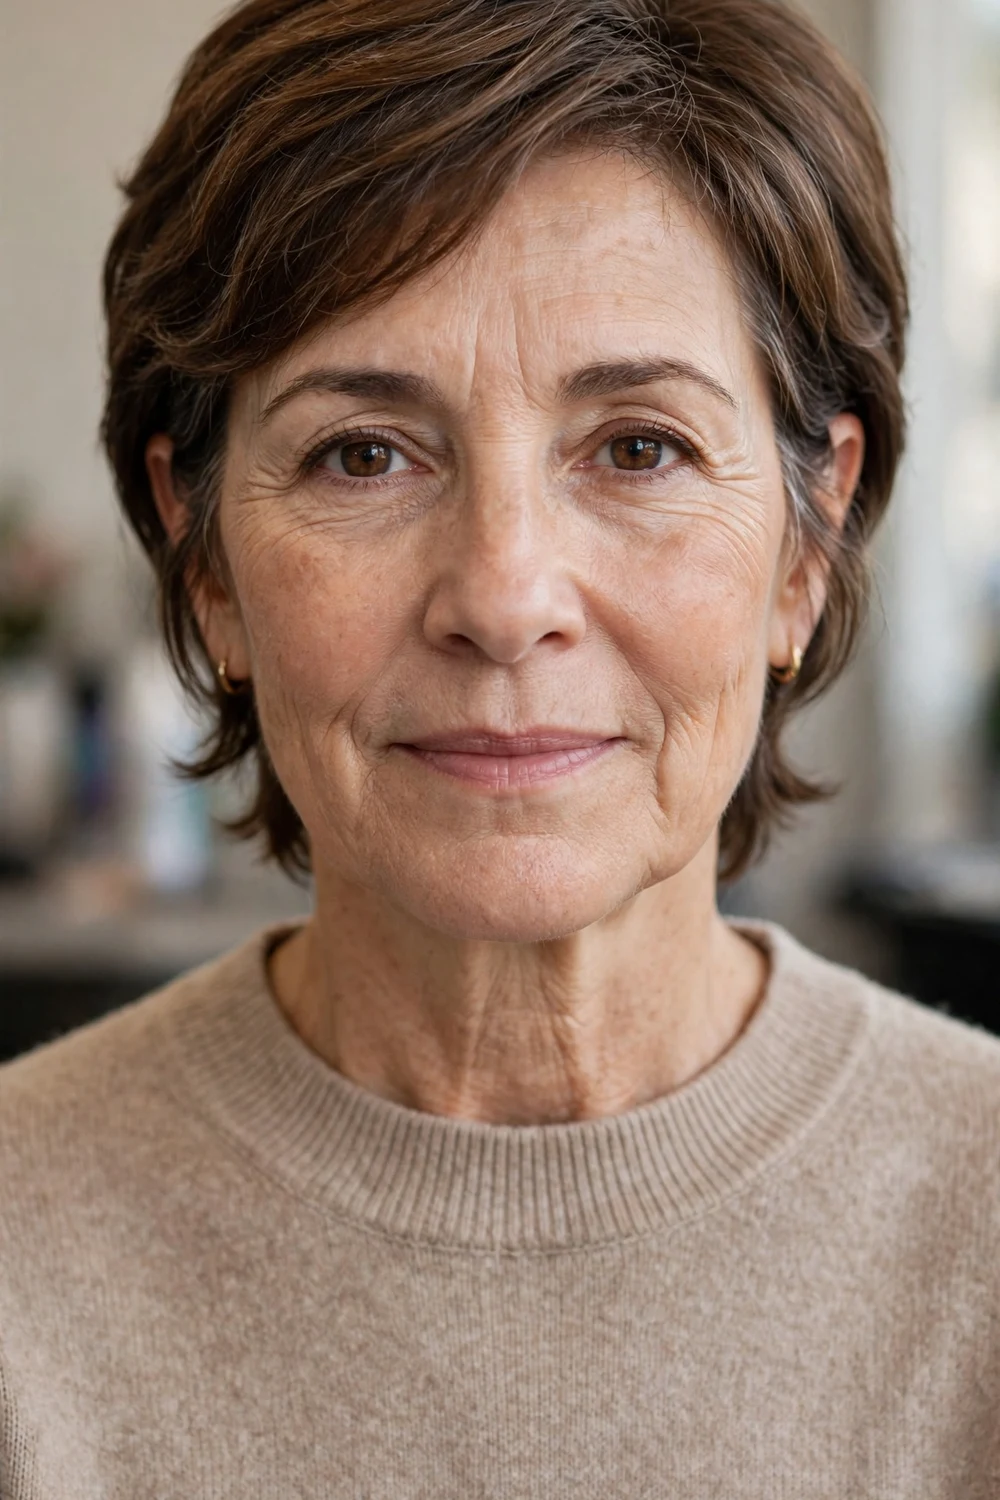
This version starts a little longer at the front and around the ears, and the layers are blended with no hard lines. As it grows, it moves toward a soft short bob shape instead of losing its outline.
It is a practical pick if salon visits are hard to schedule, or if you are growing a pixie out on purpose. Ask for the nape to be kept clean at each visit, since that area shows growth first.
Try this: Tuck the longer front pieces behind your ears on week six and seven. The cut is designed to look intentional that way.
Difficulty: Low | Cost: $ | Time: 2 minutes
11. French-Inspired Choppy Pixie
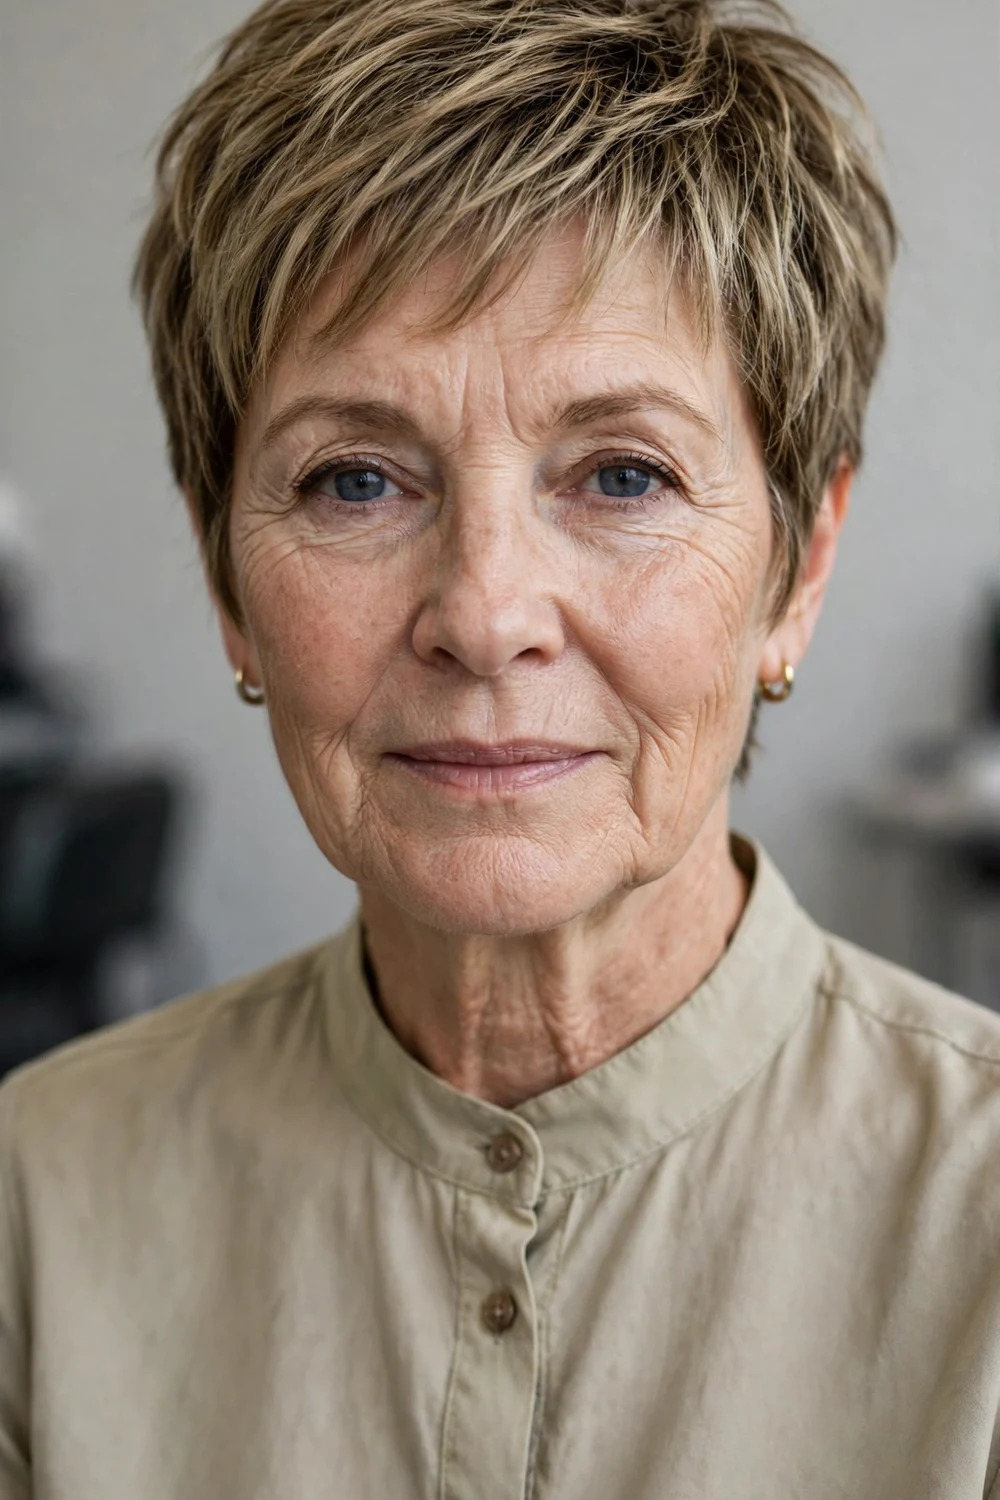
Short choppy layers pair with a relaxed, slightly uneven fringe in this cut. The finish is meant to look undone, so precise styling works against it.
The sides sit close to the ears and the nape is kept short, which holds the shape as the top grows. It suits oval and long faces well, since the fringe shortens the overall line of the face.
Try this: Let the fringe air dry, then break it up with your fingertips so it sits in soft pieces instead of a solid line.
Difficulty: Low | Cost: $$ | Time: 3 minutes
12. Round-Layered Pixie with Soft Edges

Layers follow a rounded curve around the head, giving gentle volume at the crown and a clean frame at the cheeks. The edges are softened with point cutting, so the outline stays smooth as it grows.
For round faces, keep a little height at the crown and avoid volume at the sides, which widens the look. The cut dries quickly and needs only a light cream to smooth the ends.
Try this: Dry the crown upward with your fingers for the first minute, then let the sides fall naturally.
Difficulty: Low | Cost: $ | Time: 3 minutes
13. Swept-Back Pixie with Crown Volume
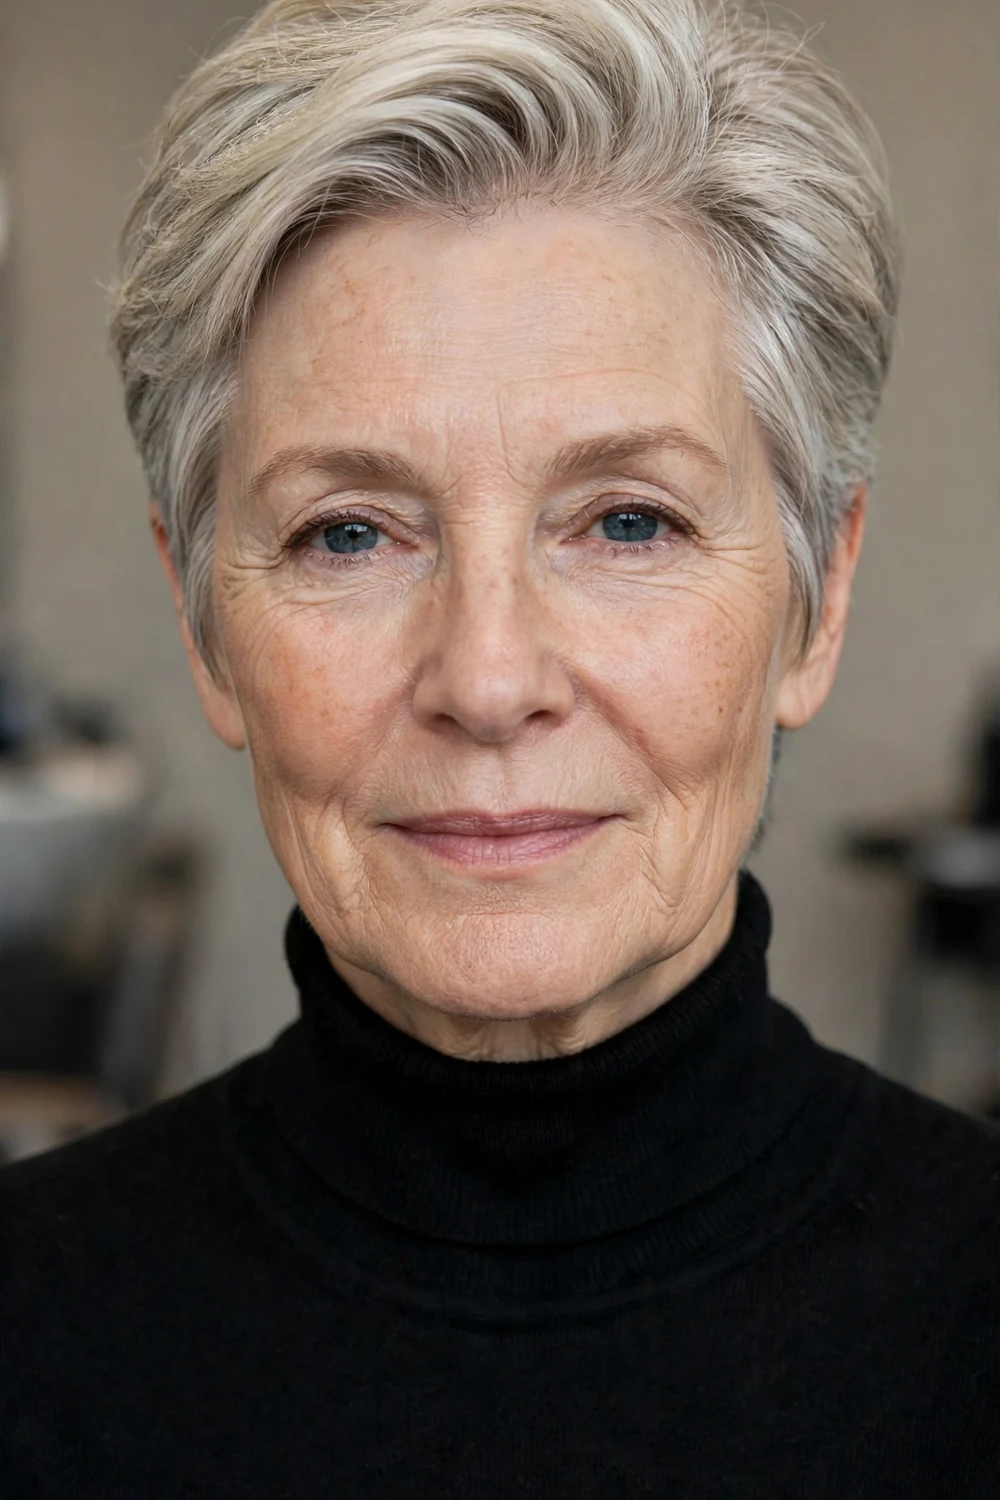
The top is kept longer and swept straight back, which gives a smooth, lifted line and keeps hair off the face all day. The sides are tapered so the back sweep does the visual work.
This is the one cut on the list that asks for a short blow dry. Root spray on damp hair, dried upward and back with the fingers, locks in the volume in about five minutes.
Try this: On non-wash days, a light mist of dry shampoo at the roots restores the lift without a full restyle.
Difficulty: Medium | Cost: $$ | Time: 5 minutes
14. Wavy Undercut Pixie with a Long Top
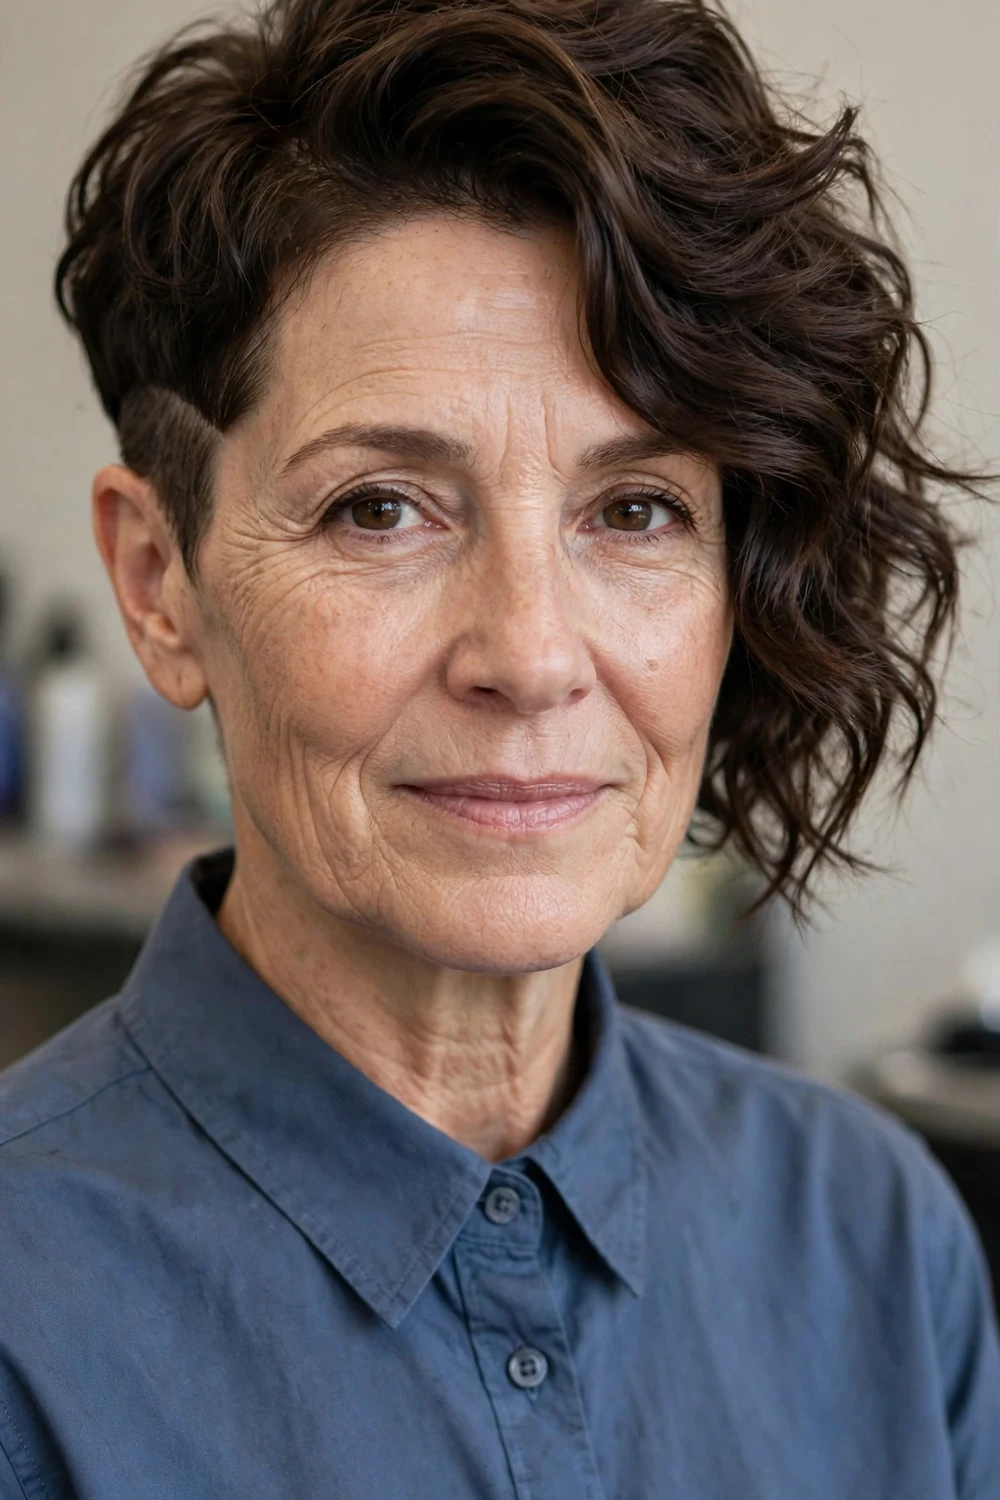
Short undercut sides remove bulk and heat from thick hair, while the long wavy top keeps the style soft. The contrast is gentle rather than shaved, with the undercut blended into the top layers.
The top can be swept to either side, which makes the cut forgiving on days when your natural part moves. Undercut sections need tidying sooner than the top, so plan a short side trim between full cuts if you like it crisp.
Try this: Scrunch the top with a little mousse while damp and let the waves form on their own. Skip the brush once it is dry.
Difficulty: Low | Cost: $$ | Time: 3 minutes
15. Curly Undercut Pixie
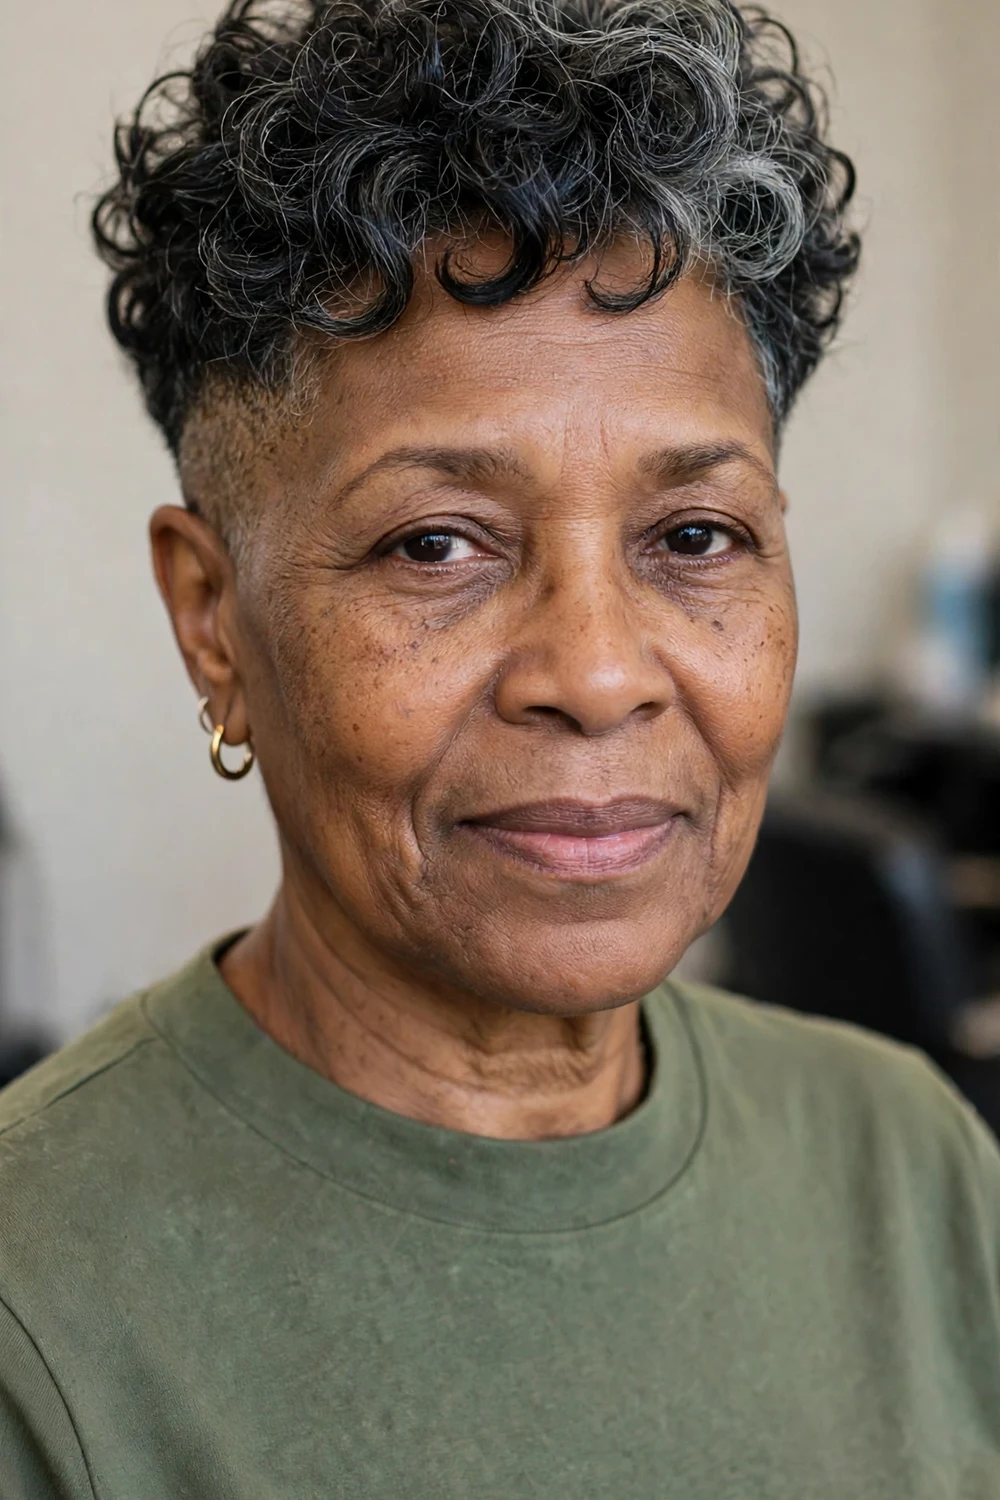
Tapered, undercut sides let the curls on top hold the shape of the cut. Removing the side bulk stops curly pixies from widening at the ears, which is the most common complaint with this hair type.
The top is cut dry so the curl length is accurate, and it should sit long enough to form at least one full curl. Daily care is water, a little leave-in conditioner, and air drying.
Try this: Sleep with the top gathered loosely if it is long enough. It keeps the curl pattern from flattening overnight.
Difficulty: Low | Cost: $$ | Time: 3 minutes
16. Baby Bangs Pixie with Choppy Sides

A short baby bang sits well above the brows, paired with choppy, textured sides. The fringe makes the style distinctive, while the rest of the cut stays very short and simple.
Baby bangs show growth quickly, so this one needs the most frequent fringe trims on the list. They suit oval and heart-shaped faces best, and they pair well with glasses since the fringe stays clear of the frames.
Try this: Pat the fringe down with damp fingers in the morning rather than brushing it, which can make short bangs flare.
Difficulty: Low | Cost: $$ | Time: 2 minutes
17. Soft Spiky Gray Pixie

Short layers on top are cut to stand in soft spikes, which gives gray hair definition and keeps it from lying flat. The spikes are rounded rather than sharp, so the finish stays gentle.
A fingertip of matte paste, pinched into the ends, holds the texture through the day. The sides and back are kept short and neat, which makes the top the only part you style.
Try this: If the spikes fall flat by afternoon, dampen your fingertips and pinch the ends upward again. No extra product needed.
Difficulty: Low | Cost: $ | Time: 2 minutes
18. Full-Volume Tousled Pixie

Longer layers through the top and crown are tousled in different directions to build body all over. It is a good option for wavy hair that already has natural movement to work with.
Because the layers are longer, this cut grows out softly and can stretch toward seven weeks. A small amount of mousse scrunched in while damp is enough; heavy products flatten the effect.
Try this: Flip your head forward while drying the roots for the first two minutes. That sets the volume before you arrange the top.
Difficulty: Medium | Cost: $$ | Time: 5 minutes
19. Air-Dry Pixie for Wavy Hair
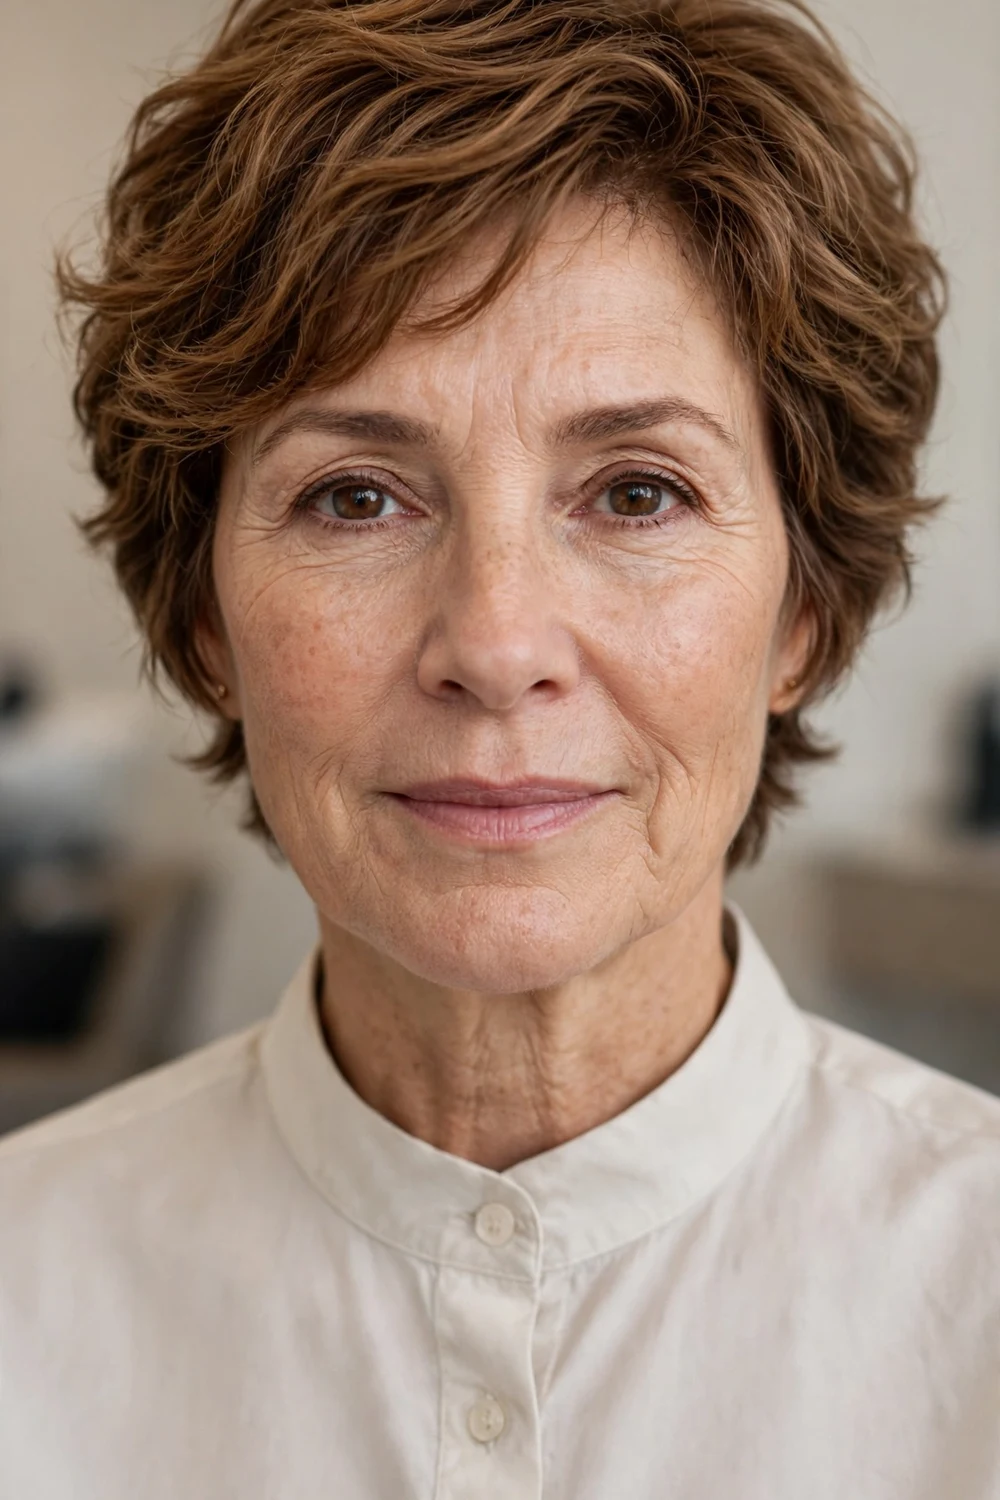
This cut is shaped around your natural wave pattern, with layers placed where the waves already bend. Cut this way, it can be washed, scrunched once, and left to dry with no dryer and no brush.
Ask your stylist to cut it with minimal tension, since wavy hair springs up as it dries. The length should look slightly long when wet; that is what lands at the right place once dry.
Try this: Scrunch with a microfiber towel instead of a regular one. It reduces frizz while the waves set.
Difficulty: Low | Cost: $ | Time: 1 minute
20. Pixie Bob Hybrid for Easy Grow-Out

Longer than a classic pixie, this hybrid keeps a cropped back with front pieces that reach the jaw. It gives you a short cut now and a clear path to a bob later, with no awkward stage in between.
The front length frames the face and can be tucked back, while the short back keeps washing and drying fast. It suits straight and wavy hair and most face shapes. Readers who like this length often also browse pixie haircuts for women over 60 for similar shapes.
Try this: Part it on the side on day one and in the center later in the week. The cut is blended to work both ways.
Difficulty: Low | Cost: $$ | Time: 3 minutes
21. Glasses-Friendly Pixie with Open Sides

The sides are cut to sit clear of glasses arms, and the fringe is kept above or swept away from the frames. That small planning step removes the daily tangle of hair catching on hinges.
Bring your glasses to the appointment and put them on while the stylist checks the sides and fringe length. The top can follow any of the softer shapes on this list, from feathered to lightly choppy.
Try this: Choose a side sweep if you wear larger frames. It keeps the fringe and the frame in separate lanes all day.
Difficulty: Low | Cost: $ | Time: 2 minutes
22. Debulked Pixie for Thick Hair

Thick hair in a pixie can puff out at the sides if it is cut blunt. Here the interior is debulked with texturizing shears and the sides are tapered, so the shape sits close and calm.
The top keeps enough weight to lie smoothly, which coarse hair needs. Daily styling is a smoothing cream worked through damp hair, then air drying or a brief dry with the fingers.
Try this: Ask for the debulking to focus on the sides and back. Removing too much from the top can make thick hair spike.
Difficulty: Low | Cost: $$ | Time: 3 minutes
23. Finger-Styled Pixie with No Heat Needed
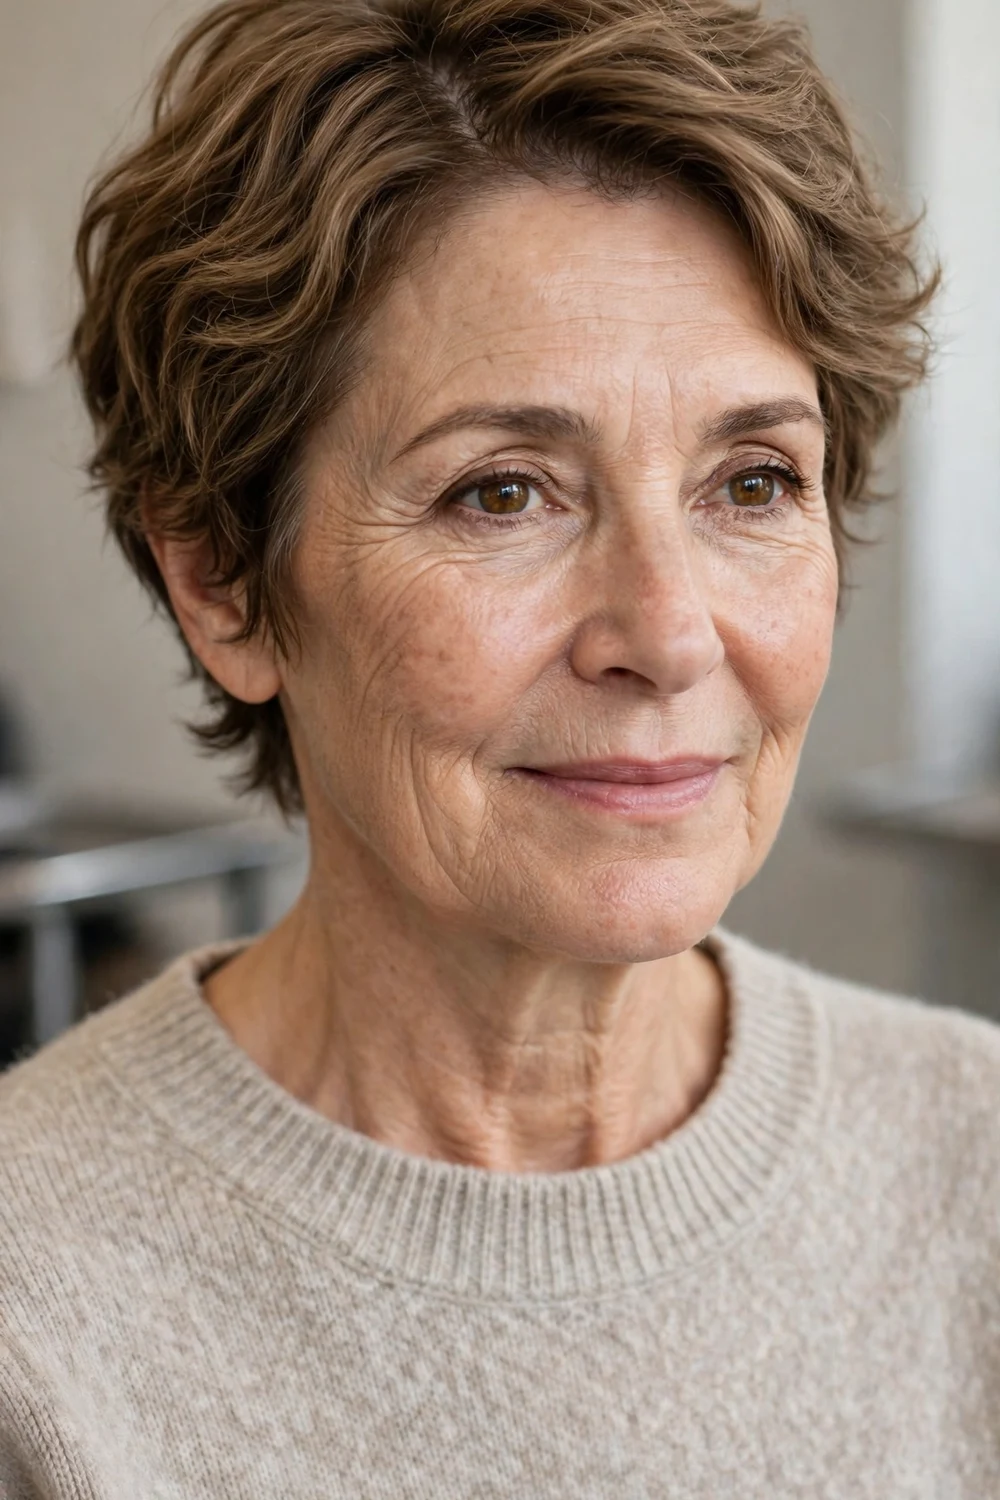
Every layer in this cut is placed to dry in position on its own, with the direction of growth doing the styling work. It is planned at the appointment around your natural part and any cowlicks, rather than against them.
It suits straight and wavy hair and is a sensible pick if heat tools irritate your scalp or your routine has no room for them. The trade-off is a softer, less sculpted finish, which many women prefer. More textured options appear in the roundup of short shaggy pixie haircuts if you want a rougher edge.
Try this: Wash, part it with your fingers while wet, and then leave it completely alone until dry. Hands-off drying is what sets the shape.
Difficulty: Low | Cost: $ | Time: 2 minutes
Comparison Table
| Style | Best For | Upkeep | Cost Band |
|---|---|---|---|
| Wash and Go Tapered Pixie | Most hair types, first pixie | Trim every 5-6 weeks | $ |
| Tousled Messy Pixie with Point-Cut Layers | Wavy hair, casual routines | Trim every 6-7 weeks | $ |
| Choppy Layered Pixie for Fine Hair | Fine or thinning hair | Trim every 5-6 weeks | $ |
| Silver Pixie with Side-Swept Bangs | Natural silver hair, long faces | Trim every 5-6 weeks | $ |
| Soft Cropped Pixie with Rounded Fringe | Straight hair, softer looks | Trim every 4-5 weeks | $ |
| Curly Side-Swept Pixie | Natural curls, medium density | Trim every 6-8 weeks | $$ |
| Buzz-Cut Pixie with a Longer Top | Very short hair fans, hot climates | Trim every 4-5 weeks | $ |
| Feathered Crown Pixie for Thinning Hair | Thinning crown, fine hair | Trim every 5-6 weeks | $ |
| Salt and Pepper Tousled Pixie | Salt and pepper color, wavy hair | Trim every 6-7 weeks | $ |
| Grown-Out Pixie That Skips a Trim | Busy schedules, fewer salon visits | Trim every 7-8 weeks | $ |
| French-Inspired Choppy Pixie | Straight or wavy hair, fringe fans | Trim every 5-6 weeks | $$ |
| Round-Layered Pixie with Soft Edges | Round faces, straight hair | Trim every 5-6 weeks | $ |
| Swept-Back Pixie with Crown Volume | Fine hair, polished finish | Trim every 5-6 weeks | $$ |
| Wavy Undercut Pixie with a Long Top | Thick wavy hair, warm climates | Trim every 4-6 weeks | $$ |
| Curly Undercut Pixie | Thick curly hair, bold shapes | Trim every 5-6 weeks | $$ |
| Baby Bangs Pixie with Choppy Sides | Short fringe fans, oval faces | Trim every 4-5 weeks | $$ |
| Soft Spiky Gray Pixie | Gray hair, short texture | Trim every 5-6 weeks | $ |
| Full-Volume Tousled Pixie | Wavy hair, fuller looks | Trim every 6-7 weeks | $$ |
| Air-Dry Pixie for Wavy Hair | Wavy hair, no-heat routines | Trim every 6-7 weeks | $ |
| Pixie Bob Hybrid for Easy Grow-Out | Growing out a pixie, jaw-length fans | Trim every 6-8 weeks | $$ |
| Glasses-Friendly Pixie with Open Sides | Glasses wearers, fine hair | Trim every 5-6 weeks | $ |
| Debulked Pixie for Thick Hair | Thick or coarse hair | Trim every 5-6 weeks | $$ |
| Finger-Styled Pixie with No Heat Needed | Heat-free routines, sensitive scalps | Trim every 6-7 weeks | $ |
Frequently Asked Questions
How often does a low maintenance pixie need a trim?
Most cuts on this list hold their shape for five to seven weeks. Very short sides and baby bangs sit at the shorter end of that range, while grown-out and hybrid styles can reach eight weeks.
Can a pixie work on thinning hair?
Yes. Short, light layers at the crown, a side sweep, and color kept close to your natural shade all help thinning areas look fuller. Feathered and choppy styles on this list were chosen with that in mind.
What is the fastest morning routine for a pixie?
Mist or dampen the hair, push it into place with your fingers, add a pea-size amount of product only if you use it, and let it air dry. For most of these cuts that takes one to three minutes.
Do I need to color a pixie to make it look finished?
No. Natural gray and salt and pepper pixies need no color upkeep at all, and several cuts on this list were designed around natural color. Color is a preference here, not a requirement.
Will a pixie suit glasses?
Yes, with planning. Ask for sides cut clear of the frames and a fringe that sits above the frames or sweeps to the side, and bring your glasses to the appointment so the stylist can check the fit.
Final Thoughts
The easiest pixie is the one cut around your own texture, part, and schedule from the start. Pick two or three favorites from this list, take the photos to your stylist, and ask which one fits your hair density and your trim calendar. A short test conversation at the chair saves months of fighting a cut that was never planned for your hair.

