


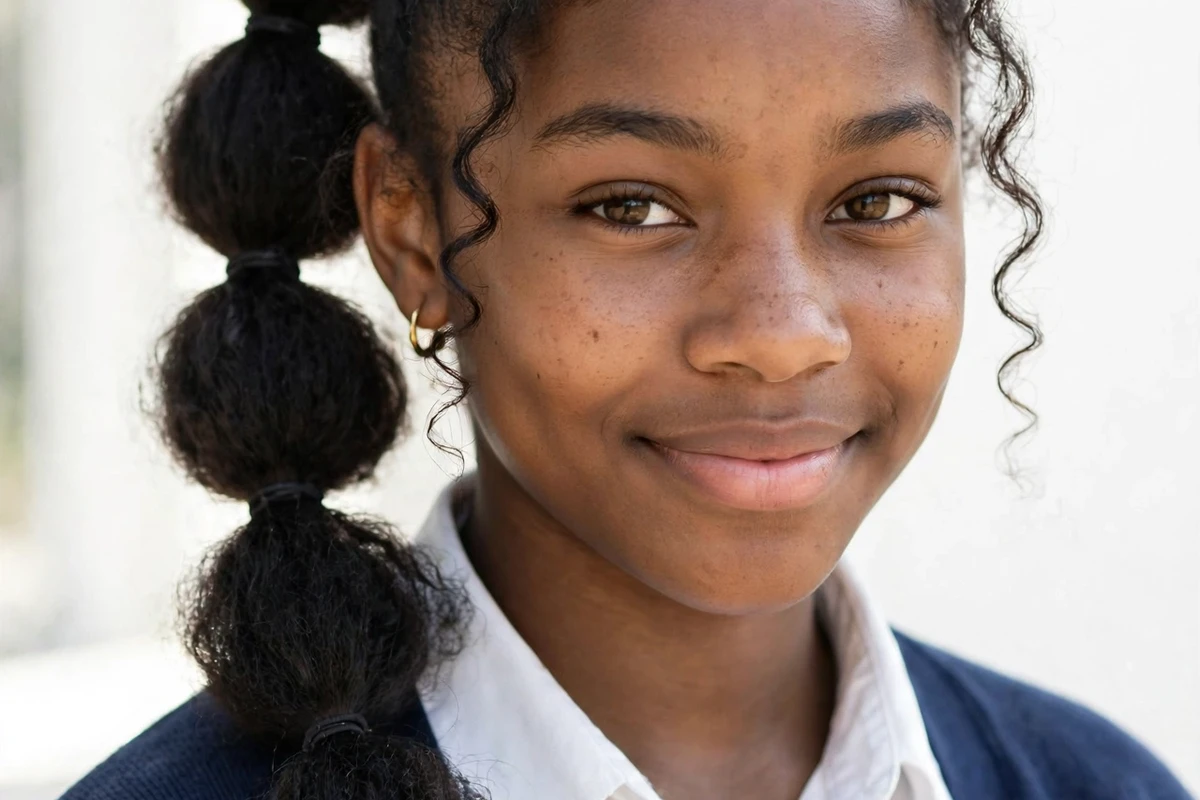
School mornings move fast. These cute hairstyle ideas for school are built for real school days: every style here takes about 10 minutes or less, keeps hair out of the face, and stays neat through classes. They work for students doing their own hair and for moms styling younger kids. No complicated steps and no salon skills needed.
Most of these styles use only a brush, a few elastics, and some bobby pins. The braids take a little practice, so try them once on a weekend before a busy Monday.
Quick Takeaways
- Every style here takes 10 minutes or less, and most take under 7.
- Second-day hair holds braids, twists, and pins better than freshly washed hair.
- A brush, a pack of elastics, bobby pins, and a headband cover almost this whole list.
- If a hot tool ever touches the hair, apply a heat protectant first.
- Neat, face-clearing styles pass the strictest school dress codes.
1. High Ponytail with Hidden Tie
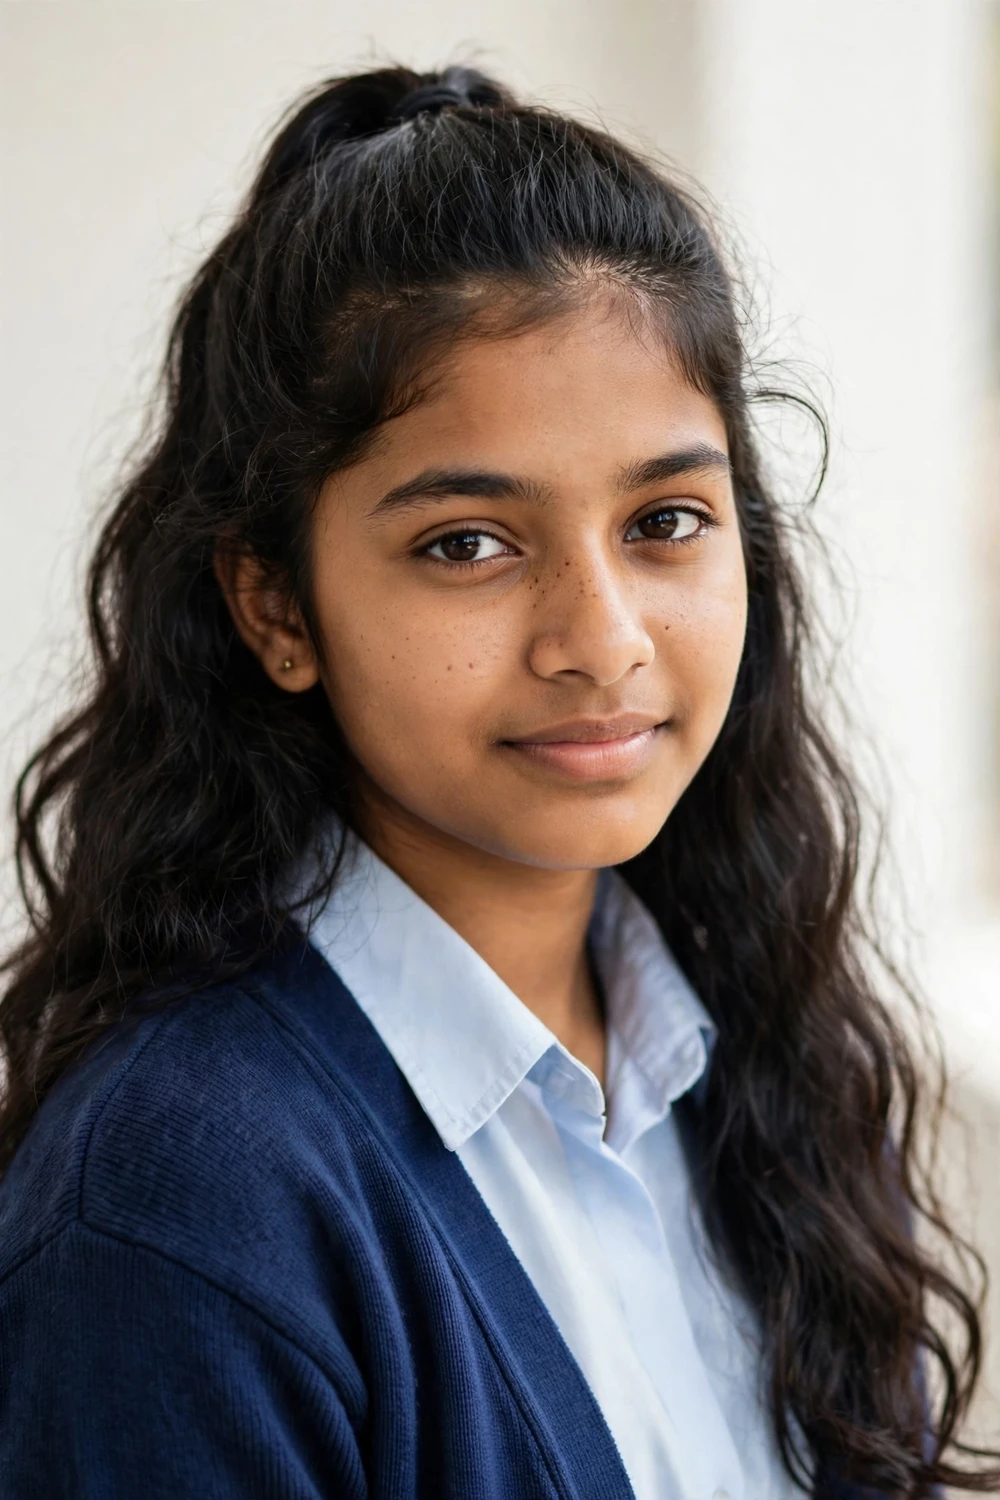
Gather all the hair at the crown and secure it with a strong elastic. Take a thin strand from underneath the ponytail, wrap it around the base to cover the elastic, and tuck the end in with a bobby pin. The whole thing takes about five minutes.
For a twisted variation, split the ponytail into two sections and twist them together before securing. It adds texture without any extra tools.
Try this: brush the hair upside down before gathering it. The upside-down brushing pulls everything tight at the crown with no bumps.
Difficulty: Easy · Cost: $0–$5 (elastic pack, bobby pins)
2. Twisted Messy Bun
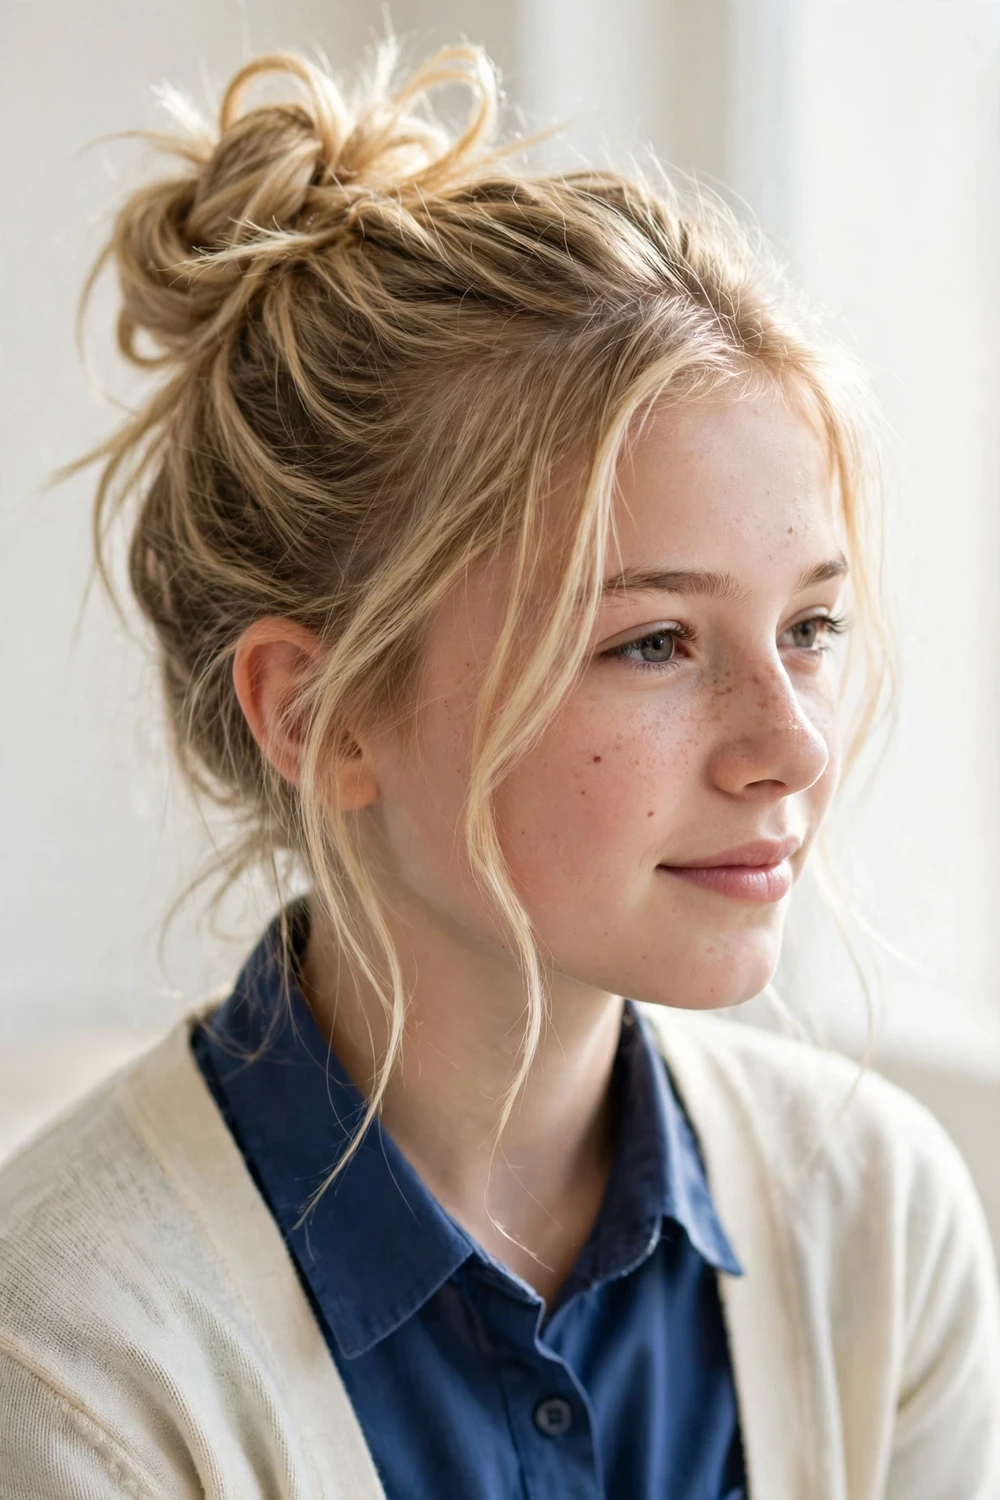
Pull the hair into a high or mid-height ponytail. Twist the length until it coils around the base on its own, then wrap it into a bun and pin it in place. Pull out a few face-framing pieces with your fingers for a softer look.
This one holds up better than it looks. The twisted base grips itself, so two or three bobby pins are usually enough to survive a full school day.
Try this: add a scrunchie around the bun instead of pins. It holds just as well and comes out without snagging.
Difficulty: Easy · Cost: $0–$5 (scrunchie or pins)
3. Braided Crown
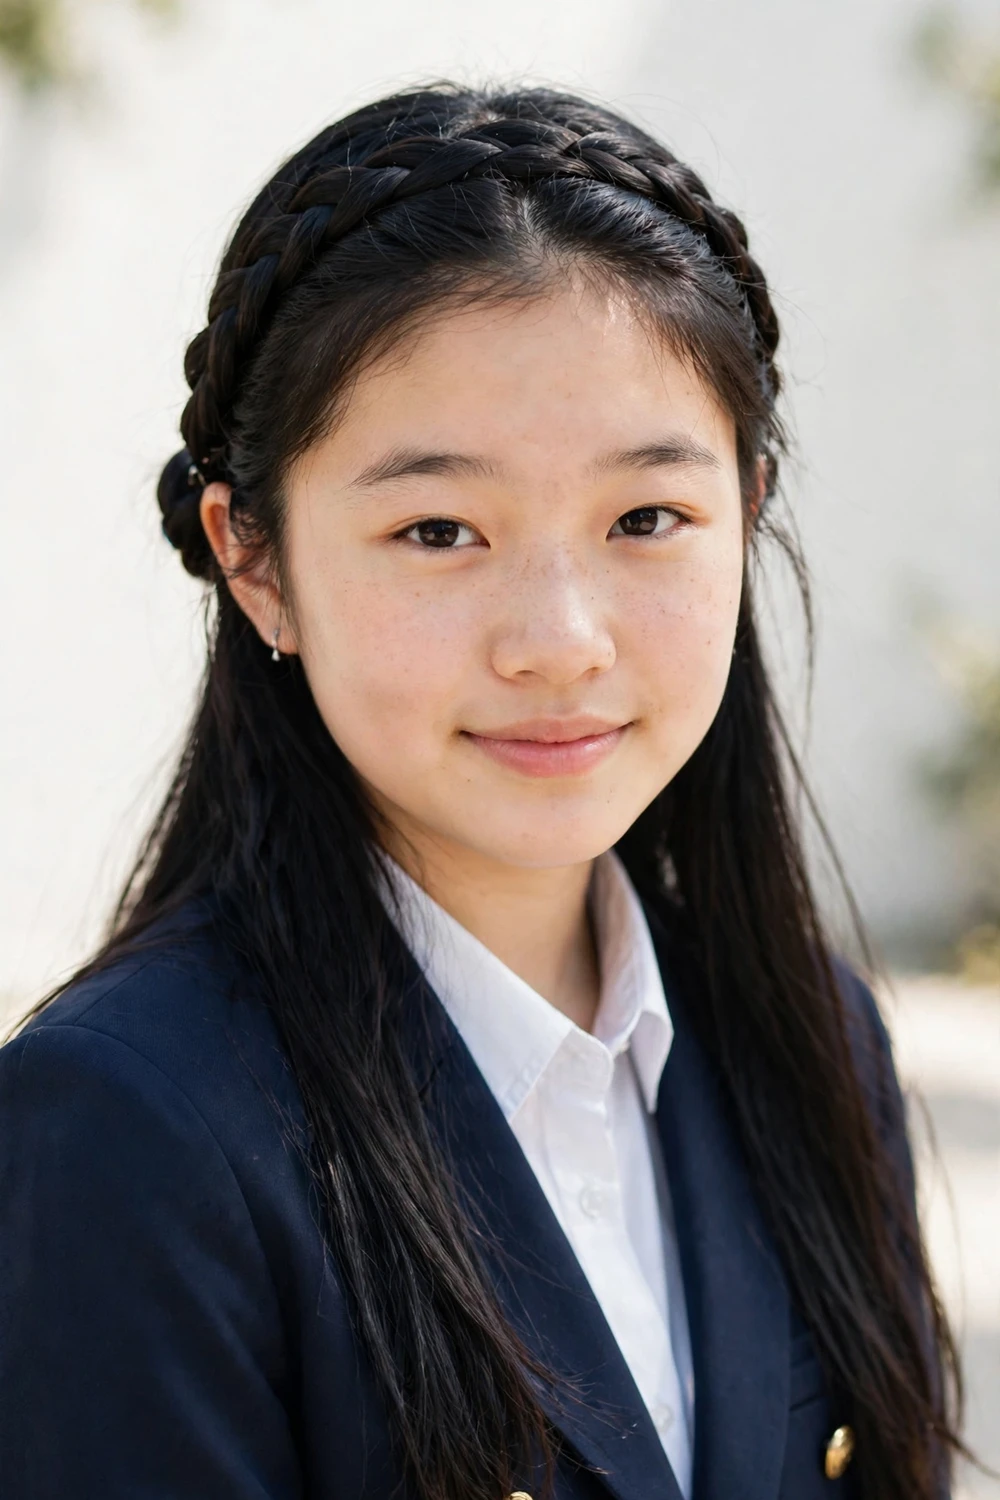
Part the hair down the middle. Start a Dutch braid at one temple, feeding in hair as you move across the crown toward the other side, then pin the tail behind the opposite ear. It keeps every strand off the face.
Loosen each braid loop gently after pinning. The wider loops make fine hair look fuller.
Try this: practice with a plain three-strand braid first. Once the path feels easy, switch to Dutch.
Difficulty: Medium · Cost: $0–$3 (bobby pins)
For school events, our formal hairstyles for short hair guide has dressier options for shorter lengths.
4. Classic Half-Up Half-Down
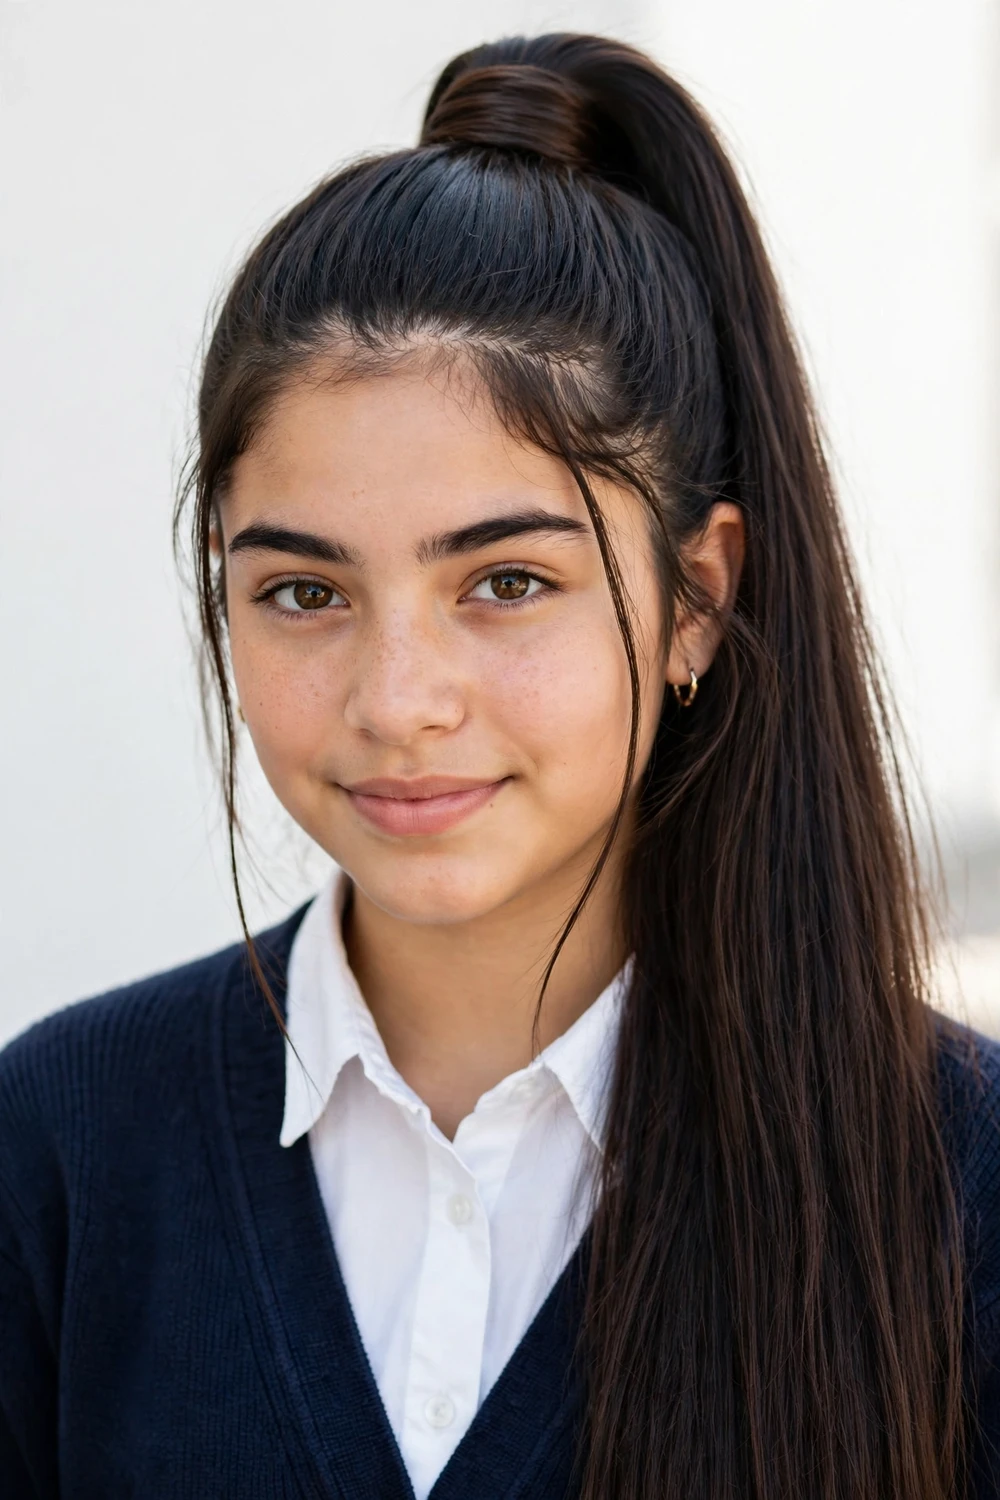
Take the top section of hair from temple to temple and secure it at the back of the crown with a small elastic. Leave the rest down. The top stays out of the eyes while the length shows off the hair.
This works on medium and long hair and takes about three minutes. Twist the top section once before securing it if you want a little more detail.
Try this: tease the underside of the top section with two or three backcombing strokes before securing. It adds lift that lasts until the last bell.
Difficulty: Easy · Cost: $0–$3 (small elastic)
5. Single French Braid
Start at the crown and braid straight down the back, feeding in new sections evenly on both sides. Tie off the end with a small elastic. One braid keeps everything contained and barely moves all day.
This is one of the best styles for PE days. It does not swing around, and the ends stay tucked so nothing snags on bags or chair backs.
Try this: braid on hair that is slightly damp from a spray bottle. Damp hair braids tighter and dries into gentle waves by afternoon.
Difficulty: Medium · Cost: $0–$3 (elastic)
6. Sleek Low Bun
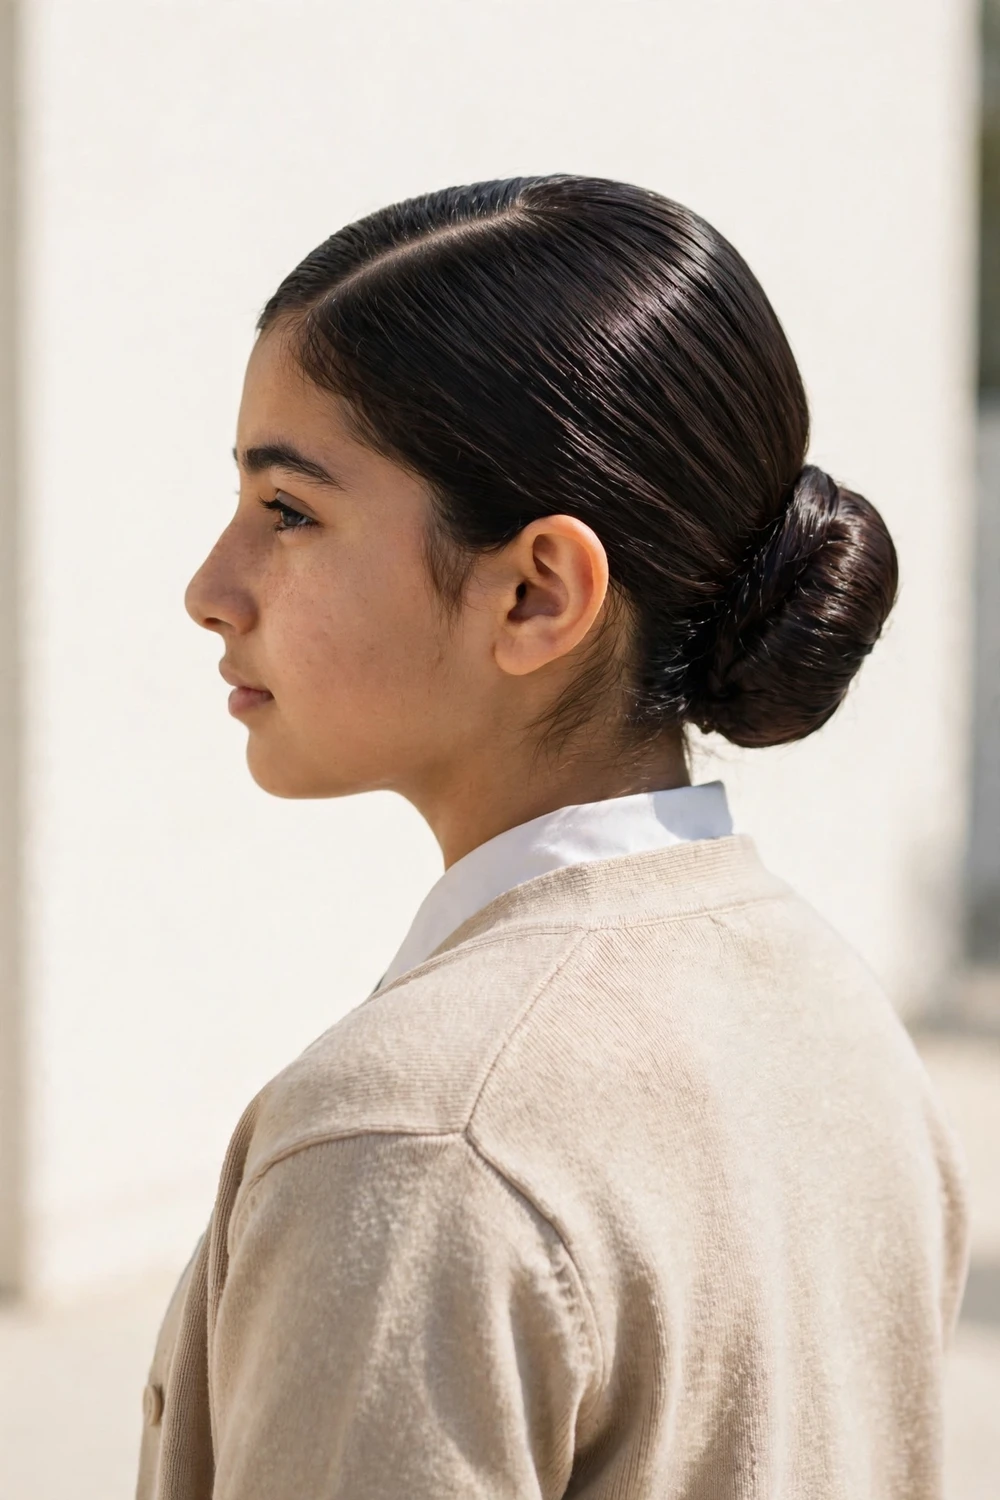
Brush the hair back smooth and secure a low ponytail at the nape of the neck. Twist the ponytail and coil it into a bun, pinning it flat. A pea-sized amount of smoothing gel on the surface tames flyaways.
This style suits presentation days and picture days. It looks tidy from every angle and does not shift when a backpack strap rubs against it.
Try this: use a toothbrush sprayed with hairspray to smooth down baby hairs along the part. It gives a clean finish without a hard, crunchy feel.
Difficulty: Easy · Cost: $0–$6 (gel or hairspray)
7. Rolled and Tucked Up-Do
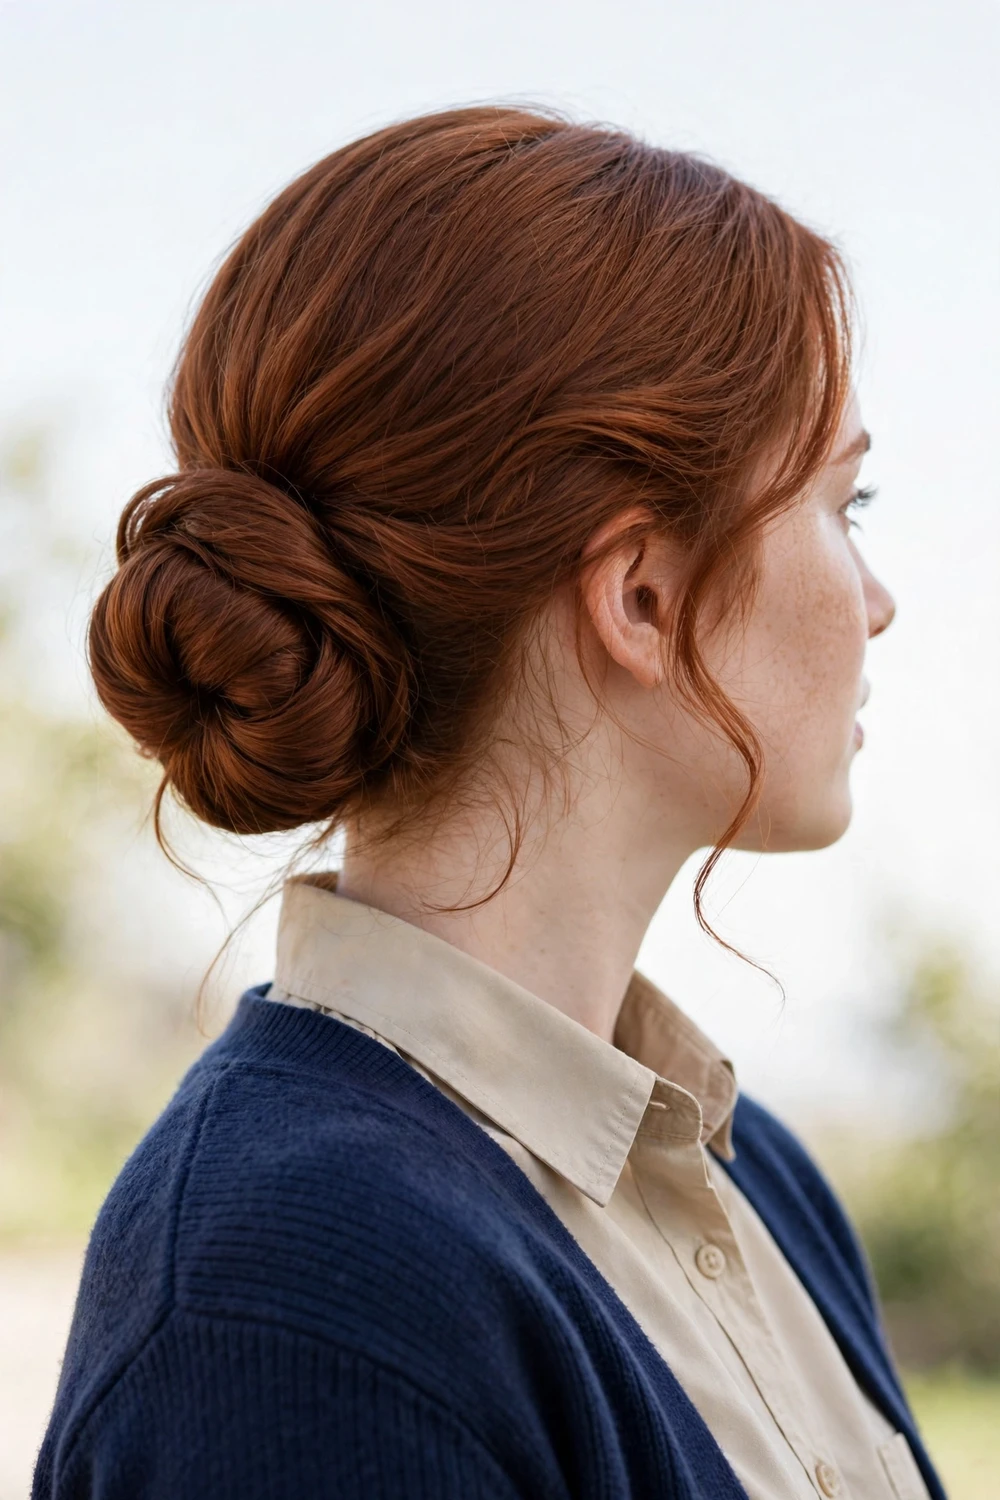
Pull the hair into a low ponytail but leave the elastic slightly loose. Split the hair above the elastic into a small gap, flip the ponytail up through the gap, and tuck the ends underneath. Pin the tuck flat and the roll holds.
It looks complicated but uses only one elastic and three pins. Long hair works best, since the tuck needs enough length to fold under.
Try this: place the flip closer to the nape rather than high up. A low roll stays put longer and suits longer school days.
Difficulty: Medium · Cost: $0–$3 (elastic, pins)
8. Messy Up-Do with Headscarf
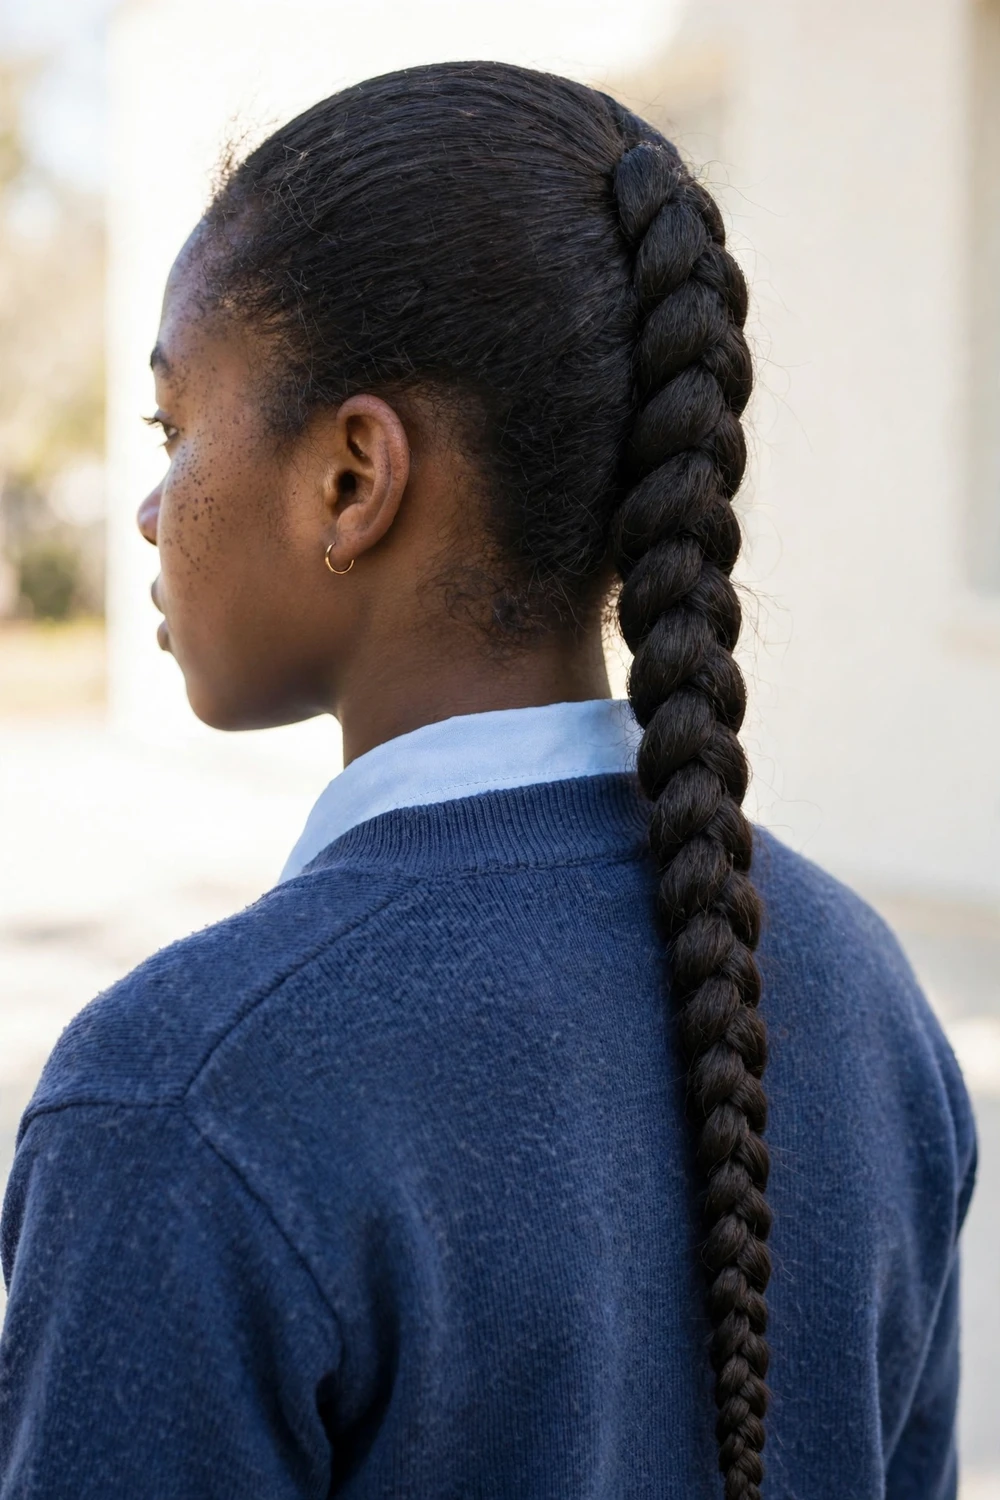
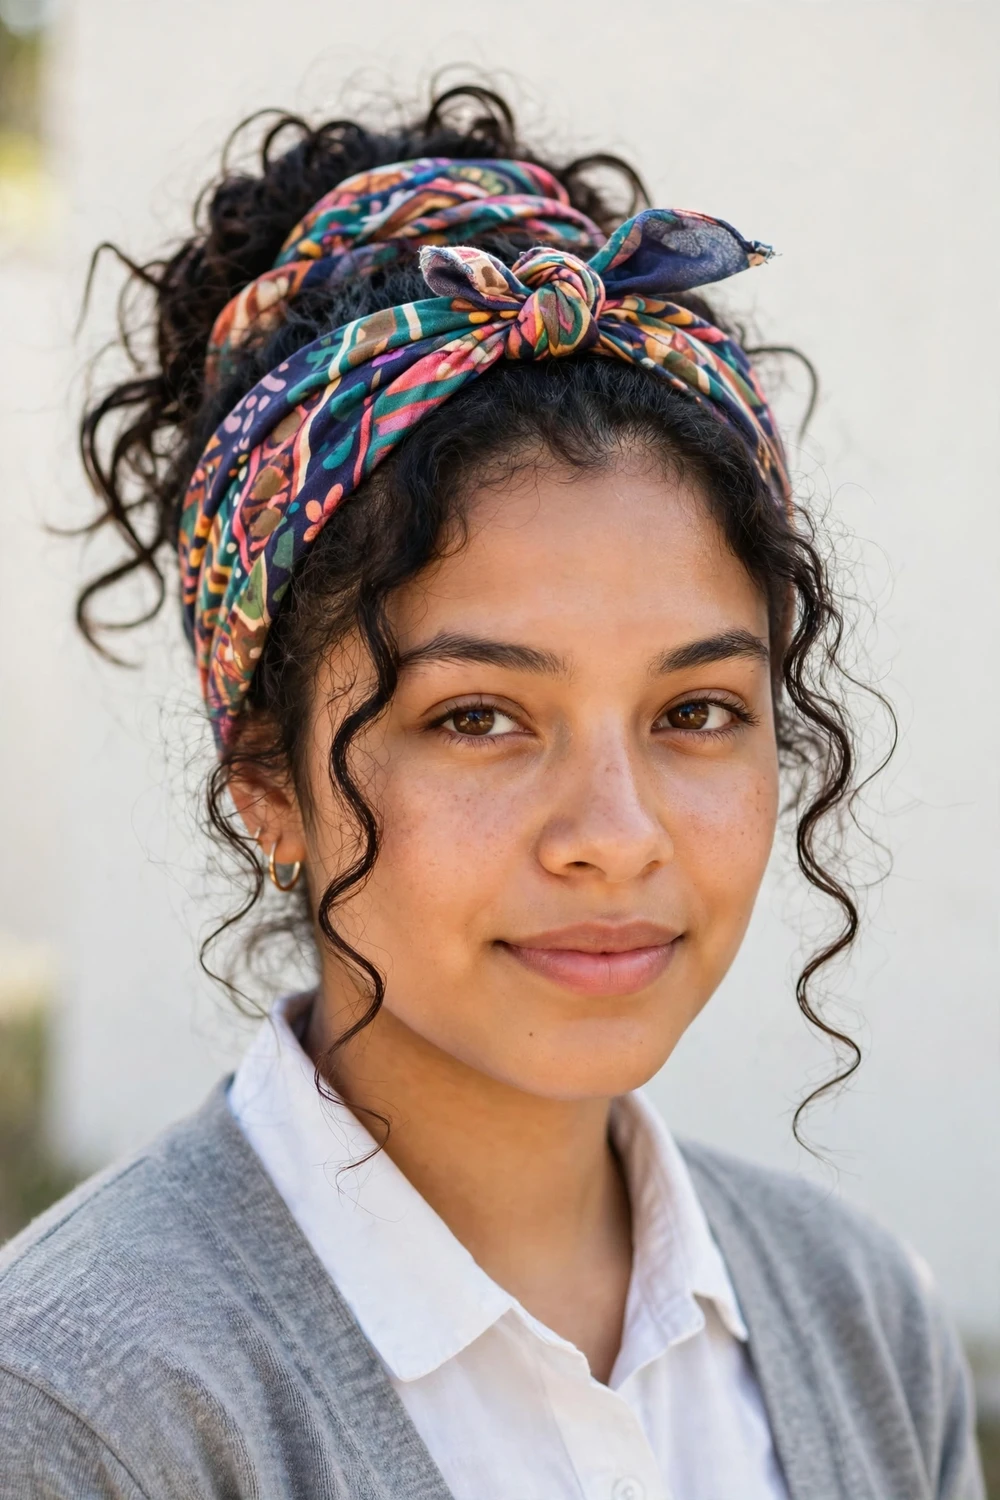
Gather the hair into a loose bun at any height that feels comfortable. Fold a lightweight scarf into a band and tie it around the bun, knotting it at the front or side. The scarf hides the pins and gives the style its finish.
Pick a thin cotton scarf rather than silk for school. Cotton grips the hair and stays tied without slipping by midday.
Try this: match the scarf to one color in the outfit. It looks put-together even when the bun itself is deliberately messy.
Difficulty: Easy · Cost: $3–$8 (scarf)
9. Headband Pushback
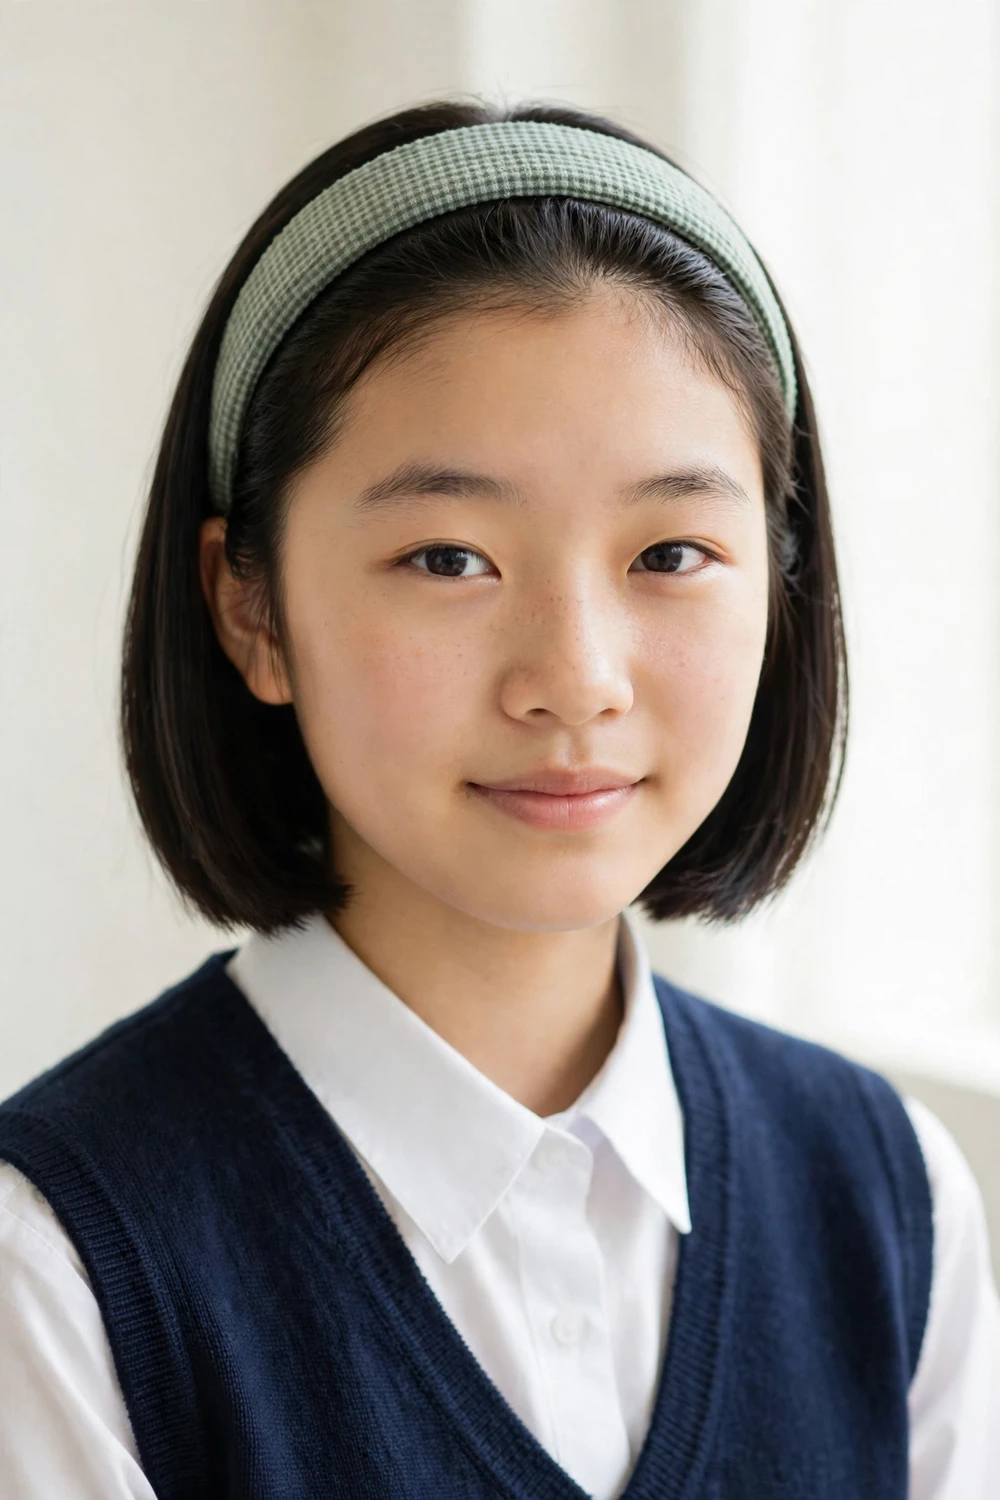
Slide a fabric or padded headband on and push it back just past the hairline. It keeps short layers, bangs, and flyaways off the face with zero pinning. This is the fastest style on this list.
Fabric headbands with grip on the underside stay on best; thin plastic ones slip on fine hair.
Try this: brush the front section up and back before sliding the band on. The slight lift stops the hair from sitting flat against the forehead.
Difficulty: Easy · Cost: $3–$6 (headband)
For more styles that work on shorter lengths, take a look at our cute easy hairstyles for short hair roundup.
10. Pigtails Jazzed Up with Hairpins
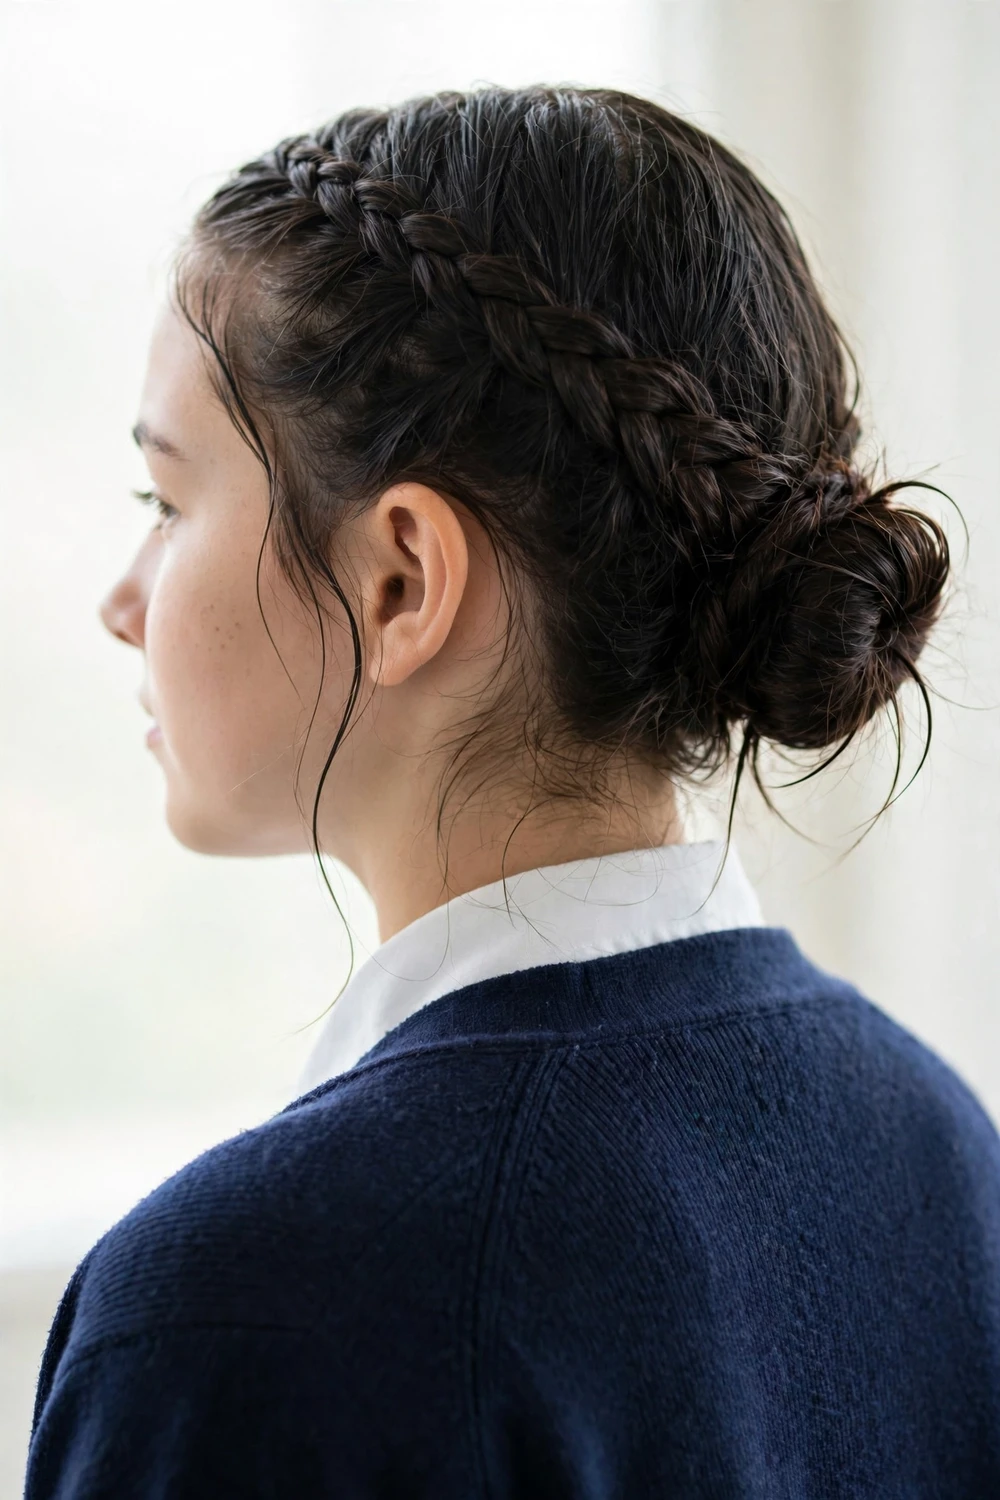
Split the hair down the middle and tie two pigtails at the height you like. Clip two or three small decorative hairpins above each elastic, or slide in a colorful barrette. The clips turn a basic style into something that looks planned.
Low pigtails sit more comfortably under a backpack, while high ones bounce more. Both last all day with standard elastics.
Try this: wrap one strand around each elastic before adding the clips. It hides the elastic and gives the clips a cleaner base to grip.
Difficulty: Easy · Cost: $0–$6 (elastics, clips)
11. Shower-to-School Wet Crown Braid Bun
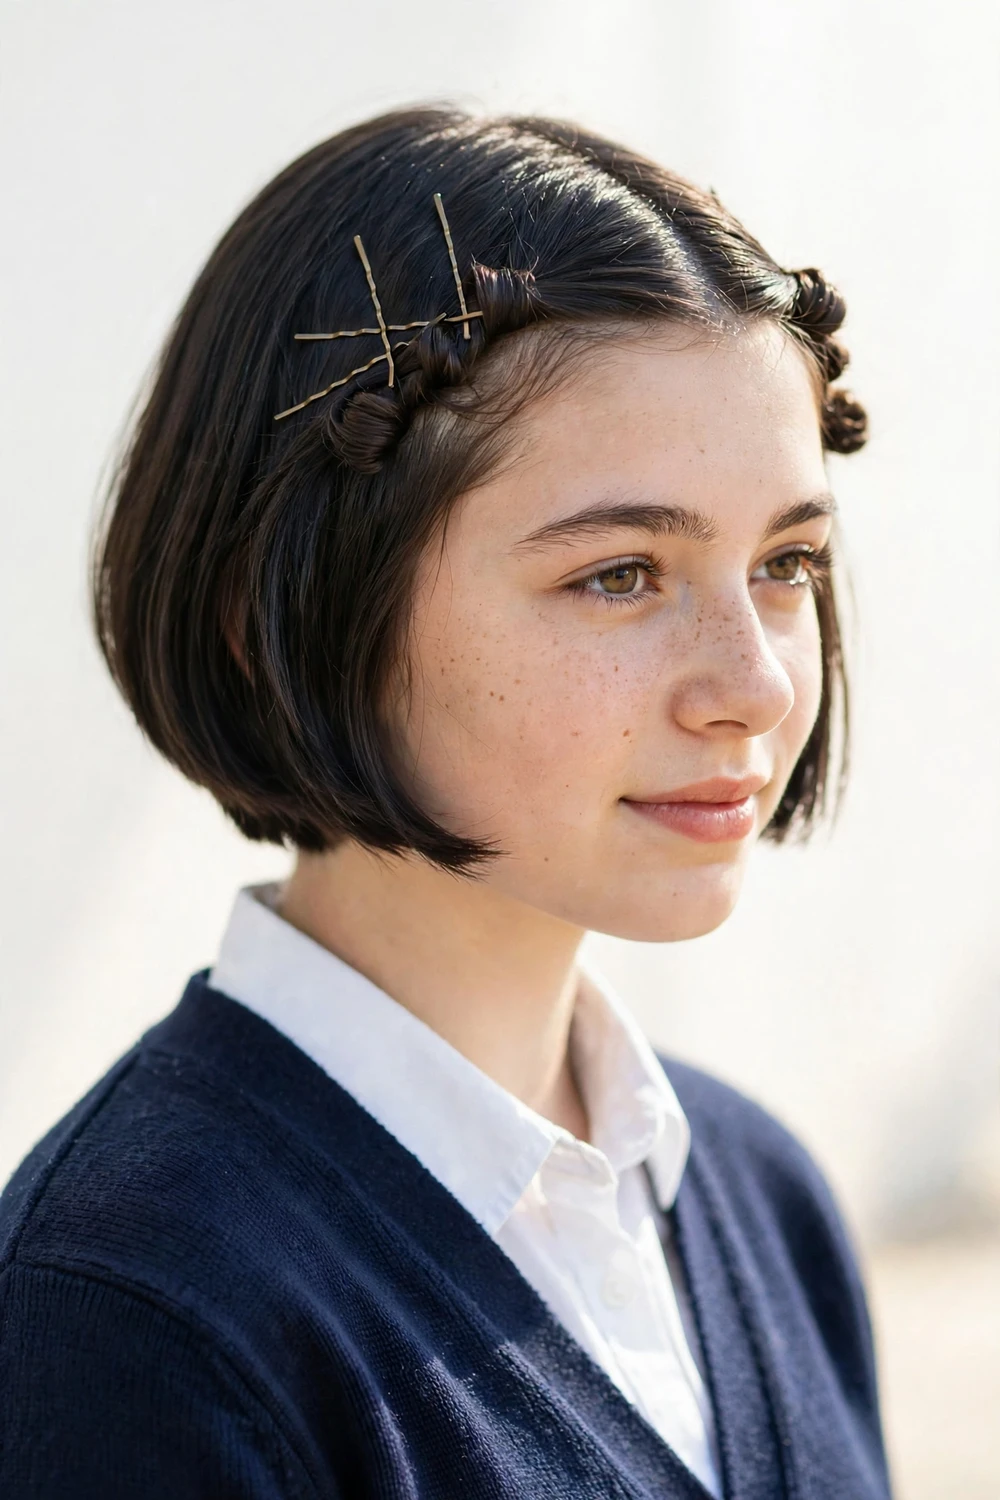
When there is no time to dry the hair, crown-braid the damp hair and coil the tail into a small bun at the nape. The braid keeps wet hair contained so it does not drip onto the uniform.
A rope twist works the same way. Twist two sections from front to back, then coil the twist into the bun.
Try this: leave the bun in until lunch. Taking it down releases soft waves for the afternoon.
Difficulty: Medium · Cost: $0–$3 (elastics, pins)
Moms styling younger kids may also like our medium hairstyles for busy women for more fast morning styles.
12. Pinned-Back Twisted Sections
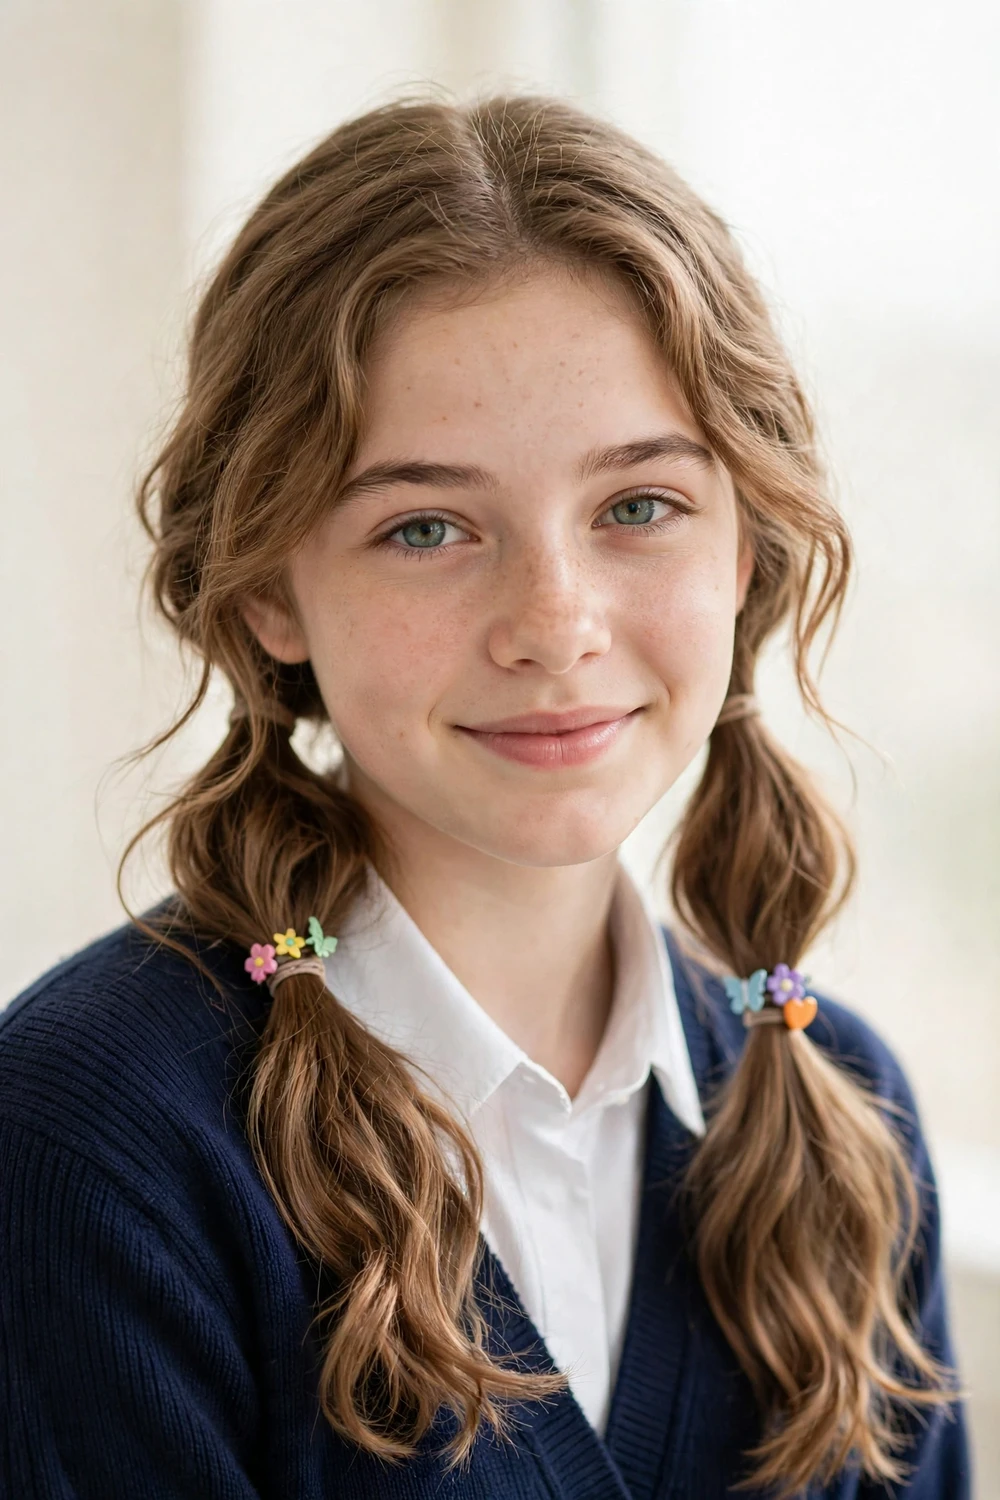
Take a small section from each temple, twist it back away from the face, and pin it flat with two crossed bobby pins. Repeat with another section higher up if the hair is thick.
This is the fix for growing-out bangs and short layers that fall into the eyes. It works on hair too short for ponytails and takes about five minutes.
Try this: cross the pins in an X instead of stacking them. Crossed pins grip harder and stay put all day.
Difficulty: Easy · Cost: $0–$3 (bobby pins)
More ideas for short and growing-out hair are in our simple hairstyles for short hair guide.
13. Overnight Heatless Waves
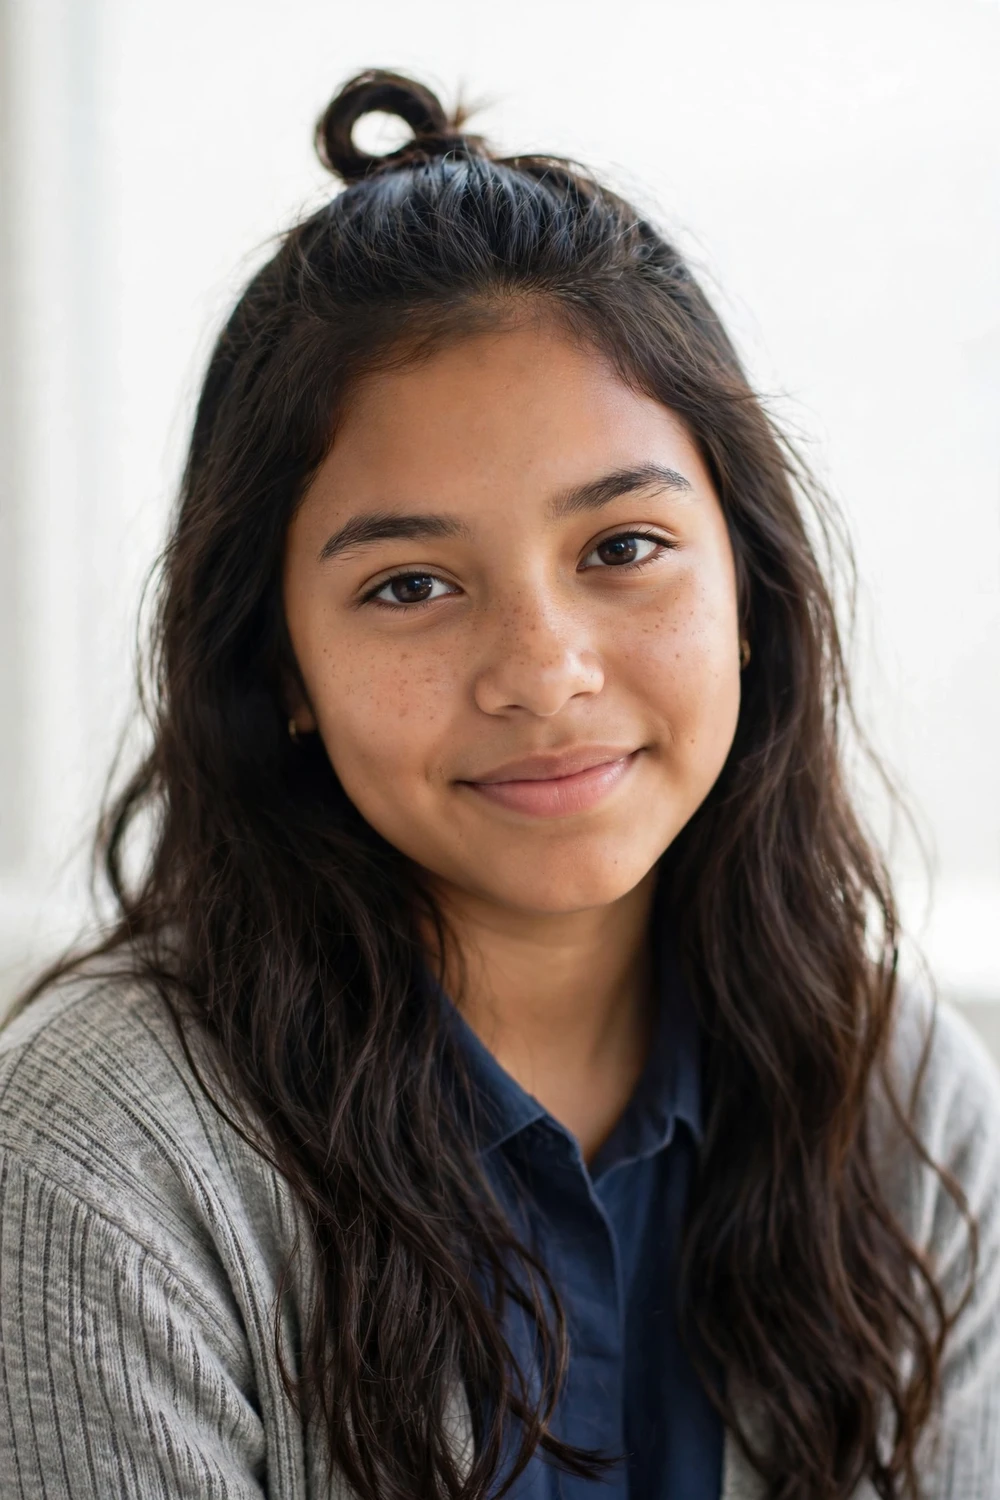
Before bed, split slightly damp hair into two sections and twist each one from root to tip. Secure each twist with a soft scrunchie and sleep on it. Undo the twists in the morning and shake the hair out with your fingers.
The waves last through most of the school day on medium and long hair. A light spritz of flexible-hold hairspray in the morning helps them hold longer.
Try this: do the twists right after the evening shower. Hair that is still slightly damp sets into waves much better than dry hair.
Difficulty: Easy · Cost: $0–$5 (soft scrunchies)
14. Loop Braid
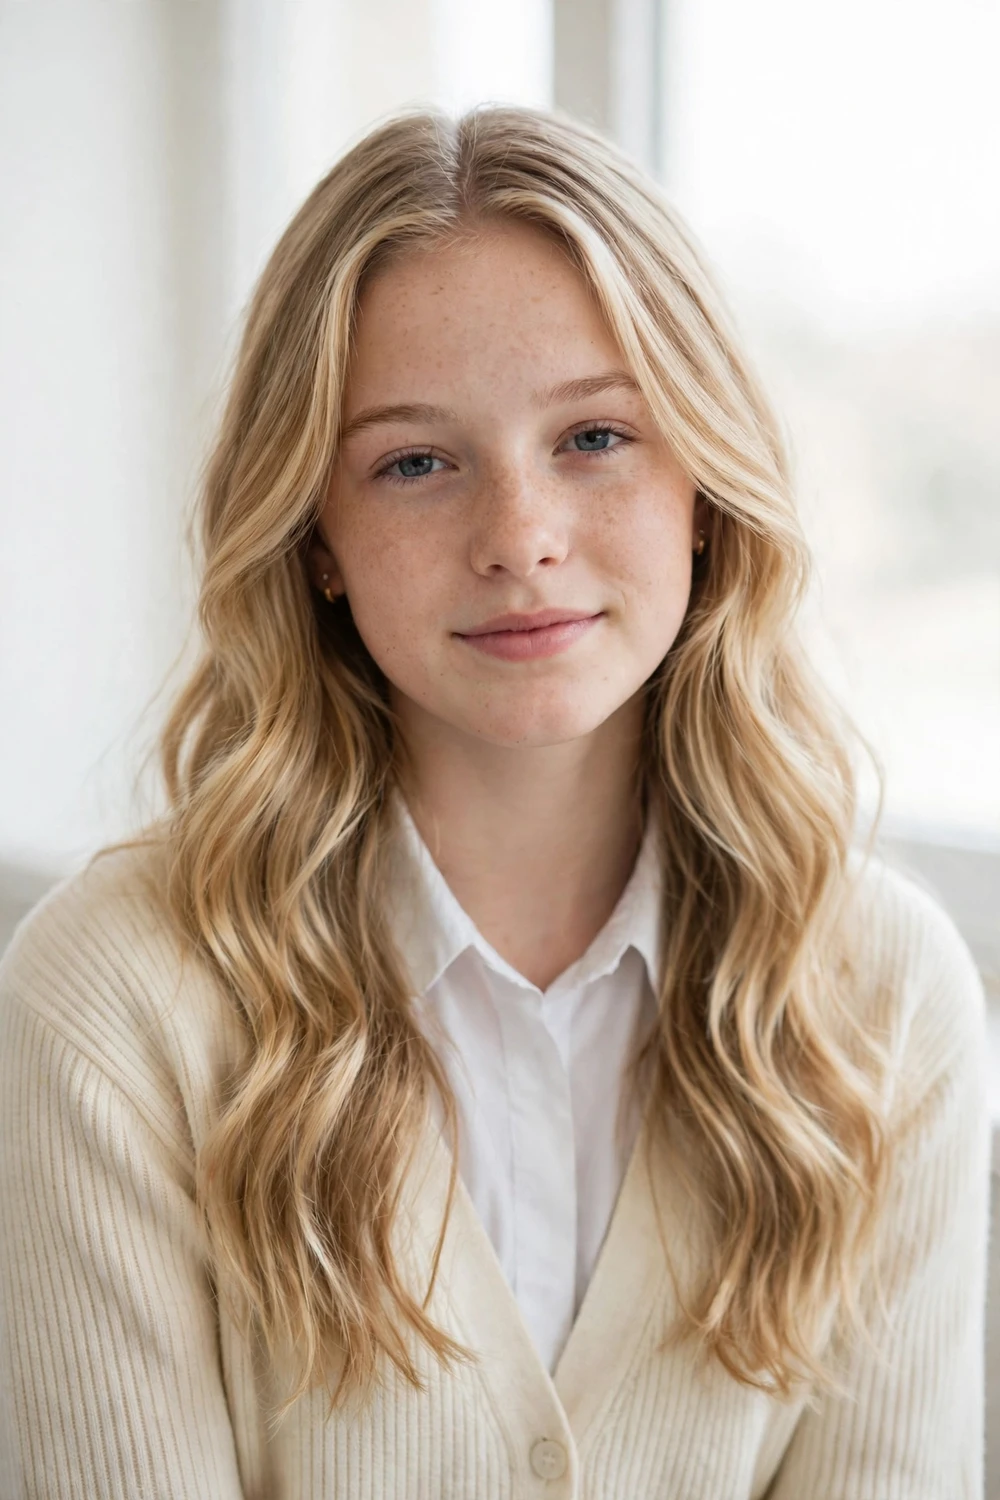
Take a section of hair and tie it into a small ponytail. Split the tail in two, loop the next small section of hair through the gap, and tie it with another elastic. Repeat down the length. It looks like a braid but uses only elastics and simple knots.
Keep each loop about two inches apart for a balanced look. Clear elastics make the knots almost invisible, while colored ones add a playful detail.
Try this: tug each loop wider after tying it. Wider loops give the style more volume and hide the elastics.
Difficulty: Medium · Cost: $0–$3 (small elastics)
15. Faux Top Knot
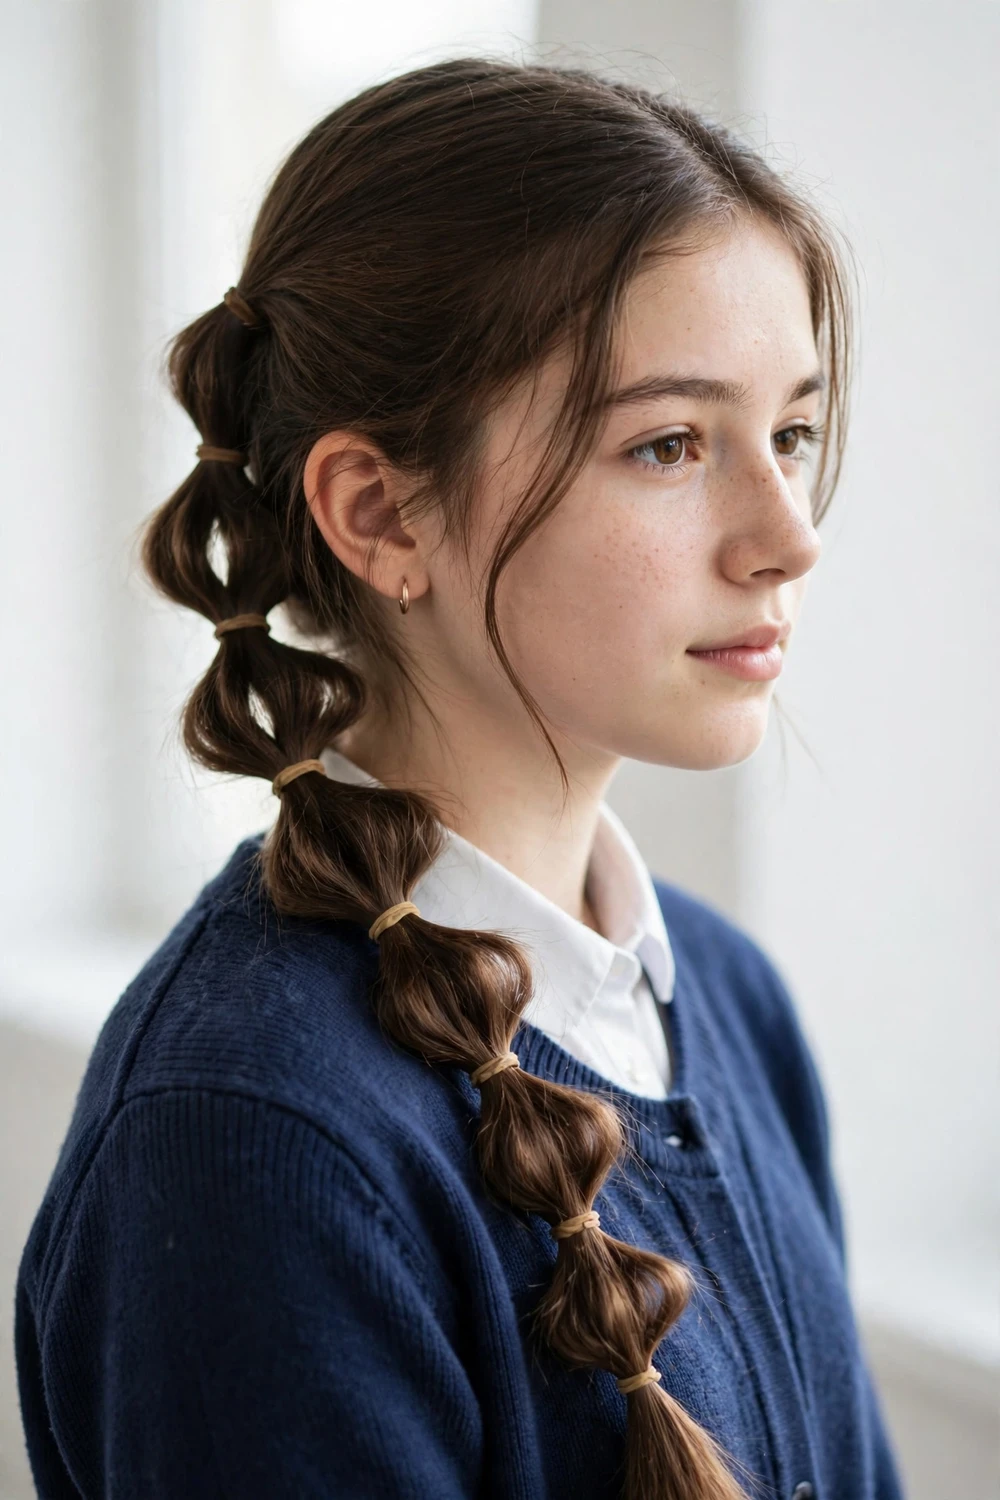
Gather just the top section of hair and pull it halfway through an elastic on the last loop, so the ends fold into a small looped knot. Leave the rest of the hair down. It reads as a half-up style with extra shape.
The loop should sit high on the crown for the best balance. Too far back and the knot disappears under the loose hair.
Try this: backcomb the underside of the section once before looping it. The knot looks fuller and holds its shape longer.
Difficulty: Easy · Cost: $0–$3 (elastic)
16. Braided Bubble Style
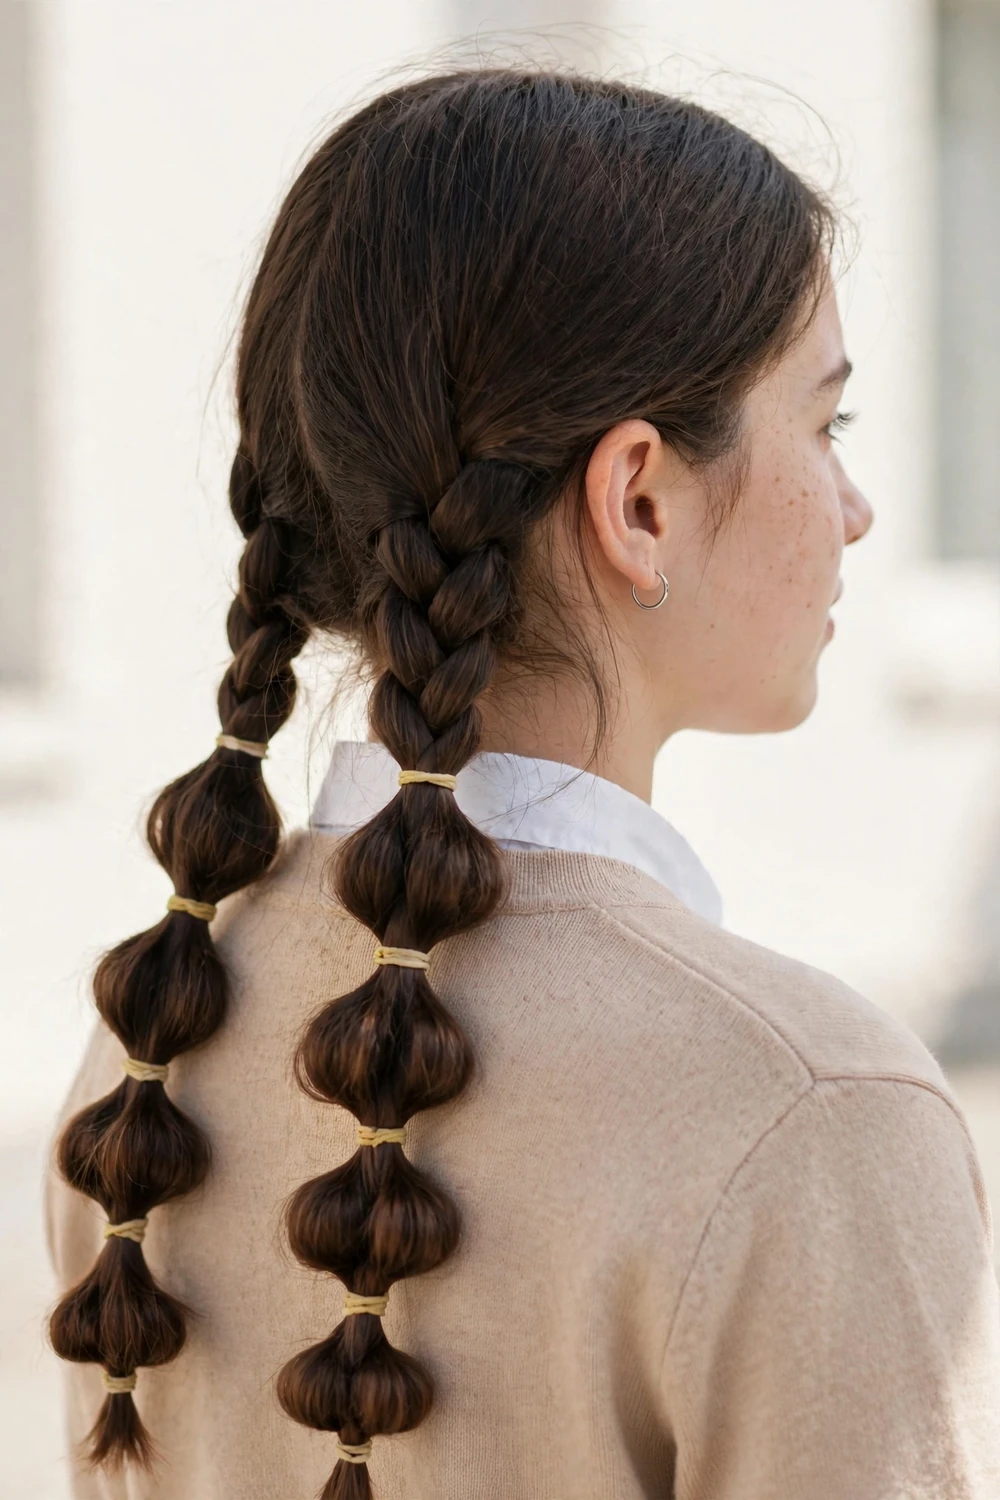
Braid two regular three-strand braids and tie them off with elastics at intervals of about three inches, puffing each section between the elastics. The bubbles give the ends volume while the braids keep the roots neat.
This style survives windy playgrounds and gym class. For after-school games, check out basketball hairstyles for women. The sectioned elastics stop the braids from unraveling even if the ends get pulled.
Try this: puff each bubble by pulling the sides outward evenly. Even puffs look neater than random tugging.
Difficulty: Medium · Cost: $0–$3 (small elastics)
17. Overnight Perm-Rod Curls
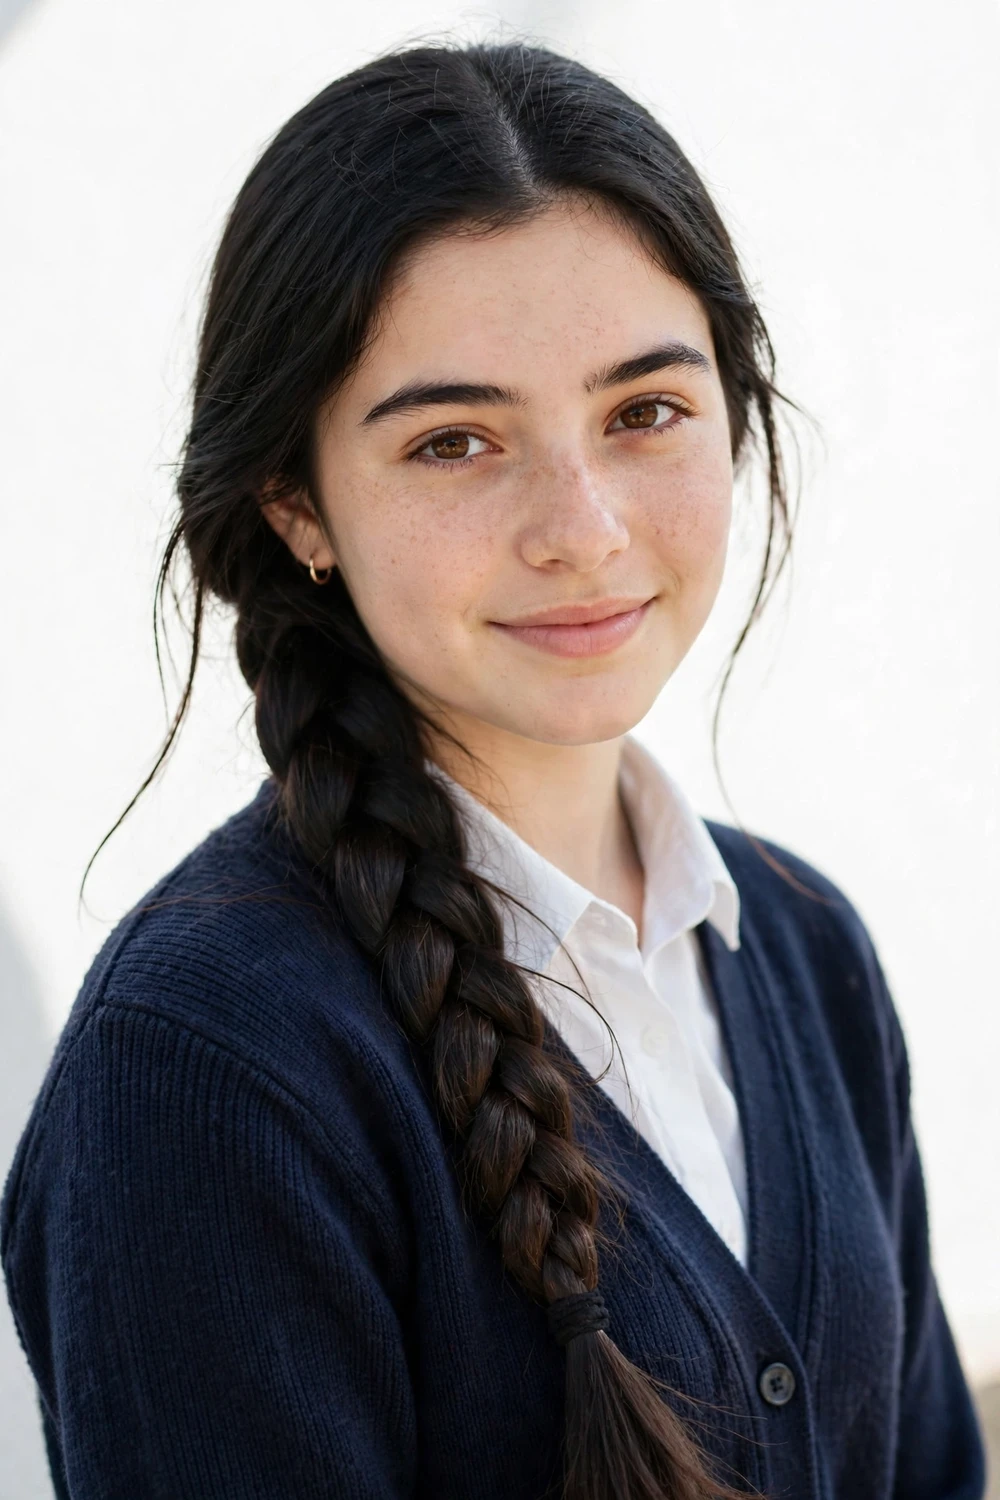
On slightly damp hair at night, wrap one-inch sections around foam perm rods from the ends to the roots and snap each rod shut. Sleep on them and remove the rods in the morning, then separate the curls with your fingers.
Foam rods are soft enough to sleep on comfortably. A satin pillowcase or bonnet keeps the curls from frizzing overnight.
Try this: work in one-inch sections rather than large ones. Smaller sections dry fully overnight and the curls last much longer.
Difficulty: Medium · Cost: $5–$10 (foam rod set)
18. Braided Pigtails
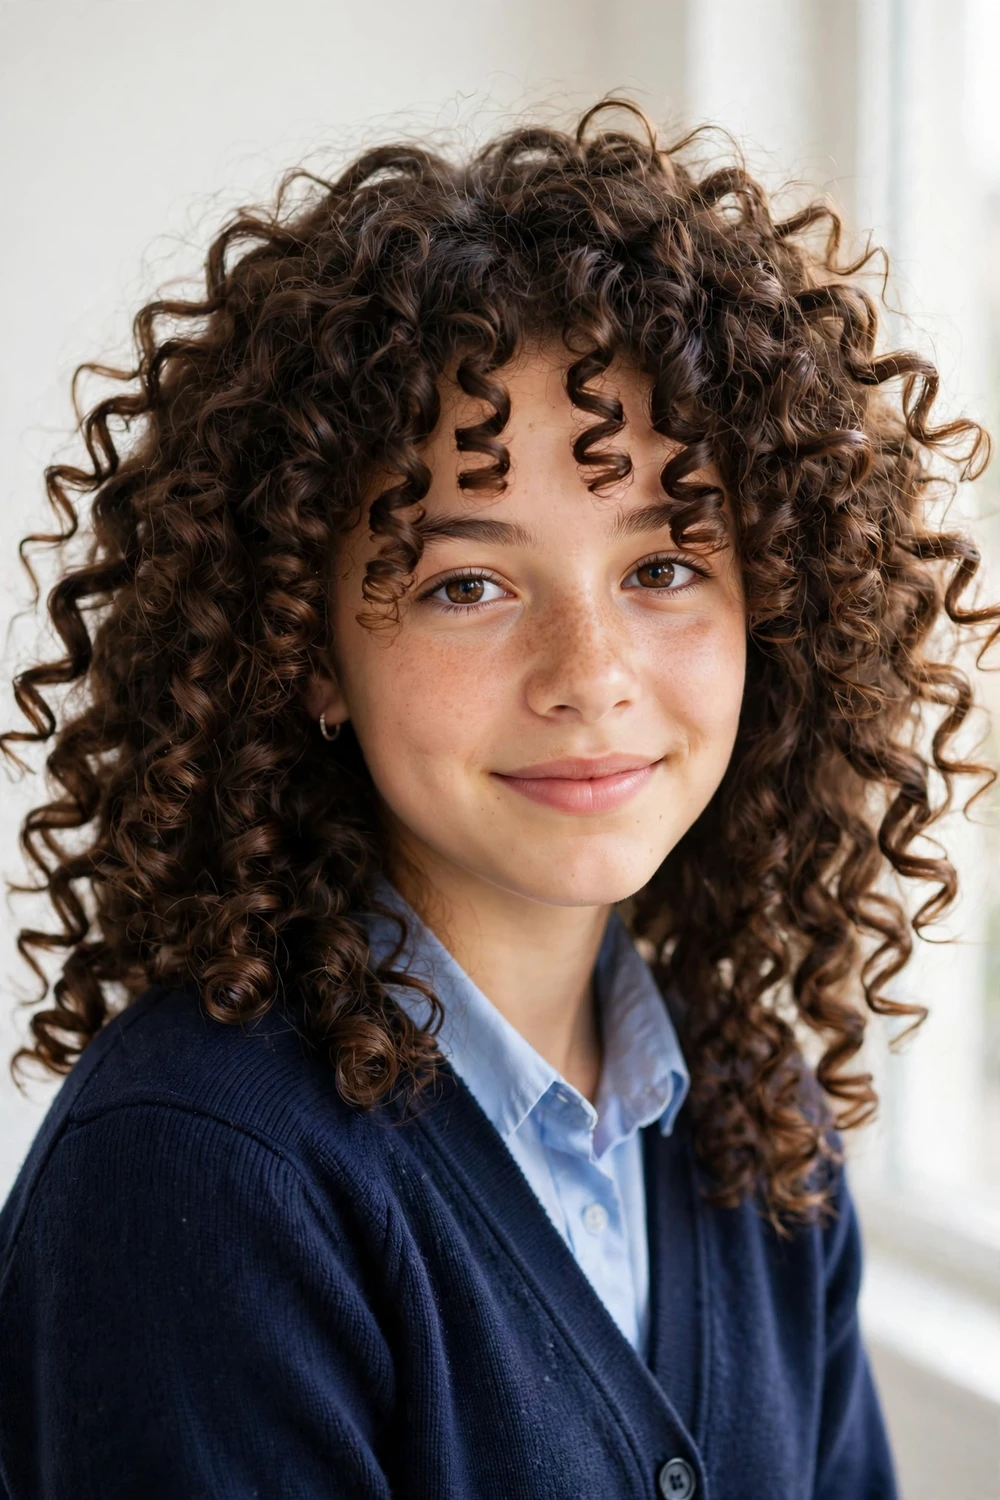
Split the hair down the middle and braid each side into a simple three-strand braid, tying the ends with small elastics. Braided pigtails stay tidier than loose ones and keep hair completely out of the way.
This is a classic for a reason: it works on medium and long hair, takes about ten minutes, and lasts the whole day without redoing.
Try this: start each braid slightly above the ear rather than at the hairline. The higher start keeps the braids from swinging into the face.
Difficulty: Easy · Cost: $0–$3 (elastics)
Braided pigtails also photograph beautifully with a ribbon or bow tied at the ends, which makes them a natural pick for school photos; for photo-day versions of this style, see these cute hairstyles for picture day.
19. Side Braid
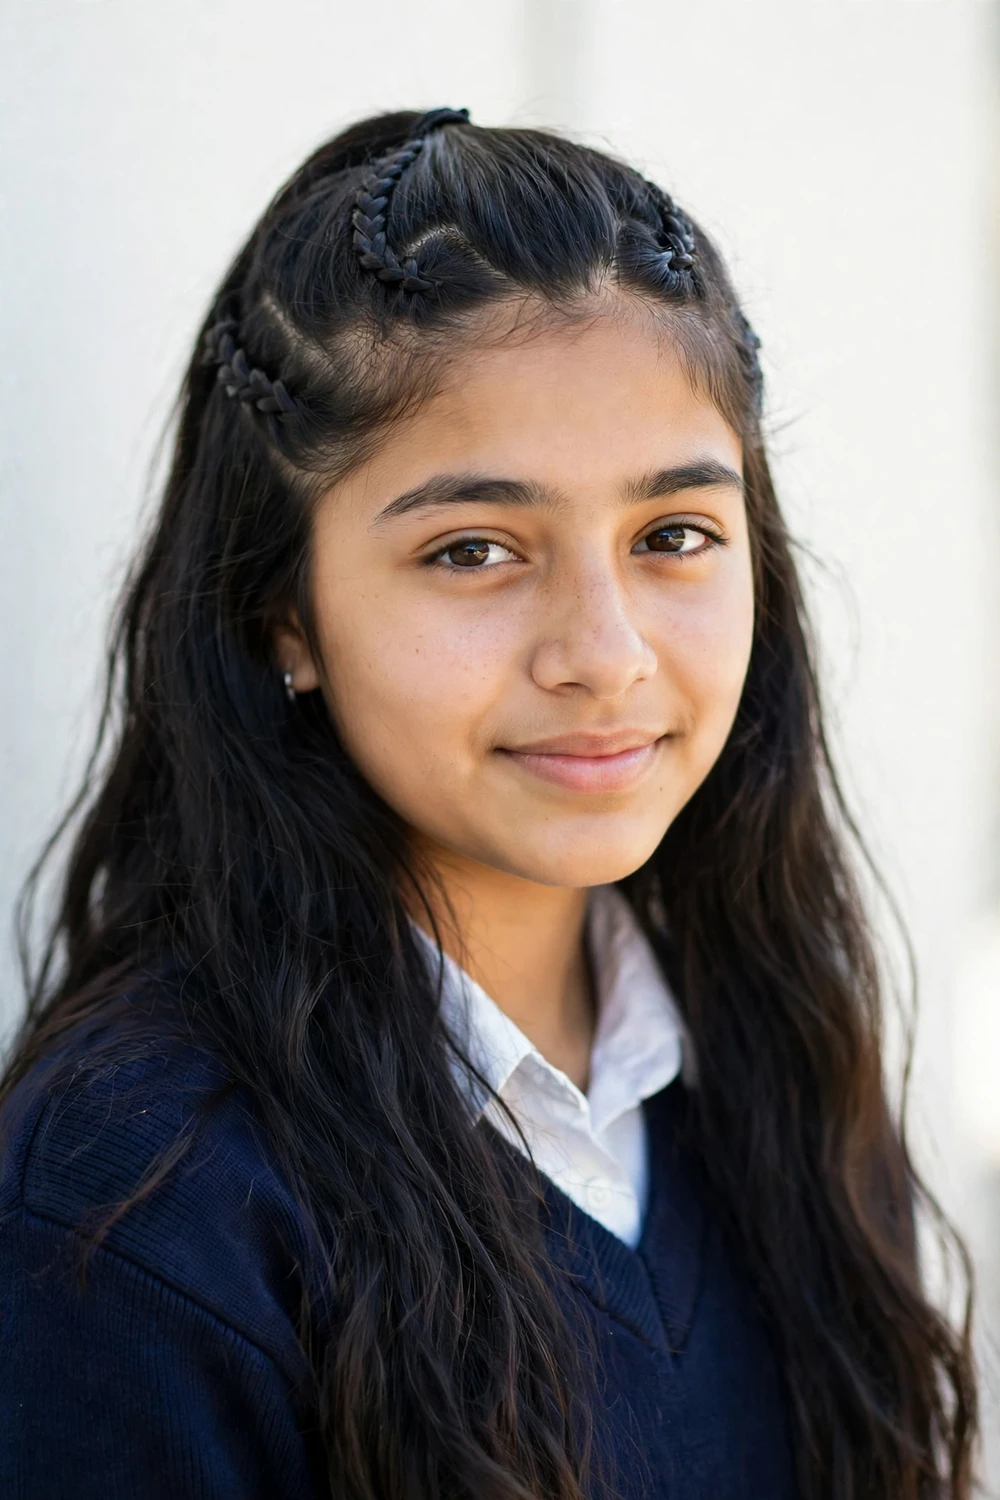
Sweep all the hair over one shoulder and braid it into a simple three-strand braid, tying the end with an elastic. The side placement keeps the braid from pressing against the back of a chair or backpack.
Pull the braid slightly loose after tying it. A relaxed side braid looks softer and hides uneven sections, which makes it forgiving for beginners.
Try this: secure the very end with a clear elastic and leave an inch of unbraided ends. The loose ends keep the braid from looking too stiff.
Difficulty: Easy · Cost: $0–$3 (elastic)
20. Front Braids Pinned into Half-Up
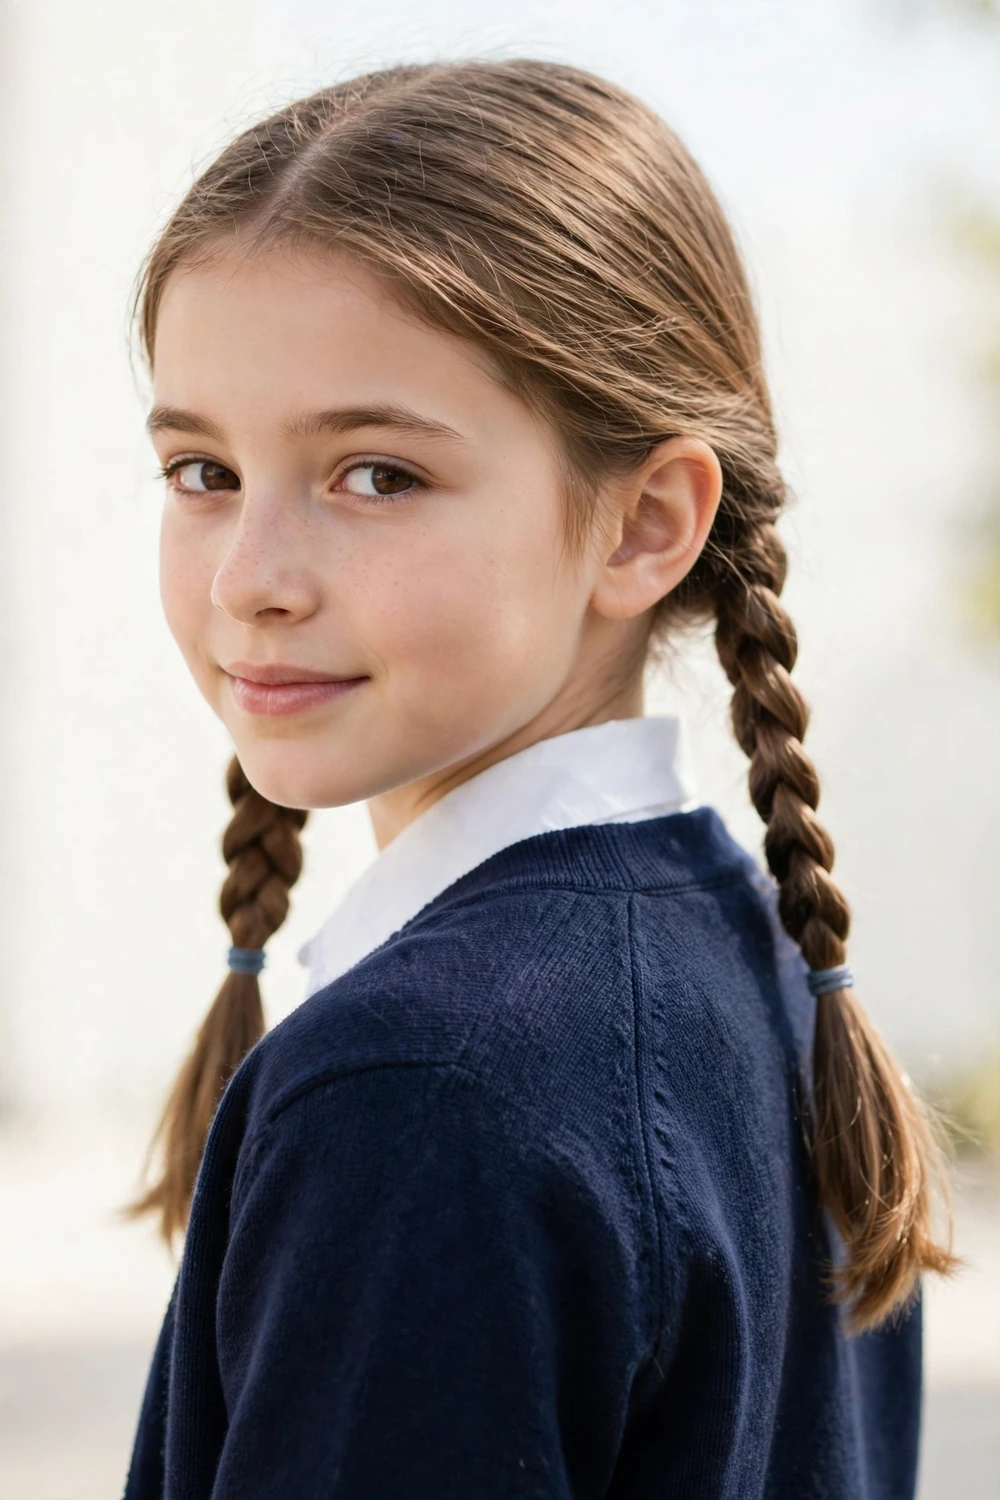
Braid two small sections from the front, one from each temple, and pin them together at the back of the head. Leave the rest of the hair down. It has the neatness of a half-up style with more detail at the front.
This works well on medium hair that is too short for a full braid down the back. Three-strand braids are enough; French braiding is not required.
Try this: use mini clear elastics to tie each braid before pinning. The pins grip the elastics better than loose braid ends.
Difficulty: Easy · Cost: $0–$3 (mini elastics, pins)
21. Double Space Buns
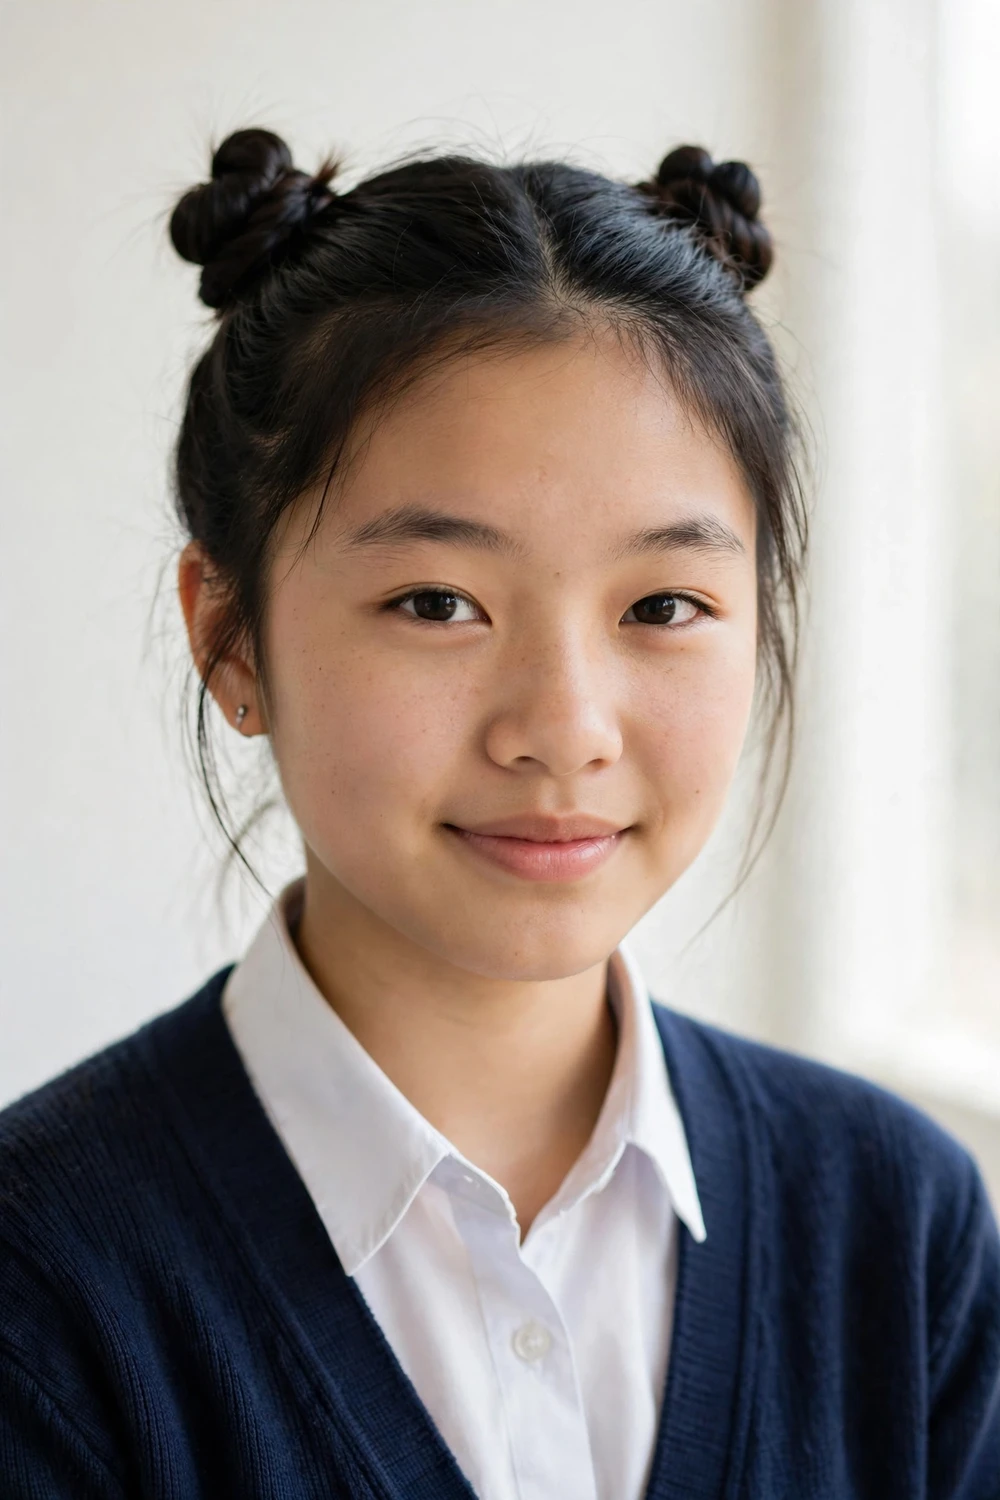
Split the hair down the middle and make two small twisted buns, one on each side of the crown. Secure each with an elastic and a pin or two. The pair of buns keeps hair balanced and fully off the face.
Keep the buns small and neat rather than oversized. Smaller buns look school-appropriate and survive being leaned against in class.
Try this: twist each section before coiling it. Twisting makes the buns hold longer than wrapping flat hair.
Difficulty: Easy · Cost: $0–$5 (elastics, pins)
22. Bubble Ponytail
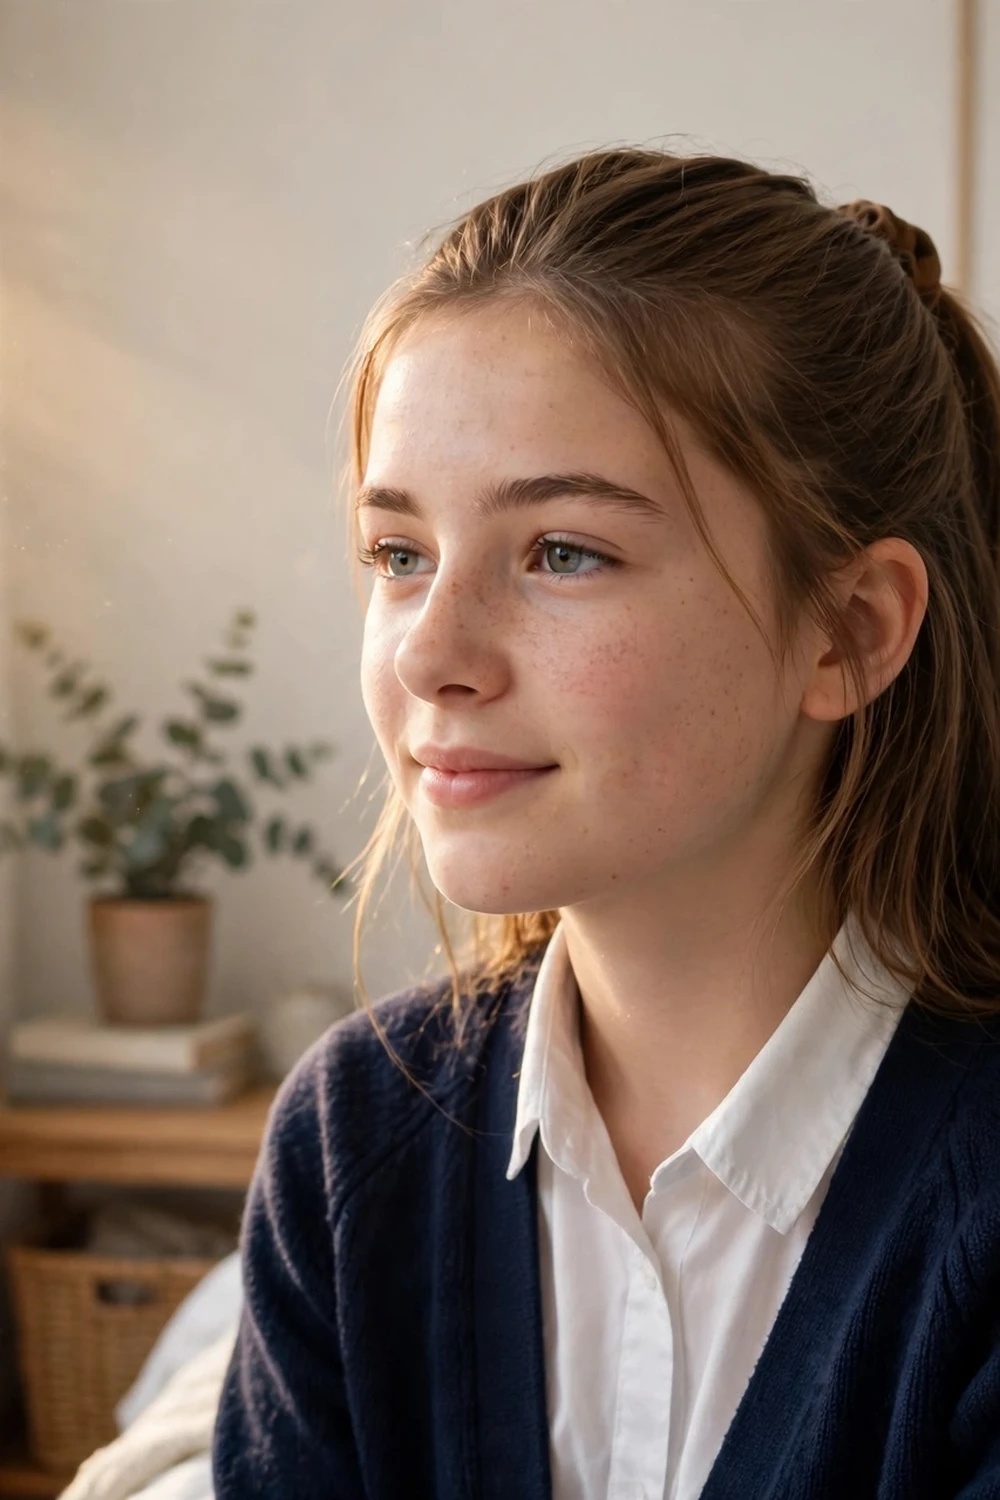
Pull the hair into a high ponytail, then tie small elastics down the length every two to three inches. Puff out the hair between each elastic to form rounded bubbles. It takes about seven minutes and needs no braiding skill.
The bubble ponytail holds well on thick hair. On fine hair, a light teasing at the roots of each section before puffing adds fullness.
Try this: use elastics that match the hair color. They blend in and let the bubbles be the focus.
Difficulty: Easy · Cost: $0–$3 (small elastics)
Comparison Table
| Style | Styling Time | Best Hair Length | All-Day Hold |
|---|---|---|---|
| High Ponytail with Hidden Tie | 5 min | Medium to long | High |
| Twisted Messy Bun | 5–7 min | Medium to long | Medium |
| Braided Crown | 10–12 min | Medium to long | High |
| Classic Half-Up Half-Down | 3–5 min | Medium to long | Medium |
| Single French Braid | 8–10 min | Medium to long | High |
| Sleek Low Bun | 7–10 min | Medium to long | High |
| Rolled and Tucked Up-Do | 10 min | Long | High |
| Messy Up-Do with Headscarf | 7 min | Medium to long | High |
| Headband Pushback | 1–2 min | Short to medium | Medium |
| Pigtails Jazzed Up with Hairpins | 5 min | Medium to long | Medium |
| Shower-to-School Wet Crown Braid Bun | 10–12 min | Medium to long | High |
| Pinned-Back Twisted Sections | 5 min | Short to medium | Medium |
| Overnight Heatless Waves | 5 min + overnight | Medium to long | Medium |
| Loop Braid | 8–10 min | Medium to long | High |
| Faux Top Knot | 3 min | Medium to long | Medium |
| Braided Bubble Style | 10 min | Long | High |
| Overnight Perm-Rod Curls | 10 min + overnight | Medium to long | Medium |
| Braided Pigtails | 8–10 min | Medium to long | High |
| Side Braid | 5–7 min | Medium to long | Medium |
| Front Braids Pinned into Half-Up | 7 min | Medium to long | High |
| Double Space Buns | 7–10 min | Medium to long | High |
| Bubble Ponytail | 7 min | Medium to long | High |
How to Choose the Right School Hairstyle
Start with the time you actually have. On rushed mornings, pick from the under-five-minute styles: the headband pushback, faux top knot, half-up half-down, or pinned-back sections. Save the braids and the rolled up-do for days when the morning is calmer.
Match the style to the day ahead. Braids and buns are the best choices for PE days and windy weather because they do not come apart. Overnight styles like the heatless waves and perm-rod curls are ideal when the evening is free but the morning is not.
Check hair length honestly. Styles 9 and 12 were designed for short hair, while most braids need at least shoulder length to look right. If a style keeps slipping, it usually means the hair needs one more inch of length or a little day-old texture, not a new technique.
Frequently Asked Questions
What is the quickest cute hairstyle for school mornings?
The headband pushback takes one to two minutes and works on short to medium hair. If the hair is longer, the faux top knot or a simple high ponytail takes about three to five minutes. Keep a headband and a few elastics in the school bag as backup for mornings that go wrong.
How can I make my school hairstyle last all day?
Start with hair that is not freshly washed, since clean hair is slippery. Use enough pins: crossed bobby pins grip much better than single ones. A light mist of flexible-hold hairspray finishes the style without stiffness. Braided styles like the French braid and braided pigtails naturally last longest.
What are good school hairstyles for short hair?
The headband pushback and pinned-back twisted sections were made for short hair and growing-out layers. A small faux top knot also works on chin-length hair. Accessories like clips and decorative pins do most of the styling work when the length is limited.
Will these hairstyles pass school dress codes?
These styles were chosen to be neat, modest, and face-clearing, which satisfies most school rules. Some schools restrict hair accessories by color, so check the handbook before using bright scarves or oversized clips. When in doubt, the sleek low bun and single French braid are the safest options.
What should I do if I wake up late for school?
Skip washing and go straight to a contained style. The shower-to-school wet crown braid bun handles damp hair, while the headband pushback, faux top knot, or a quick high ponytail take under five minutes on dry hair. Dry shampoo at the roots buys time between washes and adds grip for pins.
Final Thoughts
School hairstyles do not need to be complicated to look good. Pick three or four favorites from this list and rotate them through the week, and the mornings get noticeably easier. The best school hairstyle is the one that stays put, keeps hair out of the face, and takes less time than breakfast.

